Did you know that 80% of DIY cabin builders find door framing both challenging and rewarding? This shows how key it is to get door framing right for your cabin. Let’s look at the basics of this important skill.
Door framing is the heart of your cabin’s entrance. It’s not just about making an opening. It’s about making sure it’s stable, energy-saving, and lasts long. A well-framed door can last decades, with some techniques making doors last nearly 35 years.
When you’re installing a door in your DIY cabin, precision is everything. Standard doors are 80 inches tall. But your opening should be 2½ inches taller and wider. For a 32-inch door, aim for a 34½ x 82½ inch opening.
This extra space helps with adjustments during installation. It makes sure your door swings smoothly without rubbing against the floor or jamb.
Ready to start your door framing journey? With the right tools, materials, and knowledge, you’re on your way to a strong, efficient entrance for your DIY cabin. Let’s go through the steps, from picking the right door to adding the final touches that make a difference.
Door Framing Basics
Door framing is key in building your DIY cabin. It creates a strong structure for your door. Knowing the basics will make this project easier.
What is Door Framing?
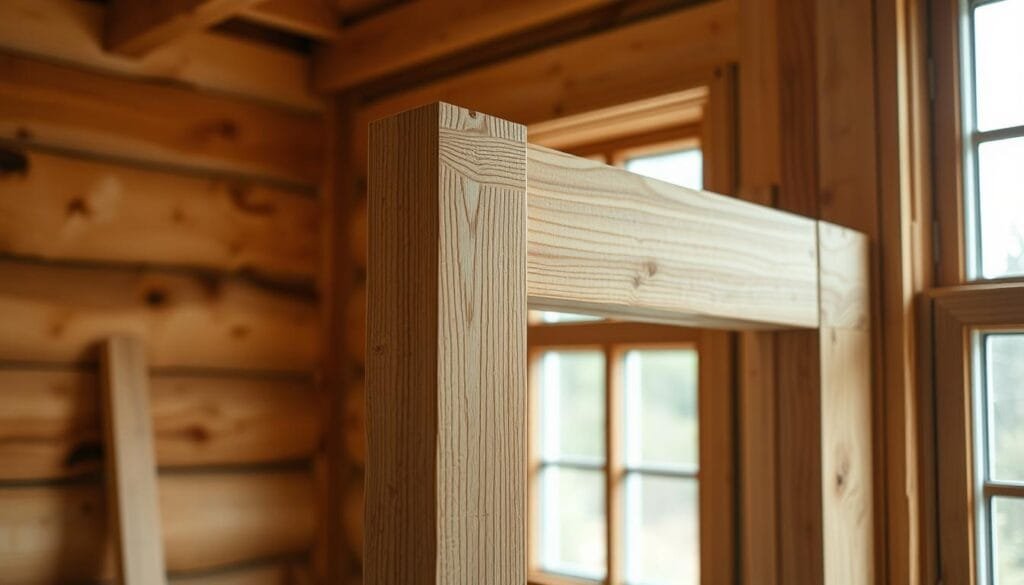
Door framing means building a frame to hold and surround a door. It includes the jamb, header, and threshold. These parts make a secure and even opening for your door.
In cabin building, frames are made from solid hardwood like rock maple. They are 1 1/2″ thick, made from two 3/4″ pieces. This thickness supports the door well, which is 1 3/8″ thick for inside use.
Tools You’ll Need
To frame a door right, you need some important tools. Here’s what you should get ready:
- Tape measure
- Level
- Circular saw
- Drill
- Carpenter’s square
- Bessey Tradesman clamps
- Chisel set
These tools help you measure right, check if things are level and square, and cut accurately. When making the rough opening, use your tape measure for sizes and your level for straightness. Getting the measurements right is key for a good fit.
Choosing the Right Door
Choosing the right door for your DIY cabin is key. You need to think about function, style, and energy efficiency. Let’s look at the options to help you decide.
Material and Style Options
Door materials affect durability, upkeep, and looks. Wood doors give a classic vibe and can match many cabin styles. They come in various sizes for customization.
Steel doors are great for security and weather resistance, perfect for outside. Inside, solid wood doors from sustainable materials like pine or cedar are popular.
Pre-hung doors are great for DIY projects because they come with the frame attached. This makes installation easier and ensures a good fit. Always measure your opening right to avoid size mistakes.
Energy Efficiency Considerations
Energy-efficient doors keep your cabin comfy and cut down on bills. Insulated steel doors are top-notch for energy saving. They keep your cabin warm in winter and cool in summer.
For inside doors, solid-core options block sound better than hollow-core ones. When picking energy-efficient doors, think about weatherstripping and proper installation. A well-fitted door with good weatherstripping cuts down drafts and boosts energy efficiency. Exterior doors must be weatherproof and strong for security.
Measuring Your Door Opening
Getting your door measurements right is key for a great DIY cabin project. The right rough opening size ensures your door fits perfectly. Let’s look at the tools and methods for accurate measuring.
Tools for Accurate Measuring
You’ll need reliable tools for exact door measurements. A steel tape measure is essential for any DIY project. For even more precise results, consider a laser measure. These tools help you get the exact dimensions of your rough opening.
Remember, the rough opening should be a bit larger than the door. This allows for adjustments during installation. A good rule of thumb is to add 2 inches to the door’s width and height for the rough opening size.
Common Measuring Mistakes
Avoid these common mistakes when measuring your door opening:
- Forgetting to account for the threshold
- Mixing up actual door size and rough opening dimensions
- Measuring only once (always measure twice!)
- Not checking for square corners
Take your time and double-check all measurements. This attention to detail will save you headaches later. For more in-depth guidance on framing a door rough opening, check out expert resources.
Remember, precise measuring techniques are the foundation of a well-fitted door. With the right tools and careful attention, you’ll set yourself up for success in your cabin door installation project.
Preparing the Framing Area
Getting your framing ready is key for a smooth door installation in your DIY cabin. It makes the process easier and avoids future problems. Let’s look at the main steps to get your framing area ready.
Clearing and Inspecting the Space
First, clear out any debris or blocks around the door opening. Do a detailed site check for water damage or bugs. This step helps avoid expensive fixes later.
When inspecting, watch the structure around the door closely. Look for rot, warping, or damage that could harm the door. Fix any problems you find before you start installing.
Ensuring Level and Square
A level and square opening is essential for a door that works right. Use a spirit level and carpenter’s square to check the opening. Make small tweaks as needed to get it just right for your door frame.
Small mistakes can cause big problems. A door that’s not level and square might not close right, leak air, or stick. Taking the time to get everything perfectly aligned now will save you trouble later.
For more detailed framing tips, check out this comprehensive guide on interior door construction. It has useful advice for your cabin project.
Building the Door Frame
Building a strong door frame is key for your DIY cabin. You need to put together important parts and follow steps carefully. This ensures a perfect fit.
Frame Components and Assembly
The door frame has three main parts: the door jamb, header, and sill plate. The door jamb are the vertical sides. The header is at the top. The sill plate is at the bottom, making a solid base.
- 2×4 studs for the frame
- Two 2x4s cut to door width for the header
- A sill plate cut to fit the opening
- Jack studs to support the header
- King studs for structural support
Step-by-Step Instructions
Here’s how to build your door frame:
- Measure and cut the king studs to the height from floor to ceiling.
- Cut jack studs to door height plus 1 1/2 inches.
- Assemble the header by nailing two 2x4s together.
- Attach jack studs to king studs.
- Install the header between jack studs.
- Secure the sill plate at the bottom of the frame.
- Add cripple studs above the header for extra support.
Remember, precision is key. As noted in this DIY cabin-building guide, careful planning and attention to detail are vital for success.
| Component | Dimensions | Purpose |
|---|---|---|
| Door Opening | 2″ wider than door | Accommodates jamb and shims |
| Studs | 2×4 or 2×6 | Frame structure |
| Header | Two 2x4s | Supports weight above door |
| Jack Stud | Door height + 1.5″ | Supports header |
Installing the Door Frame
Installing a door frame is key to a secure and functional entryway for your DIY cabin. It needs precision, patience, and the right tools. This ensures your door fits perfectly.
Positioning the Frame
Begin by placing the frame in the rough opening. This opening should be 2 inches wider and 2.5 inches taller than your door. For a 36×80-inch door, aim for a 38×82-inch opening. Use a level to ensure the frame is straight.

Securing with Shims
Shims are essential in frame installation. Place them at key points like above hinges and on the latch side. This prevents distortion and ensures even spacing. Adjust the shims for a perfect fit in the opening.
Anchoring Techniques
After positioning, secure the frame. Use 16d nails or 3-inch screws through the frame and shims into the framing. Start with the hinge side, then the latch side. Check for straightness after each fastener. For extra stability, use metal straps or brackets at stress points.
| Component | Measurement | Tip |
|---|---|---|
| Rough Opening Width | Door width + 2 inches | Allows for adjustments |
| Rough Opening Height | Door height + 2.5 inches | Accommodates threshold |
| Shim Placement | Above hinges, latch side | Ensures even spacing |
| Fastener Length | 3 inches | Provides secure anchoring |
After installation, test the door’s operation. It should open and close smoothly. If adjustments are needed, loosen the fasteners, re-shim, and secure again. With these steps, your door frame is ready for the next phase – hanging the door.
Hanging the Door
Door hanging is key in your DIY cabin project. It needs careful detail and right hinge installation for smooth opening. Let’s explore hinge selection and common hanging methods.
Selecting and Positioning Hinges
Go for three-part hinges for your cabin door. They allow adjustments in both planes, which is vital for proper alignment. Place hinges one foot from the top and bottom of the door for best support. Remember, hinges can only be adjusted three turns in either direction.
Common Hanging Techniques
First, make sure your door frame is square. Use a 2-3mm shim to fix slight misalignments in the threshold. When hanging the door, keep a 1/16 to 1/8 inch gap between the nut and rod and the board’s edge for a clean look.
For reinforced doors, drill holes at specific points:
- One foot from the top
- One foot from the bottom
- At one-third, half-way, and two-thirds points for extra support
If you’re using a hollow core door, add cross-pieces at these points for more strength. With the right hinge installation and careful alignment, your cabin door will work smoothly for years.
Finishing Touches
The final stage of door framing adds important elements for function and comfort. This step includes weatherproofing, installing door hardware, and making final adjustments. These steps ensure your cabin door works smoothly.
Weatherstripping Installation
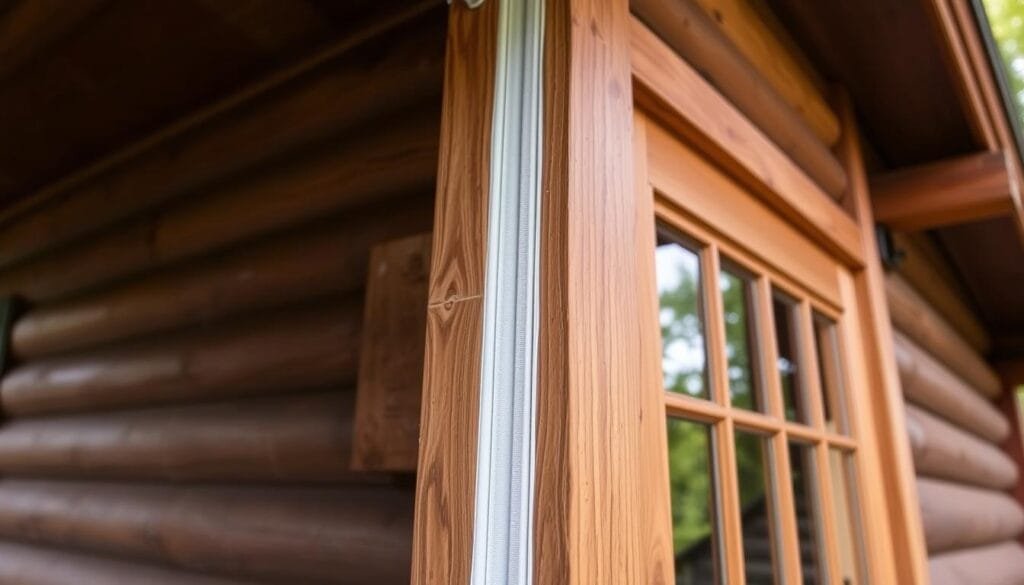
Weatherstripping is essential for keeping your home warm. It goes around the door frame to block drafts and keep the temperature inside. Pick weatherstripping that fits your door’s material and the local climate. For a 36-inch door, you’ll need about 7 feet of it.

Door Hardware Setup
Choose door hardware that matches your cabin’s style. Install the handle, lockset, and hinges. Remember, interior doors are 1 3/8 inches thick, and exterior doors are 1 3/4 inches. Make sure the hardware fits your door’s size.
Final Adjustments
Make final adjustments to get your door just right. This might include:
- Trimming the bottom if needed (aim for a 1/4 inch gap)
- Tightening hinge screws
- Adjusting the strike plate
- Lubricating moving parts
Test the door by opening and closing it several times. Listen for any odd noises and check if it moves smoothly. With these finishing touches, your DIY cabin door will be ready for use.
Troubleshooting Common Issues
Door problems can happen even with careful installation. We’ll cover common issues with your DIY cabin door. This includes alignment problems and draft prevention.
Misalignment Matters
Is your door sticking or not closing right? Most door issues come from improper hanging. Make sure your hinges are tight and the door is square.
If the door binds on the latch side, you might need to adjust the hinges or strike plate. For small fixes, try planing down contact areas. But be careful – only remove 1/16 inch above your cut line.
Dealing with Drafts
Feeling a chill? Draft prevention is important for comfort and saving energy. Check the gap between your door and frame. If it’s over 1/8 inch, you might need more weatherstripping.
For gaps near the bottom, consider a door sweep. Solid wood doors are better at blocking sound than hollow-core ones.
Quieting Noises
Squeaks and rattles getting on your nerves? You’re not alone – nearly 40% of homeowners face noisy doors. Start by lubricating the hinges.
If that doesn’t work, the problem might be with your latch plate. About 20% of older homes have misaligned latch plates causing rattles. A quick adjustment can fix this and make your cabin door quiet again.


