Welcome to your complete guide on protecting your special retreat. A well-maintained roof is your first line of defense against the weather. It keeps your investment safe and your space comfortable for many years.
This process is about more than just applying a product. It’s a smart system that understands how water behaves. You build layers of protection to shield your structure from rain, snow, and sun.
Whether your log cabin is new or you’re caring for an older one, this task is essential. Doing it right prevents expensive repairs and adds life to your entire building. This guide will show you how.
We cover everything from picking the best materials to using techniques that really work. You’ll learn about both old-school and modern methods. This helps you pick the best plan for your specific cabin, local climate, and budget.
For a full picture of defending your structure, our guide on weatherproofing your log cabin is a great next step. Let’s get started and give your home the care it deserves.
Understanding the Importance of a Waterproofed Cabin Roof
The protective covering above your timber structure serves as its primary defense system. It shields your entire building from nature’s forces like rain, snow, and harsh winds. This barrier prevents moisture from reaching the wooden components below.
When water infiltrates a wooden building, it creates serious problems. Timber rot and mold growth can compromise the entire structure’s strength. These issues often start small but spread quickly through the wood fibers.
Your investment in proper sealing pays off significantly over time. It prevents expensive repairs and extends your building’s life by decades. The initial cost is far less than fixing major damage later.
Wooden structures face unique challenges compared to conventional homes. Timber naturally interacts with moisture in the environment. This makes comprehensive sealing even more critical for long-term preservation.
| Potential Issue | With Proper Overhead Protection | Without Adequate Sealing |
|---|---|---|
| Moisture Infiltration | Complete moisture barrier maintained | Water penetrates and damages wood |
| Structural Integrity | Timber remains strong and stable | Rot weakens structural components |
| Indoor Environment | Dry, comfortable interior space | Mold growth and musty odors |
| Long-Term Costs | Minimal maintenance expenses | Expensive repairs and replacements |
| Building Lifespan | Extended durability for decades | Premature deterioration occurs |
Taking proactive measures protects not just the building itself but everything inside. Your belongings and memories stay safe from water damage. Proper overhead sealing maintains the rustic charm that makes these structures so special.
Key Materials and Tools for Roof Waterproofing
Gathering the right supplies is your first practical step toward a long-lasting protective barrier. The quality of your materials directly impacts the durability of the entire system. Choosing wisely now prevents headaches later.
Selecting Quality Sealants and Membranes
Your main defense layers are the membrane and sealant. Membranes like EPDM rubber, TPO, and PVC offer different strengths. EPDM is famous for its excellent performance and longevity.
For sealants, you have options. Acrylic is affordable and user-friendly. Silicone creates a superior, flexible barrier that fights UV damage. Look for strong warranties from trusted makers like Permachink.

This indicates great confidence in the product’s long-term performance.
Essential Tools and Supplies for the Job
Having the correct equipment makes the work safer and more effective. You will need utility knives, rollers, and brushes for application. Don’t forget adhesive primers and cleaning supplies for surface prep.
Safety gear is non-negotiable. Always use gloves, goggles, and non-slip footwear when working up high. Protecting yourself is just as important as protecting your structure.
| Material Type | Key Feature | Best For | Expected Lifespan |
|---|---|---|---|
| EPDM Membrane | Superior flexibility & weather resistance | All climates, flat or low-slope surfaces | 20+ years |
| TPO Membrane | Heat-reflective, energy-efficient | Sunny, hot regions | 15-20 years |
| Acrylic Sealant | Budget-friendly, easy DIY application | Mild climates, short-term projects | 5-10 years |
| Silicone Coating | Seamless, UV-resistant barrier | Harsh sun or extreme temperature swings | 10-20 years |
Think about your local weather and the specific type of structure you have. The right choice for a dry area might not work well in a rainy one. Investing in quality from the start pays off for decades.
Preparing Your Cabin Roof for a Waterproofing Project
Before a single drop of sealant is applied, your timber surface demands careful attention. This stage is not just a suggestion; it is the most critical part of the entire job. Rushing through it is the top reason protective systems fail early.
A perfect bond requires a perfectly clean and sound surface. Any dirt, glaze, or existing damage will prevent materials from adhering correctly. Taking your time here adds years to the system’s life.
Inspection and Cleaning: Setting the Stage
Begin with a thorough inspection of the entire structure. Look closely for damaged shingles, cracks, gaps, or signs of existing leaks. These are potential entry points for moisture that must be addressed.
New log timber often has a mill glaze and construction dirt. This layer stops sealants from bonding. Corncob blasting gently restores the wood’s original texture without harm.
Any crack or hole larger than 5mm needs filling. Use a high-quality elastomeric caulking to seal these gaps firmly. This step stops water from getting behind your primary barrier.
For cleaning, mix oxygen bleach powder with water. Apply the solution from the bottom up. Always rinse from the top down to prevent streaking.
Make sure to test your cleaner on a small, hidden area first. This confirms it won’t discolor or damage your specific timber. Never use a pressure washer or harsh chemicals, as they force water deep into the wood, causing more harm.
| Cleaning Method | Primary Use | Key Advantage | Important Consideration |
|---|---|---|---|
| Corncob Blasting | Removing mill glaze & deep dirt | Non-destructive to wood fibers | May require professional equipment |
| Oxygen Bleach Solution | General cleaning & brightening | Eco-friendly and effective | Always requires a patch test first |
| Soft Brush & Water | Light dust and debris | Simple and low-risk | Ineffective on stubborn stains |
DIY Techniques for Waterproofing a Cabin Roof
Many property owners find great satisfaction in handling their own protective installations. With proper planning, you can achieve results that rival professional work. This approach saves money and gives you intimate knowledge of your building’s defense system.

Step-by-Step Sealant Application
Begin your diy project by selecting the right sealant for your climate and material type. Apply it systematically using a quality brush or roller. Ensure even coverage across all surfaces.
Pay special attention to edges, seams, and penetrations. These vulnerable spots need extra protection. Allow the application to dry completely before weather exposure.
Timing matters significantly. Ideally, complete this work within the first week after construction. Waiting allows timber movement that can create new gaps.
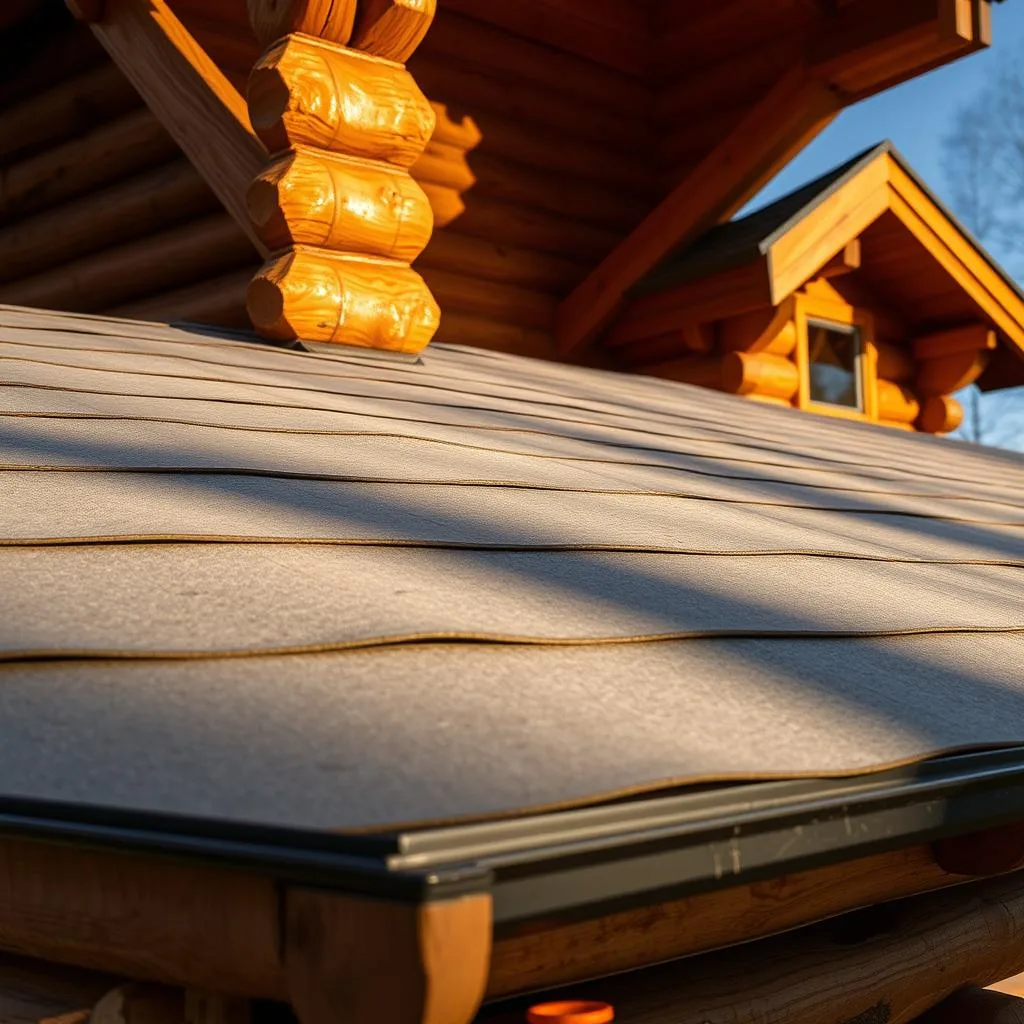
Installing Waterproof Roof Membranes
Membrane installation requires careful measurement and cutting. Ensure proper alignment before beginning adhesive work. This prevents wrinkles and bubbles.
Apply adhesive evenly across the surface using a roller. Carefully unroll the material onto the adhesive. Work slowly to avoid compromising the protective layer.
After placement, use a weighted roller to ensure complete bonding. This step is crucial for long-term adhesion. Patience during drying prevents premature failure.
Addressing Common Waterproofing Challenges
Tackling protective barriers for your woodland retreat means facing some real-world obstacles head-on. Each environment brings its own set of hurdles that demand smart solutions.
Your local weather patterns play a huge role in determining the right approach. What succeeds in arid Arizona might completely fail in muggy Louisiana.
Overcoming Moisture and Climate Impacts
Managing water vapor is perhaps the toughest challenge you’ll face. Wood naturally breathes, absorbing and releasing moisture constantly.
This creates a dynamic situation where your protective system must flex and adapt. The ideal timber moisture level sits around 14-15%.
When levels climb above 18%, mildew and mold become real threats. Anything exceeding 20% risks serious structural damage like blistering and rot.
Hot, humid regions present particular difficulties. They create constant pressure on your building’s defenses. This demands materials with superior moisture resistance.
Always test your logs with a moisture meter before starting any project. This gives you a baseline reading if your structure has been standing untreated.
Budget limitations often lead to compromises, but cutting corners here is false economy. Proper investment now prevents costly repairs from water damage later.
Consider your building’s size and design during planning. Larger surfaces with complex angles create more potential weak spots than simple designs.
The best strategy combines multiple approaches: careful material selection, thorough application, good ventilation, and regular check-ups. This proactive combination catches small issues before they become big problems.
Enhancing Roof Protection with Overhangs and Ventilation
Going beyond surface treatments, architectural features provide lasting defense against moisture issues. These elements work together to create a comprehensive system that protects your structure from multiple angles.

Proper design choices can significantly extend your building’s lifespan. They reduce maintenance needs and prevent common problems before they start.
Optimizing Roof Overhangs and Gutter Systems
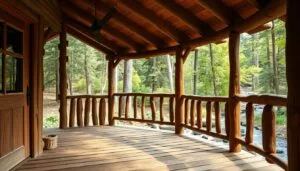
Generous overhangs serve as your first line of defense against weather elements. They keep precipitation away from your timber walls, minimizing direct contact with moisture.
A minimum 36-inch extension on gable ends makes a dramatic difference. This distance ensures that falling rain lands well away from your structure’s vulnerable areas.
Overhangs also provide valuable shade during hot months. They protect logs from UV damage and reduce heat absorption, maintaining stable timber conditions.
Gutters are essential companions to proper overhangs. They channel water efficiently away from your foundation, preventing splash-back that can saturate lower logs.
Ventilation completes this protective triangle by managing internal air movement. Cross-ventilation with opposing vents creates natural airflow that dries logs continuously.
Position one vent near the floor and another near the ceiling. This setup equalizes pressure and reduces moisture buildup that can cause internal damage.
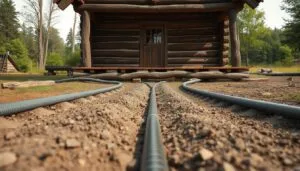
Integrating Foundation and Structural Waterproofing
The connection between your structure and its base is a critical zone that demands careful moisture management. Many builders focus solely on overhead protection while neglecting this vital interface.
Foundation issues can undermine even the best roof systems. When groundwater rises or drainage fails, your base logs absorb moisture from below. This creates rot that works upward through your timber walls.

Installing Membranes Under the Foundation
Proper membrane installation creates an essential barrier between concrete and wood. This protective layer stops water transmission at its source. The method you choose depends on your budget and climate needs.
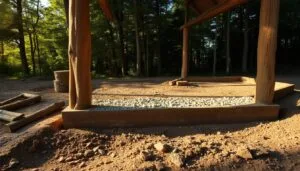
Rigid insulation serves as an excellent dual-purpose solution. It provides both thermal protection and moisture resistance. This approach is particularly effective in colder regions.
For economical options, heavy-duty plastic sheeting works well. Ensure complete coverage without gaps or tears. Pay special attention to the perimeter where walls meet the foundation.
Each installation requires careful preparation of the concrete surface. Clean, dry conditions ensure optimal adhesion. This preventative measure protects your investment for years to come.
Long-Term Maintenance and Inspection Strategies
A well-cared-for log home is a gift that keeps on giving, but it thrives on consistent, attentive upkeep. This proactive approach is what turns a thirty-year structure into a cherished family heirloom lasting over a century. Your diligent care minimizes damage from sun, water, and pests.

Think of your maintenance as an ongoing relationship with your retreat, not a one-time task. This mindset helps you spot minor issues before they become major, expensive repairs.
Seasonal Care and Timely Touch-Ups
Each season, make time to gently clean your logs. Remove pollen, dust, and insect debris that can trap moisture. This simple habit is a very good start to preserving the wood.
Annual staining is essential. While it may seem laborious, this routine dramatically reduces long-term costs. A few tins of stain each year is far cheaper than major restoration bills down the road.
During your inspections, check for caulking that has separated. Cut out any damaged sections with a knife. Let the timber dry completely before applying a fresh bead.
Test your protective coatings with a simple wet sponge. If water beads and runs off quickly, your preservative is working. If the wood absorbs water, it’s time for a renewal.
Monitoring Moisture Levels and Air Ventilation
Good ventilation is crucial for a healthy log cabin. It helps manage internal moisture, preventing mold and rot. Ensure air can flow freely around the structure.
Use a moisture meter to check your logs periodically, especially after heavy rain. This helps you catch problems early. Keeping detailed records of your maintenance schedule helps you spot patterns over the years.
This consistent care ensures your special place remains strong and beautiful for many years to come.
Choosing the Best Roof Coverings for Cabin Longevity
Selecting the right material for your overhead protection system is one of the most impactful decisions you’ll make. Different roofs offer varying levels of durability, maintenance needs, and overall longevity for your timber structure.

The type of covering you choose affects everything from initial cost to long-term performance. It’s essential to balance practical needs with aesthetic preferences for the best results.
EPDM Rubber vs. Asphalt Shingles
EPDM rubber has become a top choice for many timber structure owners. This material offers exceptional strength across all climate types, from extreme heat to heavy snowfall.
These rubber systems provide superior water resistance and UV protection. The pre-cut panels make installation easier than traditional shingle roofs, though the upfront cost is typically higher.
Asphalt shingles remain a popular option for their budget-friendly price point. They stand up well against harsh weather conditions including high winds and temperature extremes.
When comparing asphalt shingles, consider that standard asphalt versions cost less initially. Fiberglass-based shingles require higher investment but often deliver better long-term performance.
Aesthetic and Practical Considerations
Your local climate should heavily influence your material choice. What works excellently in dry regions may fail prematurely in areas with heavy rainfall.
Felt coverings provide a cost-efficient option particularly suited to wet environments. They offer decent UV protection while keeping construction costs manageable.
Remember that the right choice affects not just initial expenses but also maintenance frequency. Prioritizingdurability ensures your beautiful retreat remains protected for decades rather than needing replacement in just a few years.
Eco-Friendly and Energy Efficient Roof Waterproofing
Today’s protective solutions for your retreat offer powerful performance without sacrificing environmental responsibility. You can achieve excellent defense against the elements while making a positive choice for the planet.

These modern approaches often lead to significant energy savings. They enhance comfort inside your structure year-round.
Using Reflective Coatings to Reduce Heat Absorption
Silicone-based coatings are a top solution for managing summer heat. Their highly reflective surface bounces sunlight away.
This dramatically lowers the temperature of the surface. It reduces the need for air conditioning, cutting your energy costs.
The same materials that keep you cool in summer also provide insulation in winter. This dual benefit makes them a smart option.
Green Materials and Sustainable Solutions
Look for products with environmental certifications. Water-based sealants have lower VOC emissions than solvent-based ones.
These green materials offer comparable resistance and durability. They are safer for your family and the local ecosystem.
Investing in energy-efficient protection is a wise long-term decision. The initial cost is often offset by years of accumulated savings.
| Coating Type | Heat Reflectivity | VOC Content | Durability |
|---|---|---|---|
| Silicone | Excellent | Low | 15-20 years |
| Acrylic (Water-based) | Good | Very Low | 7-10 years |
| TPO Membrane | Very Good | Low | 15-20 years |
Final Thoughts on Protecting Your Cabin from Moisture Damage
Your timber retreat represents more than just a building—it’s a legacy that deserves thoughtful preservation. This log home holds memories and investments worth safeguarding for generations. Proper protection ensures your special place remains a source of joy.
The rustic beauty of natural wood comes with vulnerability to water damage. Consistent care prevents serious damage like rot and decay. Make sure to treat your timber regularly, as prevention costs far less than repairs.
Following this guide’s strategies gives your cabin the best chance for a long lifespan. Your efforts today protect tomorrow’s memories in your cherished home. Well-maintained log cabins become family treasures that stand the test of time.