How bad does a hardwood floor have to look before you actually do something about it? If you’re staring at scratches, dull patches, or boards that have gone gray, you’re already past the “just cosmetic” stage. Knowing when and how to restain hardwood floors is the difference between a weekend project and a full floor replacement. Most floors that look rough can be brought back.
Cabin floors take a beating that most suburban hardwood never sees. Humidity swings, muddy boots, years without a topcoat refresh — it adds up fast. This guide covers the whole process. From reading your floor’s condition all the way to laying down the final polyurethane coat.
Worn Floors Aren’t Just Ugly — Here’s What’s Actually at Stake
Faded color is the thing people notice first, but it’s rarely the real problem. The color is just telling you the protective layer is gone. Once that’s gone, the wood itself starts absorbing moisture, dirt, and damage with nothing in between.
The Cosmetic Case Is the Easy Part
Scratches and dullness are easy to justify fixing. A floor that looks rough drags down everything around it — furniture, walls, even how clean a room feels. But the cosmetic argument alone undersells why refinishing matters. A worn finish means the wood grain is exposed, and exposed wood in a lived-in space starts to gray, swell, and crack faster than most people expect.
Hardwood species like Quercus rubra (red oak) and hickory are tough, but even they lose the battle when the finish disappears and moisture gets in. Once the wood fibers swell and compress through enough seasonal cycles, you’re looking at structural softness. Not just surface wear.
Why Cabin and Portable Home Floors Need More Than a Color Refresh
In a standard suburban house, the humidity indoors stays pretty stable year-round. A cabin or portable home doesn’t have that luxury. Walls flex, vapor barriers age, and heating and cooling are often less consistent. That means the floor sees wider swings in relative humidity — sometimes 20 to 30 percentage points between summer and winter — and unprotected wood responds by moving.
The protective topcoat is doing the real work, not the stain color underneath it. Stain is pigment. The polyurethane layer (or oil-based equivalent) is what seals the wood against moisture infiltration, foot traffic abrasion, and the kind of daily grit that acts like sandpaper over time. In a cabin setting, skipping a refinish isn’t just an aesthetic call. It’s letting the floor degrade from the inside out.
A floor that’s gone soft in spots or shows gray streaking near exterior walls isn’t just worn. It’s telling you moisture has already been working on it for a while.
How to Tell If Your Floors Need Refinishing or Full Replacement
Run your hand across the floor in a high-traffic area. If it feels rough, catches your fingernail on scratches, or has patches that feel softer than the surrounding boards, the floor is past due for attention. The question is whether refinishing will fix it or whether the damage is too deep.
Reading the Wood: Scratches, Gray Spots, and Soft Patches
Surface scratches that haven’t broken through the finish are the easiest situation. A light sand and recoat handles those. Scratches that go into the wood itself need a full sand-down to bare wood before any stain goes on. That’s a bigger job, but still doable.
Gray or black discoloration is the warning sign most people miss. That color comes from tannin in the wood reacting with iron (from nails, tools, or water with mineral content) or from mold beginning to grow in the grain. Light gray can sand out. Dark black staining that goes more than a millimeter deep often can’t, and trying to stain over it just locks the discoloration in.
Soft patches — spots where the wood compresses slightly underfoot — mean moisture damage has already weakened the wood fibers. If the softness is isolated to one or two boards, replace those boards and refinish the rest. If it’s spread across a large area, replacement starts making more sense than refinishing.
The Veneer Test: Why Engineered Hardwood Has a Limit
Solid hardwood can typically be sanded and refinished anywhere from 3 to 5 times over its life, depending on thickness. Engineered hardwood is a different story. It has a real wood veneer on top (usually between 1 and 6 millimeters thick) bonded to plywood layers underneath. Sand through that veneer and you’re into the plywood, which won’t hold stain evenly and looks terrible.
Before you sand engineered hardwood, measure the veneer thickness. A cheap dial caliper (under $15 at most hardware stores) at a floor vent or doorway transition gives you a reading. If the veneer is under 2mm, don’t sand it. A recoat without sanding is the safer move, and even then, adhesion can be tricky on a worn surface.
How to Restain Hardwood Floors: The Step-by-Step Process
The process isn’t complicated, but the sequence matters more than most people realize. Skipping steps or reordering them is where projects go wrong. Blotchy stain, peeling finish, a floor that looks worse than before. Here’s the order that works.
Clear and clean the room completely. Furniture out, baseboards protected with painter’s tape, and the floor vacuumed and mopped with a hardwood-safe cleaner.
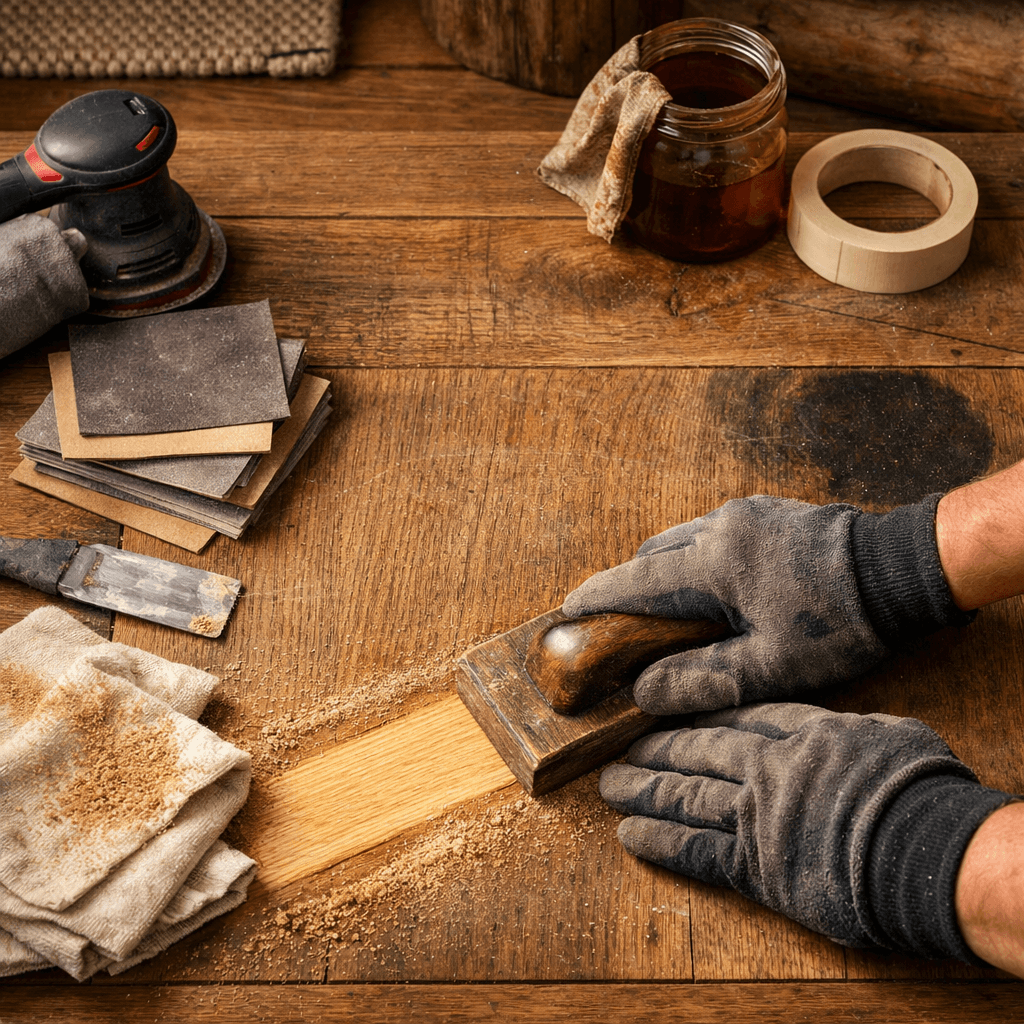
Sand the floor to bare wood using a drum sander for the field and an edge sander for the perimeter, starting with 36-grit and finishing with 80-grit.
Vacuum and tack-cloth the entire surface (twice) to pull every particle of dust before stain touches the wood.
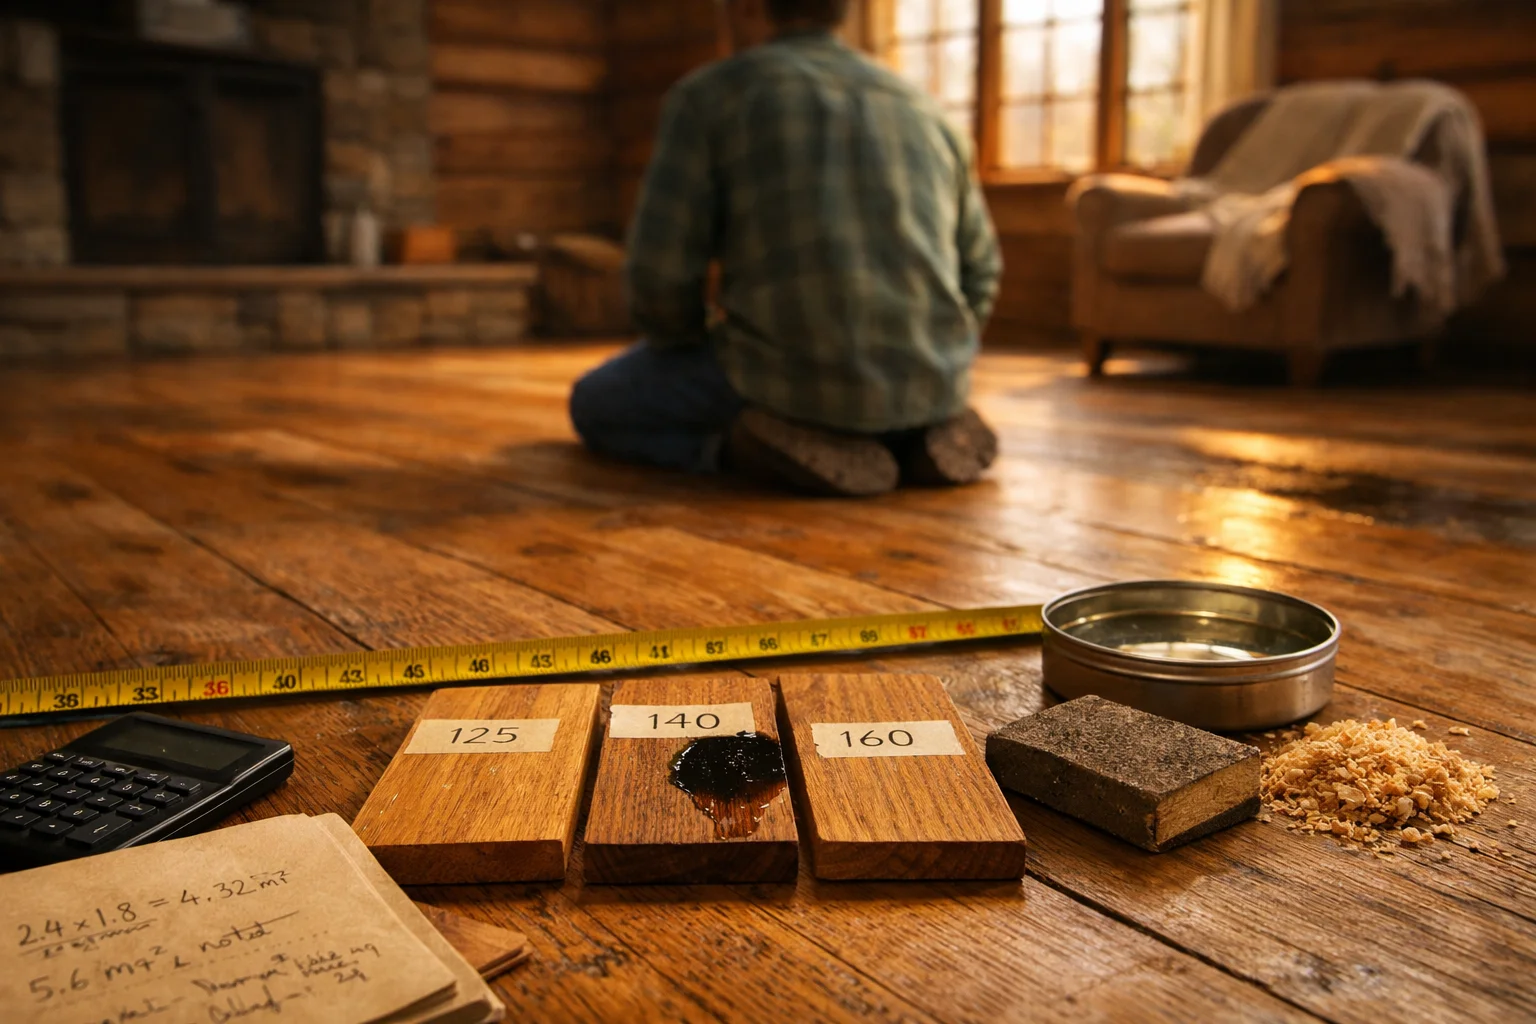
Test your stain color on a hidden area (inside a closet or under where an appliance sits) and let it dry fully before committing.
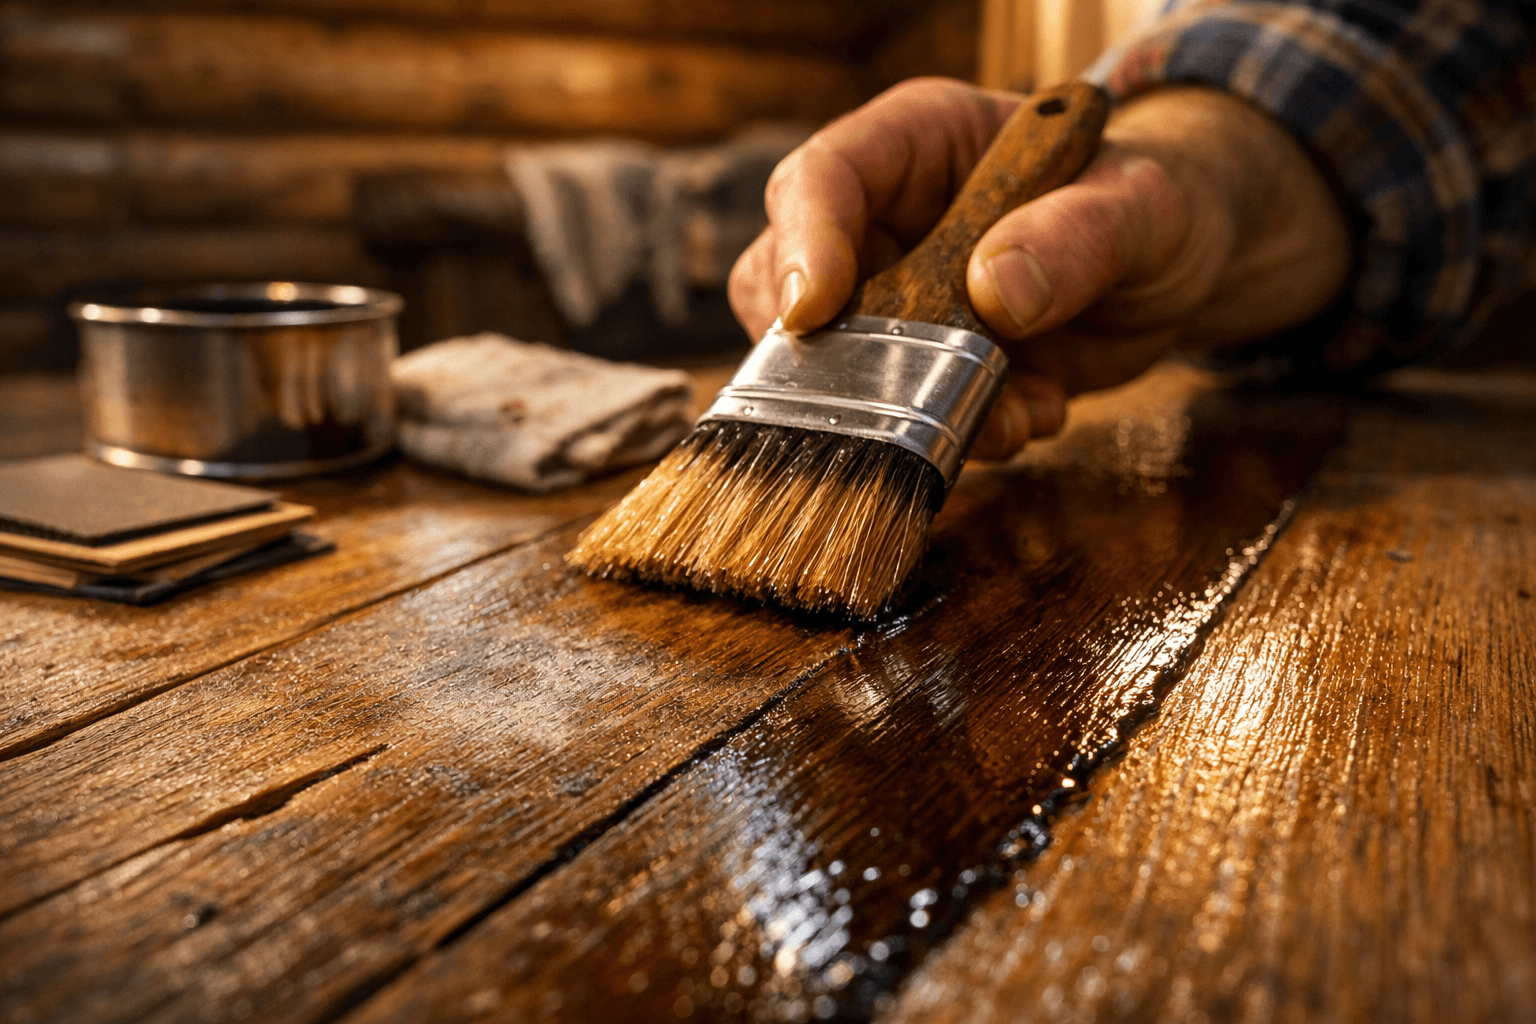
Apply the stain in thin, even coats with the grain, wiping excess within 3 to 5 minutes to avoid blotching.
Let the stain cure for the manufacturer’s recommended time, typically 24 hours minimum, before applying any topcoat.
Apply two to three coats of polyurethane, sanding lightly with 220-grit between coats, and allow 72 hours before returning furniture to the room.
Sanding and Surface Prep (Don’t Rush This Part)
Sanding is where most DIY refinishing jobs either succeed or fail. An uneven sand means uneven stain absorption, and once stain is down, there’s no fixing blotchy spots without stripping everything and starting over. Rent a drum sander from a tool rental shop (expect to pay around $65 to $85 per day) and keep it moving at all times. Stopping with the drum spinning gouges the floor instantly.
Work with the grain, not across it. Start with a coarser grit (36 or 40) to remove the old finish, then step up to 60 and finish with 80. The edge sander handles the last 6 to 8 inches along walls where the drum can’t reach. Don’t skip the hand scraper for corners. It’s the only way to get into tight spots cleanly.
Choosing and Testing Your Stain Color
Pick a stain color based on the species you’re working with. Red oak pulls warm and orange-toned, so a gray or cool-toned stain can look muddy on it without a pre-conditioner. White oak takes cooler tones much better. Minwax and Varathane are the two brands most readily available at hardware chains, and both offer sample sizes for testing.
Always test on a hidden area first. Let the test patch dry for a full 24 hours. Stain looks different wet than dry, and the difference can be dramatic. Apply the topcoat over your test patch too, since polyurethane shifts the color slightly.
Applying the Polyurethane Topcoat
Oil-based polyurethane gives a harder, more durable finish and is worth the longer dry time in a cabin setting where the floor takes real wear. Water-based polyurethane dries faster (2 to 4 hours between coats) and has less odor, but it’s softer and may need more frequent recoating in high-traffic areas.
Apply thin coats with a quality applicator pad. Foam applicators leave fewer bubbles than brushes on large surfaces. Sand lightly between coats with 220-grit to knock down any dust nibs. The finish needs 72 hours before furniture goes back, and it won’t reach full hardness for about 30 days. Walking on it too soon is how you get permanent scuffs in a brand-new finish.
Refinishing vs. Replacing: What It Actually Costs
Refinishing costs a fraction of full replacement. Expect roughly $1 to $3 per square foot for a DIY refinish versus $8 to $15 per square foot for new hardwood installed by a contractor. On a 400-square-foot cabin floor, that gap is significant.
Breaking Down the Numbers
Option
Estimated Cost (400 sq ft)
Timeframe
DIY refinish (materials + rental)
$150 – $350
3–4 days
Pro refinish
$400 – $1,200
1–2 days
Engineered hardwood replacement
$2,000 – $4,000
3–5 days
Solid hardwood replacement
$3,200 – $6,000
4–7 days
Tool rental runs about $65 to $85 per day for a drum sander. Stain and polyurethane together typically land between $80 and $130 for a mid-size room.
How Many Times Can You Refinish Before Replacement Wins
Solid hardwood floors generally support 3 to 5 refinishing cycles before the board thickness gets too thin to sand safely. Each full sand removes roughly 1/16 of an inch of wood. At that rate, a 3/4-inch solid board has a long life ahead. Engineered hardwood with a veneer under 2mm may only tolerate one refinish, or none. Once you’ve hit the limit, replacement is the only option that holds up.
Tools, Safety, and Ventilation You Need Before You Start
Get the tools and safety setup sorted before you open a single can of stain. Rushing this part is how people end up with headaches, damaged finishes, or floors they have to redo.
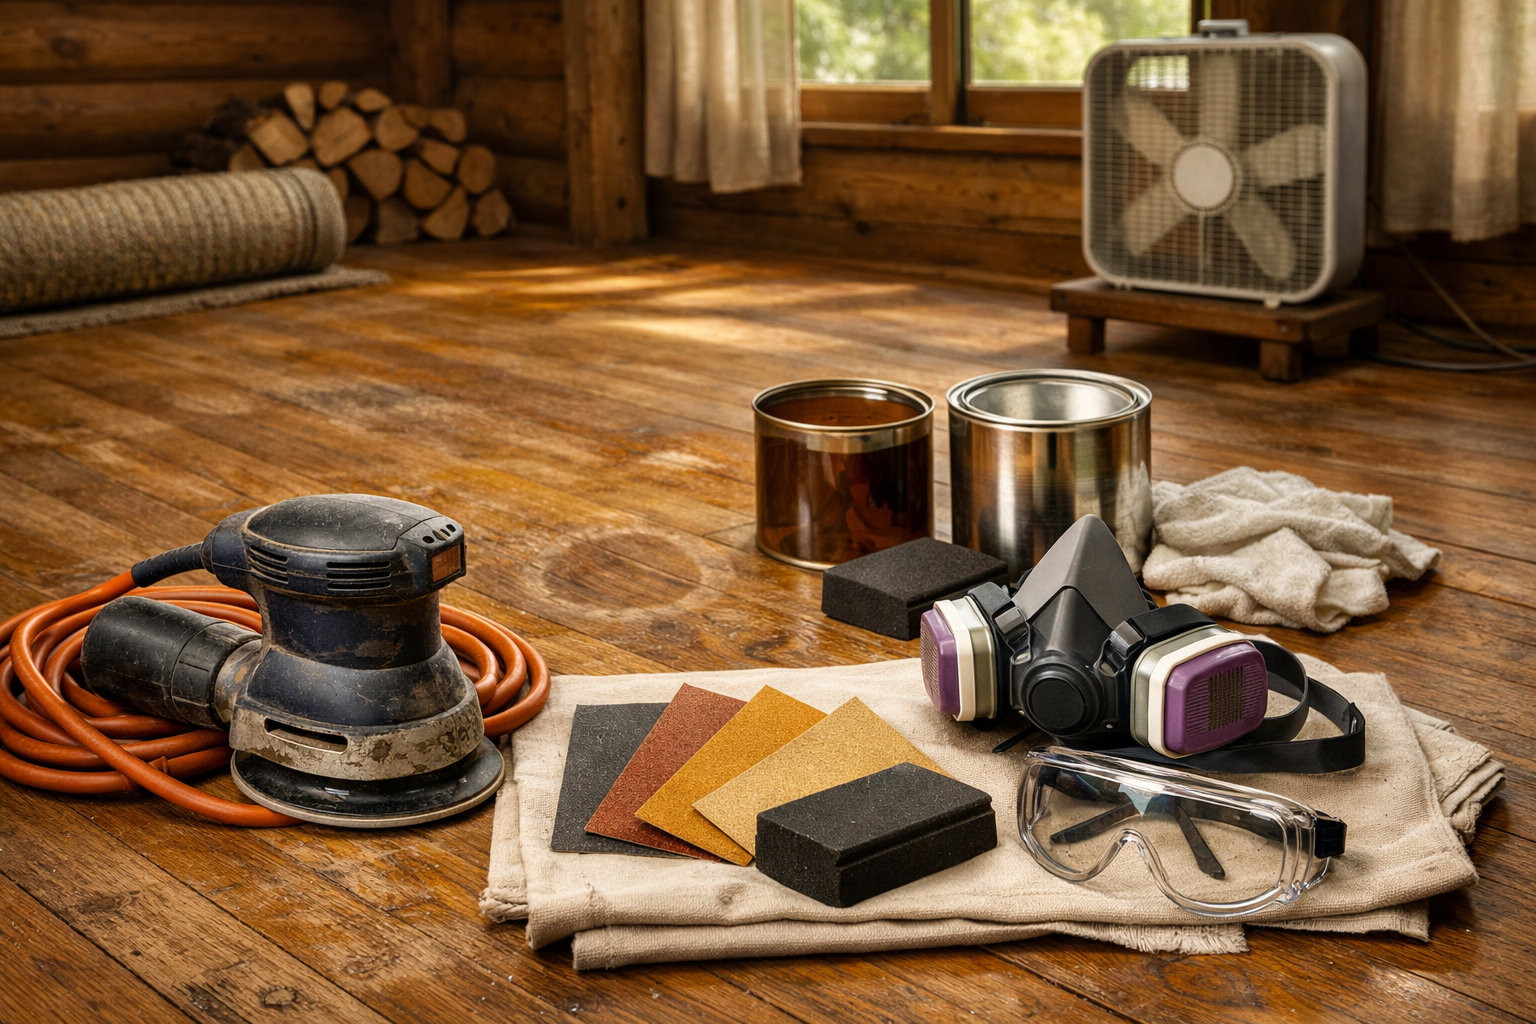
The short equipment list: a drum sander (rental), an edge sander (also rental), a hand scraper, a shop vacuum, tack cloths, a quality applicator pad, and 36-, 80-, and 220-grit sandpaper. A dial caliper is worth having if you’re working with engineered hardwood.
Ventilation is non-negotiable with oil-based products. Open every window and run a box fan exhausting air out of the room — not blowing in. Oil-based polyurethane fumes build up fast in enclosed cabin spaces, and the vapors are flammable during application and drying. Turn off any pilot lights or gas appliances in the area.
Wear a respirator rated for organic vapors (not just a dust mask) when applying stain or polyurethane. Safety glasses go on during sanding — fine wood dust at drum-sander speeds gets into eyes before you notice it’s in the air. Keep the room sealed from the rest of the cabin during drying to prevent dust from settling into a wet finish.
DIY or Hire a Pro: An Honest Look at Both Options
DIY saves real money but costs you time and margin for error. A first-time refinisher on a 400-square-foot floor should budget a full long weekend (Friday setup through Sunday finish coat) and accept that the result probably won’t match a professional’s work on the first try.
The drum sander is the biggest risk for beginners. Stop moving for even a second with the drum engaged and you’ll gouge the floor. It happens fast. If the floor has a lot of square footage, complex angles, or tight spaces around built-ins, a pro finisher handles those problem areas without the learning curve.
Hiring a professional makes sense when the floor has parquet or intricate patterns, when the veneer is thin and one bad pass ruins it, or when you genuinely can’t afford to be out of the space for multiple days. Pro rates vary by region, but $1 to $3 per square foot for labor on a standard refinish is a reasonable ballpark for most areas.
DIY makes sense when the floor is straightforward, you’re comfortable with power tools, and you have the time to do it right. The materials are forgiving if you follow the sequence. The equipment is not.
Frequently Asked Questions
How long does it take to restain hardwood floors in a cabin?
Plan for 3 to 4 days minimum. Sanding and prep take the first day, stain application and drying take another, and you need at least two polyurethane coats with drying time between each. The finish needs 72 hours before furniture goes back on it.
Can I apply new stain over old stain without sanding?
No. New stain applied over an existing finish won’t absorb into the wood — it sits on top and peels. You have to sand down to bare wood first. There’s no shortcut here that holds up past a few months.
How do I know if my engineered hardwood can handle refinishing?
Check the veneer thickness. Anything under 2mm is risky — one full sanding pass can go right through it. A dial caliper gives you an exact measurement. If you’re unsure, pull up a floor vent and look at the board edge from the side.
Does restaining hardwood floors add real value in a cabin or portable home?
It does, particularly because cabin floors take more humidity swings than a standard house. A fresh topcoat protects the wood structurally, not just visually. If you’re planning to sell or rent the cabin, worn floors are one of the first things buyers notice — and refinishing costs a fraction of what replacement runs.