A nightstand sounds simple until you’re standing in a half-built cabin with a circular saw, no outlet within 40 feet, and a bedroom that’s maybe 9 feet wide. Nightstand woodworking for a cabin isn’t the same project as building one in a heated garage with a table saw and a dust collector running. You’re dealing with tighter space, fewer power tools, and wood that’s going to move as the seasons swing from bone-dry winter heat to a muggy August. Get those variables right and this is a weekend project. Get them wrong and you’ve got a wobbly box that won’t fit through the door.
How Big Should a Cabin Nightstand Actually Be?
Aim for 16 to 18 inches wide, 14 to 16 inches deep, and 24 to 26 inches tall, which keeps the top roughly level with most mattress heights while staying out of the way in a small room. That’s smaller than most store-bought nightstands, which often run 20+ inches wide and eat space you don’t have in a cabin bedroom.
Why Standard Furniture Dimensions Don’t Work in a Cabin
Big-box nightstands are sized for suburban bedrooms with 10-foot ceilings and walk-in closets. A cabin bedroom might be a loft with a 6-foot knee wall or a 10×10 room that also holds a dresser and a wood stove flue. Shrinking the footprint by even 4 inches on each side can be the difference between walking past it comfortably and stubbing your toe every night.
One Piece, Multiple Jobs
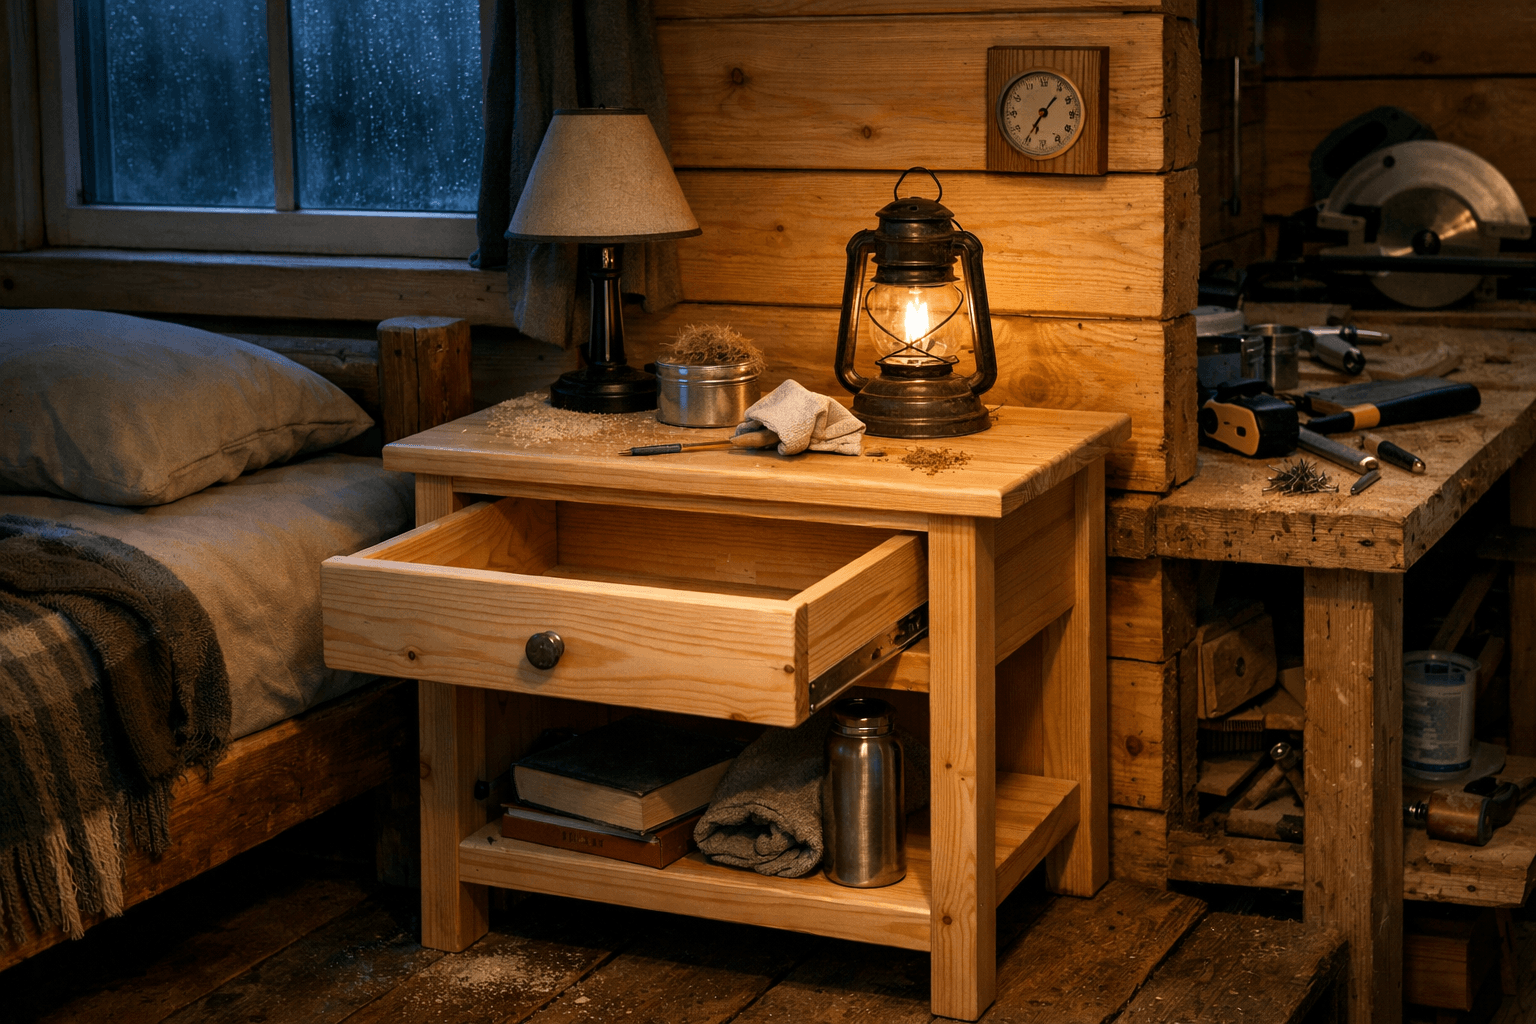
Consider building in a lower open shelf instead of a second drawer. It holds a lantern, a book, or a water bottle without adding depth, and it cuts your material list. If you want double duty, size the top surface to also hold a small reading lamp and a charging setup if you’re running a small inverter or solar panel off-grid.
Picking Wood: Pine, Cedar, or Oak?
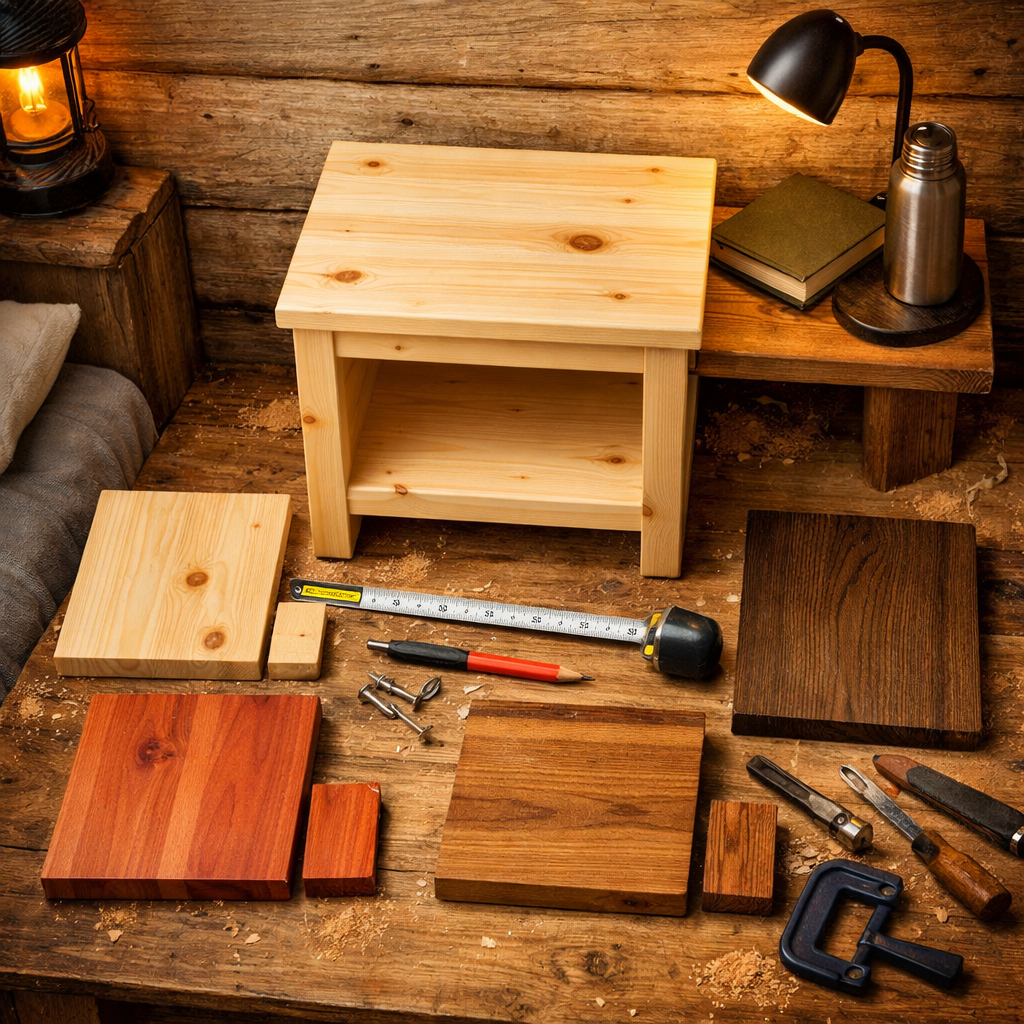
Pine is the right call for most cabin nightstands because it’s cheap, light, and easy to cut with hand tools or a basic circular saw. A 1x8x8 pine board runs somewhere around $12 to $18 depending on your region, and you can build an entire nightstand from two or three boards.
Cedar is worth the upcharge if humidity or bugs are a real concern, since it resists rot and moths naturally, but it’s softer and dings easier than pine. Oak is heavier, harder, and more stable long-term, but it’s pricier — often two to three times the cost per board foot — and tougher to cut without a decent blade.
Matching Wood to Your Cabin’s Climate
If your cabin sits near a lake, in the mountains, or anywhere with big humidity swings between seasons, pine and cedar both handle wood movement better than you’d expect, as long as you don’t glue up wide panels without leaving room to expand and contract. Oak looks nicer but moves more dramatically in width, which matters if your cabin isn’t climate-controlled year-round.
Wood Species
Cost (per 1x8x8 board, approx.)
Workability
Best For
Pine
$12–$18
Easy, beginner-friendly
Budget builds, quick projects
Cedar
$20–$28
Easy, soft grain
Humid or bug-prone cabins
Oak
$35–$45
Harder, needs sharp blades
Long-term durability, heavier use
Joinery That Works Without a Full Shop
You don’t need dovetails for a nightstand. Pocket-hole joinery is the fastest, most forgiving method for cabin builds, and a basic jig like a Kreg K4 or K5 costs around $100 and handles the whole project in an afternoon.
Dado joints are a solid step up if you’ve got a router or a table saw and want drawer bottoms and shelves that sit in a groove instead of relying purely on screws. Box joints look great but eat time and require more precision than most weekend builders want to deal with on a piece of bedroom furniture nobody’s going to inspect that closely.
Here’s a practical build sequence that works whether you’re running a generator or plugged into shore power:
Cut all panels to size using your cut list — top, bottom, two sides, back, shelf or drawer bottom.
Sand each panel before assembly (sanding flat boards is far easier than sanding inside corners later).
Drill pocket holes along the inside edges of the side panels using your jig.
Assemble the frame first: attach sides to the top and bottom panel.
Add the back panel and any fixed shelf, checking for square with a framing square as you go.
Build and fit the drawer or shelf insert last, once the outer box is solid.
Do a final sand pass before finishing.
Skipping the cut list is where most people waste lumber. Measure every board twice against your plan before you cut, especially if you’re working from a single sheet of plywood for the back and shelf.
Drawers, Finish, and Fighting Cabin Humidity
A single drawer is plenty for a cabin nightstand — you don’t need two drawers stacked in a 16-inch-wide box. Use pocket screws for the drawer box and mount it on simple wood runners rather than metal slides if you want to skip hardware costs and avoid rust in a damp cabin.
Sanding and Prep Before Finish
Work through 120, 150, then 220 grit sandpaper before applying any finish. Skipping straight to 220 leaves mill marks and rough spots that show up badly once stain hits the wood, and going past 220 on softwoods like pine can actually close the grain too much for stain to soak in evenly.
Stain vs. Varnish for a Cabin Environment
Stain alone won’t protect against the moisture swings a cabin sees between winter heating and summer humidity. I’d pair a penetrating stain with a polyurethane or spar varnish topcoat, since spar varnish is built to flex with wood movement outdoors and handles humidity better than a hard lacquer indoors. If you want a deeper look at wood treatment options suited to off-grid conditions, cabinlodger.com has more detail on sealants that hold up in unheated or seasonally-used cabins.
Leave a small gap, roughly 1/16 to 1/8 inch, wherever a drawer front meets the frame. Wood swells in humid months, and that little bit of clearance keeps the drawer from binding shut in August after it slid smoothly all winter.
Tools You Actually Need for This Build
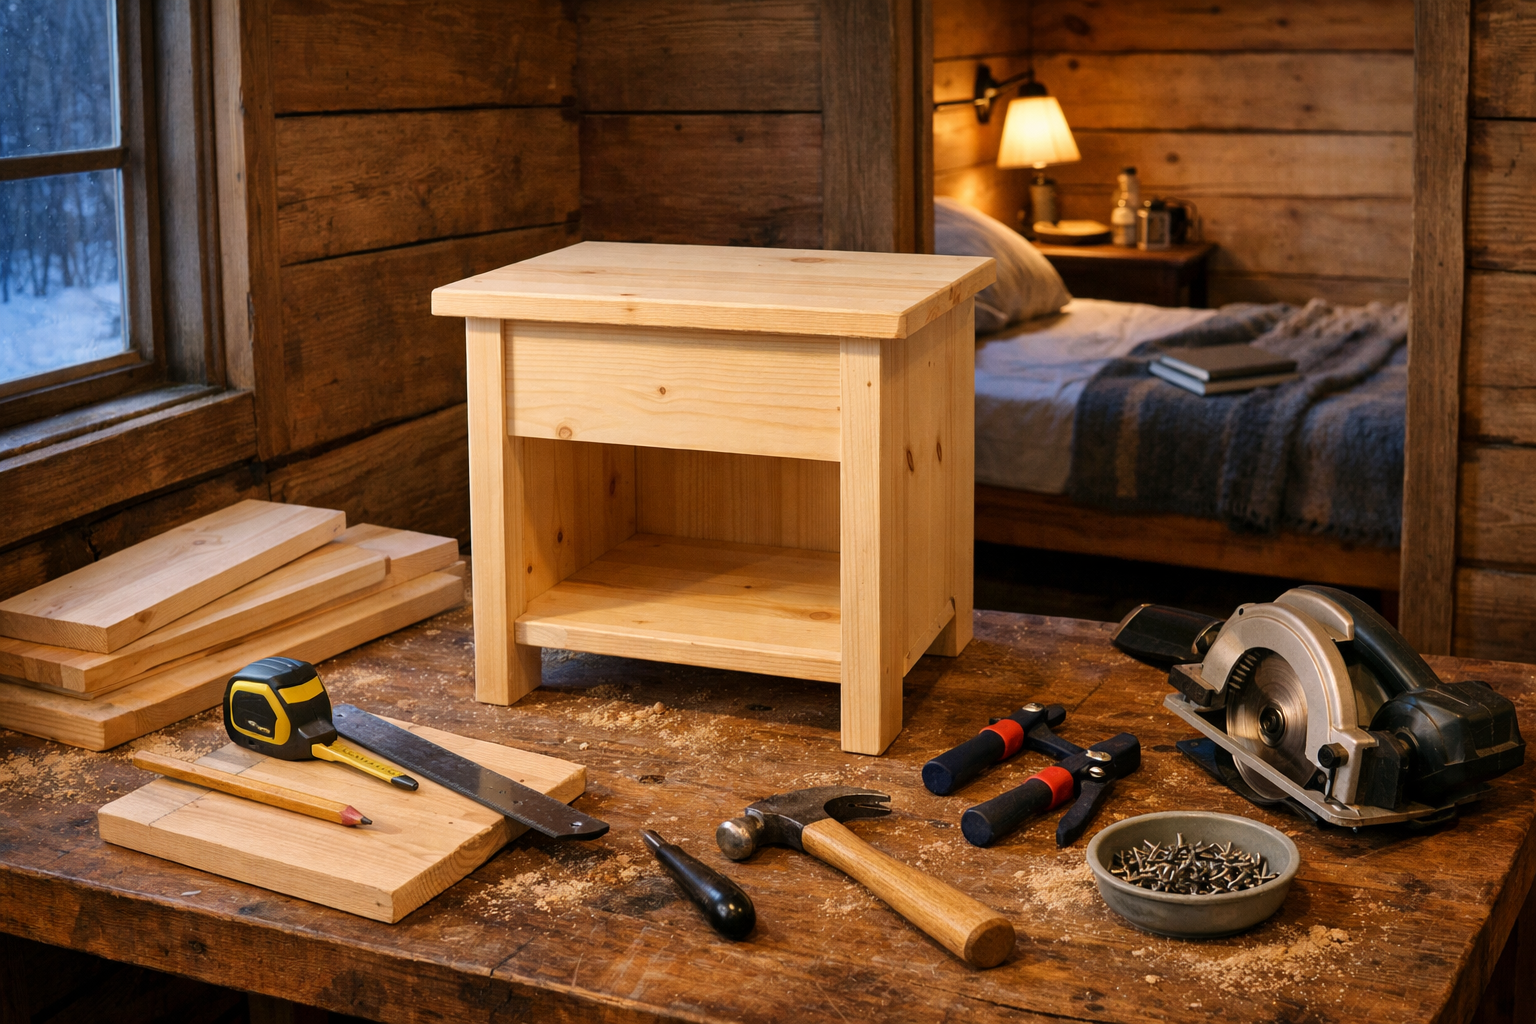
You don’t need a full shop to pull this off. A circular saw or a basic table saw, a pocket-hole jig, a drill/driver, a random orbit sander, and a tape measure cover 90% of the work. A cordless drill matters more than people think if you’re building off-grid without reliable outlet access near your build site.
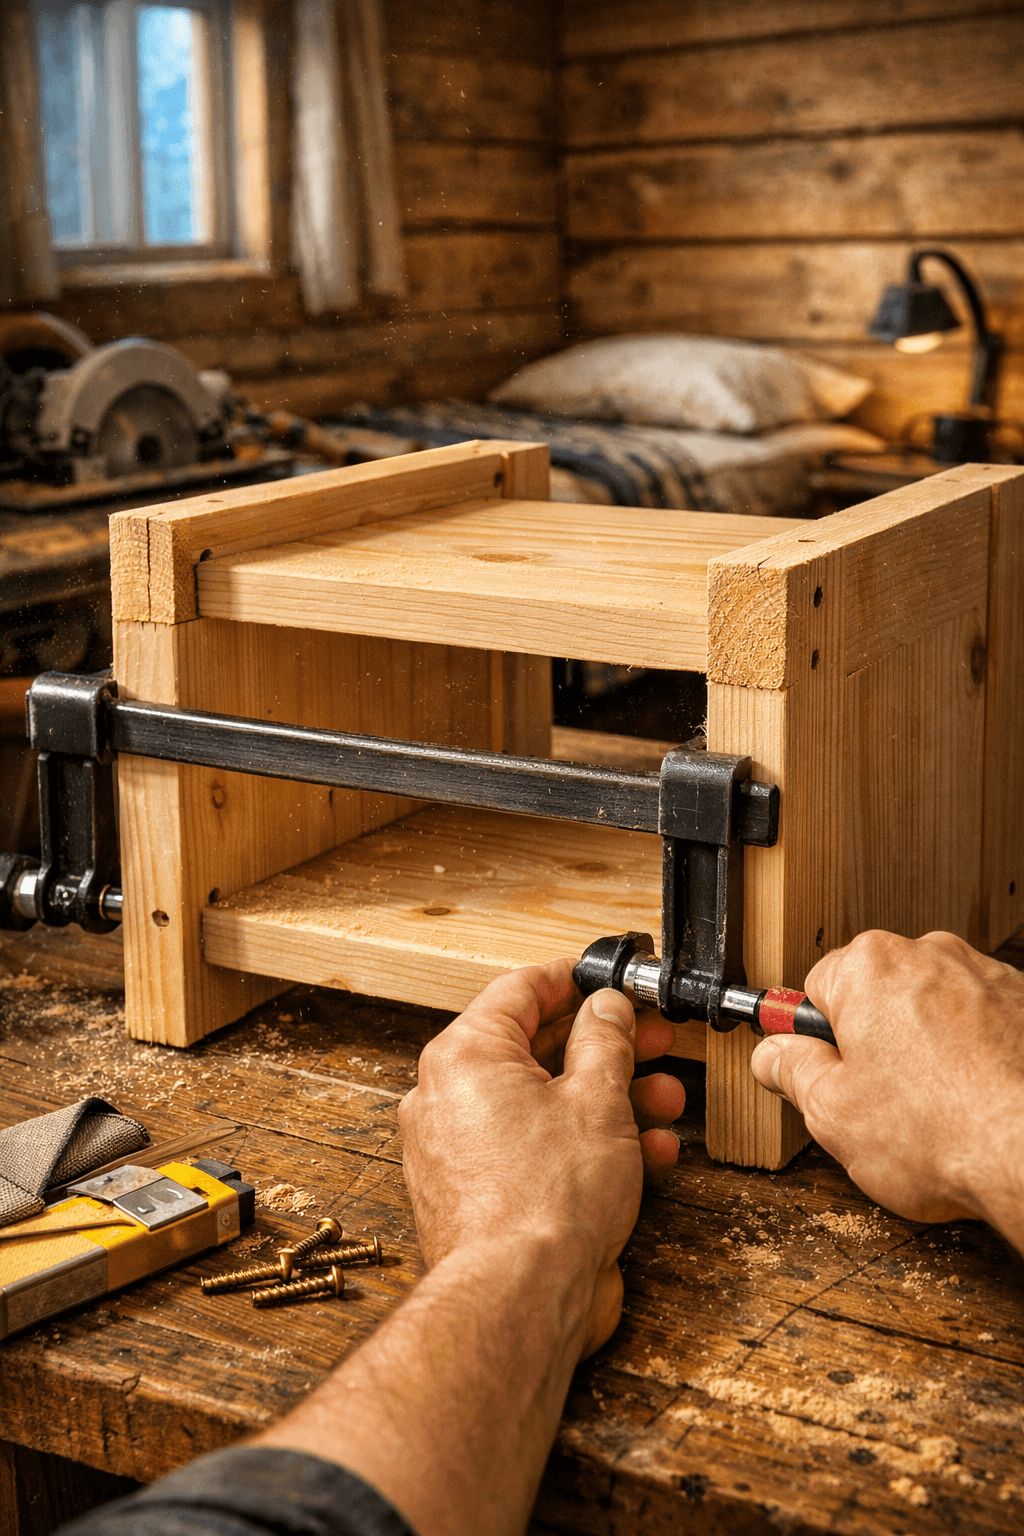
Add a framing square and a couple of clamps and you’re set. Skip the impulse to buy a jointer or planer for one nightstand — rough lumber straight from a home center is usually flat enough for a project this small, and any bow can be worked around during your cut list planning.
Frequently Asked Questions
What’s the best wood for a beginner nightstand build?
Pine is the best choice for a first nightstand because it’s inexpensive, easy to cut, and forgiving of minor mistakes. A full build typically uses two to three 1x8x8 boards, costing under $50 total for materials.
Do I need a table saw to build a cabin nightstand?
No. A circular saw with a straightedge guide can make every cut this project needs, though a table saw speeds things up if you already own one. Pocket-hole joinery doesn’t require the precision a table saw provides for something like box joints.
How do I stop a cabin nightstand from warping over time?
Leave small expansion gaps at drawer joints (1/16 to 1/8 inch) and seal all six sides of every board, including the back and bottom, with the same finish. Unsealed hidden surfaces absorb moisture unevenly and cause warping faster than the visible faces ever will.