Welcome to your complete guide on selecting the perfect window size for your cozy retreat. We will walk you through everything from understanding measurements to making smart design choices.
Compact cabins present unique challenges. You need to balance natural light, beautiful views, energy efficiency, and the charming character that makes a getaway feel like home.
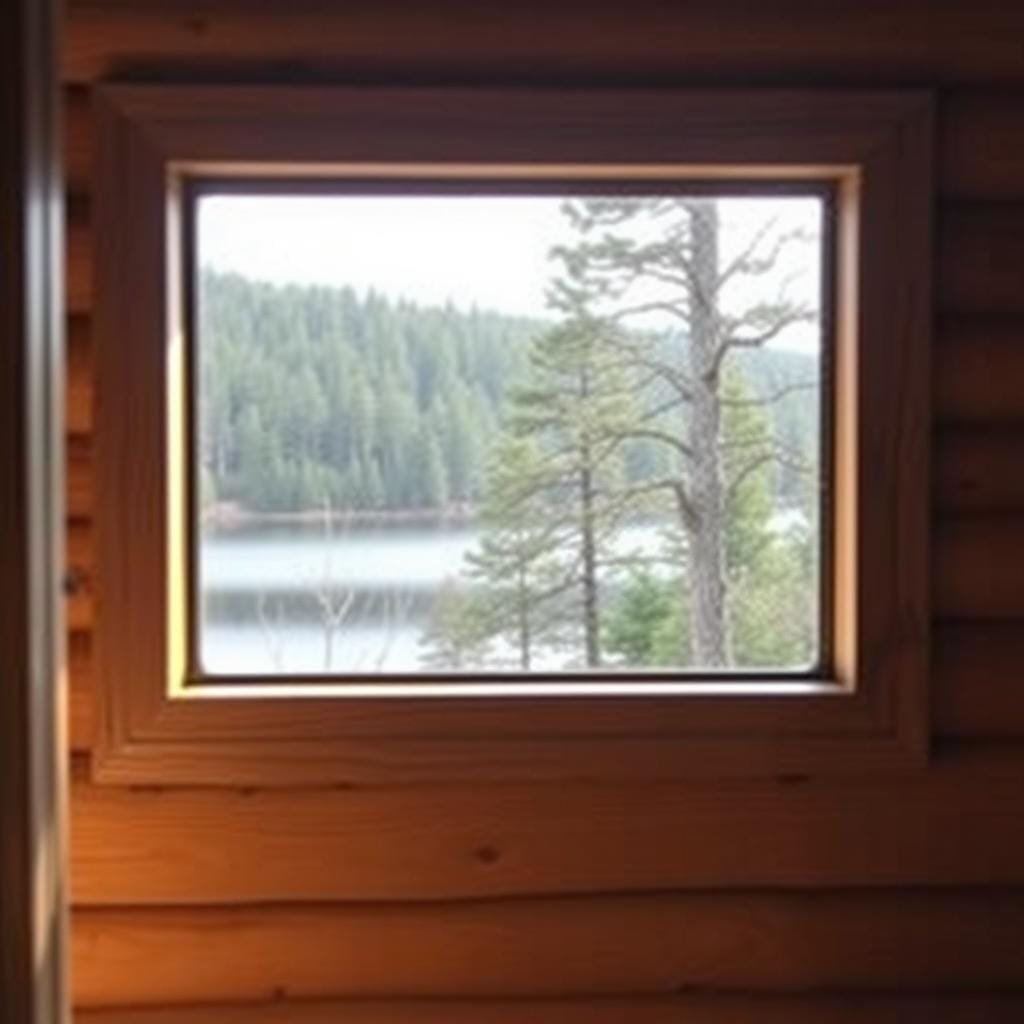
The correct choice can transform a dark, cramped space into an inviting sanctuary. Imagine your haven filled with sunshine and stunning views of the surrounding landscape.
This guide covers essential topics like standard terminology, cabin-specific needs, and popular configurations. We will also explore practical installation considerations to help you make informed decisions.
Understanding the fundamentals will save you time, money, and potential headaches. This is true whether you are building new or replacing old windows.
We will explore how different window choices impact energy efficiency, maintenance, and overall livability. Our goal is to ensure you find options that work for your specific situation.
By the end, you will have the knowledge and confidence to select windows that perfectly complement your cabin’s architecture. Your choices will meet both your practical needs and budget.
Understanding Window Size Terminology
Understanding the precise vocabulary surrounding dimensional specifications will prevent costly mistakes. Manufacturers use specific terms that describe exactly how openings fit into your structure.
Defining Rough Opening, Actual, and Nominal Sizes
The rough opening refers to the framed space in your wall. This area is typically two to three inches larger than the unit itself. This extra space allows for proper installation and insulation.
Actual dimensions represent the precise measurements of the complete unit. You measure from edge to edge of the entire frame. This is the critical number when ordering your products.
Nominal size serves as a rounded, approximate reference for marketing. It may differ slightly from the true measurements. Always verify the actual specifications before purchasing.
Interpreting the Viewing Area Measurements
The viewing area indicates the visible glass portion of the installation. This measurement is smaller than the overall frame dimensions. It’s particularly important for maximizing light and scenery.
Manufacturers follow a standard width × height format for all specifications. They list the width measurement first in the sequence. Many use a convenient four-digit notation system for quick reference.
For example, a product labeled “2438” translates to specific dimensions. This means 2 feet 4 inches wide by 3 feet 8 inches tall. In total measurements, that’s 28 inches wide by 44 inches tall.
Understanding these relationships ensures proper fit and function. Common configurations match standard openings in residential construction. This knowledge simplifies your selection process significantly.
Assessing Cabin Needs and Maximizing Natural Light
Proper positioning of transparent surfaces determines both the visual appeal and practical performance of your mountain getaway. Thoughtful arrangement affects how sunlight enters each room and influences your overall comfort.

Walk around your property to evaluate potential placements. Consider how each opening will frame exterior scenery while providing interior benefits. This approach ensures you capture beautiful views while maintaining necessary privacy.
Evaluating Window Placement for Optimal Views and Privacy
North-facing installations often provide consistent natural light throughout the day. They can showcase spectacular scenery but may raise privacy concerns if facing public areas.
Ground-level placements work well for ventilation and scenic enjoyment. However, outward-swinging designs might create outdoor hazards. Balance your desire for panoramic views with practical safety considerations.
Balancing Natural Light with Energy Efficiency
While larger glass areas maximize sunlight exposure, they impact temperature regulation. Too much glazing can diminish the cozy character that makes cabin living special.
Consider how light moves through your living space across different seasons. Morning illumination works well in breakfast areas, while afternoon sun suits relaxation spaces. Each room has distinct requirements for both light and energy conservation.
Standard Window Sizes and Configurations
Common dimensional patterns exist across different styles, helping you narrow down your options efficiently. Understanding these predictable measurements simplifies comparing products and planning your installation.
Each type serves specific purposes and comes in established size ranges. This standardization reduces costs and ensures proper fit.
Double-Hung, Single-Hung, and Sliding Window Options
Double-hung windows feature two operable sashes that slide vertically. They offer excellent versatility for various room applications.
Single-hung styles provide a budget-friendly alternative with only the bottom sash moving. Sliding windows deliver wide, unobstructed views without outward protrusion.
| Window Type | Width Range | Height Range | Common Sizes |
|---|---|---|---|
| Double-Hung | 24″ – 48″ | 36″ – 72″ | 24″ × 36″, 36″ × 60″ |
| Sliding | 36″ – 84″ | 24″ – 60″ | 36″ × 24″, 48″ × 36″ |
| Picture | 24″ – 96″ | 12″ – 96″ | 36″ × 60″, 48″ × 48″ |
Casement, Awning, and Picture/Bay Window Standards
Casement windows hinge on one side and swing outward like a door. They provide superb ventilation and clear views.
Awning styles open outward from the bottom, perfect for rainy climates. Picture windows deliver maximum light without operable components.
Bay configurations create stunning architectural features that extend outward. They typically combine a large center piece with angled side units.
Choosing the Best Window Size for Small Cabin
Your choice in measurements balances aesthetics, light, and structural integrity. This decision impacts how your space feels and functions daily.

Using common dimensions in your home simplifies the buying process. It’s often quicker and less expensive.
Matching Dimensions to Your Cabin Space
The key is ensuring the proportions suit your specific room. An opening that’s too large can overwhelm the area.
One that’s too small may leave the living area feeling dark. Consider these general guides for different rooms:
- Main areas often benefit from larger glass areas around 36 by 60 inches.
- Bedrooms and bathrooms typically work well with more modest 24 by 36 inch units.
Custom Versus Standard Sizing Considerations
Standard sizes offer significant advantages. They ship faster and install more efficiently.
For replacement projects, measuring existing openings is critical. You must decide between custom dimensions or adjusting the opening.
Custom options make sense for unique architectural elements. They create a specific design statement but require more time and investment.
Cabin-Specific Window Options and Trends
Tilt and Turn windows bring European efficiency to American cabin designs with smart dual-operation features. These innovative units represent a growing trend for compact living spaces where versatility matters most.
The unique operation offers two distinct modes. You can tilt the top inward for gentle ventilation or swing the entire unit inward like a door. This dual functionality provides exceptional control over air circulation.
Innovative Tilt and Turn Windows for Versatile Functionality
Space efficiency makes these windows ideal for cozy retreats. The inward-opening design eliminates exterior obstructions while maximizing interior space utilization. Cleaning becomes remarkably easy since you can access both sides of the glass from inside your cabin.
Advanced systems feature micro-ventilation technology that maintains air flow even when closed. This continuous circulation helps regulate humidity and temperature without compromising security or privacy.
These units accommodate various opening size requirements. Reinforced frame construction supports larger glass areas without sacrificing structural integrity. The clean look complements both traditional and contemporary cabin aesthetics.
Custom sizing ensures perfect fit for non-standard openings. This flexibility allows you to maximize natural light while maintaining proper operation. The versatile design adapts beautifully to bathroom, bedroom, or main living area applications.
Installation Tips and DIY Considerations
Before you begin any installation project, understanding the complexity involved will save you time and money. Expert Gregg Cantor rates the difficulty as seven or eight out of ten.

Step-by-Step Advice for Planning and Installation
Accurate measurements are absolutely critical. Even small errors of a few inches can lead to expensive mistakes. This is especially true when ordering custom replacement windows.
Plan for two to three hours per window. Essential tools include a circular saw, reciprocating saw, shims, level, and pry bar. Replacement projects add complexity with trim removal and siding repairs.
| Aspect | DIY Installation | Professional Installation |
|---|---|---|
| Cost | Lower upfront cost | $150-$250 per window |
| Time Commitment | 2-3 hours per window | Professional efficiency |
| Risk Factor | You bear all costs for mistakes | Work typically guaranteed |
| Skill Required | Intermediate DIY experience | No skill required from homeowner |
When to Rely on Professional Window Installation
Keep in mind that manufacturer-employed installers cover their errors. If you make a mistake, you’re responsible for all costs. This protection makes professional installation worth considering.
Honestly assess your skills. If you’ve successfully installed complex items like a bathroom vanity, you might handle windows. For replacement windows needing extensive trim work, professionals often make more sense.
Always study manufacturer instructions thoroughly. Watch tutorial videos specific to your window type. Having a helper makes positioning easier. Factor installation costs into your budget from the start.
Understanding standard window sizes can simplify your planning process when considering installation options.
Maximizing Energy Efficiency and Comfort
Modern glazing technologies offer remarkable solutions for thermal regulation in compact living spaces. These innovations help maintain consistent temperatures while reducing energy costs throughout the year.

Proper insulation makes a significant difference in your energy bills. Advanced materials work together to create a comfortable environment regardless of outdoor conditions.
Benefits of Insulated Glass and Low-E Coatings
Multiple-pane units contain insulating gases like argon or krypton between the glass layers. Triple-pane designs provide five separate insulation barriers for superior performance.
Low-E coatings represent a major advancement in window technology. These microscopic layers block harmful UV and infrared rays while allowing visible light to pass through.
During colder months, Low-E glass reflects interior warmth back into your living area. This feature significantly reduces heating expenses while maintaining comfort.
The frame material contributes equally to energy performance. Fiberglass offers excellent insulation properties, while vinyl provides great efficiency at affordable prices.
Look for Energy Star certification when selecting products. This indicates government-verified performance based on rigorous testing standards.
Efficient designs deliver benefits beyond lower utility costs. They reduce condensation, eliminate drafts, and protect interior furnishings from sun damage.
Final Reflections on Your Cabin Window Project
Your journey to a brighter, more comfortable retreat is nearly complete. The final step involves bringing all your planning together.
Remember, the ideal window sizes for your space balance light, views, efficiency, and charm. This careful consideration pays off for years.
Your choices directly influence energy bills and your daily connection to the outdoors. Take your time measuring and researching different window types.
Standard sizes offer convenience, while custom options provide a perfect fit. Ensure your selection aligns with your budget and long-term plans.
Consulting a professional is a smart move for complex projects. They offer valuable insight, especially for replacements or structural changes.
These elements are central to your home‘s design and comfort. The right selections create a welcoming atmosphere filled with natural light.
You now have the knowledge to make confident decisions. Your retreat will be a cozy haven that perfectly reflects your vision.


