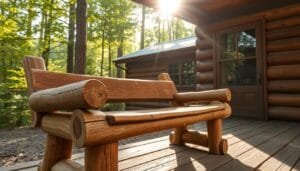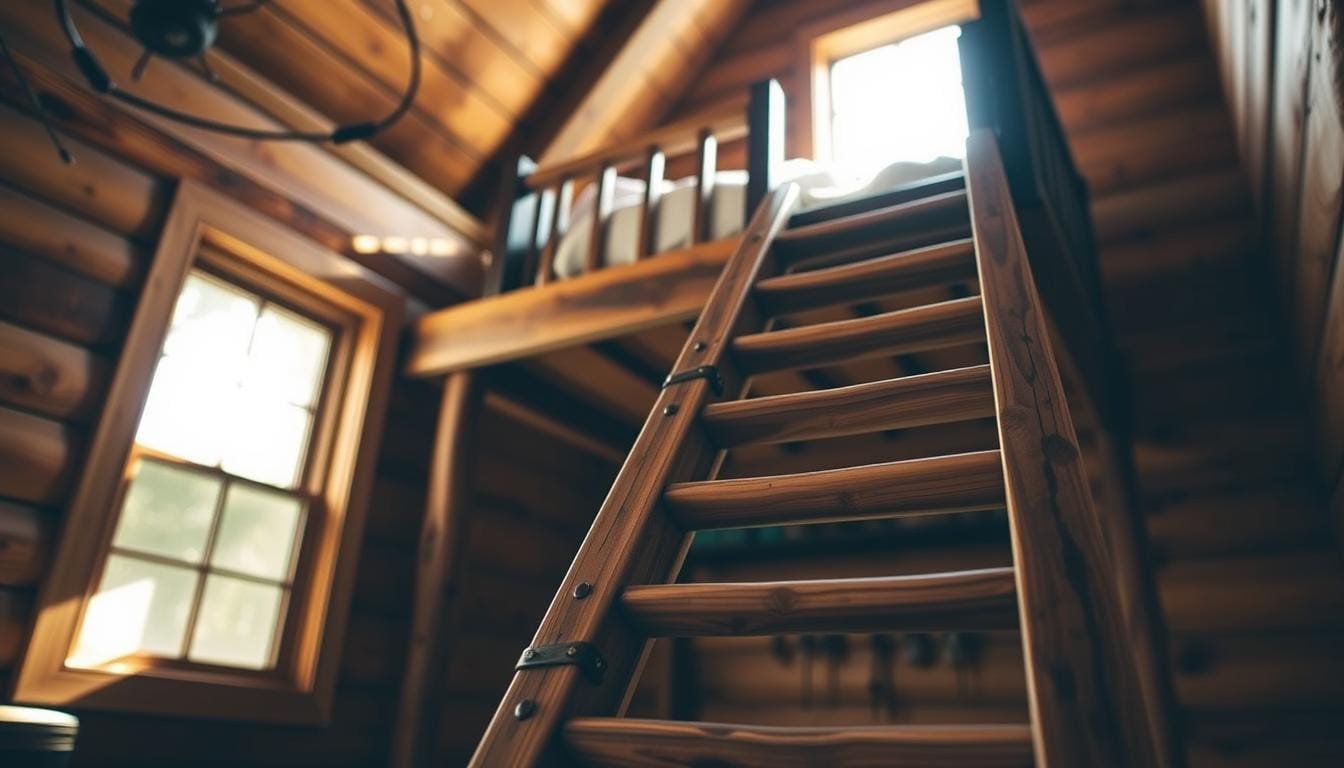
Imagine being in your lofted cabin bed, looking out at the stars through a small window. But how did you get up there? That’s where your wooden ladder comes in. Making a DIY ladder for your lofted cabin bed is more than just a task. It’s a way to make your space truly yours.
I took on this project myself, and it was quite an adventure. Over 10 days, I turned $400 worth of lumber into a strong, 60 1/2-inch tall ladder. The steps involved cutting 3 1×4 boards, adding 5 steps, and using 7 types of screws. And the outcome? A safe, stable, and stylish way to reach my cozy spot.
Whether you’re experienced with DIY projects or new to building, making a wooden ladder for your lofted cabin bed is fulfilling. It’s a mix of creativity and practicality, letting you tailor every detail. So, get your tools ready and let’s start this exciting DIY ladder project!
Tools and Materials
Building a wooden ladder for your lofted cabin bed needs careful planning and the right tools. Let’s explore the essential tools, wood types, and safety gear for this project.
Essential Construction Tools
To make a sturdy ladder, you’ll need these key tools:
- Miter saw for precise cuts
- Drill/driver for assembly
- Clamps to hold pieces in place
- Measuring tape for accuracy
- Square for alignment
These tools help make your ladder last. A biscuit joiner and pocket hole jig can make joints stronger. For a pro look, use a router with a 1/4″ round-over bit.
Recommended Wood Types
Choosing the right wood for ladders is key. Here are some good options:
| Wood Type | Pros | Cons |
|---|---|---|
| Select Pine | Affordable, lightweight | Softer wood, may dent easily |
| Birch Plywood | Strong, uniform appearance | Requires edge banding |
| Oak | Durable, beautiful grain | Heavier, more expensive |
For side supports, use two 2″ x 4″ boards up to 10′ long. Rungs can be 2″ x 3″ x 8′ boards. This mix gives strength without too much weight. The DIY wooden cabin ladder project costs between $1500 and $2000, based on materials.
Safety Gear
Don’t forget safety equipment when working on your ladder:
- Safety glasses to protect your eyes
- Work gloves for hand protection
- Dust mask for respiratory safety
- Non-slip shoes for stability
Remember, safety is the most important thing when working with wood and power tools. With the right tools, materials, and safety gear, you’re ready to start building your custom wooden ladder.
Designing Your Wooden Ladder
Creating the perfect ladder for your lofted cabin bed is all about planning and design. The right ladder design makes your space both functional and beautiful. It makes your space more enjoyable and safe.
Determining Height and Angle
The height and angle of your ladder are key. The ladder should match the loft bed’s height, usually 5 to 7 feet. For safety, aim for an angle of 75 to 80 degrees. This angle makes climbing easy and saves floor space.
Ladder Style: Straight vs. Curved
Straight ladders save space and are cheaper, perfect for small rooms. Curved ladders add a unique touch but are harder to make. Think about your room’s layout and what you like when picking a style.
| Ladder Type | Space Required | Cost | Aesthetics |
|---|---|---|---|
| Straight | Minimal | Lower | Simple, classic |
| Curved | More | Higher | Unique, stylish |
Design Elements
Design your ladder with both function and beauty in mind. Use 16-inch long rungs and space them 12 inches apart for easy climbing. Add decorative touches like carved designs or colorful paint to match your room’s style. A well-designed ladder does more than just serve its purpose; it also beautifies your room.
Now that you know the design principles, you’re set to make a ladder that’s safe, useful, and looks great for your lofted cabin bed. Next, get your materials ready and start building.
Measuring and Cutting Wood
Accurate measuring and cutting wood are key steps in making a sturdy ladder for your lofted cabin bed. Here are some woodworking tips to help you achieve precision in your project.
Accurate Measuring
First, measure the height from the floor to your loft bed platform. For a 160cm high loft bed, divide this height by 6. This will tell you the spacing between 5 ladder steps. Use a measuring tape and carpenter’s square for precise measurements. Mark your cuts clearly with a pencil on the wood.
Best Cutting Techniques
For long, straight cuts on the rails, use a circular saw. For the 15-inch dowels that will be your steps, a miter saw is best for clean, perpendicular cuts. Always measure twice and cut once to avoid wasting materials.
Avoiding Measuring Mistakes
Double-check all measurements before cutting. Remember to account for the thickness of your mattress when determining the overall height. To ensure your ladder sits flat against the floor, use a wooden block as a guide to level the bottom. This simple trick can prevent wobbling and enhance stability.
- Measure the frame: 42 inches wide by 81 inches long
- Cut dowels to 15 inches for steps
- Use 1-1/4 inch dowels and 2-inch wood screws for support
- Safety rail: 14 inches tall by 54 inches long
By following these measuring techniques and wood cutting practices, you’ll create a precise and safe ladder for your lofted cabin bed.
Assembling Ladder Framework
Building a ladder for your lofted cabin bed is key to safety and stability. It needs careful attention and the right wood joinery. This ensures your ladder is strong and reliable.
Step-by-Step Assembly
Begin by placing your side rails side by side. Mark where your rungs will go, keeping them evenly spaced. For most loft ladders, 10-12 inch gaps work best. Use a square to make sure your marks are straight.

Joinery Techniques
Wood joinery is essential for a sturdy ladder. Use mortise and tenon or dowel joints for rungs. These methods are strong and stable. If you’re new to woodworking, pocket hole joinery is a simpler option that’s also supportive.
Ensuring Stability
To make your ladder stable, apply wood glue to all joints before screwing. Attach each rung with one screw first. Then, place the ladder and level each rung. Secure with a second screw for stability.
Regular checks are important for ladder safety. Tighten screws and bolts often to keep it stable. By following these steps and using the right joinery, you’ll have a solid ladder for your lofted cabin bed.
Sanding and Finishing
The final touches are key to your wooden ladder project. Sanding and finishing ensure safety and beauty. Let’s explore how to achieve a smooth, durable finish.
Importance of Sanding
Sanding smooths out rough spots and prepares the surface for finishing. Begin with 120-grit sandpaper, moving in the wood grain direction. This step removes splinters and makes the surface even.
For a professional finish, sand all 69 pieces of your ladder. This includes the 13 different wood sizes used.
Choosing Durable Finish
Choosing the right wood treatment is essential for longevity. Tung oil gives a natural look, while polyurethane offers more protection. Think about your ladder’s use and where it will be when picking a finish.
Apply thin coats for the best results. Let each coat dry completely before adding the next.
Professional Look Techniques
To get a polished look, fill holes with wood filler before sanding. Use a foam brush or lint-free cloth to apply the finish evenly. For extra protection, use paste wax as a final coat.
Remember, patience is key. Rushing through these steps can harm your ladder’s appearance and lifespan.
| Finish Type | Durability | Appearance | Drying Time |
|---|---|---|---|
| Tung Oil | Medium | Natural | 24-48 hours |
| Polyurethane | High | Glossy | 24 hours |
| Varnish | High | Amber | 24-48 hours |
With these sanding and finishing tips, your wooden ladder will look great and last long. Take your time with each step. You’ll make a beautiful, safe addition to your lofted cabin bed.
Installing Ladder Safely
Installing a ladder correctly is key for your lofted cabin bed’s safety and use. This part talks about how to mount the ladder safely and securely. It aims to make climbing up and down stable and reliable.
Securing the Ladder
For safe ladder setup, attach it to a peg in the loft floor. This setup is secure and easy to take down when you need to. Make sure the peg is strong and fits well to avoid any wobbling.
Height for Stability
The right ladder height depends on your loft bed’s size. A standard loft bed is 57 inches by 79 inches. A 60-inch ladder is a good fit. Place the ladder 4 feet away from the bed for every 1 foot of height.
| Loft Height | Ladder Distance from Wall | Minimum Ladder Length |
|---|---|---|
| 6 feet | 1.5 feet | 6.2 feet |
| 8 feet | 2 feet | 8.25 feet |
| 10 feet | 2.5 feet | 10.3 feet |
Safe Climbing Tips
Always face the ladder when climbing and keep three points of contact. The top tread should be 4 feet below the loft. Adding handrails on both sides makes it even safer.

Don’t forget to check your ladder often. Look for loose screws or wear. By following these tips, you’ll have a safe and secure ladder for your lofted cabin bed.
Customizing Your Ladder
Ladder customization lets you make your lofted cabin bed truly unique. You can paint it or add creative storage solutions. There are countless ways to personalize your ladder and make it more useful.
Adding Storage
Turn your ladder into a storage spot. Add small shelves between the steps for books or toys. You can also hang fabric pockets on the sides for quick access to essentials.
Creative Staining and Painting
Painted ladders can really make a room stand out. Pick bold colors that match your room’s theme or go for a natural wood stain. You can even try ombre effects or stencil designs for a unique look. Just make sure to use paints and finishes that are safe for kids.
Decorative Railings and Handholds
Make your ladder safer and more stylish with decorative railings. You can carve patterns into wooden handrails or wrap them in soft fabric. Adding grip tape in fun shapes can also prevent slips, making it safer for kids aged 4-10.
With these ideas, your ladder becomes more than just a way up. It becomes a piece of art that shows off your style and meets your needs.
Maintenance Tips for Longevity
Keeping your wooden ladder in good shape is key. Follow these tips to make sure your ladder stays safe and sturdy for a long time.
Regular Inspections and Repairs
Make a plan to check your ladder often. Look for loose rungs, cracks, or wear every few months. Focus on joints and areas that get a lot of use. Fix any problems right away to avoid more damage.
- Tighten loose screws or bolts
- Replace worn-out parts
- Sand down rough spots
- Reapply finish to exposed wood
Cleaning Wooden Ladders
Cleaning your ladder regularly is important. Use a soft brush or cloth to wipe away dust and dirt. For stubborn dirt, a mild soap solution works well. But, stay away from harsh chemicals that can harm the wood or finish. After cleaning, make sure the ladder is dry to avoid moisture damage.
| Maintenance Task | Frequency | Importance |
|---|---|---|
| Visual inspection | Monthly | High |
| Thorough cleaning | Quarterly | Medium |
| Reapply finish | Annually | High |
| Hardware check | Bi-annually | High |
By sticking to these maintenance tips, your wooden ladder will stay safe and work well for a long time. Remember, taking good care of it is essential for its longevity and safety in your lofted cabin bed.
Troubleshooting Common Issues
Building a wooden ladder for your lofted cabin bed is rewarding, but challenges may arise. Let’s explore some frequent problems and their solutions. We’ll make sure your ladder stays safe and functional. From ladder repair to fixing wood imperfections, we’ve got you covered.
Wobbly or Unstable Ladders
If your ladder feels shaky, don’t panic. Check all joints and tighten any loose screws. For added stability, consider reinforcing the connection points with metal brackets. Remember, a stable ladder is key for safety, as loft beds are often 50 to 70 inches above the floor.
Fixing Surface Imperfections
Wood imperfections like scratches or dents can be easily addressed. For minor scratches, try rubbing them with a walnut – the oils can help disguise the mark. For deeper issues, wood filler and a fresh coat of stain can work wonders. These quick fixes can maintain your ladder’s appearance and structural integrity.
Enhancing Ladder Safety
Ladder safety improvements are always a good idea. Add non-slip treads to each rung for better grip. Install extra handholds if needed, for those who use the ladder. Studies show that loft beds with stairs instead of ladders can reduce fall risks by 25% for those with mobility challenges. By prioritizing safety, you’ll ensure your wooden ladder serves its purpose well for years to come.