Hey there, cabin owners and handy folks! Are you looking to make your retreat more comfortable and energy-efficient? Many people are now tackling their own home improvement tasks. This trend is especially popular for remote getaways.
Applying this type of material yourself can save a significant amount of money. It’s a great option when professional services are hard to find or too expensive. This guide will walk you through the entire process.
We take a balanced look at the subject. You’ll learn about the superior performance and potential cost savings. We will also cover the real-world challenges, like the learning curve involved.
Success hinges on proper preparation and safety awareness. This article shares practical advice from experts and real user experiences. Our goal is to provide you with actionable information for your projects.
Understanding DIY Spray Foam Insulation for Cabins
Understanding the fundamentals will help you make informed decisions about your cabin’s thermal protection. This material represents a significant advancement over traditional options like fiberglass batts.
What is Spray Foam Insulation?
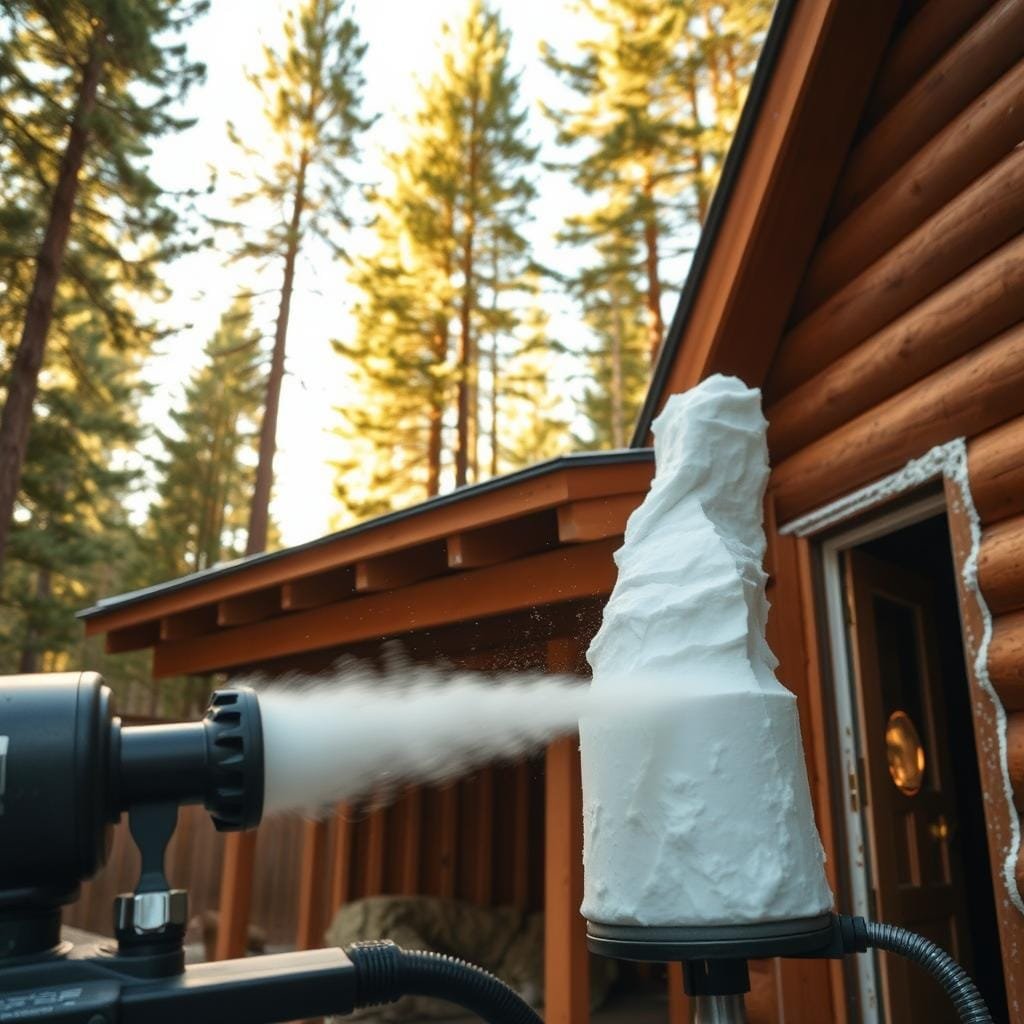
Spray foam is a two-component polyurethane system that expands upon application. It creates a seamless, air-tight barrier when it hardens. This expansion allows it to fill irregular spaces completely.
The material comes in two main formulations with distinct properties. Each type serves different needs for cabin construction projects.
How It Benefits Cabin Projects
Cabins often have unique construction challenges that this material addresses perfectly. It provides superior air sealing that prevents drafts in remote locations. Moisture resistance protects against rot in humid environments.
Modern DIY kits make professional-grade results achievable. Brands like Tiger Foam offer complete systems with everything needed. These include pre-measured components and application equipment.
| Feature | Closed-Cell Foam | Open-Cell Foam |
|---|---|---|
| R-Value per Inch | R-6 to R-7 | R-3.5 to R-4 |
| Moisture Barrier | Excellent | Permeable |
| Sound Dampening | Good | Excellent |
| Structural Strength | Adds rigidity | Minimal contribution |
| Best Application | Walls, roofs | Interior walls |
Choosing the right formula depends on your specific needs. Fast-rise options work well for new construction on open surfaces. Slow-rise formulas are better for retrofitting existing walls.
Proper kit selection ensures optimal coverage and performance. This leads to significant energy savings and year-round comfort.
Step-by-Step Installation Process
Getting ready for the application is the most critical phase of your project. A well-planned start prevents mistakes and ensures a smooth, efficient workflow.

Assessing Project Scope and Preparation
Begin by carefully measuring all surfaces. Calculate the total square footage of your walls and ceiling. This helps you determine the correct number of kits to purchase.
Clear the area of all furniture and belongings. Cover any surfaces you want to protect from overspray. Proper surface preparation is non-negotiable for strong adhesion.
Setting Up Safety Gear and Equipment
Your personal protection is paramount. The chemical components require serious safety measures. Never skip this step.
Connect the gun hose assembly carefully. Check that all connections are secure. Always perform a test spray on a small, inconspicuous area first.
| Safety Item | Purpose | Essential Feature |
|---|---|---|
| Respirator Mask | Protects lungs from fumes | Chemical cartridge, not a dust mask |
| Safety Goggles | Shields eyes from splatter | Seals tightly around the eyes |
| Disposable Coveralls | Prevents skin contact | Full-body coverage |
| Chemical-Resistant Gloves | Protects hands | Durable material like nitrile |
Temperature Considerations for Optimal Application
The chemical reaction depends heavily on the surrounding air and surface warmth. The ideal ambient temperature range is 75-85°F.
Surface temperature should be around 70°F for optimal results. In colder conditions, you may need a temporary heating solution. Proper temperature control ensures complete curing and maximum performance, similar to the requirements for spray foam insulation for crawl spaces.
Pros & Cons of DIY Spray Foam Insulation for Cabin Projects
Many cabin owners discover that taking on their own insulation project offers significant cost advantages. The financial savings can be substantial compared to hiring professionals.
Key Benefits of DIY Kits and Cost Savings
Self-installed kits provide excellent value for remote properties. You can save 50-70% on total project costs. These materials also deliver superior thermal performance.
The air-sealing quality eliminates drafts completely. Moisture resistance protects against mold growth. Structural reinforcement adds rigidity to walls and floors.
Common Challenges and Messy Application Issues
First-time users often struggle with technique consistency. The material expands rapidly and can be difficult to control. Many builders report messy experiences despite precautions.
One user noted the result created “a concrete slab feel” for flooring. However, they vowed never to use it again due to the cleanup required. Proper protective gear is essential for safety.
Real-World Experiences and Practical Tips
Experienced builders recommend practicing on small areas first. Plan for extensive cleanup time after application. Some combine rigid board with spray products for gaps.
Alternative methods like construction adhesive offer less messy options. Consider your tolerance for disorder before choosing this method. The final performance benefits often outweigh the temporary challenges.
Final Insights on Your Cabin Insulation Journey
As you weigh your options for improving energy efficiency, remember that each approach has distinct advantages and challenges. The DIY spray foam method offers excellent performance and savings but demands careful preparation.
Success requires realistic expectations and strict safety measures. You must accept that the process will be messy but can deliver professional results when done correctly.
Consider your skill level and available help before committing. Proper thermal protection remains one of the best investments for any property’s comfort and durability.
Many builders have successfully completed these projects and enjoy long-term benefits. For additional perspectives, explore real-world experiences on specialized building forums.
Start with a small test area and recruit experienced assistance if possible. The rewards of lower energy bills and superior comfort make the effort worthwhile.


