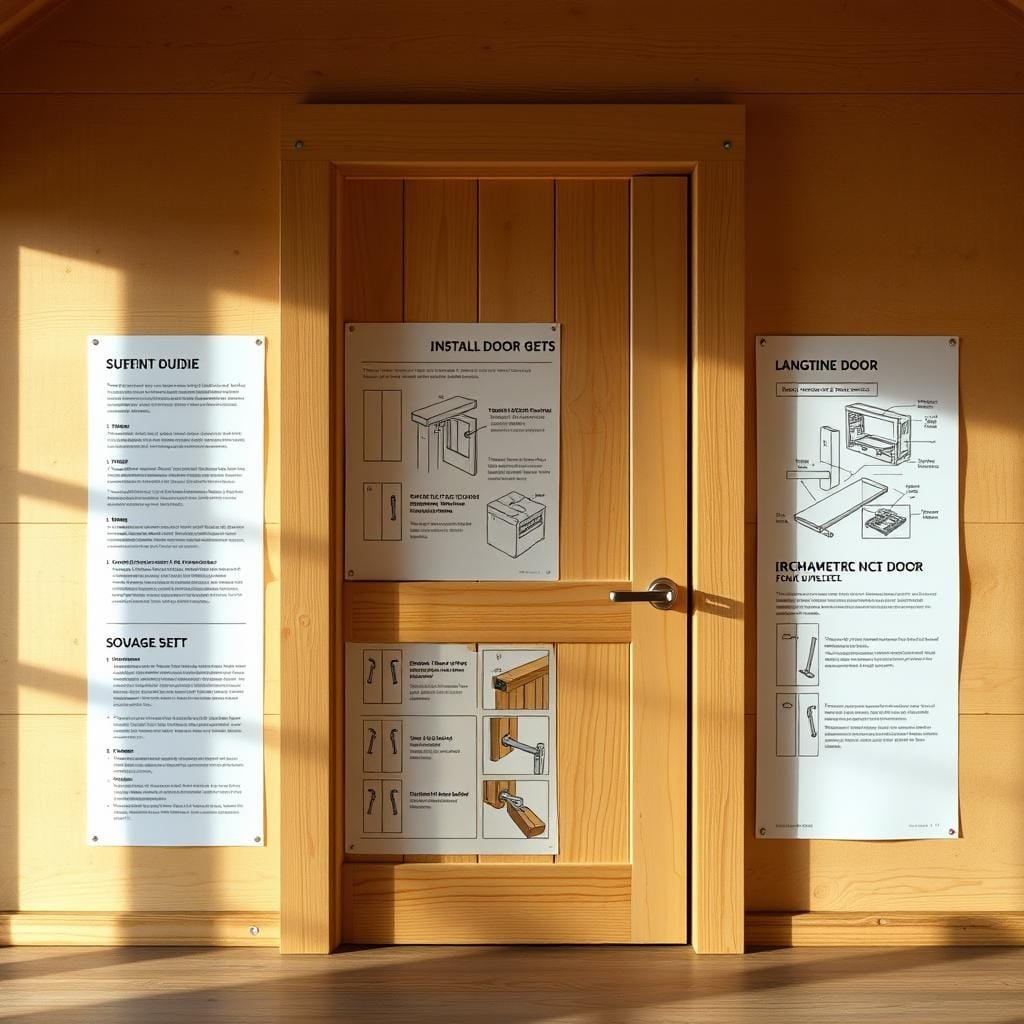
Taking on a door installation project can transform the look and feel of your space. Many homeowners discover that handling this task themselves saves money while building valuable skills. Our comprehensive walkthrough makes the process accessible for DIY enthusiasts.
Before starting any project, understanding your specific door type is essential. Different styles require unique approaches, tools, and time commitments. Proper preparation ensures smoother progress from start to finish.
This guide covers everything from selecting between prehung and slab options to final hardware setup. You’ll gain all the necessary information to achieve professional-looking results in your home. Whether you’re replacing an existing unit or starting fresh, we’ve got you covered.
Following our detailed instructions helps you master techniques that guarantee long-lasting performance. Your finished project will operate smoothly while adding character to your living space. Let’s begin this rewarding home improvement journey together!
Introduction: Understanding Cabin Door Installation
Your door replacement project starts with a fundamental choice between two main door styles. This decision impacts your entire workflow and final results. Knowing the difference saves time and prevents frustration.
Interior doors typically come as either prehung or slab units. Each option serves different situations and skill levels. Your existing door frame condition guides this critical selection.
| Feature | Prehung Door | Slab Door |
|---|---|---|
| Components Included | Door, frame, hinges pre-attached | Door only, no frame |
| Best For | Damaged frames or beginners | Solid existing frames |
| Skill Level Required | Moderate, less precision needed | Advanced, precise measurements |
| Time Investment | Faster installation process | More time-consuming setup |
| Cost Considerations | Higher initial price | Lower material cost |
Prehung doors arrive ready for placement. They’re ideal when your frame needs replacement. This type simplifies the process significantly.
Slab options work best with undamaged frames. They demand careful hinge placement and exact measurements. This approach suits experienced DIYers.
Evaluate your current setup before deciding. These essential tips ensure you select the right approach. Your choice should match both skills and project scope.
Preparing Your Work Area and Tools
Before diving into the physical work, setting up your area properly can save hours of frustration. Getting organized upfront prevents mid-project interruptions that break your rhythm. This preparation phase sets the stage for smooth progress.
Essential Tools and Materials
Having the right equipment makes all the difference in your project’s success. Start with basic items like a measuring tape, hammer, and screwdriver. A quality drill and level are equally important for precise work.
Wood shims help with fine adjustments during the process. For more complex tasks, consider additional equipment like a circular saw or router. These tools handle specialized cutting and hinge work.

| Tool Category | Essential Items | Advanced Options | Safety Gear |
|---|---|---|---|
| Measuring & Layout | Tape measure, level | Combination square, carpenter square | Safety glasses |
| Cutting & Shaping | Utility knife | Circular saw, wood chisel | Work gloves |
| Fastening Tools | Hammer, screwdriver | Drill/driver with bits | Hearing protection |
| Adjustment Aids | Wood shims | Clamps, planer | Non-contact voltage tester |
Workspace and Safety Tips
Create an organized area with good lighting and stable surfaces. Saw horses provide excellent support for your materials. Keep all tools within easy reach to maintain workflow efficiency.
Safety should always come first in your home workshop. Wear protective glasses to shield your eyes from debris. Gloves prevent splinters during handling.
Make sure you have finishing materials ready before starting. Paint, stain, and spackling compound complete the project. Proper preparation ensures professional results that last.
Step-by-Step Process: how to install cabin door with a Prehung Door Method
The actual physical work kicks off with the careful removal of your old unit. This phase demands patience to protect your walls and preserve reusable materials.
Removing the Existing Door and Frame
Begin by loosening the trim around your old door frame using a stiff putty knife. Protect your wall surface by placing a wood block behind a pry bar as you gently remove the trim.
If the trim remains in good shape, you can reuse it with your new prehung door. The head and inside jambs are typically nailed together. Remove them from the opening as a single unit.
Next, carefully pry the side jambs away from the studs. This step preserves the integrity of the rough opening for the new prehung door. Complete the removal by prying down the head jamb.
Before moving forward, inspect the wall and make any necessary repairs. This is also an ideal time to paint the trim, saving you a task later in the process.
Positioning the Prehung Door in the Rough Opening
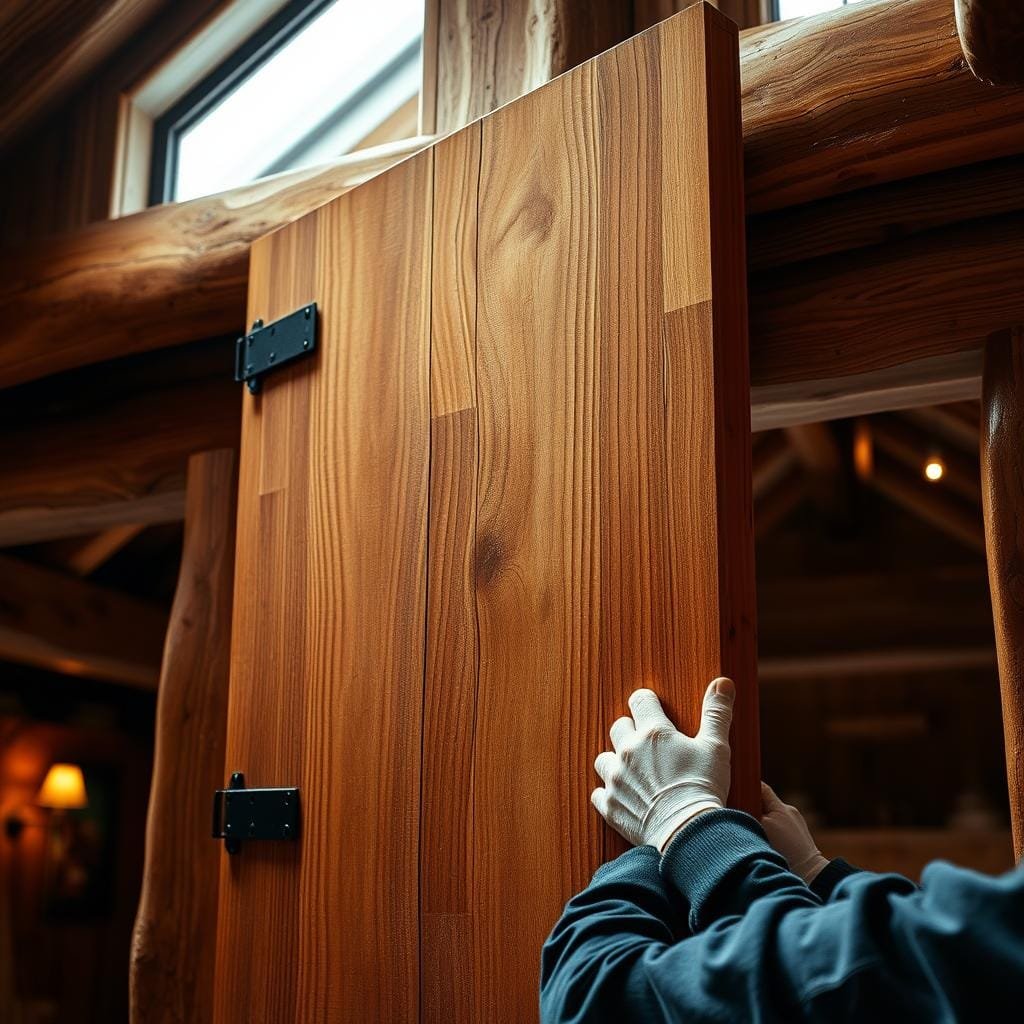
This is a two-person job. Prehung doors are heavy and difficult to maneuver alone. Having a helper prevents damage to the door, frame, or wall.
Slide the entire assembly into the rough opening. Ensure the jamb sits flush with the wall surface. Position the unit so it swings in your desired direction.
Center the door frame within the opening. Use a level to verify perfect alignment before securing anything. This critical check prevents operational issues after the installation is complete.
Double-check the swing direction and clearance for your flooring. The rough opening must fully accommodate the new prehung door without any binding.
Customizing and Adjusting the Door Frame
Fine-tuning your frame placement ensures years of trouble-free operation. This phase requires patience and precision to achieve perfect alignment. Proper adjustments prevent common issues like sticking or binding.
Shimming and Leveling for a Perfect Fit
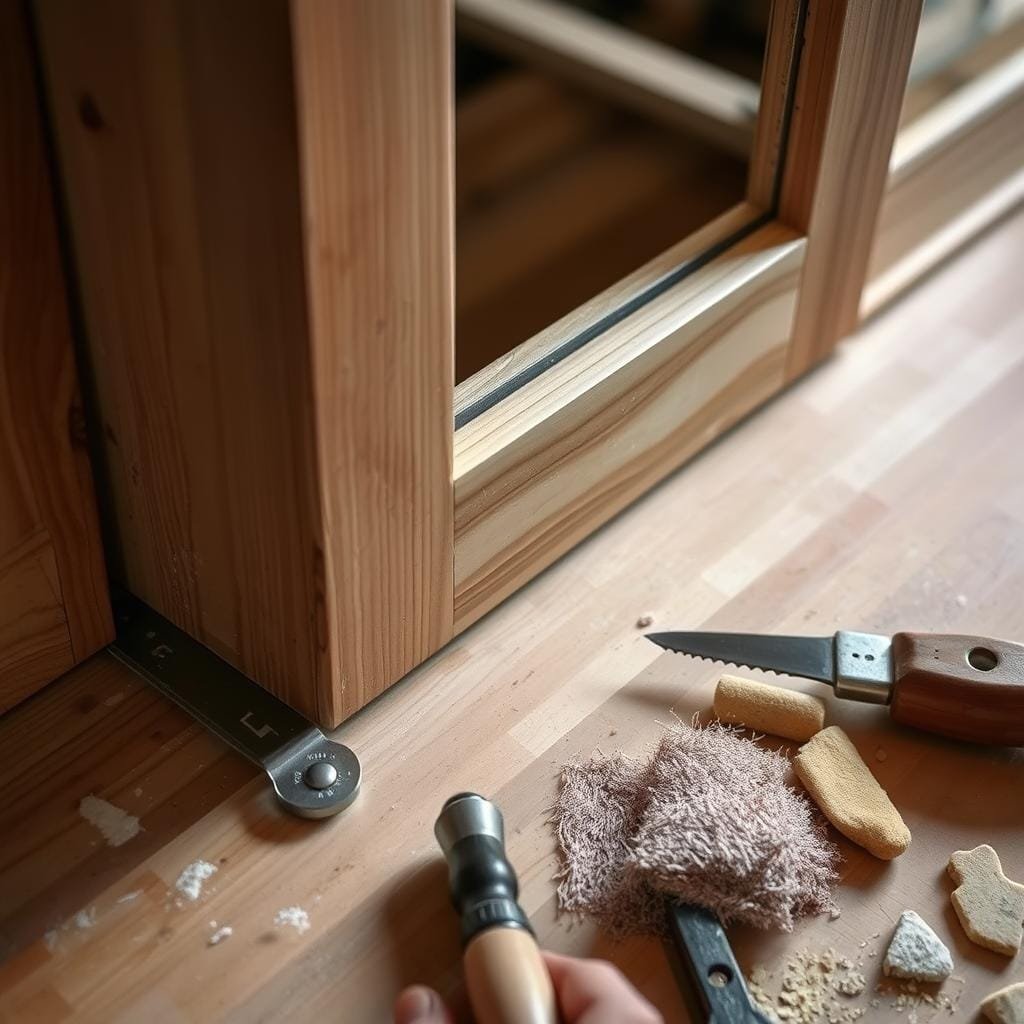
Begin by checking your frame with a quality level. Verify both vertical plumb and horizontal alignment. Even slight deviations can cause operational problems.
The gap between frame and opening allows for necessary adjustments. Wood shims fill these spaces to achieve perfect positioning. Start on the hinge side, placing shims at bottom and top locations.
Continue shimming between hinge positions and studs. Position each shim so half extends above the hinge point. This provides optimal support for your interior doors.
Securing the Frame to Studs and Fine-Tuning Adjustments
After shimming the hinge side, move to the opposite jamb. Place shims at corresponding locations, including latch level. Maintain consistent spacing to keep the frame square.
Recheck your level after each adjustment. This iterative process prevents over-correction. Temporary nails secure the frame while allowing final tweaks.
Test the operation before final securing. The frame should be perfectly square with equal spacing. Smooth operation confirms successful alignment.
| Frame Section | Shimming Locations | Level Check Points | Temporary Fastening |
|---|---|---|---|
| Hinge Side Jamb | Bottom, top, between hinges | Vertical plumb | Nails through shims |
| Latch Side Jamb | Corresponding to hinge side | Parallel alignment | Partial nail setting |
| Head Jamb | Center position | Horizontal level | Single securing point |
| Overall Frame | Equal spacing throughout | Square verification | Test operation first |
Installing Door Hardware and Trim
The final phase brings your project together with hardware and trim installation. This step transforms your framed opening into a fully functional entryway. Proper execution ensures smooth operation and polished appearance.
Attaching Hinges, Strike Plate, and Lockset
Begin by permanently securing your frame using #8 finishing nails. Drive two nails through each shim location into the wall studs. Place them about an inch from the jamb edges.
Test the operation before finalizing the nail setting. Open and close the unit several times to verify smooth movement. This crucial check prevents future adjustment needs.
Most prehung units come with pre-attached hinges and cutouts for hardware. You’ll need to purchase the actual knobs, lockset, and strike plate separately. Attach these components following manufacturer instructions.
When securing hinge screws, maintain a snug fit without overtightening. Excessive force can strip wood or cause binding. The strike plate should align perfectly with the latch mechanism.
Fitting and Finishing the Door Trim
Trim installation provides the finished, professional appearance to your interior door. Start by scoring any exposed shims with a utility knife. Snap them flush with the wall surface for clean trim placement.
Use #6 finishing nails spaced approximately 16 inches apart. Drive them through the trim into the studs behind the wall. Repeat this process on both sides for symmetrical results.
Conceal nail heads using a nail set punch below the wood surface. Fill depressions with spackling compound and sand smooth when dry. Finish with paint or stain matching your existing trim.
| Component | Fastener Type | Spacing Guide | Final Finish |
|---|---|---|---|
| Frame Securing | #8 finishing nails | Two per shim location | Test operation first |
| Trim Attachment | #6 finishing nails | 16 inches apart | Spackle and paint |
| Hardware Installation | Manufacturer screws | As per template | Adjust for smooth operation |
| Shim Cleanup | Utility knife scoring | Flush with wall | Break along scored line |
Alternative Methods with Slab Door Installation
When your frame remains in great shape, a slab door presents a smart choice. This approach focuses solely on replacing the panel itself. It’s perfect for giving your space a fresh look without major construction.
This method requires careful preparation and precise measurements. Using your old door as a template ensures everything fits perfectly. The process saves money while delivering professional results for your interior doors.
Measuring, Cutting, and Preparing a Slab Door
Begin by closing your existing door and marking points 10 inches from the floor. These reference marks help later when trimming the new door. Purchase door hinges matching your current ones exactly.
Remove the old one by tapping out hinge pins carefully. Take off the hinge plates while keeping them intact. Place your new panel on saw horses with the old door clamped on top.
Keep tops and hinge sides perfectly flush during this setup. Mark any excess material on the new door for trimming. Use a combination square to transfer hinge mortise locations accurately.
From your 10-inch marks, measure 9-7/8 inches toward the bottom. Draw a straight cutting line across the door face. This creates proper clearance for smooth operation over flooring.
Cut excess material from sides and bottom using a saw. Score mortise lines with a utility knife to prevent tear-out. Use a sharp chisel to remove wood within your marked areas.
Place each hinge in its mortise and drill pilot holes. Attach with screws to complete the door installation. Your slab door is now ready for hanging.
Special Considerations for Log Cabin Doors
Log cabins present unique challenges for door installations due to natural wood movement. Timber structures settle over time, requiring different approaches than standard home projects. Your preparation and component choices significantly impact long-term performance.
Begin with a perfectly assembled frame using a carpenter’s square for right angles. Screwing and gluing the frame together provides maximum stability. This strong foundation prevents issues as the building settles.
Choosing the Right Hinges for Log Cabins
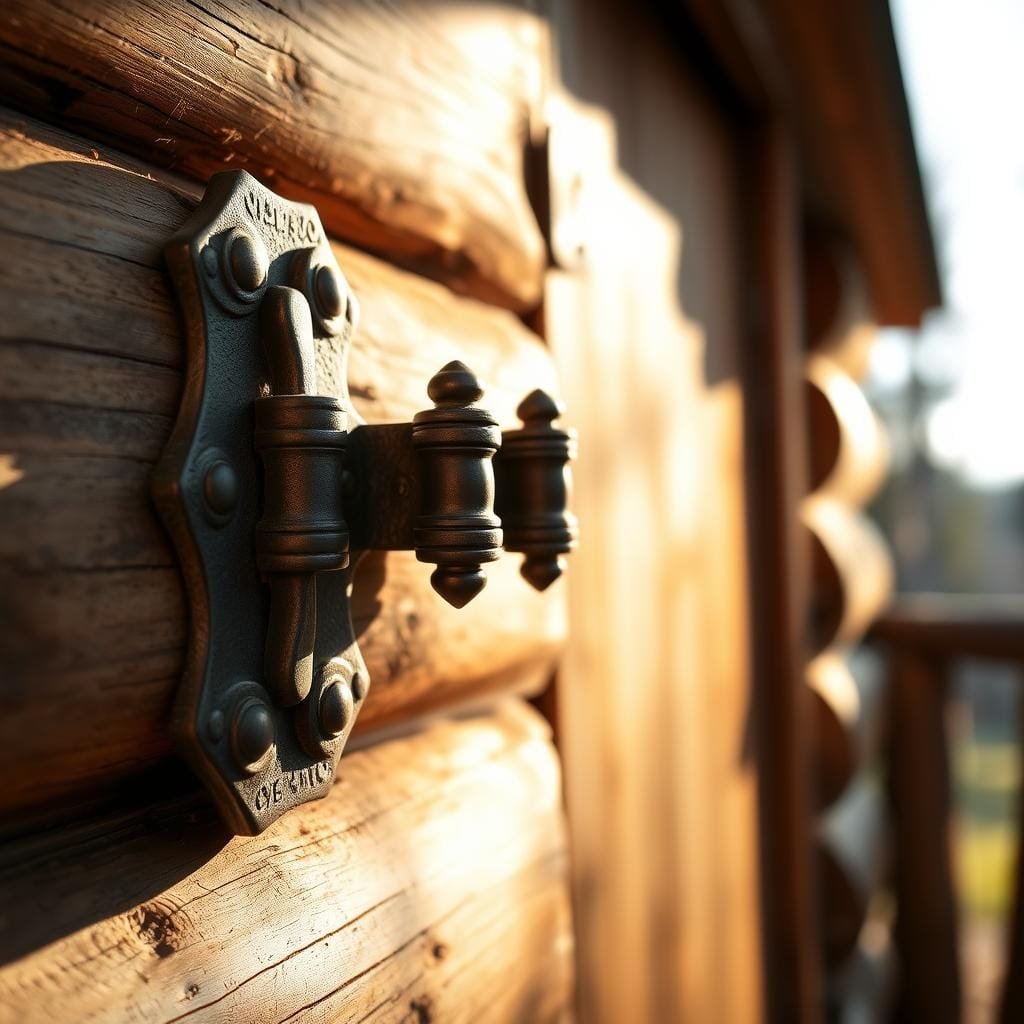
Hinge selection becomes critical in timber structures. The correct type accommodates settling while maintaining smooth operation. Consider your door’s weight and wall thickness when deciding.
| Hinge Type | Best Application | Adjustment Capability | Strength Rating |
|---|---|---|---|
| Surface Mounted | Thinner wall boards | Both sides adjustment | Medium duty |
| Two-Piece | Lighter wood doors | Dual direction changes | Standard weight |
| Three-Piece | Heavier timber doors | Vertical adjustments only | Heavy duty |
Three-piece hinges offer particular benefits for heavier entries. Their design handles substantial weight while allowing for vertical adjustments. This flexibility accommodates the natural shifts in timber frames.
Adjusting Three-Piece Hinges and Handling Warping
The adjustment process for three-piece hinges is straightforward. Remove the pin using a Phillips screwdriver and light hammer taps. Turn the components a maximum of three turns for consistent positioning.
Warping prevention starts with proper storage before hanging. Keep doors completely flat rather than leaning against walls. Apply quality wood treatment to all sides, including top and bottom edges.
If warping occurs, thumb turns offer a reliable solution. These devices gradually correct bows over 6-8 weeks through consistent pressure. Remember that final adjustments should wait until after the cabin’s settling period.
Wrapping Up: Final Checks and Maintenance Tips
Completing your door project successfully involves thorough final testing and ongoing care. Test the operation by swinging it open and closed multiple times. Check for smooth movement without binding or scraping.
Proper clearances ensure optimal performance. Aim for approximately 1/8-inch at the header and strike sides. Maintain 1/16-inch clearance along the hinge side for best results.
Install all hardware according to manufacturer directions. Test locksets and handles several times to verify proper alignment. Regular maintenance keeps your entryway functioning beautifully.
Periodically check hinge screws and lubricate moving parts. Touch up paint or stain as needed to maintain protection. These simple tips extend the life of your doors.
Remember that techniques may vary based on your specific situation. If you encounter challenges, professional service ensures quality results. This valuable information prepares you for future home improvements.
