Welcome, DIYers! Tackling a major upgrade for your retreat is an exciting challenge. This comprehensive guide is designed to give you the confidence to handle a significant project yourself.
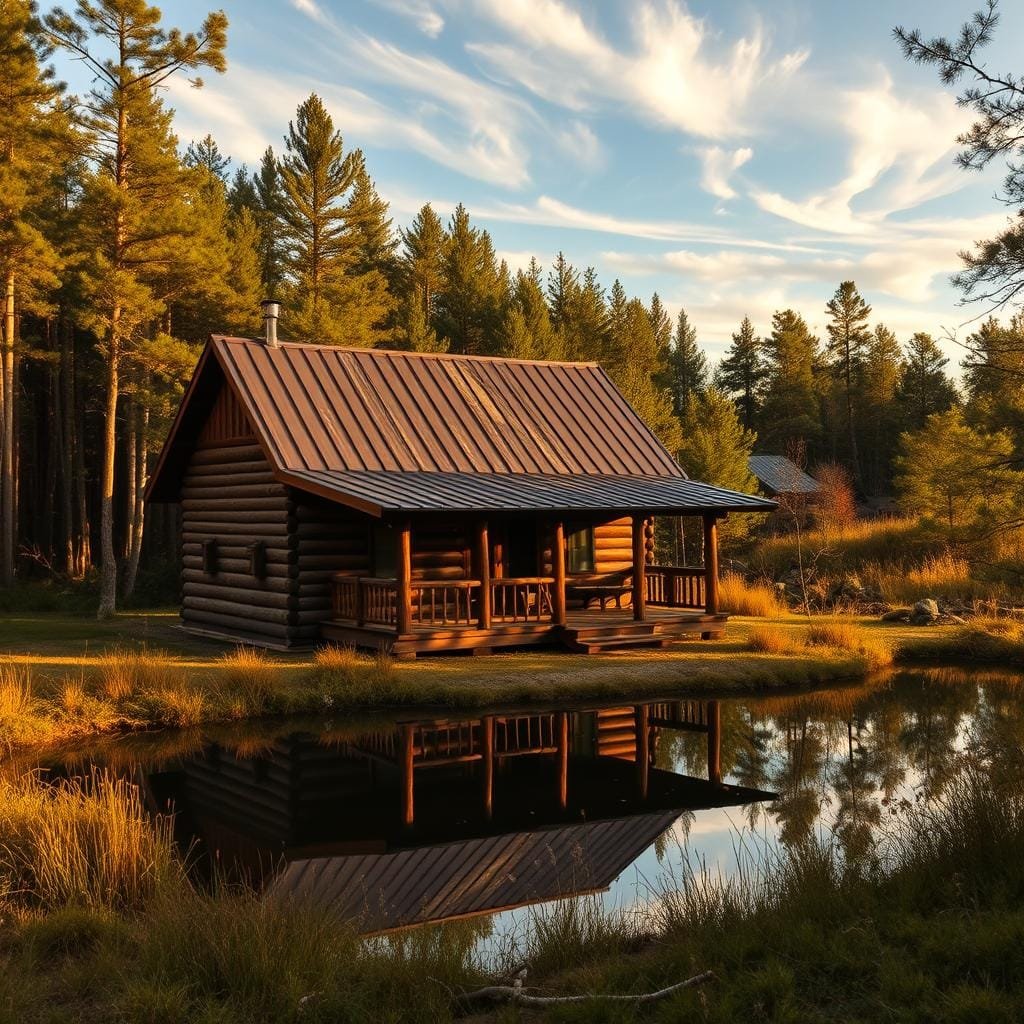
Metal roofing has surged in popularity for good reason. It offers exceptional durability, often lasting 50 years or more. This material also provides a sleek, modern look that beautifully complements a rustic cabin setting.
Putting on a new metal roof is an advanced undertaking. It requires a solid investment of time and careful planning over several days. However, for experienced homeowners willing to put in the effort, it is an entirely achievable goal.
Our step-by-step instructions will walk you through the entire process. We cover everything from initial preparation to the final inspection. Proper planning, the right tools, and a methodical approach are your keys to success.
Get ready to boost your home’s value and energy efficiency. You will gain the peace of mind that comes with a long-lasting roofing system. Let’s break this project down into clear, manageable steps.
Understanding Metal Roofing and Its Benefits for Your Cabin
Choosing the right material for your getaway is a big decision, and modern metal roofing presents a compelling case. It’s not just about a fresh look; it’s about investing in long-term peace of mind.
Let’s explore the key advantages that make this option so popular for cabins.
Why Owners Love Metal Roofing
The low-maintenance nature is a huge win. Rain naturally cleans the surface, washing away leaves and debris. You won’t face constant cleaning chores.
This material also resists moss and algae growth. This is perfect for wooded locations where shade and moisture are common.
Energy efficiency is another major benefit. The surface reflects solar heat, which can lead to lower cooling costs. Your retreat stays more comfortable during warm seasons.
Investment and Long-Term Value
While the initial project costs are higher than some alternatives, the value is undeniable. A quality system can protect your structure for 50 to 70 years.
This exceptional longevity means you likely won’t need a replacement again. You save on future maintenance and energy bills over time.
This upgrade significantly boosts your property’s curb appeal and resale value. It provides superior protection from water and weather for decades.
Preparing Your Cabin and Roof for Installation
A successful project begins long before the first panel is laid. Proper groundwork is the secret to a smooth and durable finish. This phase is all about ensuring your structure is ready for its new, long-lasting covering.

Inspecting the Roof and Assessing Local Building Codes
Your first task is a thorough inspection. Examine the existing structure for any rot, weak spots, or water damage. If you’re removing old roofing materials, you must check the decking underneath carefully.
Always check your local building codes before starting. These building codes can vary and might allow you to place new panels over old shingles. This can save time and money, but only if the current surface is perfectly sound.
Next, assess your cabin’s design. A simple structure is far more manageable for a DIY project. The table below shows the key differences.
| Feature | Simple Roof (DIY-Friendly) | Complex Roof (Consider a Pro) |
|---|---|---|
| Design | Basic A-frame or single gable | Multiple valleys, dormers, skylights |
| Skill Level | Moderate experience sufficient | Requires advanced techniques |
| Time Investment | Predictable and manageable | Can increase significantly |
Don’t forget to look up! Overhanging trees or power lines can create serious obstacles. Make sure you have a clear and safe workspace.
Finally, take precise measurements of the entire roof surface. Accurate calculations are critical for ordering the correct amount of material and avoiding costly delays.
Essential Tools, Materials, and Safety Measures
Proper preparation with the right tools and safety measures is what separates a successful DIY project from a frustrating experience. Having everything organized before you start climbing will keep your workflow smooth and secure.
Tools and Equipment Checklist
You’ll need specific cutting tools for working with metal panels. Aviation snips and tin snips handle precise cuts, while a circular saw with a metal-cutting blade tackles longer sections. A reliable drill/driver is essential for securing panels with screws.
Don’t forget basic carpentry tools and a hand seamer for bending trim pieces. This equipment helps create clean edges and proper overlaps between roofing materials.
| Tool Category | Essential Items | Recommended Add-ons |
|---|---|---|
| Cutting Tools | Aviation snips, tin snips | Metal shears, circular saw |
| Fastening Tools | Drill/driver, basic hammer | Impact driver, nail gun |
| Safety Gear | Safety glasses, work gloves | Full harness system, knee pads |
| Specialty Items | Hand seamer, measuring tape | Magnetic level, panel lifters |
Safety Precautions and Best Practices
Roof work demands serious safety attention. You’ll need fall protection equipment like a quality harness. Sturdy boots with good traction prevent slips on sloped surfaces.
Always wear safety glasses when cutting panels or driving screws. Work with a partner when handling long roof panels. This extra hand makes the job safer and more efficient.
Plan your time carefully and take regular breaks. Rushing leads to mistakes with roofing materials. Patient, methodical work ensures a professional-looking finish that will last for decades.
Step-by-Step: How to Install Metal Roof on Cabin
Now comes the exciting part—transforming your cabin’s protection system with your own hands. This phase requires precision and patience as you build your weather-resistant barrier layer by layer.

Installing Drip Edge, Underlayment, and Cutting Panels
Begin by rolling out the waterproof underlayment across the entire surface. This critical moisture barrier provides backup protection beneath your final covering.
Secure the drip edge along all eaves using nails or screws. This metal strip directs water away from your structure’s foundation.
Plan your panel layout starting from the downwind side. This ensures overlaps face away from prevailing weather. Measure each piece twice before cutting for perfect fit.
Aligning, Overlapping, and Securing Metal Panels
Position your first panel carefully along the drip edge. Maintain the manufacturer’s specified overhang at the eave—this initial placement guides all subsequent pieces.
Secure each panel using self-tapping screws with rubber washers. Space fasteners evenly along the ribs to create watertight seals without damaging the material.
Overlap each new panel by one corrugation as you work across the surface. Consistent spacing prevents leaks at the seams. Install foam closure strips at eaves and ridges to seal gaps against debris.
Complete the system with ridge caps secured with screws and sealant. Add flashing around any penetrations like vents or chimneys for complete weather protection.
Troubleshooting and Final Inspection Tips
The final phase of your project is all about meticulous quality control. A careful review now prevents minor issues from becoming major headaches later. This inspection is your key to long-term performance.
Checking Seams, Fasteners, and Flashing Installations
Walk the entire surface systematically. Start at the eave and work your way up to the ridge. Verify every fastener is tight and its rubber washer creates a proper seal.
Examine all panel overlaps and seams for correct alignment. Check that flashing around vents is secure. Loose components are common leak sources.
Remove any debris like metal shavings from the roof. These particles can cause scratches or stains over time. A clean surface is a healthy one.
Ensuring a Watertight Seal with Ridge Caps and Closure Strips
The ridge cap is critical for weatherproofing the peak. Ensure it’s secure along the full length of the roof. Apply sealant top of fasteners for extra protection.
Inspect all closure strips at the eave and ridge. They must be compressed to seal gaps between corrugated panels and flat surfaces.
Use butyl tape at junctions where roofing materials meet trim. This creates a secondary barrier against water infiltration. A thorough check ensures your hard work pays off for decades.
Wrap-Up: Enjoy Your Durable, Stylish New Metal Roof
Stand back and admire the impressive transformation you’ve accomplished. Your cabin now features a sleek, contemporary covering that combines style with superior protection. Every careful step—from placing the underlayment to securing the final ridge cap—has paid off beautifully.
This professional-quality system will serve your home for decades with minimal upkeep. The proper installation of closure strips, butyl tape, and fasteners ensures excellent water resistance. For additional guidance on maintaining your investment, explore this comprehensive metal roofing resource.
Take pride in knowing your hard work has added significant value and comfort to your retreat. Your durable new covering reflects heat efficiently and withstands harsh weather conditions. Enjoy the peace of mind that comes with a job well done!


