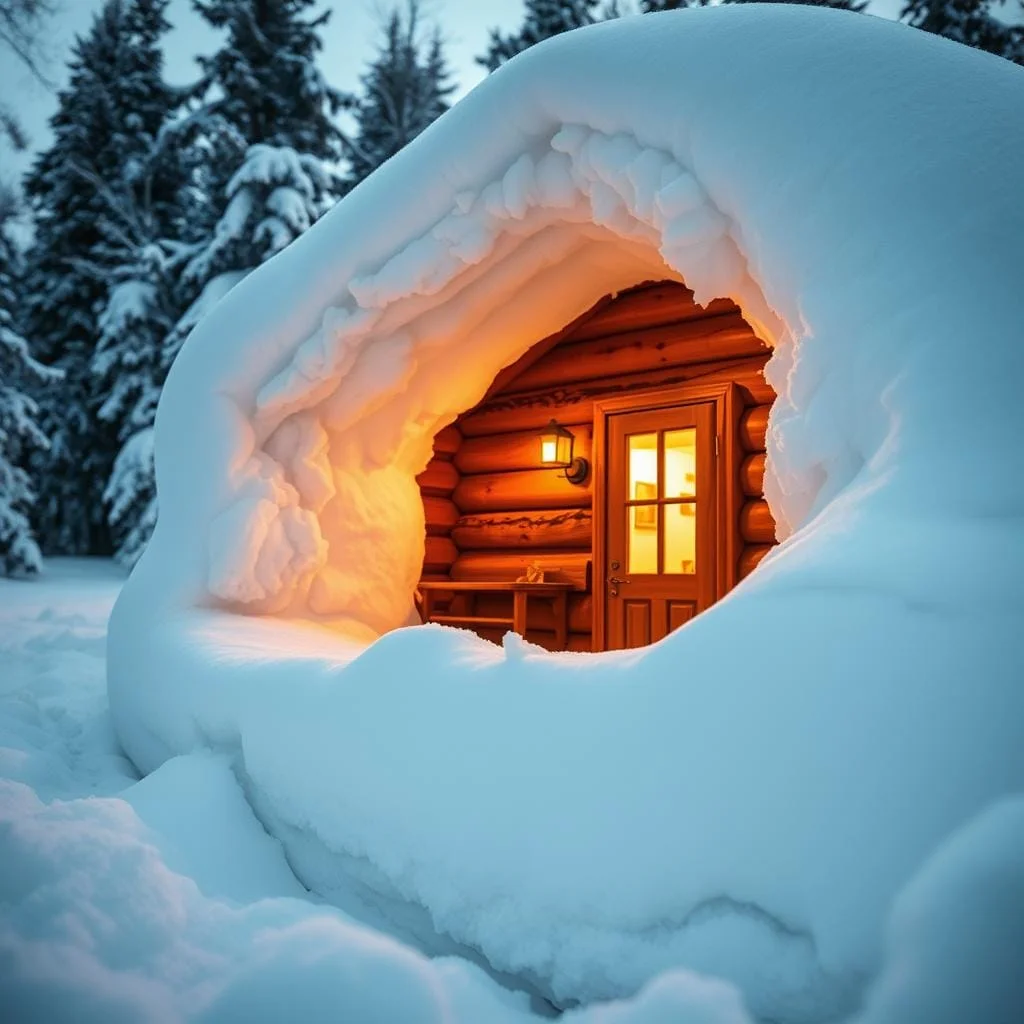
Welcome to your guide for creating a cozy, energy-efficient retreat. Many rustic spaces lose warmth quickly, making them expensive to heat during cold months.
Proper insulation is the key to transforming your cabin. It turns a drafty structure into a comfortable home that holds heat effectively. This upgrade saves money on energy bills and reduces your environmental footprint.
This guide covers practical steps for your project. You’ll learn to assess your needs and choose the right materials. We’ll explain R-values and heat loss for walls, roofs, and floors.
Whether you’re a DIY enthusiast or hiring a pro, you’ll gain the knowledge for informed decisions. For specific details on materials like injector foam, see our resource on insulating log cabins.
Let’s begin the journey toward a warmer, more efficient living space.
Assessing Your Cabin’s Insulation Requirements
Understanding your cabin’s unique thermal characteristics will guide your insulation strategy. This evaluation helps you target improvements where they matter most.
Evaluating Structural and Thermal Limitations
Begin by examining your cabin’s R-value. This number measures a material’s resistance to heat flow. Higher R-values mean better insulation performance.
Traditional wood construction has an R-value around 8. This falls short of the recommended minimum of 13 for exterior walls. While wood stores warmth during daylight hours, this natural thermal mass isn’t enough for extreme climates.
| Material | R-Value per Inch | Typical Use |
|---|---|---|
| Wood Logs | 1.0-1.4 | Traditional Cabin Walls |
| Fiberglass Batt | 3.1-4.3 | Wall Cavities |
| Spray Foam | 6.0-7.0 | Gaps and Seals |
| Rigid Foam Board | 4.0-6.5 | Exterior Sheathing |
Identifying Key Areas of Heat Loss
Conduct a thorough visual inspection of your living space. Check walls, roof, and floor for potential weak spots. Windows and doors often contribute significantly to energy loss.
Feel for drafts around electrical outlets and where walls meet ceilings. On chilly days, cold air infiltration becomes more noticeable. This helps prioritize which areas need immediate attention.
Your cabin’s age and construction method influence the best approach. Older structures may have settled differently, creating new gaps over time. Consider these factors when planning your project.
How to Insulate Cabin for Heat: Step-by-Step Methods
Effective thermal upgrades start with a clear, step-by-step plan for each major structural component. This approach ensures consistent results and maximizes energy savings.
We’ll break down the process from walls to the smallest gaps.
Insulating Walls, Roofs, and Floors with Foam and Panels
Begin with the walls. For a finished interior, injector foam fills spaces between logs and drywall beautifully.
Prefer a rustic look? Open-cell foam is your best bet. It expands significantly, creating a superior seal at wall junctions with the roof and floor.
For the roof, barricade wall panels offer excellent performance. Their straightforward installation involves strapping them to the rafters.
Don’t forget the floor. Use pressure-treated lumber to create cavities between sleepers. Fill these spaces with rigid panels or spray foam for a warm foundation.

Sealing Gaps and Preventing Air Leaks
This step is critical for heat retention. Even the best wall insulation fails if air leaks through gaps.
Methodically seal every potential leak point with canned spray foam insulation:
- Around electrical boxes and plumbing penetrations.
- Underneath sinks and where air ducts connect.
- Along the seams where different materials meet.
Make sure you work carefully to eliminate every draft.
DIY vs. Professional Installation Considerations
Many of these methods are manageable DIY projects. Installing panels and using canned foam are great starting points.
However, large-scale spray foam application often requires professional equipment and expertise. Evaluating the project’s scope is a key first step.
A simple tip: always wear safety gear and work in well-ventilated spaces.
Exploring Insulation Materials and Advanced Techniques
The material selection process involves balancing performance, cost, and installation requirements. Different situations call for specific solutions that match your climate and structural needs.
Comparing Spray Foam, Rigid Foam, and Fiberglass Options
Spray foam comes in two main types. Closed-cell offers the highest R-value and moisture resistance. It even adds structural strength to buildings.
Open-cell foam expands more to fill large spaces. It provides excellent soundproofing at a lower cost. Both types create effective air seals.
| Material Type | R-Value per Inch | Best Applications | Key Features |
|---|---|---|---|
| Closed-Cell Spray Foam | 6.0-7.0 | Harsh climates, moisture areas | Structural strength, moisture barrier |
| Open-Cell Spray Foam | 3.5-4.5 | General use, soundproofing | Expands greatly, budget-friendly |
| Rigid Foam Boards | 4.0-6.5 | Floors, limited space walls | Compact, moisture resistant |
| Fiberglass Batts | 3.1-4.3 | DIY projects, standard framing | Cost-effective, easy installation |
Innovative Materials: Radiant Barriers and Bubble Foil Solutions
Radiant barrier technology reflects 97% of solar heat. This keeps interior spaces significantly cooler during summer months. It works without bulky traditional materials.
Bubble foil provides lightweight thermal protection. Many owners combine it with rigid foam for enhanced floor performance. The installation process is straightforward.
Combining different materials creates comprehensive protection. Use radiant barrier in the ceiling area with spray foam in walls. Rigid foam works well for floor applications.
Wrapping Up with Energy Efficiency and Lasting Comfort
Beyond the core insulation work, smart finishing choices can dramatically boost your cabin’s performance. Proper wall, roof, and floor insulation creates a solid foundation for year-round comfort.
Consider triple-paned windows and heavy curtains for extra protection. Large area rugs prevent heat escape while adding cozy warmth. Ceiling fans circulate air efficiently, reducing reliance on heating and cooling systems.
LED lighting and smart thermostats help save energy automatically. These upgrades work together to lower your utility bill significantly.
Well-insulated spaces become true homes that maintain perfect temperatures in any climate. This investment transforms your retreat into an efficient, comfortable sanctuary for making memories.


