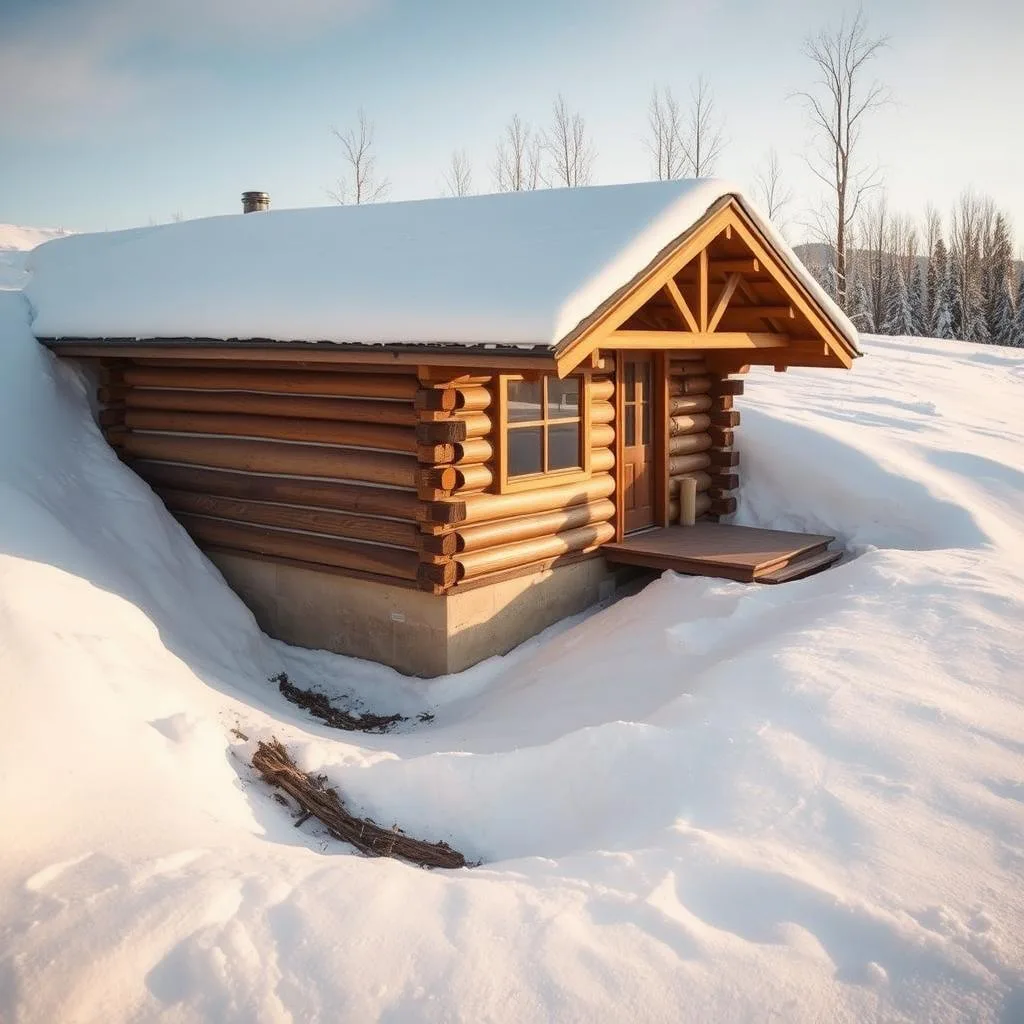
Living in a cozy cabin during the winter months is a dream for many. But that dream can turn chilly without proper preparation for the foundation. When temperatures plummet, a significant amount of heat can escape through the floor, making your living space uncomfortable and driving up energy bills.
Cabin construction often presents unique challenges. Unlike a standard home, many cabins feature elevated or pier-supported designs. This exposes the underside of the building to cold air, demanding specialized strategies to prevent energy loss.
Ignoring this crucial step leads to more than just cold feet. It results in a drafty interior, higher heating demands, and potential moisture issues that can threaten the structure over time.
This guide offers a practical, step-by-step approach. We will explore material choices, installation methods, and moisture control. Our goal is to help you create a warm, efficient space, even with a limited budget.
Understanding the Challenges of Cabin Foundations in Cold Climates
Winter conditions create distinct difficulties for buildings with exposed undersides. The open space beneath elevated structures allows cold air to circulate freely. This makes the floor a major source of heat loss.
Temperature fluctuations and ground freezing in cold regions create serious moisture issues. When warm indoor air meets cold surfaces, condensation forms. This water can saturate insulation materials.
Elevated designs on piers or stilts face particular challenges. The varying distance between floor joists and ground level affects moisture migration. Sloped terrain requires customized solutions.
Traditional home insulation methods often fail in these applications. Plastic sheeting used incorrectly creates traps for water vapor. This leads to wet insulation and reduced thermal performance.
The condensation problem becomes especially severe in climate zone 7 regions. Proper vapor barrier placement is crucial to prevent this common problem. Understanding your specific site conditions is essential for success.
Selecting the Best Insulation Materials and Methods
Material choices directly impact how well your retreat retains heat when temperatures drop significantly. Three main options stand out for this application, each with distinct characteristics.
, expanded polystyrene (EPS), and polyisocyanurate (polyiso), each with distinct textures and colors. The middle ground provides clear labeling and technical specifications for each insulation type. The background depicts a clean, minimal studio setting with soft, diffused lighting, emphasizing the insulation materials' properties and performance characteristics. The overall mood is informative, technical, and visually appealing, suitable for an article on insulating a cabin foundation for cold climates.")
Comparing Foam Board, Spray Foam, and Fiberglass Batts
Fiberglass batts offer affordability and wide availability. However, they absorb moisture easily and can attract pests. This makes them less ideal for exposed areas.
Rigid foam board, especially foil-faced varieties, provides excellent thermal resistance. The foil layer acts as a vapor barrier. This board material resists water damage effectively.
Spray foam creates a seamless air barrier that seals gaps perfectly. Professional contractors typically handle this application. It offers superior performance but at higher cost.
Balancing Cost, Performance, and Compliance with Building Codes
Budget considerations often guide material selection. While fiberglass costs less initially, foam board delivers better long-term value. Hybrid approaches provide a smart way to maximize efficiency.
Local building code requirements dictate minimum R-values. Exceeding these standards improves comfort. Understanding the types of insulation available helps make informed decisions.
DIY installation works well for board materials between joists. For spray foam, hiring experienced contractors ensures proper application. This balance of methods creates an effective thermal envelope.
how to insulate cabin foundation: A Step-by-Step Guide
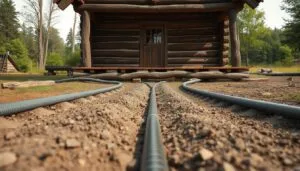
A systematic approach to insulating your elevated structure begins with thorough assessment. Start by examining the space beneath your building, measuring joist bays carefully. Gather essential tools like utility knives, tape measures, and safety gear before beginning.
Check that your floor joists sit at least 12 inches above ground level. Ensure all wood framing remains sound and dry. Address any structural concerns before proceeding with the insulation work.
For rigid foam installation, cut boards to fit snugly between joists. Press them firmly against the subfloor or maintain proper air space. Secure materials with appropriate fasteners if needed.
Seal all gaps and edges with spray foam to create a continuous barrier. This prevents cold air infiltration and maintains thermal performance. Proper sealing is crucial for moisture control.
Working in confined spaces requires safety awareness. Divide the area into manageable sections. Handle materials carefully in tight quarters with limited access.
Consider adding protective layers like plywood beneath joists. This shields insulation from weather and pests while creating a finished appearance. Professional contractors can handle complex applications efficiently.
Managing Moisture and Ventilation Issues
Proper moisture control separates successful winter retreats from problematic ones plagued by dampness and decay. Warm indoor air carries humidity that migrates into floor cavities. When this vapor meets cold surfaces, condensation forms, creating a serious problem.
Preventing Condensation and Water Intrusion
Understanding vapor barriers versus air barriers is essential. Vapor barriers stop water diffusion, while air barriers seal gaps. Place vapor barriers on the warm side of insulation.
Ground moisture migration can be reduced with plastic sheeting on the earth surface. This is particularly valuable in humid regions. Some builders successfully use Tyvek under metal roof systems.
A New York installation failed when plastic trapped condensation against fiberglass. The water saturated the material, attracting pests. Proper placement prevents this issue.

Effective Airflow Strategies to Reduce Heat Loss
Ventilation decisions depend on your insulation approach. Enclosed spaces work well with spray foam that acts as its own barrier. Vented assemblies require adequate airflow paths.
Sealed systems don’t rely on circulation for moisture control. This approach helps reduce heat loss significantly. Proper roof ventilation also reduces overall humidity.
Monitor for dampness signs in your floor space. Early detection prevents major water damage. These strategies work together to minimize heat loss while managing air movement effectively.
Integrating Floor Insulation with Structural Design
Achieving consistent warmth from the ground up involves careful integration at every junction. Your house performs best when the insulation creates a continuous thermal barrier from the foundation to the roof.
This prevents cold spots and maximizes energy efficiency. Think of it as building a complete envelope around your living space.
Foundation-to-Floor Insulation Techniques
A key area is the transition between support piers and the floor frame. Using pressure-treated sleepers on top of foundations creates a perfect space for rigid foam boards.
Seal all gaps meticulously to block heat loss. This ensures the floor assembly remains warm and draft-free.
Expert Tips from Residential and Off-Grid Cabins
Pro builders often install PEX tubing during construction for future radiant heating. This smart planning avoids costly floor removal later.
Adding a protective plywood layer beneath floor insulation shields it from pests and weather. It also creates a neat, finished look for the space under your house.
The table below compares key considerations for different foundation types:
| Foundation Type | Insulation Strategy | Key Consideration |
|---|---|---|
| Concrete Piers | Rigid foam between sleepers | Check local codes for lumber treatment requirements. |
| Full Crawlspace | Spray foam on subfloor | Ensures a seamless air barrier in enclosed spaces. |
| Perimeter Wall | Continuous exterior insulation | Eliminates thermal bridging at the slab edge. |
Remember to balance your floor insulation with the ceiling and roof. A well-insulated ceiling keeps warmth from rising away too quickly. This holistic approach creates a comfortable house from the floors up.
Moving Forward with a Warmer, Energy-Efficient Cabin
Proper thermal protection transforms any seasonal dwelling into a four-season sanctuary. The right materials, installation methods, and moisture control create a comfortable home that stands up to harsh winters.
Assess your specific situation carefully. Consider your climate zone, building design, and budget. This helps determine the best way forward for your project.
Quality foam products offer excellent long-term value. They provide superior moisture resistance and help reduce heat loss significantly. Your investment pays off through lower energy bills.
Remember that foundation work is just one part of an efficient thermal envelope. Walls, ceilings, and windows also contribute to overall comfort in your living space.
With careful planning, you can create a warm retreat that welcomes family and friends. Your efforts will result in a cozy home that conserves heat efficiently throughout the coldest months.