Does your mountain retreat feel drafty even with the wood stove roaring? If your feet are constantly cold, the problem might be right beneath them. Owners of properties in chilly regions like upstate New York and Washington’s Cascade Mountains know this struggle well.
One builder shared a telling story. During a deep freeze, a pot of water left under an unskirted structure froze solid. Yet, with the right materials in place, the interior tiles stayed comfortably warm. Another owner even found their dog’s water bowl frozen inside!
This demonstrates a fundamental issue. Without a proper thermal barrier, you are essentially heating the great outdoors. Your hard-earned warmth and money simply escape through the boards.
This guide will walk you through practical, builder-tested methods to solve this. You’ll learn how to create a cozy, energy-efficient foundation. For more insights on managing your property’s climate, explore our guide on insulating log cabins.
Let’s get started on transforming that chilly surface into a warm, welcoming part of your home.
Understanding Cabin Floor Insulation Basics
Temperature stratification is a common enemy in elevated structures, creating a noticeable difference between head and foot level. Before picking materials, grasp how warmth escapes.
Why a Warm Cabin Starts with Proper Insulation
Heat leaves your retreat through three main paths. Conduction moves it through the floorboards. Convection occurs when cold air sweeps underneath. Radiation transfers warmth from surfaces to colder areas.
An exposed foundation on piers is especially vulnerable. Wind blowing beneath the house acts like a siphon, pulling precious warmth away. This makes the interior feel drafty and cold.
The Impact of Heat Loss on Your Cabin’s Comfort
One owner reported a 70°F room temperature while the surface remained chilly. Without a thermal barrier, this difference grows even more extreme.
Floor joists can act as thermal bridges, directly conducting heat outside. Proper insulation solves this by slowing heat transfer and blocking drafts.
The result is a consistently comfortable space that heats up faster and costs less to maintain. It also protects plumbing from freezing temperatures.
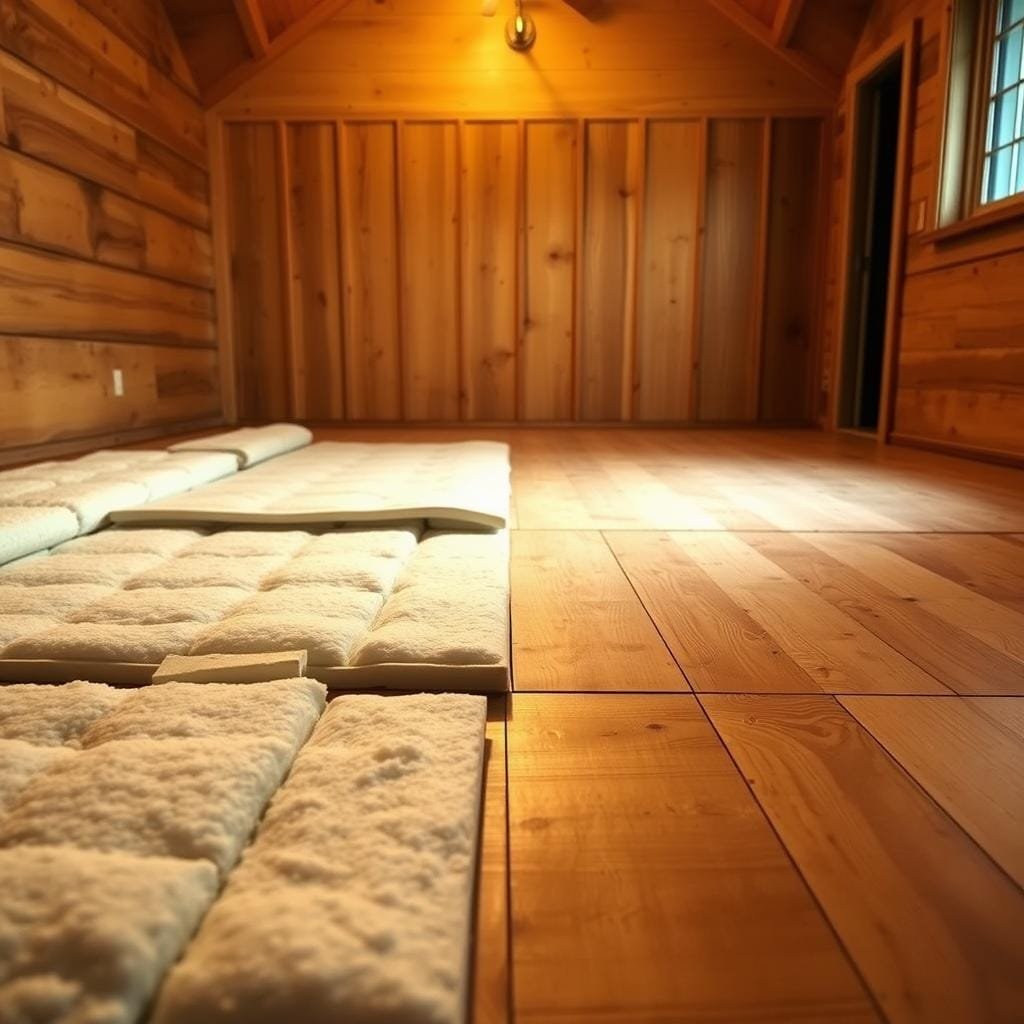
Choosing the Right Materials and Techniques
With several insulation options available, understanding their strengths and limitations will guide your selection process. Each material offers different benefits for thermal protection and moisture management.

Comparing Fiberglass, Spray Foam, and Rigid Foam
Fiberglass batt insulation remains the most budget-friendly choice. It provides excellent R-values and is easy to install between joists. However, it absorbs moisture easily and can attract rodents if not properly protected.
Spray foam offers superior performance with complete air sealing. This material resists pests and eliminates thermal bridging through wood framing. The higher installation cost is the main consideration for this option.
Rigid foam boards provide a middle-ground solution. They offer good moisture resistance and can be installed across joist bottoms. This approach effectively blocks heat transfer through the wood members.
Pros and Cons of Batts, Boards, and Vapor Barriers
Installation methods significantly impact long-term performance. Batts work well for DIY projects but require proper support to prevent sagging. Boards create a continuous thermal barrier when installed correctly.
Vapor barrier placement requires careful planning. When used on the cold side, plastic sheeting can trap condensation. Proper placement between the living space and insulation prevents moisture issues.
Many builders recommend hybrid approaches combining different materials. This strategy maximizes R-value while providing protection from environmental factors and pests.
Insulating a Cabin Floor: Step-by-Step Installation Guide
Getting the sequence right is critical to avoid moisture problems down the road. This hands-on guide walks you through the process from planning to final seal.
Planning Your Project and Preparing the Workspace
Start by measuring the spacing and depth of your joists. This tells you exactly how much material to buy. Most structures use standard 16 or 24-inch spacing.
Wait until the building is dried-in, with walls and a roof in place. Installing too early risks rain soaking the materials. This creates long-term issues that are hard to fix.
Clear the area underneath of rocks and debris. Set up temporary lighting for safety. You will be working in a confined space looking up.
Detailed Process for Installation and Vapor Barrier Placement
For fiberglass batts, push them snugly against the subfloor underside. This eliminates air gaps. You can also staple the paper facing to the joist bottoms.
When using rigid foam boards, cut them carefully. Stagger the seams for strength. Seal every joint with spray foam to create a continuous barrier.
Next, install a protective layer like OSB or corrugated steel. Secure it firmly to the joist undersides. Fasten it every 6 to 8 inches to block pests.
Finally, seal all edges and utility penetrations with caulk. This completes your air and rodent barrier. Your cozy, efficient retreat is taking shape.
Addressing Moisture, Airflow, and Code Considerations
Many cabin owners overlook critical moisture and airflow considerations when insulating their floors. Proper management of these elements ensures long-term performance and prevents costly damage.

One builder learned this lesson the hard way. Plastic sheeting installed on the cold exterior created condensation problems. This trapped water damaged the subfloor sections below.
Techniques to Prevent Condensation and Rodent Intrusion
Place your vapor barrier on the warm side between living space and insulation. This prevents interior moisture from reaching cold surfaces where it condenses.
Rodents can destroy your thermal protection. Effective barriers include OSB with sealed seams or galvanized hardware cloth. Spray foam covering joist bottoms also works well.
Navigating Building Codes and Best Practices
Local building codes vary significantly by region. Cold climates like upstate New York require higher R-values than warmer areas.
Always check with your local building department first. They provide specific requirements for vapor barriers and fire-rated materials. Proper air sealing prevents significant heat loss through gaps.
Final Thoughts on Achieving a Warm, Energy-Efficient Cabin
Real-world results confirm that proper foundation insulation delivers remarkable comfort improvements. Owners report surface temperatures reaching the 70s even during single-digit weather. This transforms your winter experience from constant chill to genuine warmth.
The investment in quality materials pays dividends every cold season. Whether choosing budget-friendly fiberglass or premium spray foam, your heating costs will drop significantly. Many find hybrid approaches work best—combining batts between joists with rigid boards across the underside.
Don’t underestimate critical details like vapor barrier placement and pest protection. Learning from community experiences helps avoid common mistakes. Proper sealing and moisture management ensure your work lasts for decades.
Remember that your building’s foundation is just one part of the complete thermal envelope. For comprehensive guidance on creating an energy-efficient retreat, explore our complete guide on how to properly protect your log. Your efforts will create the cozy sanctuary you deserve.


