Hello, fellow property owner! As the vibrant colors of autumn fade, the quiet, cold winter months approach. For those of us with a beloved getaway, this seasonal shift means it’s time to think about protection.
Leaving your cabin unoccupied during freezing weather can lead to serious trouble. When water inside pipes freezes, it expands. This force can make pipes swell and burst.
The resulting damage can be devastating. You might return to a flooded home, ruined appliances, and a very expensive repair bill. Even outdoor fixtures can cause problems, wasting resources.
This process is essential for safeguarding your investment. Whether your retreat is a summer escape or a year-round sanctuary, taking these steps now ensures it’s ready for your next visit. A little effort today prevents major headaches tomorrow.
We’ll walk you through the entire procedure. You’ll learn how to properly drain your plumbing system and protect all the components. Our goal is to give you peace of mind all season long.
Preparation and Essential Tools for Winterizing Your Cabin
Before you tackle the cold-weather prep, a well-stocked toolbox is your best friend. Having the right items on hand makes the entire process smoother and more effective.
Gathering the Right Materials and Tools
Start by collecting your supplies. You’ll need a few key things to protect your water pipes.
- RV antifreeze: This special formula is safe for your plumbing systems.
- Pipe insulation and foam board: These materials help keep the cold air away from your pipes.
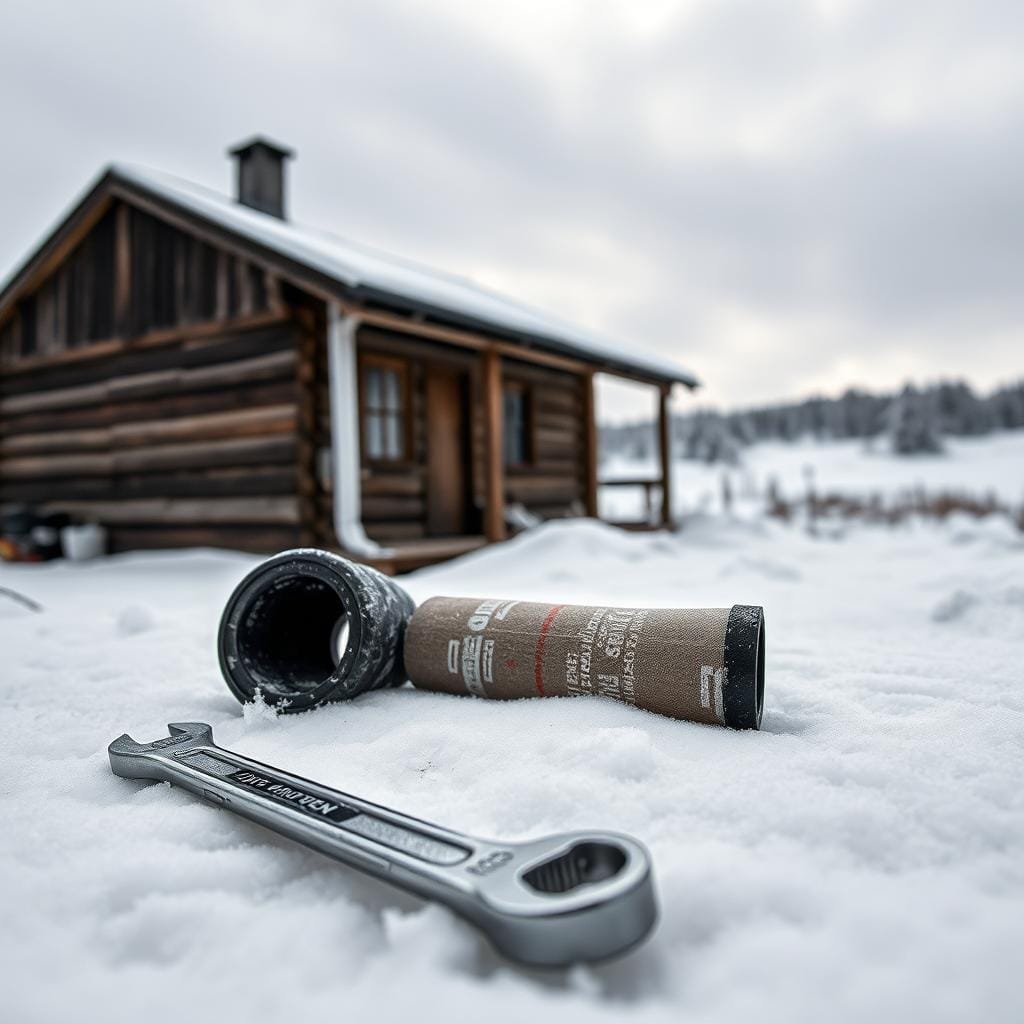
- Basic hand tools: Wrenches, buckets, and a utility knife are essential for the job.
Consider a smart space heater. It lets you monitor the temperature inside your home from afar. This is a great tip for extra peace of mind.
Assessing Your Cabin’s Plumbing Layout
Next, take a walk through your property. You need to understand how your water pipes are set up. Find the main shut-off valve and the lowest drain point.
Make a simple map of all fixtures. Note the location of toilets, faucets, and appliances like the water heater. Knowing your layout is one of the most important steps to properly winterize cabin systems. For more general tips, check out this resource on how to prep your cottage or cabin for.
Identify any pipes in unheated crawlspaces. These spots will need extra attention. A little planning now prevents big problems later.
Understanding the Risks and Benefits of Winterizing
Knowing what’s at stake financially and structurally is the first step toward effective cold-weather protection. The problems that can arise are often severe and surprisingly expensive.
Consequences of Frozen Pipes and Plumbing Damage
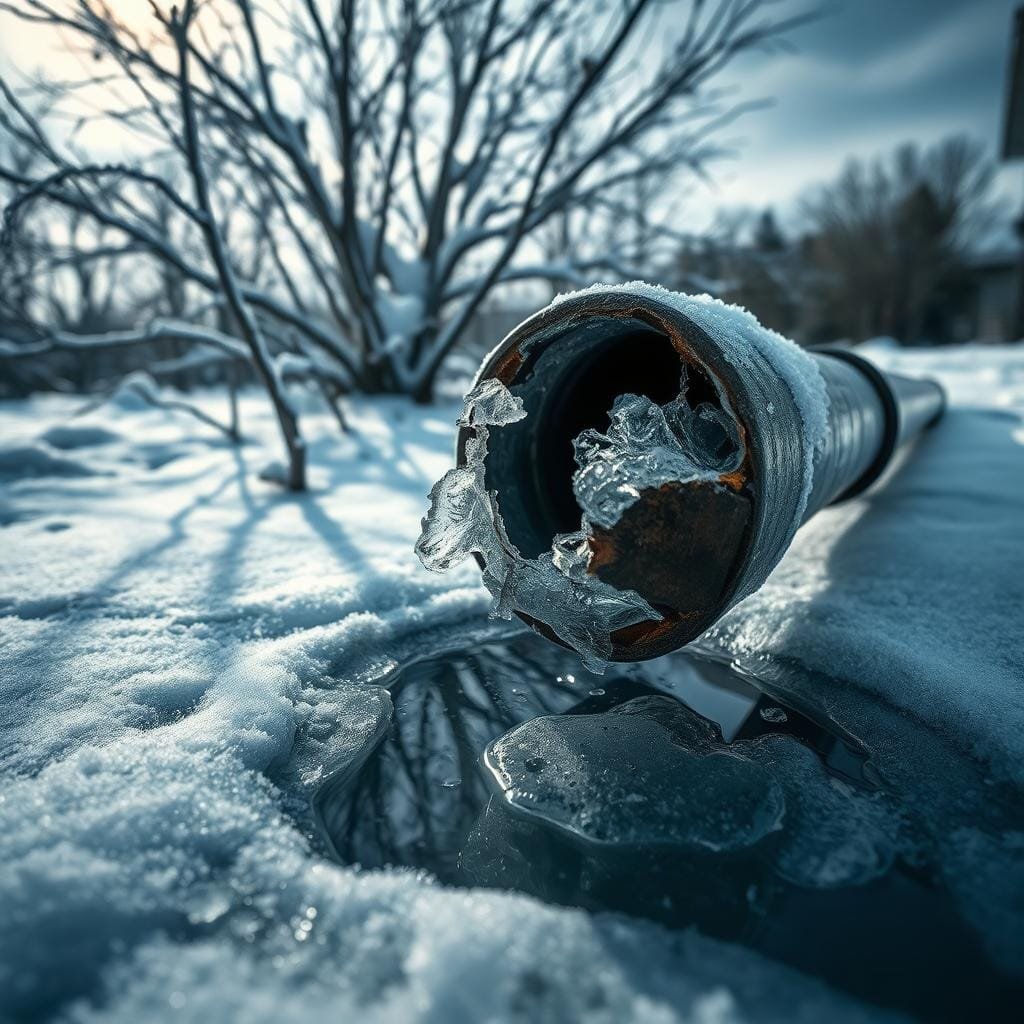
When water turns to ice, it expands with incredible force. This pressure inside your pipes has one outcome: they crack or burst. A single small break can release a flood once things thaw.
This damage isn’t limited to just the lines. Appliances like water heaters and washing machines can be ruined. Even the P-traps under sinks are at risk, leading to costly repairs.
The table below shows the clear difference between taking action and hoping for the best.
| Scenario | Potential Outcome | Estimated Cost |
|---|---|---|
| Properly Winterized | Protected pipes and appliances; peace of mind. | $300 – $1,500 (prevention) |
| Not Winterized | Burst pipes, major water damage, mold remediation. | $5,000 – $10,000+ (repairs) |
| Partial Winterization | Hidden freezing in traps or exterior lines; leaks upon return. | $1,000 – $3,000 (targeted fixes) |
The benefit of a few hours of work is immense. You protect your investment and avoid a springtime disaster. This careful prep ensures your retreat is safe all winter long.
Step-by-Step Techniques in the winterizing cabin plumbing guide
Let’s roll up our sleeves and get into the practical steps that will keep your pipes safe. This part of the winterizing cabin plumbing guide is all about action.
Draining the System and Shutting Off Water Supply
Your first move is to find the main shut-off valve. Turn water off here completely. This stops new water from entering your system.
Next, open the lowest drain point, like an outdoor spigot. Immediately open the highest faucet inside. This lets air in, helping all the water flow out.
Give it plenty of time to drain. Watch until the flow stops. For a super-thorough job, an air compressor can blast out any remaining water.
Don’t forget the toilets. Turn water off to each one, flush, and sponge out the tank. Then, pour in antifreeze to protect the bowl.
- Locate and shut off the main supply.
- Open the lowest drain and highest faucet.
- Allow time for complete drainage.
- Use an air compressor for stubborn remaining water.
- Add antifreeze to toilet bowls and all sink and tub drains.
Insulating Pipes and Fixtures Effectively
Protecting your pipes is the next critical phase. Standard foam sleeves can help, but there’s a smarter approach.
Expert Alan Hill from Maryland suggests a key tip. Instead of just wrapping pipes, install insulation *between* them and exterior walls. This keeps them on the warm side.
Make sure any plumbing in unheated spaces gets this extra attention. It’s a more effective way to winterize cabin lines.
If you plan to keep some heat on, set your thermostat to around 50°F. This provides a great safety net for your entire system.
Following these steps carefully will help you successfully winterize cabin plumbing and avoid costly spring surprises.
Protecting Home Systems and Appliances
Your cabin’s mechanical systems deserve special consideration during cold weather preparation. Major appliances with water connections need targeted methods to prevent freezing damage.
Winterizing Water Heaters, Dishwashers, and Washing Machines
Start with your water heater. If keeping electricity on, leave the electric heater running but turn the temperature to minimum. Close both inlet and outlet valves to isolate the system.
For complete shutdown or gas units, wait for the water to cool. Turn off power, close the inlet valve, and drain the tank completely. Leave the drain valve slightly open for any residual moisture.
Protect your dishwasher by turning off its hot water valve under the sink. Disconnect the supply hose and let it drain into a pan. Leave it disconnected all season.
Your washing machine needs both hot and cold lines disconnected. Run a drain cycle to clear internal lines, then add RV antifreeze to the basket.
Securing Outdoor Faucets and Utility Lines
Don’t forget exterior fixtures. Turn off interior shut-off valves for outdoor faucets. Open each faucet partially to drain trapped water and prevent pressure buildup.
Wrap all exposed pipes with foam insulation. Use waterproof tape to secure it. Pay special attention to pipes in unheated areas around your cabin.
If you have a sprinkler system, follow manufacturer instructions for proper drainage. Consider hiring a professional for complex multi-zone setups.
| Appliance | Key Protection Step | Winter Status |
|---|---|---|
| Water Heater | Drain tank or set to minimum temperature | Isolated from system |
| Dishwasher | Disconnect supply hose | Fully drained |
| Washing Machine | Add antifreeze after draining | Pump protected |
| Refrigerator | Disconnect ice maker line | Doors propped open |
| Outdoor Faucets | Wrap with insulation | Valves closed, faucets open |
These steps ensure your cabin appliances survive the cold months. For more detailed guidance, check this comprehensive winterizing resource.
Enhancing Energy Efficiency and Preventing Winter Damage
Smart energy management goes beyond just protecting pipes during the cold season. A thoughtful approach helps your property stay secure while reducing utility costs. This dual focus on efficiency and protection is key for any seasonal home.
Using Space Heaters and Smart Controls
Choosing the right heater makes a big difference in energy consumption. Programmable models that maintain temperatures around 50-55°F provide adequate heating without wasting power. This setting prevents freezing while helping you conserve energy.
Smart controls offer remote monitoring through smartphone apps. You can adjust settings from anywhere, responding quickly to unexpected cold snaps. Always make sure your heater has safety features like automatic shut-off.
Unplug all unnecessary appliances before leaving. This simple diy step prevents phantom power drain. Keep only essential heating equipment active during the winter months.
| Heating Option | Energy Efficiency | Remote Control | Best For |
|---|---|---|---|
| Basic Space Heater | Moderate | No | Short absences |
| Programmable Heater | High | No | Regular winter use |
| Smart Wi-Fi Heater | Highest | Yes | Long-term protection |
Checking Roof, Gutters, and Windows for Weatherproofing
Your exterior defenses need equal attention. Start with a thorough roof inspection before winter arrives. Look for damaged shingles that could lead to ice dams and water damage.
Clean gutters completely to prevent clogging from leaves and debris. Blocked gutters cause water backup that freezes and creates ice dams. This can cause significant damage to your roof structure.
Check all windows and doors for proper sealing. Add weather stripping to prevent cold air infiltration. Well-sealed windows help maintain consistent temperatures and improve energy efficiency throughout your property.
Wrapping Up Your Winter Preparation for a Secure Cabin
With your systems secured and your belongings protected, your retreat is ready for the quiet season. The best time for this crucial task is late September to mid-October. This gives you plenty of time before the first snow.
Remember to clear out all food to avoid attracting pests. Protect your furniture by storing soft items and tipping up cushions. A good clean and sealing small cracks are excellent tips for pest prevention.
Securing your property is also key. Store outdoor items and ensure all doors and exterior windows are locked. Whether you choose a diy approach or hire pros, this investment protects your homes from costly water damage.
Your effort now means peace of mind all winter long. You’ll return to a safe, dry getaway when the warm summer months arrive again.
