Can you nail solid hardwood straight to a cabin subfloor and call it a day? Probably not. Laying hardwood flooring in a non-standard space like a cabin means the usual rules get complicated fast. Humidity swings, rough subfloors, and no central HVAC all push back against what the standard installation guides assume.
This isn’t a job you want to rush. Get the prep wrong and you’ll hear every squeak and see every buckle for years.
Solid vs. Engineered: Which Hardwood Type Belongs in Your Space
Solid hardwood is exactly what it sounds like: one piece of wood milled top to bottom, typically 3/4 inch thick. It can be sanded and refinished multiple times, but it moves with moisture — a lot. That’s a real problem in cabins.
Engineered hardwood is built from a real wood veneer bonded over layered plywood or HDF core. That cross-ply construction fights seasonal movement far better than solid wood does, which is why it handles humidity swings without cupping or gapping as badly.
Feature
Solid Hardwood
Engineered Hardwood
Thickness
3/4 inch (standard)
3/8 to 9/16 inch (typical)
Moisture tolerance
Low
Moderate to high
Installation methods
Nail-down only
Nail, glue, or float
Refinishable
Yes, multiple times
Once or twice (veneer depth)
Best for cabins?
Only with stable HVAC
Yes, especially in humid builds
For most cabin builds, engineered hardwood is the smarter call.
What You Need Before the First Plank Goes Down
You can have the best flooring money can buy and still end up with a squeaky, buckling mess if you skip the prep. The subfloor and your tool setup matter just as much as the wood itself.
Tools That Actually Matter for This Job
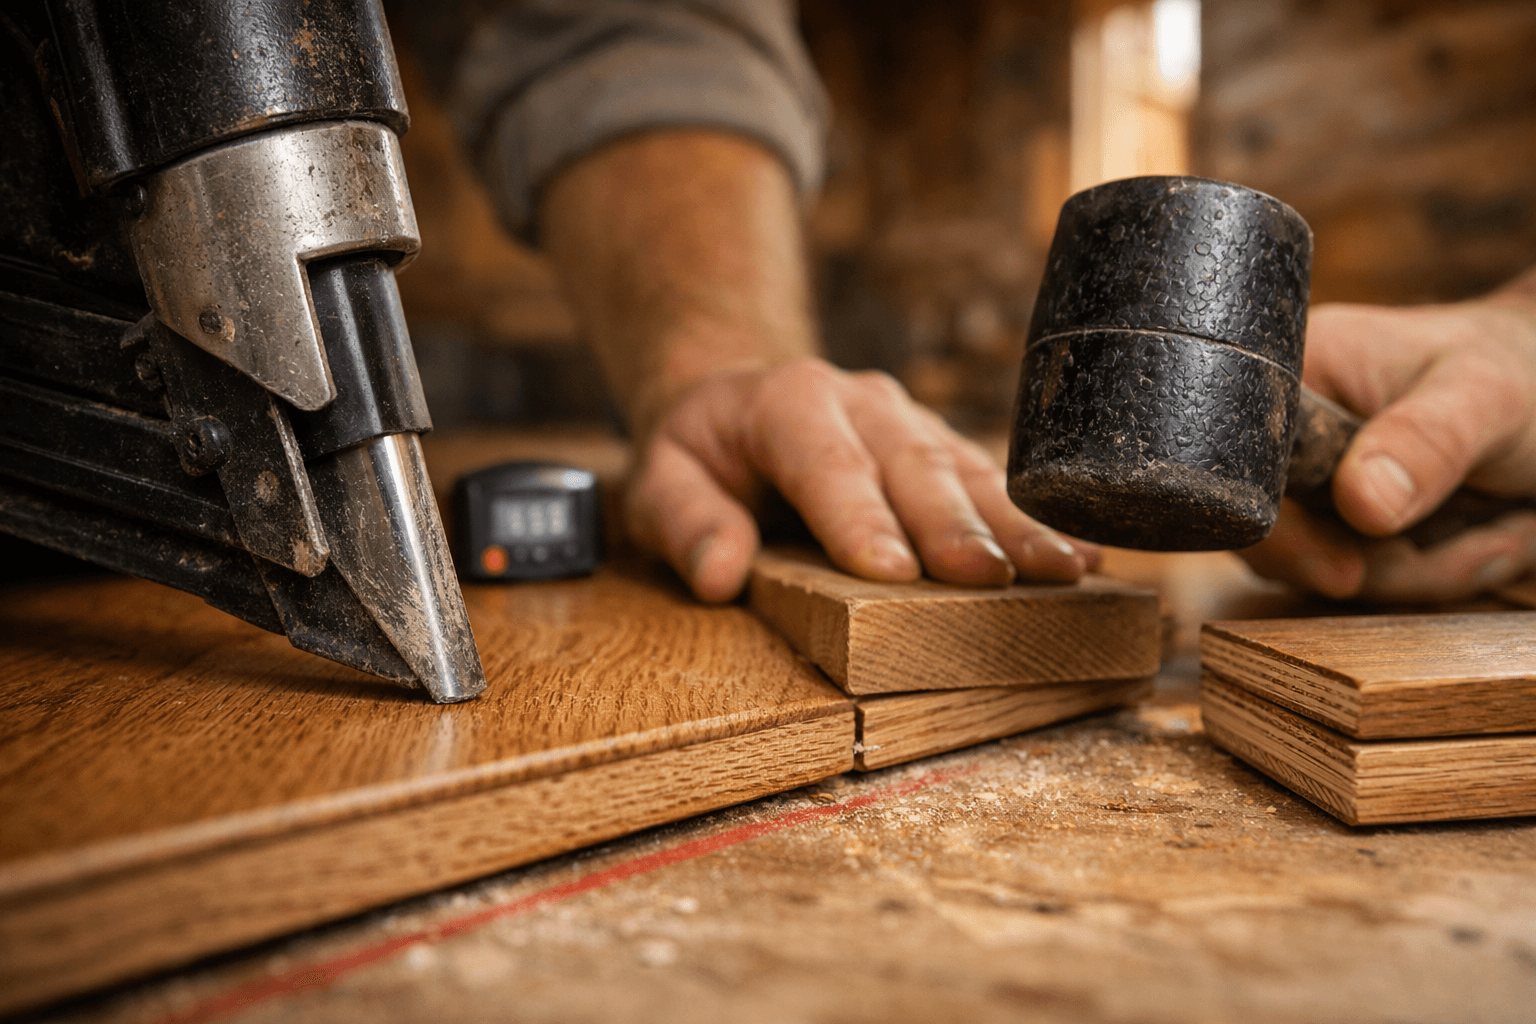
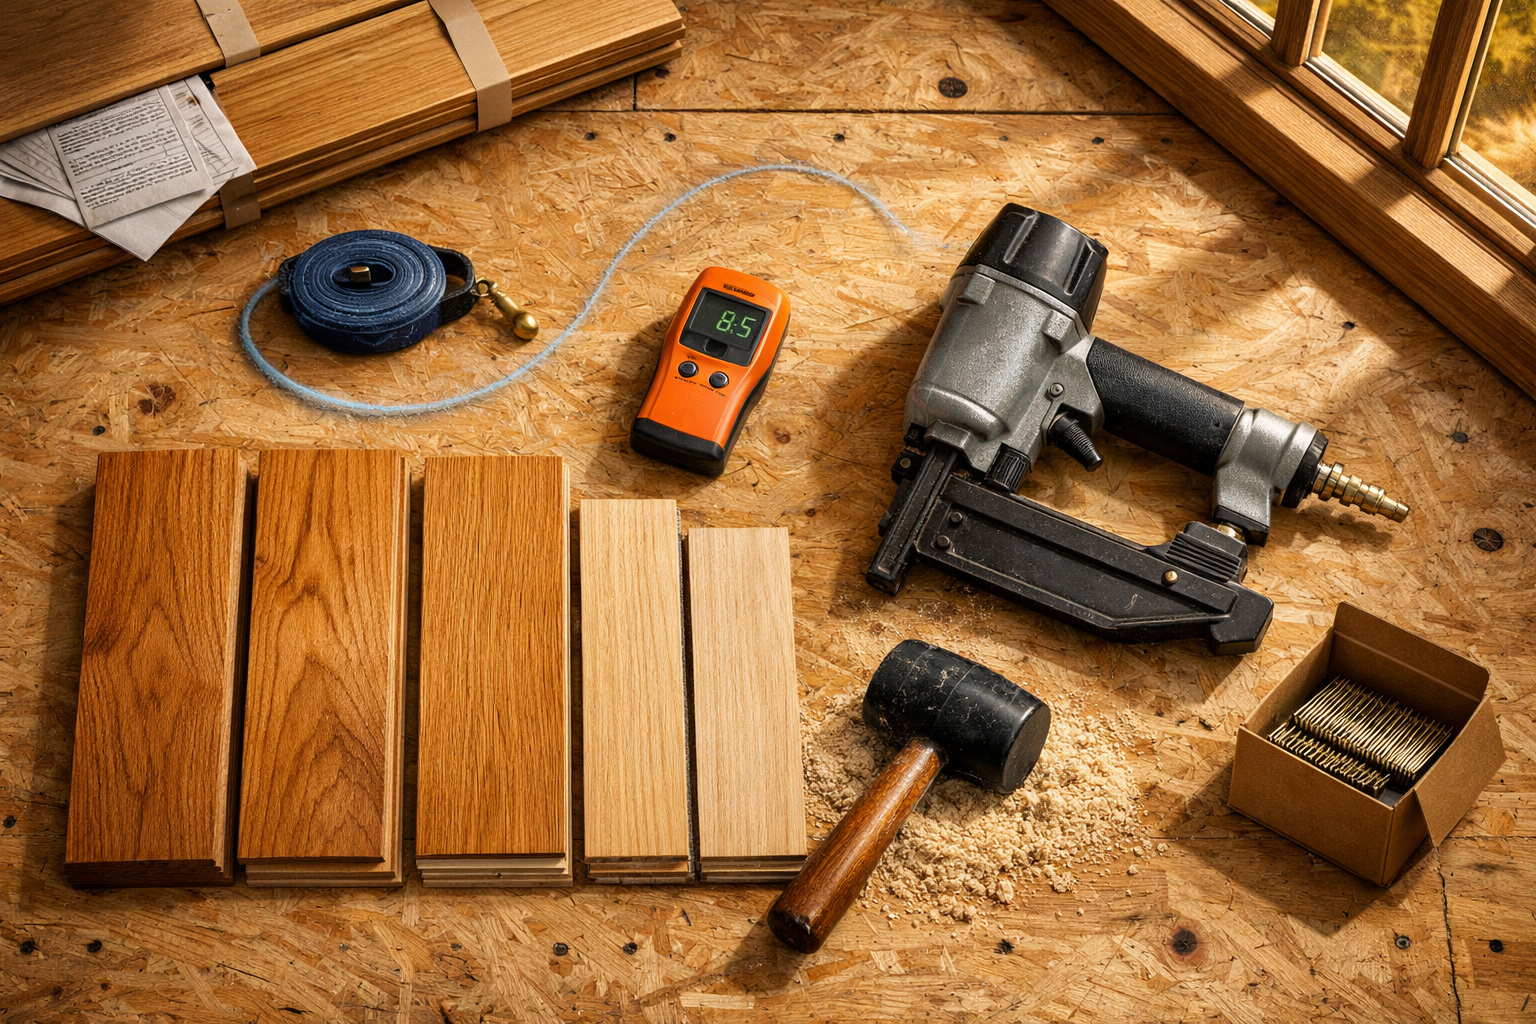
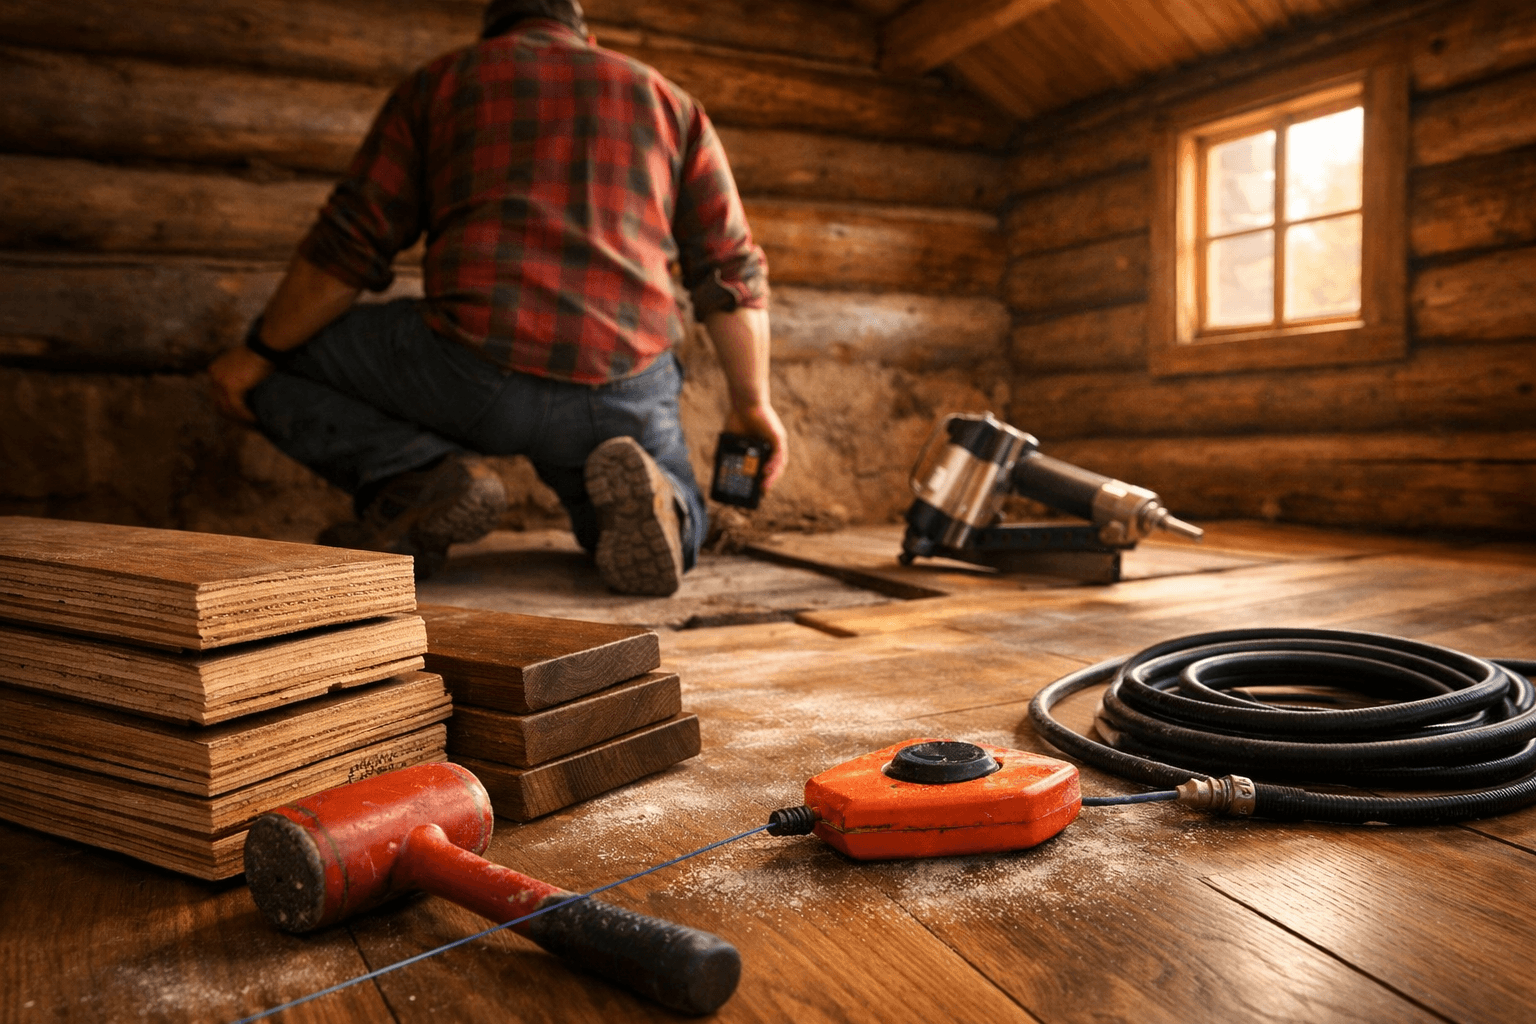
You don’t need a truck full of gear, but a few tools are non-negotiable. A pneumatic flooring nailer (also called a cleat nailer or staple nailer) is the workhorse for nail-down installs — renting one from a Home Depot tool rental counter runs roughly $40–$60 per day, which is worth it over hand-nailing every plank. Pair it with a rubber mallet to seat planks without dinging the edges.
A chalk line is how you set your layout reference — don’t skip this step, because a crooked first row compounds across the whole floor. A table saw handles rip cuts along walls, and a miter saw handles the end cuts. You’ll also want a moisture meter; a basic pin-style meter from a brand like General Tools runs around $25 and tells you exactly where your subfloor and wood stand before you commit.
A tapping block and pull bar round out the kit for getting planks tight without damaging the tongue-and-groove profile.
Subfloor Prep: Flatness and Moisture Come First
The subfloor needs to be flat within 3/16 of an inch over a 10-foot span. That’s the standard threshold most hardwood manufacturers specify, and it exists for a reason. High spots cause planks to rock; low spots leave them unsupported and prone to squeaking underfoot.
Check for flatness with a long straightedge or a level. In cabin builds, you’ll often find plank subfloors with gaps, raised fasteners, or slight crowning between joists. Grind down high spots with a belt sander or an angle grinder with a grinding disc. Fill low spots with a self-leveling compound like Henry 547 or a floor patch product — let it cure fully before you move on.
Moisture is the other half of this equation. Concrete subfloors need a moisture test; wood subfloors need a reading below about 12% moisture content before you install. If your cabin sits over a crawl space without a vapor barrier, that number can creep up fast, especially in spring. Lay a 6-mil poly sheet vapor barrier under the flooring or over the crawl space ground — both, if conditions are bad.
Acclimation Isn’t Optional — Here’s How Long It Actually Takes
Plan on at least 3 days of acclimation for engineered hardwood, and 5–7 days for solid hardwood in a typical interior space. In a cabin with higher humidity or temperature swings, push that toward the longer end. Skipping this step is one of the most common reasons floors gap in winter or cup in summer.
Acclimation means letting the wood sit in the room where it will be installed, in its opened packaging, so it adjusts to the ambient temperature and humidity before a single plank goes down. The wood expands and contracts with moisture. If it does that after installation, you’ve got a problem.
Stack the boxes with spacers between them so air can circulate on all sides. Don’t just leave them in a pile on the garage floor; they need to breathe. The room should be at the temperature and humidity level you expect it to maintain long-term. If you’re installing in a cabin that sits at 40°F in winter, don’t acclimate at 72°F and then walk away.
Check the moisture content of the wood and compare it to the subfloor reading. The gap between the two should be 4 percentage points or less for solid hardwood, and manufacturers of engineered products often allow a slightly wider gap. If you’re at 8% on the subfloor and 14% on the planks, you’re not ready. Give it more time.
One thing that trips people up in off-grid cabins: if you’re heating with a wood stove, the humidity in that space fluctuates wildly between a roaring fire and a cold morning. Run the stove during acclimation so the wood sees real conditions, not ideal ones. That’s the kind of detail a standard installation guide skips right over.
Laying Hardwood Flooring: The Step-by-Step Process
With your subfloor flat, dry, and your wood acclimated, you’re ready to actually lay planks. The order you do things matters here. A mistake in the first two rows will haunt you all the way to the far wall.
Snap a chalk line parallel to the longest straight wall, set back 3/4 inch from the baseboard to account for the expansion gap.
Check that line for square against the adjacent wall using the 3-4-5 triangle method. Measure 3 feet along one wall, 4 feet along the other, and confirm the diagonal is 5 feet.
Lay your first two rows by hand-nailing or face-nailing near the wall, since the pneumatic flooring nailer won’t fit that close to the baseboard.
Switch to the pneumatic nailer once you have enough clearance, typically after the third row.
Continue across the room, checking alignment every 4 to 5 rows with a tape measure back to your chalk line.
Cut the final row to width with a table saw, leaving that same 3/4-inch gap at the far wall.
Snapping Your Layout Line and Planning the First Row
The first row sets the angle for every row that follows, so don’t rush it. If your walls aren’t square (and in most cabin builds, they aren’t), you’ll need to decide whether to run the floor parallel to the longest wall or true to the room’s center. Running parallel to the longest wall usually looks better and wastes less material.
Once your chalk line is snapped, dry-fit three or four rows before nailing anything. That lets you see how the layout lands at doorways and whether you’ll end up with a sliver of wood at the far wall. Adjust your starting position if needed.
Nailing, Gluing, or Floating — Executing Your Chosen Method
For solid hardwood over a wood subfloor, nail-down is the right call. Use cleats or staples every 8 to 10 inches along the plank, driven at a 45-degree angle through the tongue. For engineered hardwood over concrete, glue-down using a urethane adhesive (like Bostik’s Best) gives you a solid bond without trapping moisture under a vapor barrier. Floating works for engineered products too, but it produces more hollow sound underfoot and isn’t ideal in high-traffic cabins.
Staggering Joints and Keeping Expansion Gaps Consistent
End joints between rows need to be offset by at least 6 inches. Never let two end joints land within 2 inches of each other in adjacent rows. That weakens the floor structurally and looks bad. Use a spacer (a scrap of 3/4-inch plywood works fine) along every wall to keep your expansion gap consistent as you work across the room.
Cabin-Specific Realities That Standard Guides Ignore
Standard installation guides assume climate-controlled spaces with consistent humidity year-round. Cabins don’t work that way, and that gap in assumptions causes real problems if you follow generic advice without adjusting for your actual conditions.
Humidity Swings Without HVAC Change Everything
In a cabin heated by a wood stove and left unheated in the off-season, relative humidity can swing from under 20% in dry winter months to over 70% in humid summer weeks. Solid hardwood simply cannot handle that range without moving noticeably, gapping in winter and cupping in summer. Engineered hardwood handles it better, but it still has limits.
Hygrometer readings taken over a full season (not just at install time) will tell you what you’re actually dealing with. If your cabin sits empty for months at a stretch, the wood acclimates to whatever ambient conditions exist and then readjusts when you return and fire up the stove. Leaving a small dehumidifier or desiccant system running during extended absences reduces that swing significantly and protects the floor long-term.
Uneven Subfloors in Cabin Builds and How to Handle Them
Older cabin subfloors built from rough-sawn planks or OSB over widely spaced joists (24 inches on center is common in lighter builds) often have more flex and variation than a standard residential subfloor. The 3/16-inch-over-10-feet flatness standard still applies, but reaching it takes more work.
A floor grinder with a diamond cup wheel handles stubborn high spots faster than a belt sander, especially over concrete piers or uneven blocking. For low spots deeper than 1/4 inch, self-leveling compound is the right fix. Don’t try to span a low spot with just the hardwood plank. It will flex, the tongue-and-groove joint will work loose over time, and you’ll hear it every morning.
If your cabin subfloor is actual log planks or rough-cut lumber, add a layer of 1/2-inch plywood underlayment before laying hardwood. It smooths the surface and gives the nailer something consistent to grab.
Doorways, Transitions, and the Finishing Details That Make or Break the Job
The field work is done. But the transitions and trim are what the eye actually lands on when someone walks into the room. Get these wrong and the whole floor looks unfinished, even if the field is perfect.
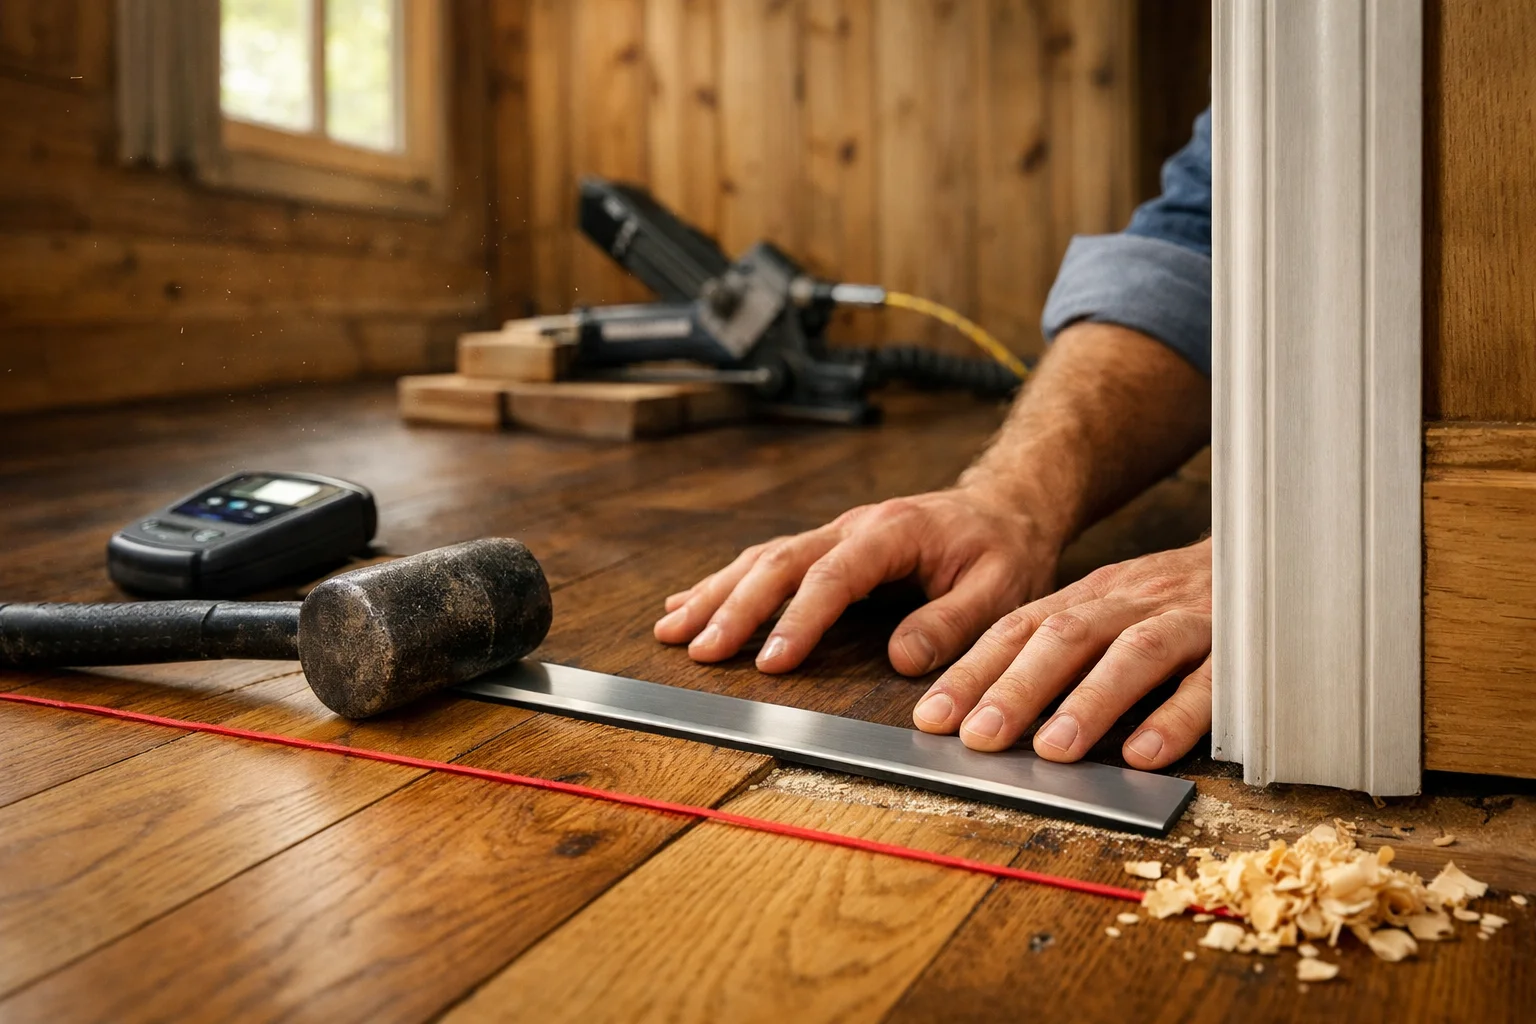
At doorways where hardwood meets a different flooring material, use a T-molding or reducer strip to bridge the height difference cleanly. These come in species-matched finishes and get glued or snapped into a track cut into the subfloor. Don’t just butt the two floors together and hope for the best, because that edge will catch and chip.
Baseboards and shoe molding cover the expansion gap along every wall. Nail the shoe molding to the baseboard, not to the floor. If the floor moves seasonally, the molding moves with the wall and doesn’t bind the planks, and that one detail prevents a lot of buckling complaints down the road.
If you installed unfinished hardwood, sanding and finishing happens after all the trim is fitted but before the shoe molding goes on. Start with 36-grit on a drum sander, finish with 80-grit, then apply your chosen polyurethane or oil finish in at least two coats.
Frequently Asked Questions
How long does laying hardwood flooring take for a typical cabin room?
For a room around 300 square feet, expect roughly two full days of work. One day for subfloor prep and layout, one for the actual installation. That doesn’t count acclimation time, which adds 3 to 7 days before you even pick up a nailer.
Can I lay hardwood flooring directly over a concrete slab in a cabin?
Don’t nail solid hardwood to concrete. It won’t hold and moisture will destroy it. Use engineered hardwood with a glue-down method and a moisture barrier membrane underneath. Test the slab first with a calcium chloride test kit; readings above 3 lbs per 1,000 square feet over 24 hours mean you have a moisture problem to fix before anything goes down.
What expansion gap should I leave in a cabin with big humidity swings?
Leave at least 3/4 inch along every wall, not the standard 1/2 inch you’ll see in most residential guides. Cabins without year-round climate control see wider seasonal wood movement, and that extra 1/4 inch of gap is cheap insurance against buckling.
Do I need underlayment for a nail-down installation over plywood?
No. Underlayment is for floating floors. With nail-down over plywood, the nailer drives fasteners directly through the hardwood tongue into the subfloor. Adding a foam layer underneath would actually reduce the floor’s stability and cause the tongue-and-groove joints to flex.