How much space do you actually need before a floor plan stops feeling like a compromise? That’s the question most people wrestle with when they start looking at floor plans for a tiny house, and the answer depends a lot on how the layout uses every square foot. A 200-square-foot plan with smart zoning can live bigger than a 350-square-foot box with wasted corners.
Getting the floor plan right before you break ground saves real money. Framing mistakes are expensive to fix, and a layout that looks fine on paper can feel suffocating once the walls go up.
Floor Plan Sizes and What You Actually Get
Square footage in a tiny house isn’t just a number — it determines which layouts are even possible. Most tiny houses fall between 100 and 400 square feet, and each size range unlocks a completely different set of layout options. The table below shows what you realistically get at each tier.
Size Range
Typical Layout
What Fits
What You Sacrifice
100–150 sq ft
Single room + loft
Sleeping loft, kitchenette, wet bath
Separate bedroom, full kitchen
150–250 sq ft
Open plan with zones
Full kitchen, small bath, sitting area
Storage, second sleeping space
250–350 sq ft
Multi-zone with defined rooms
Bedroom nook, full bath, dining area
Large closets, utility room
350–400 sq ft
Near-cottage layout
Separate bedroom, full bath, laundry
Nothing major at this size
At 200 square feet, you’re working with roughly the footprint of a two-car garage bay. Circulation space — the walking paths between furniture — needs at least 30 to 36 inches to stay functional, and that eats into your usable area faster than most first-time builders expect.
The Layouts That Work Best in Practice
No single floor plan works for every builder, but some layouts consistently perform better in real builds than they look on paper. The three below cover most DIY scenarios.
Open Single-Room Plans: Where Most Builders Start
An open single-room plan puts the kitchen, living area, and sleeping space all in one shared volume. It’s the most forgiving layout to frame and the cheapest to build, which is why it’s the starting point for most first-time cabin builders.
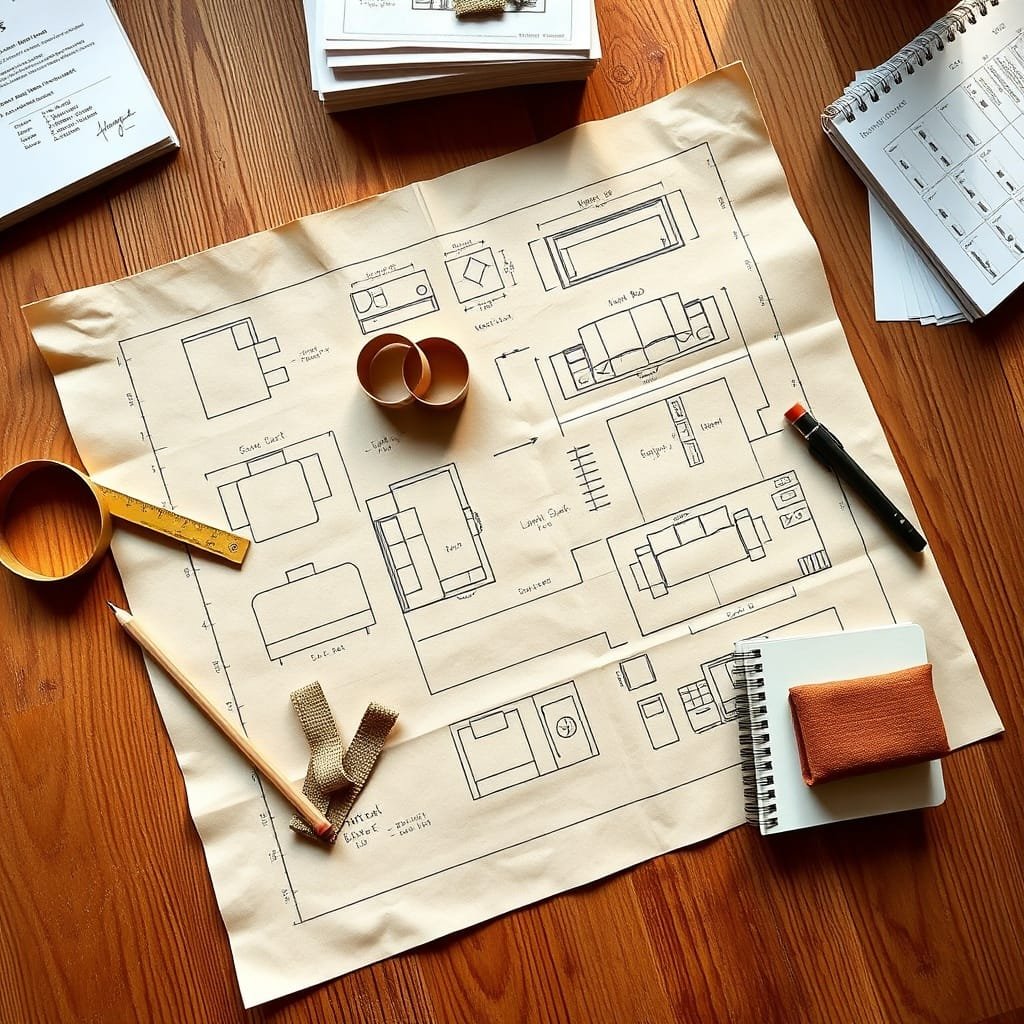
The catch is furniture placement. A 10×20-foot single-room plan sounds workable until you place a full-size bed, a sofa, and a kitchen table and realize you’ve got about 18 inches of walking space left. Sketch your furniture to scale before you finalize anything. A sheet of graph paper at 1/4 inch per foot takes 20 minutes and saves weeks of regret.
This layout works best for solo occupants or part-time weekend use. It starts to break down when two people need to be doing different things at the same time.
Loft Bedroom Designs: Ceiling Height Is Non-Negotiable
A sleeping loft solves the footprint problem by stacking the bedroom above the main living area. It’s one of the most popular floor plans for a tiny house, and it works well, but only if the ceiling height is right.
You need at least 7 feet of total ceiling height to make a loft usable long-term. That gives you roughly 3.5 feet of headroom in the loft itself after accounting for floor framing and the ceiling below. That’s enough to sit up in bed, but not to stand. Drop below 3 feet of loft headroom and most people stop using it within a few months.
Ridge beam height is the number to nail down early. On a standard gable roof with a 6:12 pitch, a 12-foot-wide cabin gets you about 9 to 10 feet at the peak, which is enough for a comfortable loft. Go shallower on the pitch and you lose that headroom fast.
Multi-Zone Plans for Couples or Part-Time Families
A multi-zone plan divides the floor plan into defined areas (usually sleeping, living, and kitchen/bath) without full interior walls. Half-walls or built-in shelving units act as dividers, giving visual separation without eating the square footage that a framed wall would.
This layout adds maybe 15 to 20 percent more framing complexity compared to an open plan, but the livability gain for two people is significant. One person can sleep while the other cooks. That matters on a rainy weekend when you’re both stuck inside.
The key design decision here is which zone gets the window wall. Natural light in the living zone makes the whole cabin feel open. Putting the only good window wall behind the bed is a common mistake that’s hard to fix after framing.
Fitting a Kitchen and Bathroom Into a Small Footprint
These two rooms cause more floor plan revisions than everything else combined. Get them wrong and no amount of clever storage fixes it.
Kitchen Placement and the Work Triangle in Tight Spaces
The work triangle — the path between your sink, stove, and refrigerator — is a standard kitchen design concept, but in a tiny house it needs to be treated as a hard constraint, not a guideline. Keep the total triangle perimeter under 13 feet, or you’ll be walking laps every time you cook.
In a cabin under 250 square feet, a galley kitchen along one wall is almost always the right call. It keeps all three work points within arm’s reach and leaves the opposite wall free for a dining nook or extra storage. An L-shaped kitchen works in slightly larger footprints, around 300 square feet and up, where you have a corner to use.
One placement mistake worth avoiding: putting the kitchen at the far end of the cabin from the entry door. You’ll carry groceries past the living area every time. Entry-adjacent kitchens aren’t always possible, but they’re worth planning for.
Bathroom Size, Wet Baths, and Where to Put the Door
A standard bathroom needs at least 35 to 40 square feet to function without feeling like a closet. If you’re building under 200 square feet total, that’s a significant chunk of your floor plan, and a wet bath is worth serious consideration.
A wet bath combines the shower and toilet in one waterproofed room, typically around 25 to 30 square feet. The whole room is the shower. It sounds uncomfortable until you’ve actually used one — they work fine, and the space savings are real.
Door placement matters more than most builders expect. A bathroom door that swings into the main living area needs 3 feet of clear swing space, which kills a corner you probably needed for something else. A pocket door or a barn door on a track solves this completely and costs roughly $150 to $250 in hardware for a basic setup. It’s one of the highest-value layout decisions you can make in a small footprint.
Built-In Furniture and Storage That Actually Gets Used
Built-ins aren’t a luxury in a tiny house — they’re how you make the floor plan functional. Freestanding furniture in a small cabin eats circulation space and shifts around. Built-ins stay put, do double duty, and can be sized exactly to your framing layout.
The four built-in features that consistently earn their square footage:
Bench seating with storage underneath — a 16-inch-deep bench along one wall gives you seating for two and a full run of piano-hinge lids that open to storage bins below. A 6-foot run holds more than most people realize: bedding, tools, off-season gear.
A stair-step loft ladder with drawers built into each tread. Each tread-drawer is shallow, around 4 to 6 inches deep, but the whole run can replace a dedicated dresser.
A Murphy bed or fold-down wall bed in single-room plans. A basic wall-mount kit from a company like Rockler runs around $300 to $400 for the hardware alone, and it frees up roughly 35 square feet of floor space during the day.
A built-in desk that folds flat against the wall. A 24-inch-deep desk on piano hinges with a single leg support takes up zero floor space when folded and works fine for part-time remote work.
Overhead cabinets above the kitchen counter are obvious, but builders often stop there. Carry them all the way to the ceiling — even that top 12 inches above standard cabinet height holds a season’s worth of dry goods or rarely used gear.
One thing worth planning early: rough in your built-in locations before you run electrical. A built-in bench that lands in front of an outlet is a problem. Know where the furniture goes before the wires go in the wall.
The other mistake is building storage in spots you can’t actually reach. A cabinet above the loft stairs sounds smart until you’re ducking under a 5-foot ceiling to get into it.
Tiny House on Wheels vs. Permanent Cabin Foundation: The Plan Changes
The structural assumptions behind a tiny house on wheels (THOW) and a permanent cabin are different enough that you can’t swap plans between them without reworking both the framing and the utilities. This is one of the most common and costly mistakes early builders make.
Structural and Utility Differences That Affect Your Layout
A THOW is built on a steel trailer chassis, which sets your floor height, limits your width to around 8.5 feet for road-legal transport, and means every wall and roof connection has to handle road vibration. Permanent cabins on a slab or pier foundation don’t have that width cap, so you can go to 12, 14, or 16 feet wide and actually change what layouts are possible.
Utilities work differently too. A THOW typically runs on a combination of shore power hookups and tank-based water systems. A permanent foundation cabin can connect to a well, a septic system, or grid power with standard residential rough-in dimensions. Those utility entry points affect where your kitchen and bathroom can actually go.
Why You Can’t Just Copy a THOW Plan for a Slab or Pier Foundation
A THOW plan is engineered around trailer load paths. The walls carry load differently than a stick-framed cabin on piers. Copy the layout without adjusting the structure and you may end up with a floor plan that works visually but doesn’t meet local residential framing requirements. Permit reviewers will catch it. Always start from a foundation-appropriate plan and adapt the layout, not the other way around.
Natural Light Placement Decides How Big the Space Feels
Window placement does more for perceived square footage than almost any other design decision. A 200-square-foot cabin with well-placed windows feels open. The same footprint with windows pushed to corners or blocked by loft framing feels like a storage unit.
The principle is straightforward: put your largest windows on the wall that faces the longest interior view. In a rectangular cabin, that’s one of the short end walls. A window centered on a 12-foot end wall draws your eye the full depth of the cabin and makes the space read longer than it is.
Clerestory windows (the narrow horizontal windows set high on a wall, above head height) are worth adding on the loft knee wall if your roof pitch allows it. They bring in light without sacrificing wall space below for furniture or storage, which is exactly the trade-off a small floor plan needs.
South-facing glass is the right call for most of the continental US. It maximizes passive solar gain in winter and is easy to shade with a roof overhang in summer. A 12-inch overhang on a standard 8-foot wall shades the window almost completely at midsummer noon. Prioritize south-facing windows early in your site orientation. It’s a decision that’s nearly impossible to fix after the walls go up.
Frequently Asked Questions
What’s the minimum square footage for a functional tiny house floor plan?
Around 150 square feet is the practical floor for a solo occupant who wants a separate sleeping loft, a small kitchen, and a wet bath. Below that, you’re giving something up, usually the kitchen workspace. For two people, 200 to 250 square feet is a more realistic starting point.
Do I need a building permit for a tiny house floor plan?
It depends on your county and whether the structure is on a permanent foundation. Permanent cabins almost always require a permit and must meet local residential codes. A THOW may fall under different rules, sometimes classified as an RV, but never assume you’re exempt. Check with your county zoning office before you finalize any floor plan.
How tall does a sleeping loft need to be to actually use it?
You need at least 44 inches of clearance above the mattress surface to sit up comfortably. Most builders target 48 inches. Anything under 40 inches works for sleeping but gets old fast. People stop using lofts that feel like crawl spaces within a season.
Can I design my own tiny house floor plan without an architect?
Yes, and many DIY builders do. Software like SketchUp (free version) handles basic 3D layout well enough to check furniture fit and ceiling clearance before you cut a single board. For a permanent foundation, a structural engineer still needs to review the framing plan. That’s not optional in most jurisdictions.