Why Cellar Wood Rot Is a Cabin Builder’s Worst Nightmare
You’ve spent months planning your dream cabin. You’ve sourced the timber, laid the foundation, and poured serious time and money into every detail. Then one day you head down to the cellar and notice something soft underfoot. A little discoloration on a beam. A faint musty smell that wasn’t there last season. That’s when the dread sets in — because you already know what it is.
Wood rot is one of the most destructive forces a cabin builder can face, and the cellar is ground zero. Below-grade spaces are naturally damp, poorly ventilated, and in constant contact with soil and concrete — all conditions that fungal decay absolutely thrives in. Once rot takes hold, it doesn’t politely wait for you to get around to fixing it. It spreads, it weakens, and it compromises the structural integrity of the entire build.
The real nightmare isn’t just the damage itself — it’s the cost and labor involved in fixing it after the fact. Replacing rotted sill plates, floor joists, or support posts in an existing cabin is backbreaking, expensive work. We’re talking about lifting structures, cutting out compromised wood, and treating the surrounding area before you can even start rebuilding. Some cabin owners have faced repair bills that rival what they originally spent on construction.
What makes this especially frustrating is that cellar wood rot is almost entirely preventable. The problem isn’t that builders don’t care — it’s that they often don’t know what to look for, what materials to use, or how moisture behaves in an enclosed below-grade space. Fungal spores are everywhere in the environment; they only need moisture and organic material to activate.
This guide is built around one goal: helping you prevent cellar wood rot before it ever becomes a problem. Whether you’re breaking ground on a new cabin or maintaining an older one, the strategies here are practical, proven, and worth every bit of your attention.
Spotting the Warning Signs Before It Gets Ugly
Catching rot early is the difference between a quick fix and a full-scale structural repair. The tricky part is that decay often starts in places you can’t easily see — behind insulation, underneath flooring, or deep inside a beam that looks perfectly fine on the surface. Knowing what to look for and where to look gives you a serious head start.
What Early-Stage Rot Actually Looks Like
Early rot doesn’t always announce itself with obvious crumbling wood. In the beginning, it tends to be subtle. You might notice a slight discoloration — gray, brown, or black staining on wood surfaces. The wood might feel slightly spongy when you press on it with your thumb, even if it looks structurally sound. Sometimes there’s a musty or earthy odor that lingers even after you’ve aired out the space.
Two main types show up in cellars: brown rot and white rot. Brown rot breaks down the cellulose in wood, leaving it dark, dry, and crumbly — it tends to crack in a blocky, cubical pattern. White rot attacks the lignin and leaves wood looking pale, stringy, and fibrous. Both are serious, but brown rot tends to move faster and is more common in below-grade environments with fluctuating moisture levels.
Soft spots, paint that bubbles or peels without explanation, and wood that sounds hollow when tapped are all red flags worth investigating immediately.
Checking High-Risk Spots in Your Cellar
Some areas of your cellar are far more vulnerable than others, and a smart inspection routine focuses on those first. Here are the spots you should be checking on a regular basis:
Sill plates — the horizontal lumber sitting directly on top of your foundation wall is constantly exposed to concrete moisture and condensation.
Floor joists near exterior walls — these are exposed to outside temperature swings and are often the first to show moisture damage.
Posts and columns — any wood post sitting on or near a concrete floor is at risk, especially if there’s no post base hardware creating separation.
Subfloor edges — where subfloor panels meet walls or rim joists, moisture tends to collect and linger.
Areas near plumbing — even a slow drip or minor condensation on pipes can create a persistently damp microenvironment.
Window and door frames — if your cellar has any openings, the framing around them is a common entry point for water infiltration.
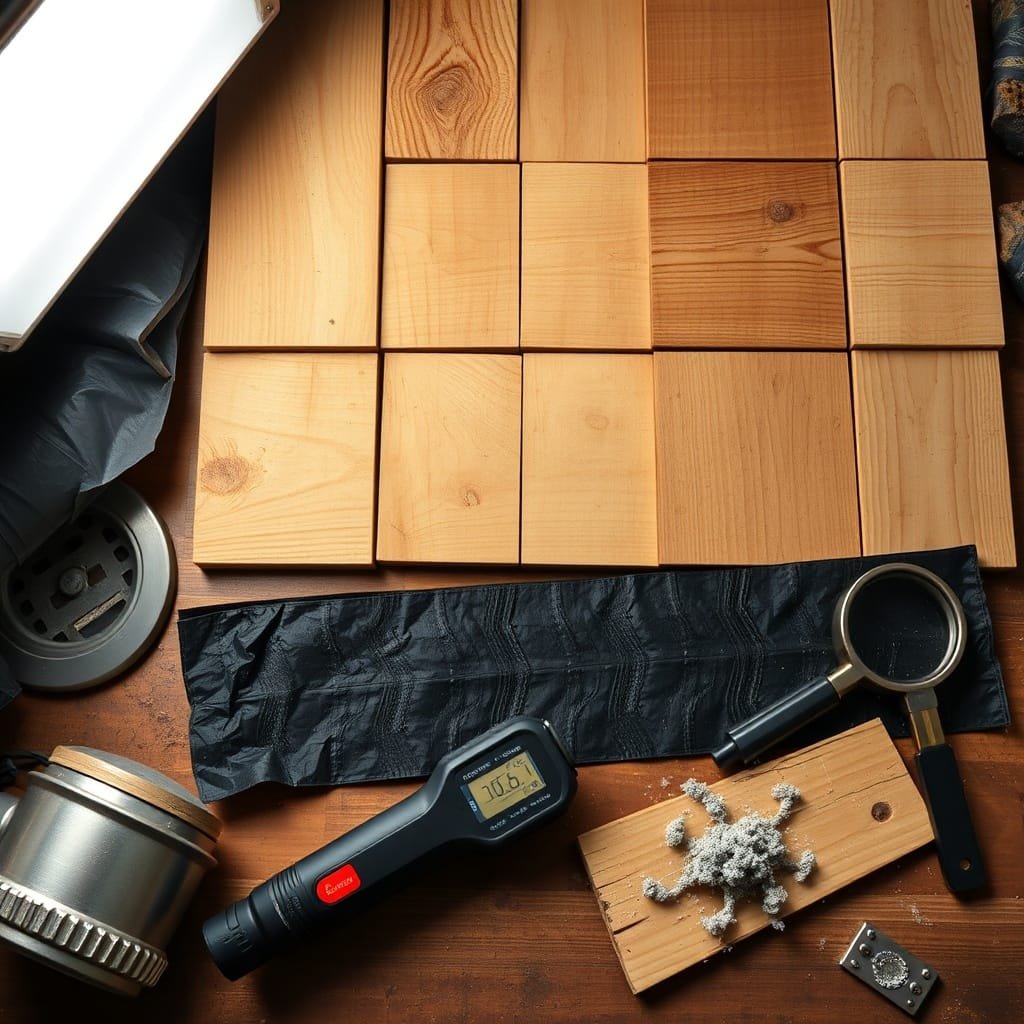
Choosing the Right Wood to Prevent Cellar Wood Rot
Not all lumber is created equal when it comes to moisture resistance. One of the most effective decisions you can make to prevent cellar wood rot happens before you ever drive a nail — it happens at the lumber yard. Choosing the right species and treatment type for below-grade applications dramatically reduces your long-term risk.
Wood Type
Rot Resistance
Best Use in Cellar
Relative Cost
Douglas Fir (pressure-treated)
High
Sill plates, floor joists
Moderate
Western Red Cedar
High (natural)
Posts, exposed framing
Moderate–High
Black Locust
Very High (natural)
Support posts, beams
High
Redwood (heart grade)
High (natural)
Framing, trim
High
Southern Yellow Pine (pressure-treated)
High
Joists, structural framing
Low–Moderate
White Oak
Moderate–High
Beams, posts
Moderate
Best Species for Below-Grade Construction
When you’re working in a cellar environment, naturally rot-resistant species are worth the extra investment. Western Red Cedar and Black Locust both contain natural oils and compounds that fungal organisms struggle to break down. Redwood heart grade — the dark, dense inner wood — has been used in damp applications for generations precisely because it holds up where softer species fail.
Pressure-Treated vs. Naturally Rot-Resistant Lumber
Pressure-treated lumber uses preservative chemicals forced deep into the wood fibers under pressure, making it highly resistant to decay and insects. It’s the more affordable option and widely available. The trade-off is that you need to handle it carefully, make clean cuts (and re-treat cut ends), and use corrosion-resistant fasteners since the treatment can react with standard steel hardware. Naturally rot-resistant species cost more upfront but require less special handling and are a great fit where chemical-free construction is a priority.
Moisture Control Strategies That Actually Work
Picking the right wood gets you halfway there, but moisture management is where the real battle is won or lost. You can install the most rot-resistant lumber on the market and still end up with a rotted cellar if water has nowhere to go. Controlling moisture at every level — from the soil outside your foundation to the air inside your cellar — is non-negotiable if you want to prevent cellar wood rot long-term.
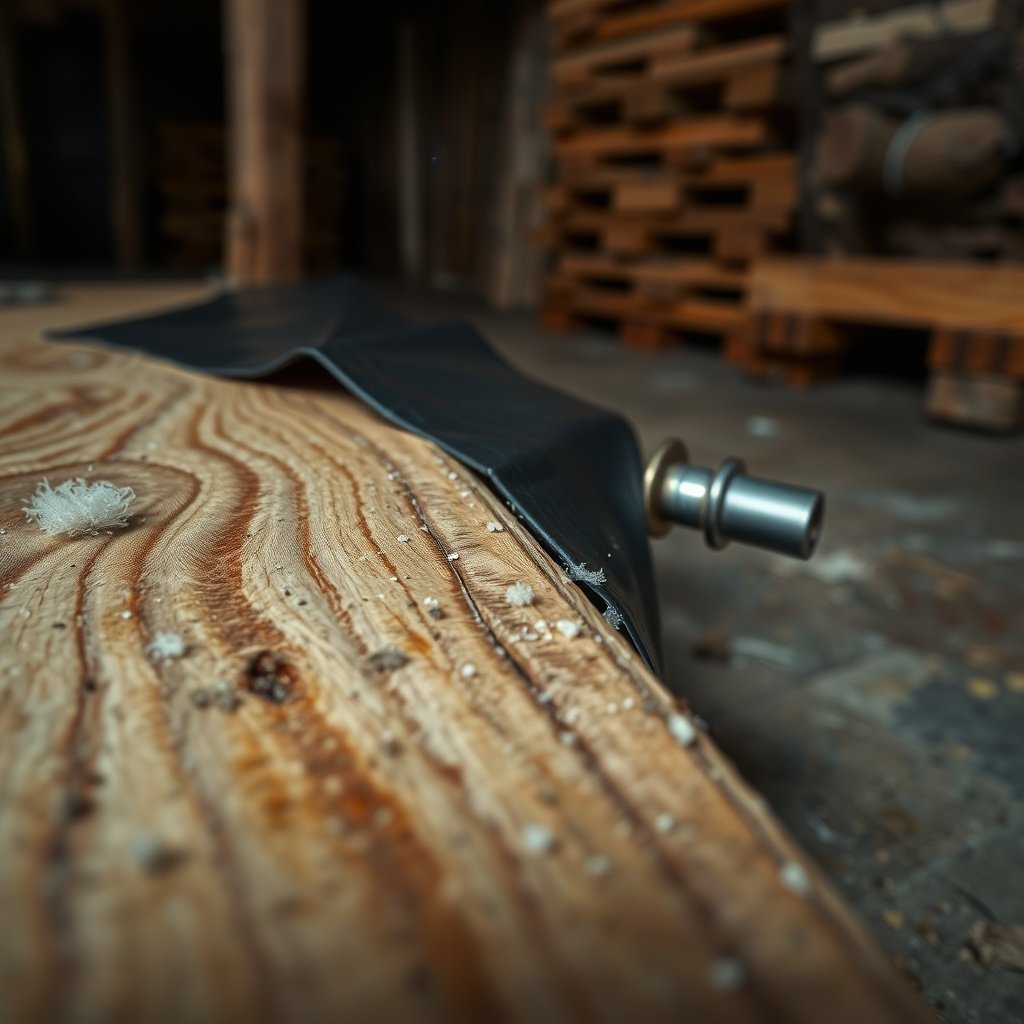
Vapor Barriers and Drainage Systems
The ground beneath and around your cabin is constantly releasing moisture vapor, and without a proper barrier, that vapor migrates straight into your cellar framing. A vapor barrier — typically a 6-mil or thicker polyethylene sheeting — installed across the cellar floor and up the walls creates a critical layer of separation between the soil and your wood structure. Overlap seams by at least 12 inches and tape them with a moisture-resistant tape. Don’t skip the wall sections; moisture wicks up concrete just as readily as it rises from bare soil.
Drainage matters just as much as barriers. French drains installed around the exterior perimeter of your foundation redirect groundwater before it ever has a chance to press against your walls. Interior drainage channels paired with a sump pump handle any water that does make it through. Grade your soil so it slopes away from the foundation at a minimum of 6 inches over 10 feet — this one simple step keeps a huge volume of surface water from pooling against your structure.
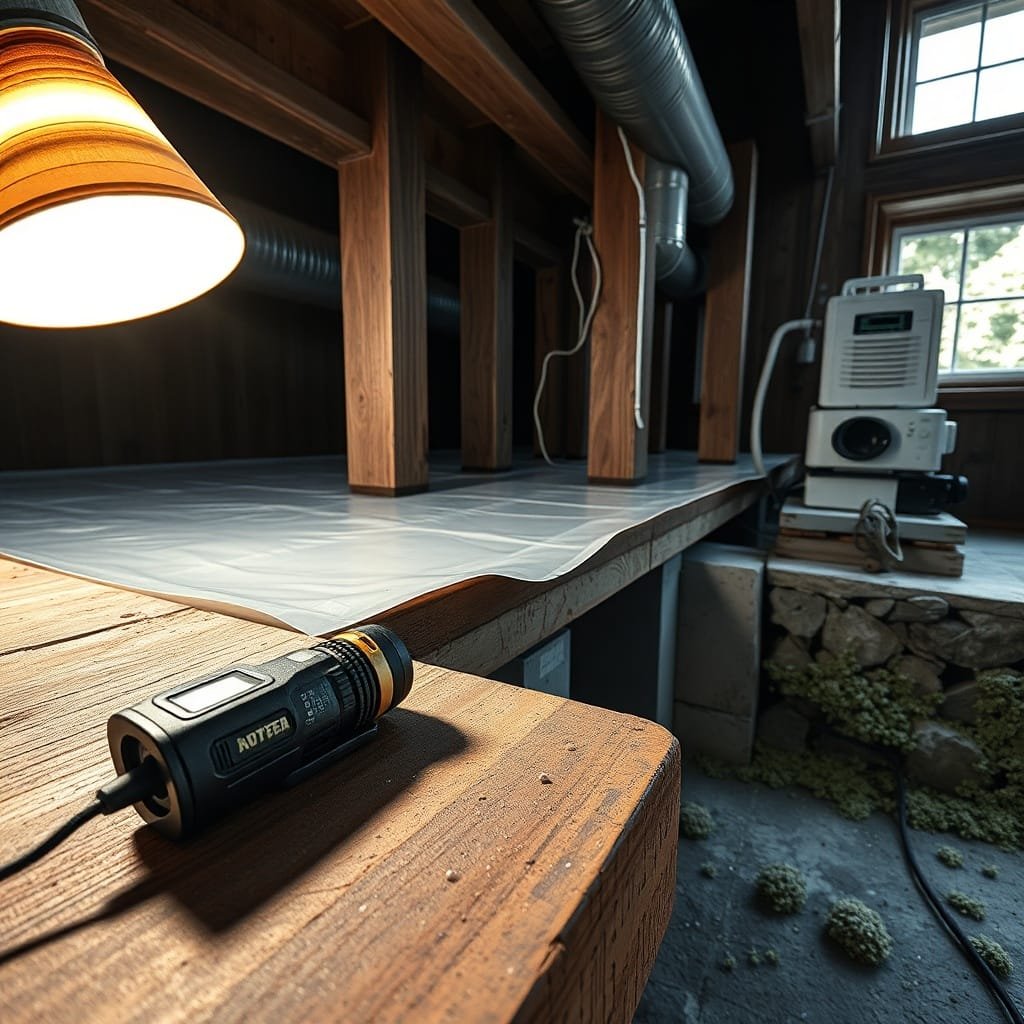
Ventilation Tips for Damp Cellar Spaces
Stagnant air is rot’s best friend. Even with a vapor barrier in place, humidity can build up inside a closed cellar and create the damp conditions that fungal decay needs. Cross-ventilation — achieved through strategically placed vents on opposing walls — keeps air moving and moisture levels in check. A general rule of thumb is 1 square foot of vent area for every 150 square feet of cellar floor space.
In tighter builds where natural airflow is limited, a mechanical ventilation system or a dedicated dehumidifier can make a real difference. Units like the Santa Fe Compact70 or Aprilaire 1850 are built specifically for below-grade environments and can maintain humidity levels below the 60% threshold where most fungal growth stalls. Monitor your cellar with a hygrometer year-round so you always know what you’re dealing with before it becomes a problem.
Wood Treatments and Sealants Worth Using
Even with the best species selection and moisture management in place, adding a layer of chemical protection to your cellar wood is a smart final line of defense. The market has a solid range of products designed specifically for this kind of application, and knowing which ones actually perform helps you avoid wasting money on products that don’t hold up.
Product
Type
Best Application
Reapplication Needed
Copper Borate (Bora-Care)
Penetrating preservative
Structural lumber, sill plates
Every 5–10 years
Copper Naphthenate (Tenino)
Oil-based preservative
Cut ends, exposed framing
Every 3–5 years
Olympic Rescue It!
Waterproof sealant
Subfloor panels, exposed surfaces
Every 2–3 years
Thompson’s WaterSeal
Surface sealant
Light-duty interior wood
Every 1–2 years
End Cut Solution (Wolman)
End-grain preservative
Cut ends of pressure-treated lumber
After every cut
Epoxy consolidant (LiquidWood)
Structural repair/sealer
Early-stage rot repair, sealing
As needed
How to Apply Preservatives the Right Way
The product is only as good as the application. Rushing this step is one of the most common mistakes cabin builders make, and it significantly reduces the protection you actually get. Follow this process for reliable results:
Clean the wood surface thoroughly — remove dirt, dust, old sealant, and any visible mold or mildew using a stiff brush and a diluted bleach solution before applying anything.
Let the wood dry completely — most preservatives require moisture content below 19% for proper penetration, so don’t apply to wet or freshly cut lumber without allowing adequate drying time.
Apply generously to end grain first — cut ends absorb moisture at a rate up to 15 times faster than face grain, so saturate them thoroughly and allow the first coat to soak in before adding a second.
Work preservative into joints and connections — anywhere two pieces of wood meet is a trap for moisture, so use a brush to work product into cracks and seams rather than just coating flat surfaces.
Allow full cure time before enclosing — check the manufacturer’s specs, but most penetrating preservatives need at least 24–48 hours before you cover them with insulation or finish materials.
Building Habits That Stop Rot Before It Starts
Good materials and good products only go so far if your day-to-day building practices are working against you. Some of the most damaging rot situations we see in cabins come down to small, avoidable habits that seemed harmless at the time. Changing how you build — not just what you build with — is where long-term protection really comes from.
Never let wood sit in contact with concrete without a physical separation. Concrete holds moisture and wicks it directly into any wood touching its surface. Use metal post bases, sill gaskets, or HDPE spacers to create that critical air gap. It takes five minutes and costs next to nothing compared to replacing a rotted post years later.
Be deliberate about how you store lumber on site before installation. Wood stacked directly on the ground or left uncovered in wet weather absorbs moisture before it’s ever part of your structure — and that head start on moisture content makes early rot far more likely. Stack lumber on elevated supports and cover it with breathable tarps.
Seal every cut end immediately. Every time you run a saw through pressure-treated or sealed lumber, you’re exposing untreated wood fiber to the environment. Keep a brush and a can of end-cut preservative on your work belt and treat cuts before they ever go into position.
Finally, think carefully about wood-to-soil clearance. Any structural wood should maintain at least 6 inches of clearance above finished grade. This keeps splash-back, soil moisture, and ground-dwelling insects from having direct access to your framing. It’s a simple measurement that pays dividends for the entire life of the structure.
Maintaining Your Cellar Wood Year After Year
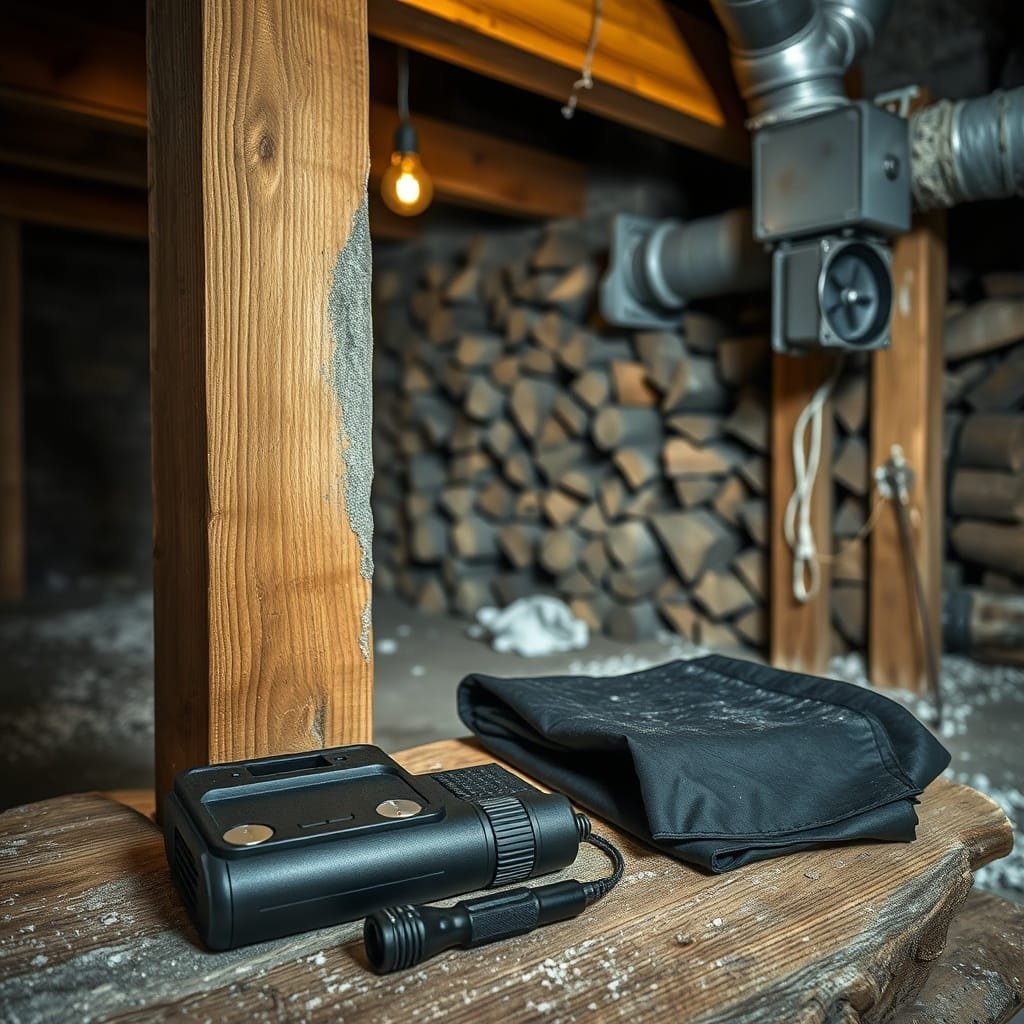
Preventing cellar wood rot isn’t a one-time project — it’s an ongoing commitment. The good news is that a consistent inspection and maintenance routine doesn’t have to be complicated or time-consuming. Catching small issues early keeps them from turning into expensive structural problems, and most of what’s involved can be handled by any capable DIYer with basic tools.
Seasonal Inspection Checklist
Different seasons bring different threats to your cellar wood, so timing your inspections around the calendar makes a lot of sense. Spring is your most important inspection window — after a winter of freeze-thaw cycles and snowmelt, moisture levels in and around your foundation are at their peak. This is when you’re most likely to find new soft spots, staining, or areas where vapor barriers have shifted or torn.
In summer, focus on ventilation performance. Check that vents are clear of debris, confirm your dehumidifier is running within its target range, and look for any signs of condensation on pipes or framing that might indicate humidity is creeping up. Fall is the time to prep for winter — reseal any exterior penetrations, clear drainage paths, and make sure your sump pump is functioning before the wet season hits. A quick winter walkthrough after any major storm or thaw is always worth the few minutes it takes.
Each inspection should cover your sill plates, floor joists, post bases, and any areas near plumbing. Bring a flashlight and a screwdriver — probing suspect areas with the tip tells you a lot about what’s going on beneath the surface.
When to Call in a Pro vs. DIY Fix
Most early-stage rot situations are well within DIY territory. If you catch a soft spot on a non-structural piece of trim, a small section of subfloor, or surface discoloration on a joist, cleaning it up, treating with an epoxy consolidant, and applying a preservative coat is a reasonable weekend project.
Where you need to bring in a professional is when rot has reached structural members — sill plates, main carrying beams, or support posts. Compromised structural wood affects the load path of your entire cabin, and improper repairs can create new failure points. A licensed contractor or structural engineer can assess whether a member needs sistering, partial replacement, or full replacement, and do it safely. If you’re seeing active fungal growth across multiple areas, that’s also a sign the underlying moisture problem is bigger than a DIY fix can address on its own.
Frequently Asked Questions
How quickly can cellar wood rot spread once it starts?
Under ideal conditions for fungal growth — warm temperatures, high humidity, and consistent moisture — rot can spread noticeably within a few weeks. Brown rot in particular moves fast, sometimes compromising a full joist span within a single wet season. This is why early detection matters so much. Catching it in the first few inches is a repair job; missing it for a year or two can mean full structural replacement.
Can I build over existing rot if I treat it first?
It depends on how far the decay has progressed. Surface-level or early-stage rot can sometimes be stabilized with an epoxy consolidant like LiquidWood, which hardens degraded wood fibers and creates a workable surface. However, if the wood has lost significant structural strength, no treatment will restore it — that material needs to come out before you build over it. When in doubt, replace rather than treat.
What humidity level should I maintain in my cellar?
Keep relative humidity below 60% consistently. Most fungal decay organisms need humidity above that threshold to stay active. A hygrometer makes it easy to monitor, and a quality dehumidifier like the Aprilaire 1850 can maintain target levels even in persistently damp below-grade spaces.
Does pressure-treated lumber need additional sealant in cellar applications?
Yes, especially at cut ends. The pressure-treatment process saturates the outer wood fibers, but sawing through treated lumber exposes untreated interior wood. Always apply an end-cut preservative like Wolman End Cut Solution immediately after any cut. For extra protection on sill plates and joists, a topcoat of copper borate solution adds another layer of defense.
Is concrete contact really that damaging to wood?
Absolutely. Concrete is hygroscopic, meaning it actively draws and holds moisture from the surrounding environment. Any wood in direct contact with concrete is essentially sitting against a persistent moisture source. Metal post bases and sill gaskets are inexpensive solutions that make a significant long-term difference.