How much work does it actually take to restore a deck stain that’s gone gray, cracked, or peeling? More than most people expect. Less than starting over with new boards. A proper deck stain restoration isn’t a cosmetic fix. It’s the difference between boards that last another decade and boards that rot from the inside out.
The good news is that the process is straightforward if you follow it in the right order. Skip a step, though, and you’ll be back out there in two years doing it all again.
Deck Stain Is Your Board’s Moisture Barrier, Not Just a Color Coat
Most people think of deck stain as a color choice. It’s not. Stain is the primary moisture barrier standing between your deck boards and the rot cycle. Water gets in, wood swells and contracts, and over a few seasons the structural integrity starts going.
Wood porosity is what makes stain work. The stain penetrates the wood fibers and seals them from the inside, which is something paint can’t do. When that stain fails, water doesn’t just sit on the surface. It moves through the grain. On a cabin deck exposed to rain, snow, and direct sun, an unprotected board can show visible checking and graying in under a year. Restoration done right buys you 3–5 years of real protection.
The Full Restoration Process, Step by Step
Restoring a deck isn’t complicated, but sequence matters. Staining before the wood is fully dry is the most common reason a fresh stain job looks bad within a season. Get the order right and the results hold up.
Strip the old stain completely before applying anything new.
Clean the deck surface with a dedicated deck cleaner.
Apply a wood brightener to rebalance the wood’s pH.
Sand rough spots, inspect boards for damage, and let the wood dry fully.
Apply your chosen deck stain in thin, even coats.
Clean the Deck and Strip the Old Stain
Never apply new stain over old peeling or flaking stain. The new product has nothing solid to bond to, and you’ll get adhesion failure within months. Start with a dedicated deck stripper. Products like Defy Stain Stripper or similar sodium hydroxide-based strippers work by breaking down the existing stain so it can be scrubbed and rinsed away.
Apply the stripper with a pump sprayer, let it dwell for the time listed on the label (usually 15–20 minutes), then scrub with a stiff-bristle brush and rinse thoroughly. A pressure washer set around 1,200–1,500 PSI works well here, but keep the tip moving. Holding it too close or too long will raise the wood grain and create fuzzy fibers that hold stain unevenly.
Brighten the Wood After Cleaning
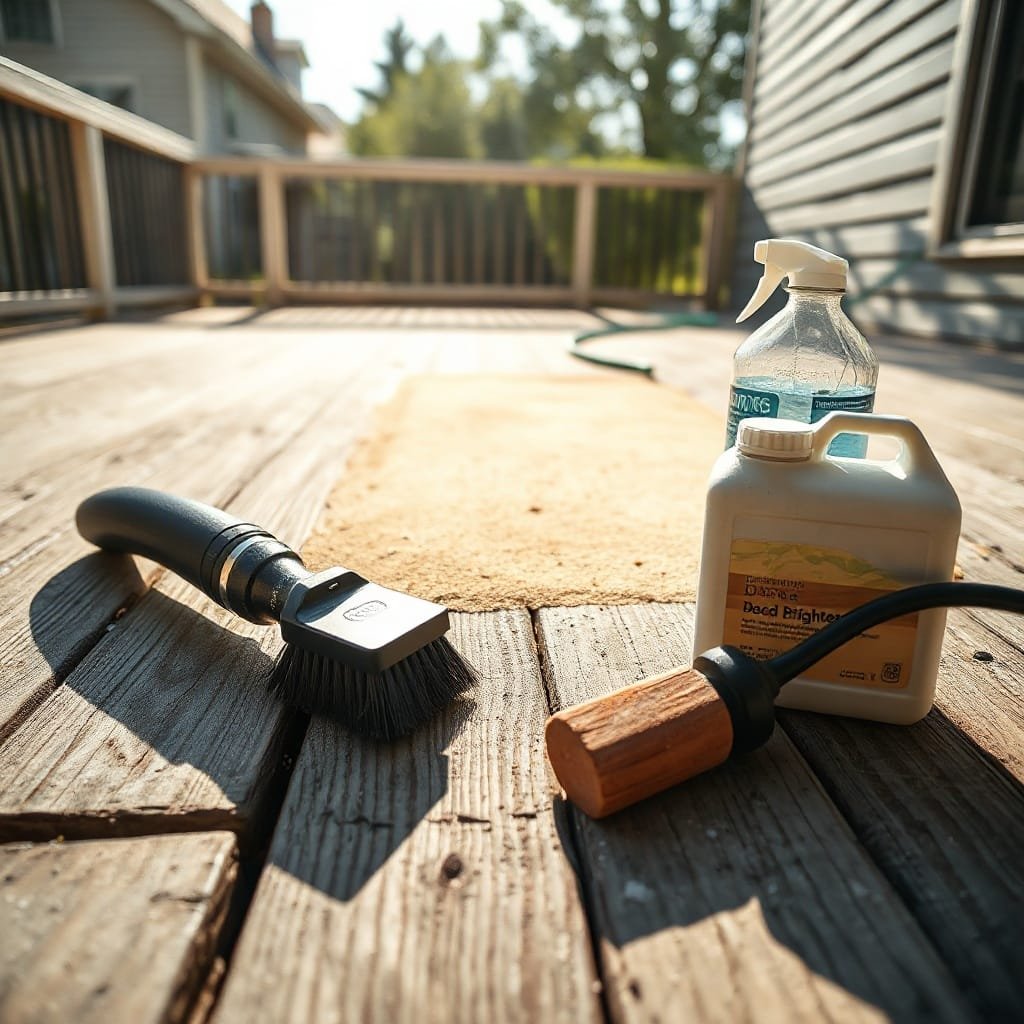
This step gets skipped constantly, and it’s a real problem. Deck cleaners and strippers are alkaline, which raises the wood’s pH and leaves it with a dull, gray, slightly rough surface. Wood brightener (typically an oxalic acid solution) neutralizes that alkalinity and opens the wood grain back up so stain can penetrate properly.
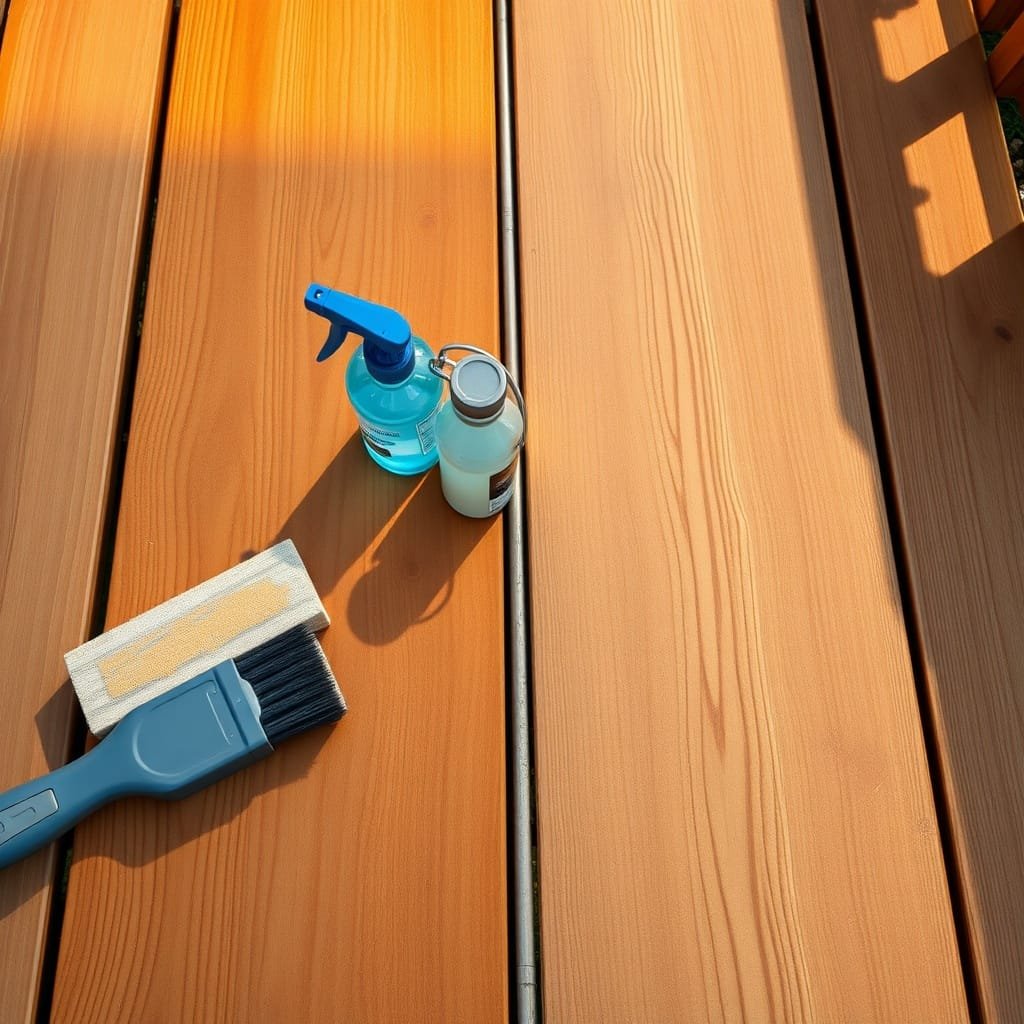
Brush or spray the brightener on, let it sit for about 10 minutes, then rinse. You’ll see the color shift noticeably: the wood goes from a washed-out gray to a warm, honey-toned brown. That color change tells you the wood is ready to accept stain the way it should.
Sand, Inspect, and Prep for New Stain
Once the deck dries, give it at least 48 hours (longer if the weather has been humid), then do a light sand with 60–80 grit sandpaper. Focus on boards that feel rough or have raised grain from the pressure washing. You’re not trying to refinish furniture here. You’re smoothing out anything that would cause the stain to sit unevenly.
While you’re sanding, inspect every board. Look for soft spots, deep checking (cracks running along the grain), or boards that flex more than they should. A board with checks deeper than about 1/4 inch needs filler or replacement before staining. Stain won’t seal a crack that wide. Replace any boards that feel spongy underfoot; those are already rotting and stain won’t save them.
Oil-Based vs. Water-Based Deck Stain: Which One Actually Holds Up
Go with oil-based stain for most cabin decks. It penetrates deeper, handles heavy moisture exposure better, and tends to last longer on rough-sawn or older wood. Water-based stain has real advantages too, but the choice depends on your wood species and your situation.
Feature
Oil-Based Deck Stain
Water-Based Deck Stain
Penetration depth
Deep — soaks into wood fibers
Moderate — sits closer to surface
Dry time (touch-dry)
12–24 hours
2–4 hours
Full cure time
48–72 hours
24–48 hours
Durability on high-traffic decks
3–5 years typical
2–4 years typical
Cleanup
Mineral spirits required
Soap and water
VOC level
Higher
Lower
Best for
Older, porous, or rough wood
Newer wood, low-VOC preference
How Your Wood Species Affects the Choice
Pressure-treated pine is the most common deck wood. It’s fairly porous and absorbs oil-based stain well. Cedar and redwood are naturally oily woods (extractive-rich species), and that natural oil can actually resist water-based stain adhesion on newer boards. If you’re working with cedar that’s less than a year old, let it weather for a full season before staining, or the stain won’t bond properly.
Hardwoods like ipe or cumaru are so dense that most penetrating stains struggle regardless of formula. For those species, a product specifically labeled for hardwood decking is worth the extra cost. A general-purpose deck stain applied to ipe will sit on the surface and peel within a season.
Solid, Semi-Transparent, or Clear: Matching Opacity to Your Deck’s Condition
The condition of your boards should drive this decision more than color preference. A deck with significant weathering, checking, or uneven color needs a solid or semi-solid stain to cover the damage and provide a uniform finish. Semi-transparent stain works well on boards that are in decent shape but have lost their original color. Clear or toner finishes are really only appropriate for newer wood in good condition. They offer the least UV protection and will need reapplication more often.
If your deck has boards in mixed condition (some weathered, some replaced recently), go semi-solid. It covers enough to hide the variation without looking like painted wood. Solid stain looks great on a freshly restored deck but shows peeling more dramatically when it eventually fails, which is worth knowing before you commit.
Applying the New Stain Without Lap Marks or Blotchy Spots
Application technique is where most DIY stain jobs go wrong. The boards look fine while you’re working, then you step back and see dark streaks, blotchy patches, or visible overlap lines where one pass met the next. Work in the direction of the wood grain, and never let a wet edge dry before you continue the next board. That’s the core rule.
Temperature and sun matter more than people expect. Staining in direct sunlight on a hot afternoon (say, above 90°F) causes the stain to dry before it penetrates, which leaves a film on the surface instead of soaking in. Early morning or an overcast day is the right window. Aim for 50–85°F with no rain in the forecast for at least 24 hours.
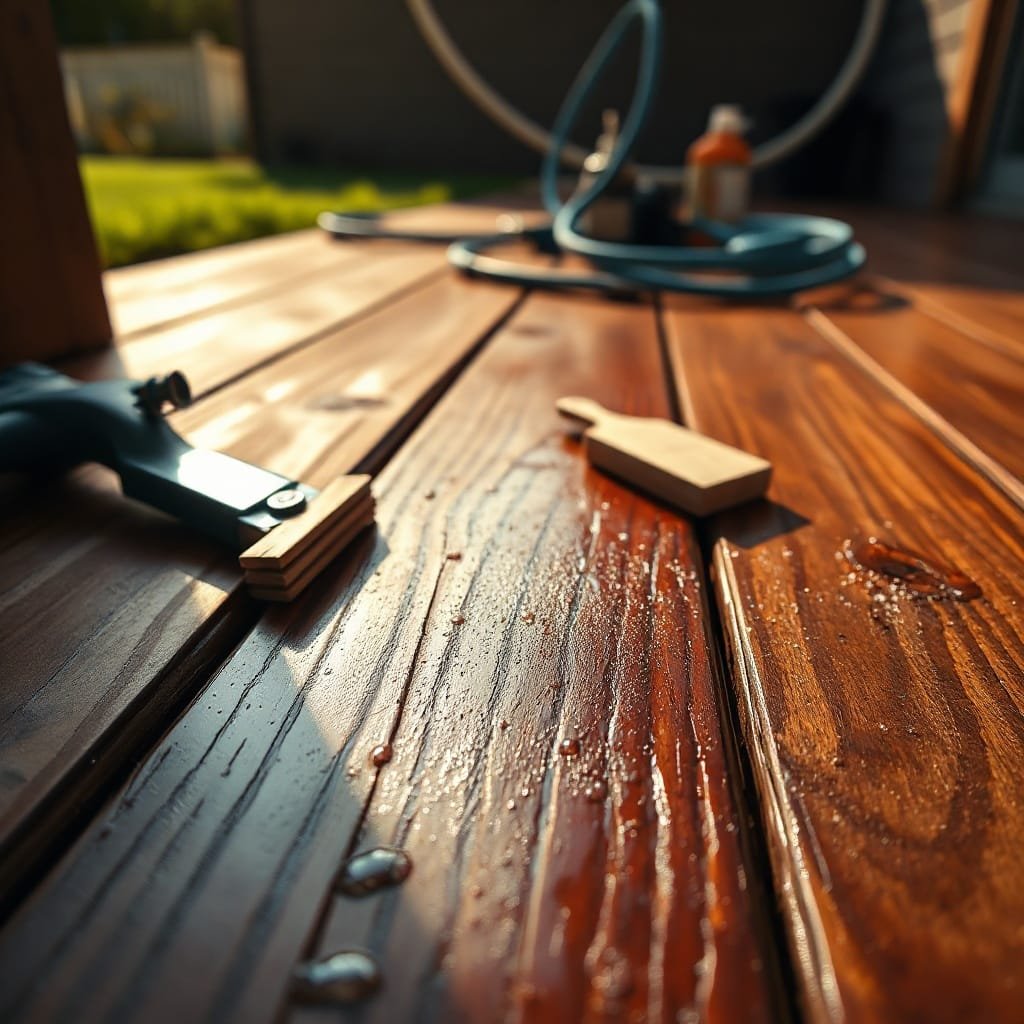
Apply stain thin. A thick coat doesn’t add protection. It sits on the surface, traps air, and peels. If you can see the stain pooling in the grain, you’ve put on too much. Wipe back any excess within 5–10 minutes with a clean rag, especially on end grain, which absorbs stain fast and goes dark if you don’t catch it.
Tools That Give You the Most Control
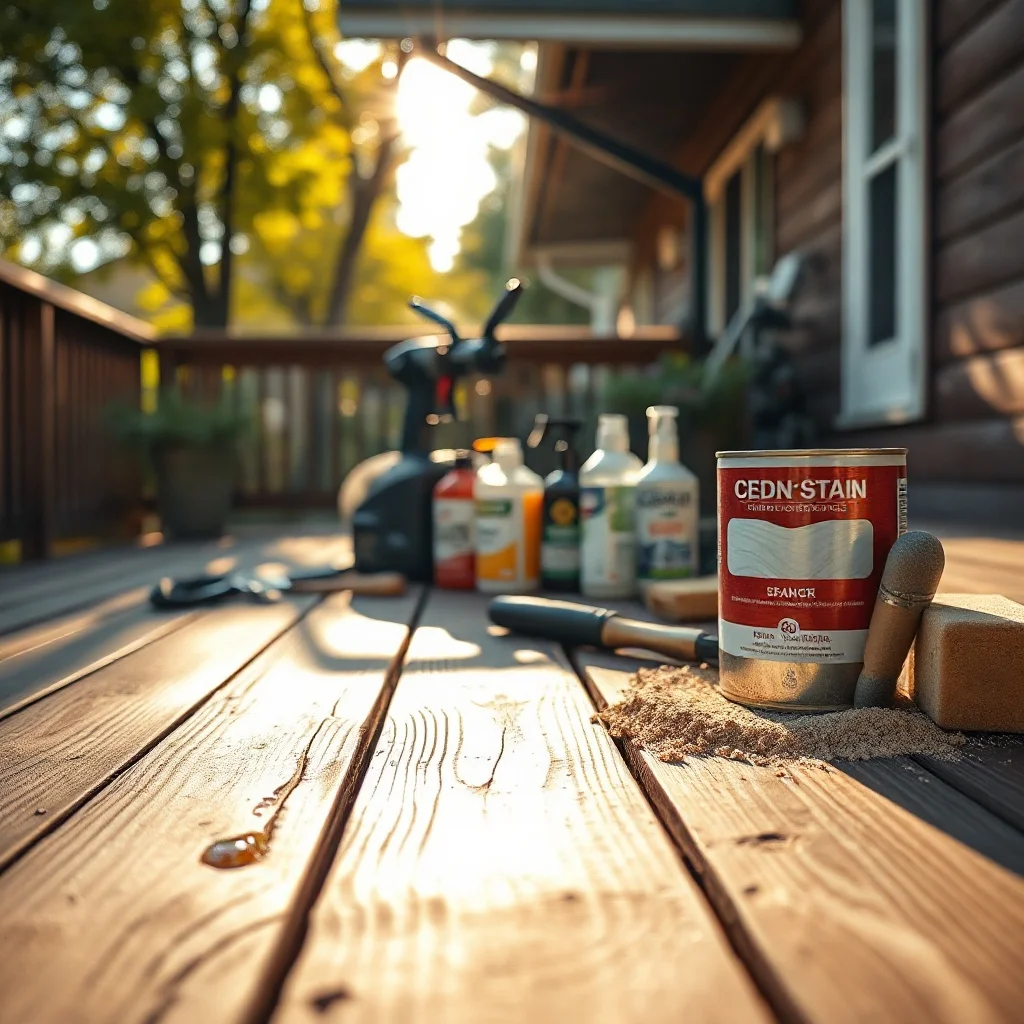
A pad applicator (a flat foam pad on a long handle) gives you the most consistent coverage on flat deck boards. It lets you apply stain in long strokes along the grain without the overspray mess of a sprayer. Brushes work well for railings, spindles, and tight corners where the pad can’t reach. Rollers tend to apply too much product at once and create lap marks on horizontal surfaces.
If you want to use a pump sprayer for speed, that’s fine. Just always back-brush immediately after spraying. The sprayer lays the stain down; the brush works it into the grain and evens out the coverage. Skipping the back-brush step with a sprayer is a reliable way to end up with a blotchy deck.
How Many Coats Your Deck Actually Needs
Most penetrating deck stains need two coats on bare or freshly stripped wood, and only one coat on wood that’s been recently maintained. The first coat soaks in and seals the grain. The second coat, applied while the first is still slightly tacky (check the label, usually a 2–4 hour window), fills in any spots the first coat missed.
Don’t apply a third coat thinking more is better. On a penetrating stain, the wood can only absorb so much. A third coat will sit on top and eventually peel.
Weathered and Grayed Wood Needs a Different Starting Point
**Heavily grayed wood has UV-oxidized surface fibers that won’t accept stain the same way fresh wood does.** The gray layer is essentially dead wood. Dried out, structurally loose, and hydrophobic. If you apply stain directly over it, the stain bonds to that weak surface layer instead of the healthy wood underneath, and it’ll flake off faster than it should.
The fix is more aggressive prep. Use a dedicated deck brightener with oxalic acid and let it work longer than you would on recently cleaned wood, closer to 15 minutes rather than 10. Then sand with 60-grit before staining. On boards that have been gray for more than a couple of seasons, you may need a full pass with a belt sander to get past the oxidized layer entirely.
Once you’re through the gray and into warm-toned wood, the stain will penetrate the way it’s supposed to.
How Long Before You Can Walk On It, and When the Stain Fully Cures
Touch-dry and fully cured are two different things, and confusing them is how you end up with scuff marks and footprints in a fresh stain job. Oil-based deck stain is typically touch-dry in 12–24 hours, but don’t put furniture back or let heavy foot traffic on it for at least 48–72 hours. Water-based stain moves faster — light foot traffic after 24 hours is usually fine.
Full cure — when the stain has hardened completely into the wood fibers and reached its full protective strength — takes longer than most people expect. Oil-based stain can take up to two weeks to fully cure, depending on temperature and humidity. Water-based is closer to 5–7 days.
During the cure window, keep the deck dry if you can. Rain in the first 24 hours after application is the worst-case scenario — it dilutes the stain before it sets and leaves water spots or streaks that are hard to fix without stripping and starting over.
Cooler temperatures slow curing significantly. If you’re staining in fall with overnight temps dropping below 50°F, add a day or two to every estimate above.
How Often to Restain and What to Watch For Between Seasons
Plan on restaining every 2–3 years for a penetrating semi-transparent stain, or every 4–5 years for a solid stain on a well-prepped deck. Those are practical estimates, not guarantees — your actual schedule depends on sun exposure, climate, and wood species more than anything on the label.
The real trigger for restaining isn’t a calendar date. It’s what the wood tells you. Do a simple water test: splash a cup of water on the boards. If it beads up, the stain is still working. If it soaks in flat within 30 seconds, hydrophobic protection is gone and the wood is absorbing moisture directly.
Between seasons, check for these warning signs:
Peeling or flaking along board edges (common where end grain meets fasteners)
Gray streaks returning in high-sun areas
Soft or spongy spots underfoot, which signal moisture has already gotten in
Catch the deck at the fading stage, not the peeling stage. Restaining over a faded but intact coat takes one afternoon. Stripping a fully peeled deck adds a full day of prep and a stripper product that costs $30–$50 per gallon. The math makes early maintenance the obvious call.
If you built a cabin deck and want more on seasonal upkeep schedules, cabinlodger.com has additional guides on wood treatment timing for outdoor structures.
Frequently Asked Questions
Can I stain over an existing deck stain without stripping it first?
Only if the old stain is fully intact, not peeling or flaking, and you’re applying the same type of stain (oil over oil, water over water). If the old coat is failing in any spot, strip it completely first. Staining over a peeling surface guarantees the new coat peels faster.
What’s the difference between deck stain and deck sealer?
A sealer is primarily a water repellent with little to no pigment or UV protection. Deck stain combines moisture protection with pigment and UV inhibitors, which slows photodegradation of the wood fibers. For a deck that gets direct sun, stain outperforms a plain sealer by a significant margin on longevity.
How do I fix a blotchy or lap-marked stain job?
If the stain is still wet, work it out with a brush along the grain and wipe back excess. If it’s already dried, you’ll need to sand the affected boards with 80-grit and reapply. There’s no product that corrects dried lap marks without mechanical removal first.
Is one coat of deck stain ever enough?
On previously maintained wood with an intact base coat, yes — one coat is the right call. On bare or freshly stripped wood, two coats are needed. The first coat seals the grain; the second fills gaps the first coat missed. Applying a third coat on a penetrating stain will cause it to sit on the surface and peel.