How long should you wait before sealing grout? The standard answer is 24–72 hours, but grouting and sealing isn’t that simple — the right wait time depends on your grout type, your environment, and a quick test you can do with your finger. Seal too early and you trap moisture inside the grout, which leads to discoloration, cracking, and a sealer that won’t bond properly.
For most DIYers, the 24-hour mark feels like the finish line. It’s not. Especially if you’re working in a cabin bathroom, a basement, or any space that isn’t climate-controlled, that 72-hour window can stretch further than the bag instructions suggest.
Wait at Least 24–72 Hours — But That Number Has Conditions
Wait a minimum of 24 hours before sealing grout, and 72 hours is safer for most home projects. That range comes straight from grout manufacturers, but it assumes ideal conditions: around 70°F and low humidity. Change either of those variables and the window shifts.
Here’s a quick reference for what the standard curing windows actually look like under different conditions:
Condition
Minimum Wait
Safer Wait
Ideal (70°F, low humidity)
24 hours
48–72 hours
Warm but humid (above 70% RH)
48 hours
72–96 hours
Cool and dry (below 60°F)
48 hours
72 hours
Damp/unheated space
72 hours
96+ hours
The table above uses relative humidity (RH) as the key variable — and that number matters more than most DIYers realize. A bathroom that sits at 80% RH after a shower, or a cabin build where the walls aren’t fully dried in yet, can easily push your cure time past four days.
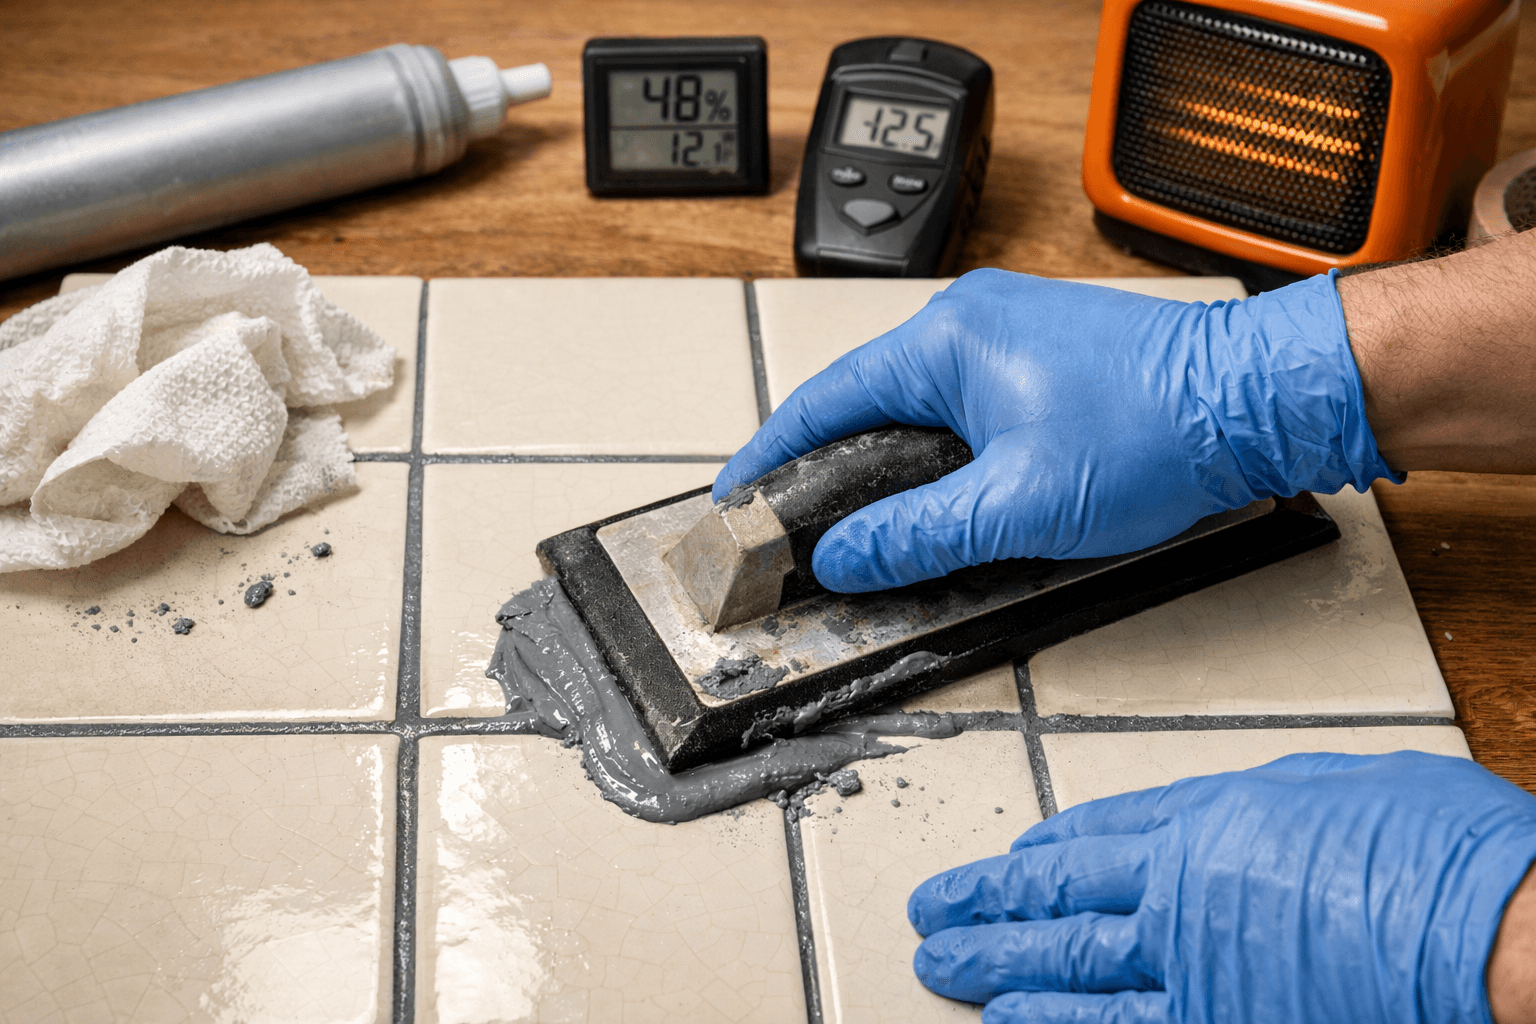
If you’re working in a basement or an unheated addition in late fall, treat that space like the bottom row of that table every time. Temps below 50°F slow the cement hydration process enough that even 72 hours may leave moisture locked inside the joint. Run a space heater to bring the room up to at least 65°F before you start the job, and keep it running through the cure period.
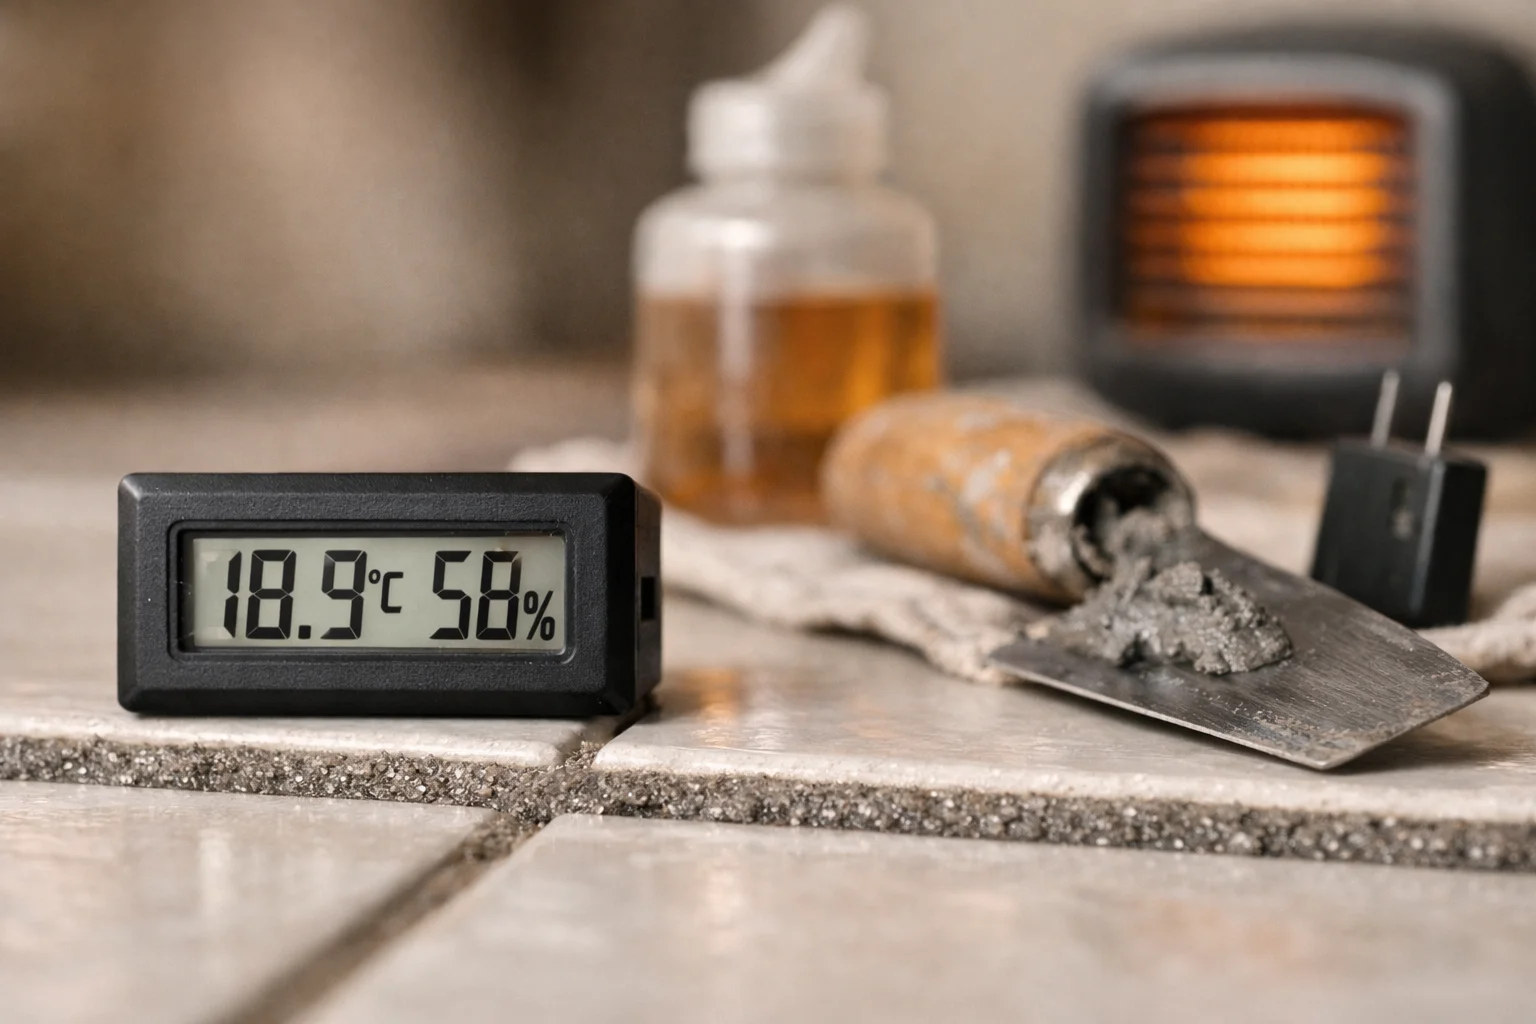
A cheap digital hygrometer (under $15 at most hardware stores) takes the guesswork out of this completely. Set it near the tiled surface and check it morning and night. Once RH holds below 60% for a full 24-hour stretch, you’re in good shape to move forward.
One more thing worth knowing: sealing grout too early is one of the most common tiling mistakes, and the damage isn’t always visible right away. The grout looks fine for a few weeks, then starts showing dark patches or hairline cracks as the trapped moisture finally works its way out.
That delayed failure is what makes early sealing so frustrating. By the time the cracks show up, the tile job looks finished and the tools are put away. You end up scraping out and re-grouting sections that should have been a one-time job — which on a standard shower floor can mean two or three full days of rework.
Sanded, Unsanded, and Epoxy Grout Don’t Follow the Same Rules
Not all grout is the same material, and the type you used changes both how long you wait and whether you need a sealer at all. Picking the wrong timeline for your grout type is how you end up with a sealed surface that fails inside a year.
Sanded and Unsanded Grout: Where the 24–72 Hour Window Comes From
Cement-based grout — which covers both sanded and unsanded varieties — is what the 24–72 hour rule was written for. Both types are made from Portland cement, water, and pigment, with sanded grout adding fine sand for wider joints (anything over 1/8 inch). That cement base needs time to hydrate and harden before a sealer can penetrate properly.
Sanded grout is porous by nature. It absorbs water, stains, and mold if left unsealed. Unsanded grout is slightly less porous but still needs protection, especially in wet areas like showers or around a kitchen sink. Both types require a penetrating sealer applied after the full cure window has passed.
The practical difference between sanded and unsanded here is mostly joint width. If your tile joints are 1/16 to 1/8 inch, you used unsanded grout. Wider than that, it’s sanded. Either way, the 48–72 hour minimum holds.
Epoxy Grout Skips the Sealer Step Entirely
Epoxy grout is a different product category. It’s made from epoxy resins rather than cement, which makes it non-porous, chemical-resistant, and essentially stain-proof on its own. You do not seal epoxy grout — there’s nothing for a sealer to penetrate, and applying one can leave a hazy residue on the surface.
Epoxy grout also cures faster than cement-based grout, often within 24 hours, but the tradeoff is that it’s harder to work with. It sets up quickly during installation and requires more careful cleanup. If you’re tiling a cabin shower and used a product like Laticrete SpectraLOCK, skip the sealer entirely and save yourself the extra step.
Humidity and Temperature Can Push Your Curing Time Well Past 72 Hours
In a climate-controlled house, the 72-hour rule is usually fine. In a cabin that’s still being finished, a basement bathroom, or anywhere without consistent heat and airflow, that number is often dangerously optimistic. Grout cures through a chemical reaction that slows down significantly when conditions aren’t right.
How a Damp or Unheated Space Slows the Cure
Cold temperatures slow the hydration reaction in cement-based grout. Below 50°F, curing nearly stalls. Even at 60°F, you’re looking at a noticeably slower process than the bag instructions assume. High humidity compounds the problem — when the air is already saturated with moisture, the water in the grout has nowhere to go.
A cabin bathroom mid-build is a worst-case scenario for this. If the space has been closed up, the humidity is high from fresh concrete or green lumber, and you’re working in fall or winter, plan on waiting at least 96 hours before you even think about sealing. Running a dehumidifier in the space for 24 hours before you seal makes a real difference.
The Simple Dryness Test That Tells You When You’re Actually Ready
Don’t rely on the clock alone. Press your fingernail firmly into the grout joint. If it leaves a mark or feels at all soft, wait another 24 hours and test again. Fully cured grout feels hard and resists the nail completely.
You can also check color. Fresh grout is darker than cured grout because of the moisture content. When the grout has lightened to a consistent, uniform color across all joints, that’s a strong visual sign it’s ready. If you see any darker patches, those spots are still holding moisture and need more time.
How to Seal Grout the Right Way: A Step-by-Step Process
Clean grout seals better. That’s the single most skipped step in the whole process, and it’s why plenty of DIY sealing jobs fail within months. Before you open the bottle, make sure the grout surface is free of dust, tile haze, and any residue left from the grouting process itself.
Clean the grout lines thoroughly using a pH-neutral cleaner and a stiff grout brush, then let the surface dry completely.
Confirm the grout has passed the fingernail test and shows a consistent, lightened color across all joints.
Apply painter’s tape along the tile edges if you’re using a brush-tip applicator. This keeps sealer off glazed tile faces where it can leave a film.
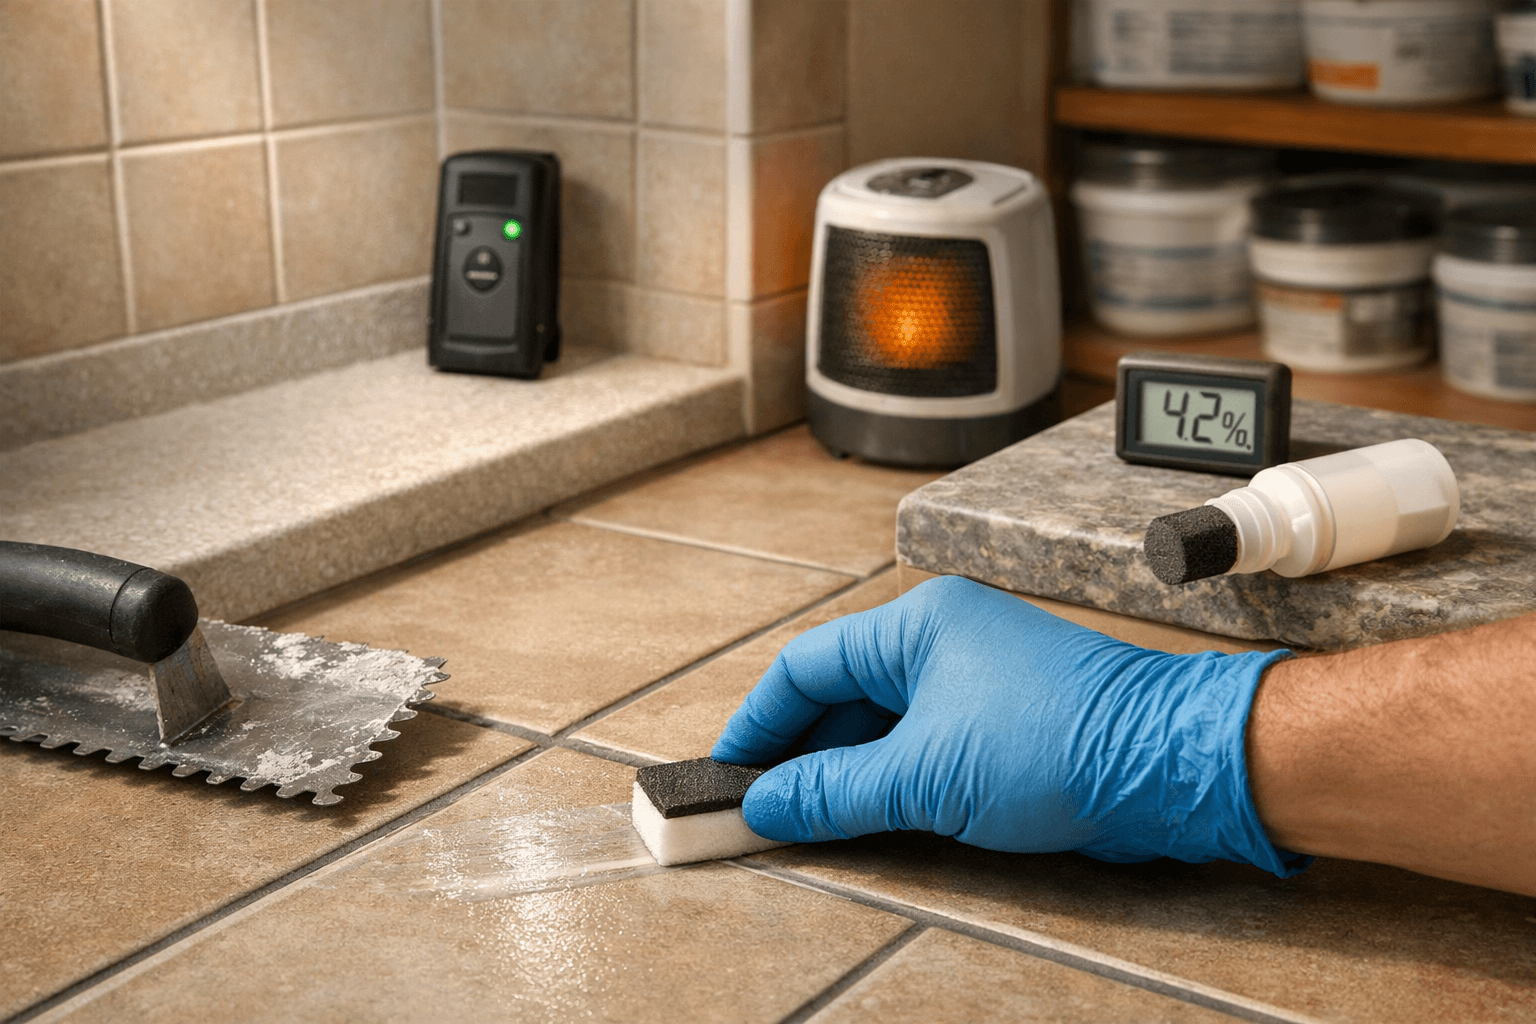
Apply the sealer in thin, even passes directly into the grout joint using a foam applicator bottle, a small brush, or a roller depending on the area size.
Let the sealer sit for the dwell time listed on the product label (usually 5 to 15 minutes), then wipe off any excess from the tile surface with a clean cloth before it dries.
Allow the first coat to cure for the time the manufacturer specifies (often 1–2 hours) before deciding on a second coat.
Penetrating Sealers vs. Topical Sealers — Which One to Use
Use a penetrating sealer for almost every grout and tile job. A penetrating sealer (also called an impregnating sealer) soaks into the pores of the grout rather than sitting on top. It repels water and oil without changing the surface appearance or adding a coating that can peel or yellow over time.
Topical sealers form a film on the surface. They work on smooth, glazed tile but cause real problems on textured or natural stone tile. The coating builds up unevenly and leaves a hazy residue that’s difficult to remove. For a cabin shower or floor with any texture, stick with a penetrating product.
How Many Coats You Actually Need
Two thin coats beat one heavy coat every time. The first coat soaks in and fills the larger pores; the second coat catches what the first missed. For high-traffic floors or a shower, two coats is the standard. A dry backsplash or countertop in a low-humidity space can often get by with one coat applied carefully.
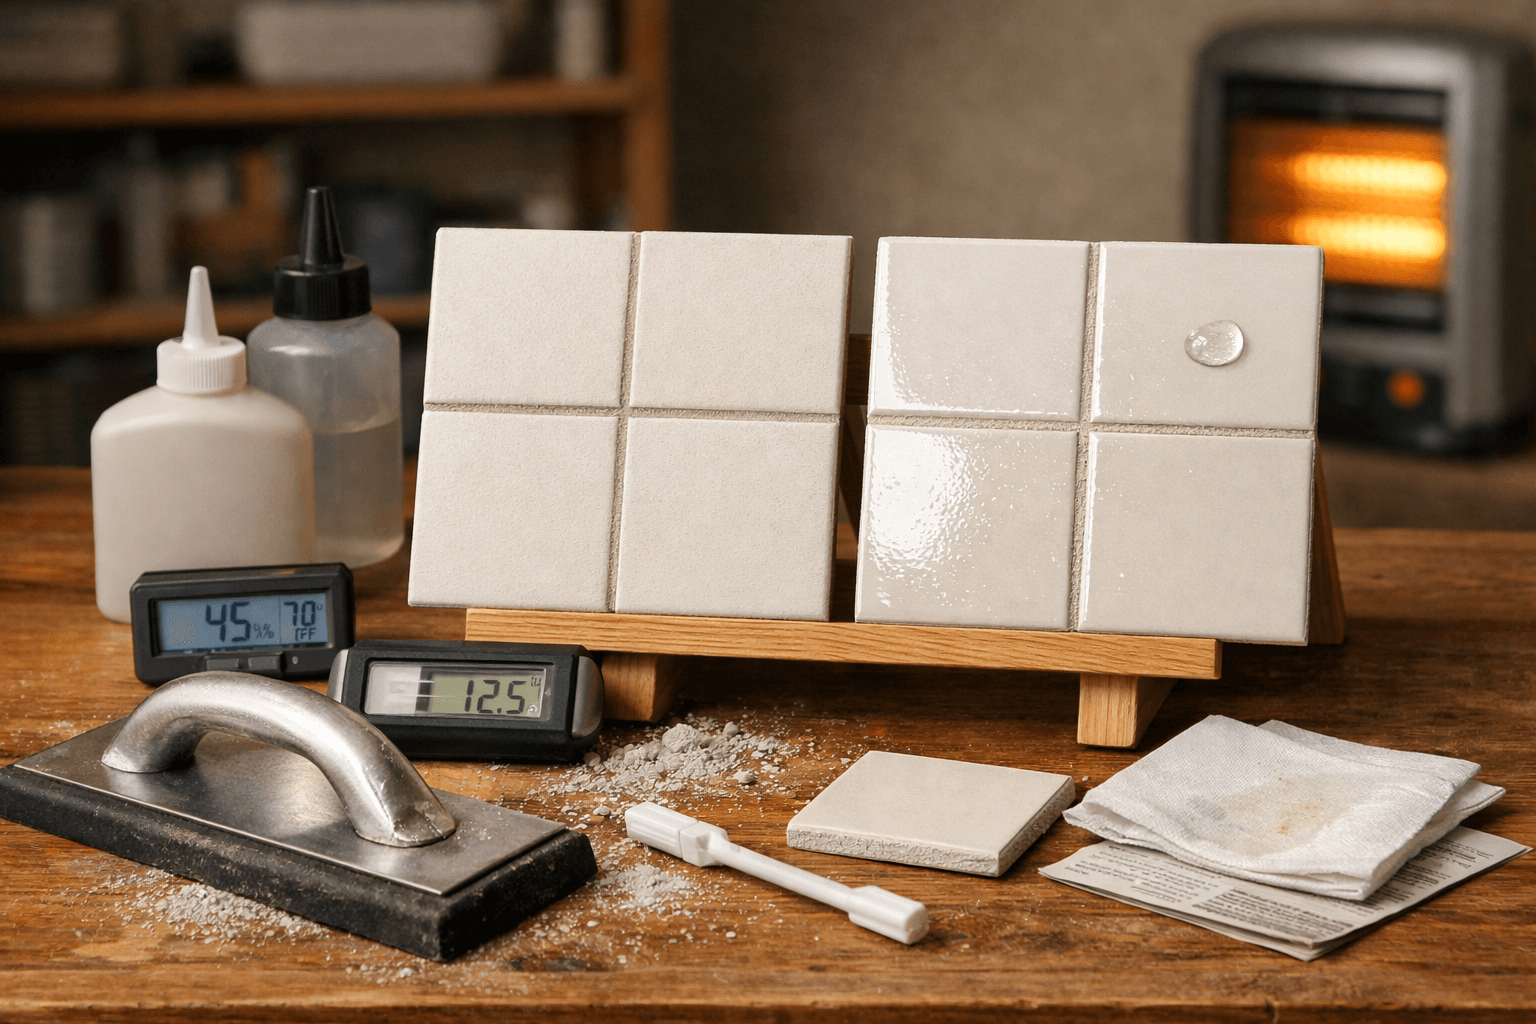
The water bead test confirms coverage: sprinkle a few drops of water on the sealed grout after the final coat cures. If the water beads up and sits on the surface, the sealer is doing its job. If it soaks in within 30 seconds, apply another coat.
Sealing Grout on Floors, Showers, and Countertops Isn’t the Same Job
The grout is the same material, but the demands on it are completely different depending on where it lives.
Floor grout takes the most abuse — foot traffic, dirt, and cleaning chemicals wear the sealer down faster than anywhere else. Plan on a penetrating sealer rated for floor use, and expect to reseal more often than you would a wall application.
High-traffic floors like entryways and kitchens take the hardest hit. A hallway floor might need resealing every 12 months, while a bedroom floor could go two years between applications. The difference is purely how much wear the surface sees.
Shower grout deals with constant moisture and soap scum. Here, mold-resistant sealer formulas are worth the small price premium — a standard product around $12–$18 works fine on a dry backsplash, but a shower needs something specifically rated for wet, enclosed environments.
Steam showers are an edge case worth calling out. The heat and pressure push moisture into grout more aggressively than a standard shower spray, so a sealer that performs fine in a regular shower may fail faster in a steam enclosure. Check the product label specifically for steam exposure before buying.
Countertop grout sits near food prep, so check that your sealer is labeled food-safe once cured. Most penetrating sealers are, but it’s worth confirming on the label before you apply.
Outdoor counters or grill surrounds add another layer to think about. UV exposure and temperature swings can break down standard interior sealers within a single season, so an exterior-rated formula is the right call there.
How Often Grout Needs to Be Resealed (and How to Tell When It’s Time)
Floor grout needs resealing roughly every 1–2 years. Shower grout, every year. A dry backsplash or countertop can go 3–5 years between applications if it’s sealed well and cleaned gently. These aren’t hard deadlines — your actual conditions determine the real schedule.
High-traffic floors take more abuse than the timeline assumes. A mudroom floor or bathroom used by multiple people daily will hit that 1-year mark faster than a guest bathroom that gets used twice a week. Grout width matters too: wider joints (anything above 1/8 inch) absorb more foot traffic wear and lose their sealer coating sooner.
The water bead test is the most reliable way to check. Pour a small amount of water onto the grout line and watch it for 30 seconds. If the water beads and rolls off, the sealer is still active. If it soaks straight in, sealer degradation has set in and it’s time to reapply.
Run the test in two or three spots, not just one. A sealer can wear unevenly, especially near a drain or a doorway where water and foot traffic concentrate. One passing spot doesn’t mean the whole floor is covered.
Discoloration is the other signal. Grout that starts picking up stains despite regular cleaning has lost its protection — the pores are open again. In a cabin bathroom that sees temperature swings and humidity spikes through the seasons, that can happen faster than the standard timeline suggests. Don’t wait for visible mold to make the call; the water test takes about 30 seconds and tells you exactly where you stand.
Cleaning products also accelerate the breakdown. Harsh acidic cleaners, like anything with bleach or vinegar used regularly, strip sealer faster than normal wear does. If you’ve been scrubbing grout with a strong cleaner, check the seal sooner than you otherwise would — don’t just go by the calendar.
Frequently Asked Questions
Can I seal grout after just 24 hours?
Only if conditions are ideal: 70°F or warmer, low humidity, and good airflow. In a cabin bathroom or any unheated space, 24 hours is rarely enough. Do the fingernail test first. If the grout feels soft or still looks darker in spots, wait another full day.
Does epoxy grout need to be sealed?
No. Epoxy grout is non-porous by nature, so sealer won’t absorb into it and won’t add any protection. Applying sealer over epoxy grout is just wasted product. Skip the sealer step entirely and move straight to cleanup.
What happens if I seal grout too early?
The sealer traps moisture inside the grout. That trapped moisture causes discoloration (usually dark or blotchy patches that don’t fade) and can lead to cracking as the grout finishes curing underneath a sealed surface. It’s one of the harder mistakes to fix without re-grouting.
How long after sealing can I use the shower?
Most penetrating sealers need 24–48 hours of cure time before the surface gets wet. Check the product label for the specific window. Running the shower before the sealer has fully cured washes it out before it bonds, which means you sealed for nothing and have to start over.