Can you really turn a basic storage shed into a place you actually live in? Yes, but the gap between “technically possible” and “legally livable” is wider than most people expect when they first start researching using a shed as a house.
The honest version of this project looks a lot different from the Pinterest photos. Permits, zoning rules, structural upgrades, and real insulation work all pile up fast. This guide covers what that actually looks like before you spend a dollar.
A Shed Can Become a House, But Here’s What Most Articles Won’t Tell You
Most shed-to-house content skips straight to the fun stuff: loft beds, wood stoves, cozy lighting. What it glosses over is that zoning laws in many U.S. counties outright ban residential use of accessory structures, no matter how nicely you finish the interior.
The other thing nobody says clearly: the cost of bringing a shed up to habitable code frequently ends up close to what a small cabin kit costs from scratch. That doesn’t mean the project isn’t worth doing. It means going in with accurate expectations is the only way to avoid a very expensive surprise.
Accessory dwelling unit (ADU) regulations, International Residential Code (IRC) minimums, and local health department rules all intersect here. Understanding which ones apply to your property is the real starting point.
Before You Build Anything: Zoning Laws and Permits Decide Everything
Your county’s zoning classification determines whether a shed as a house is even legal on your land before any construction decision matters. Skip this step and you risk fines, a stop-work order, or being forced to tear down completed work.
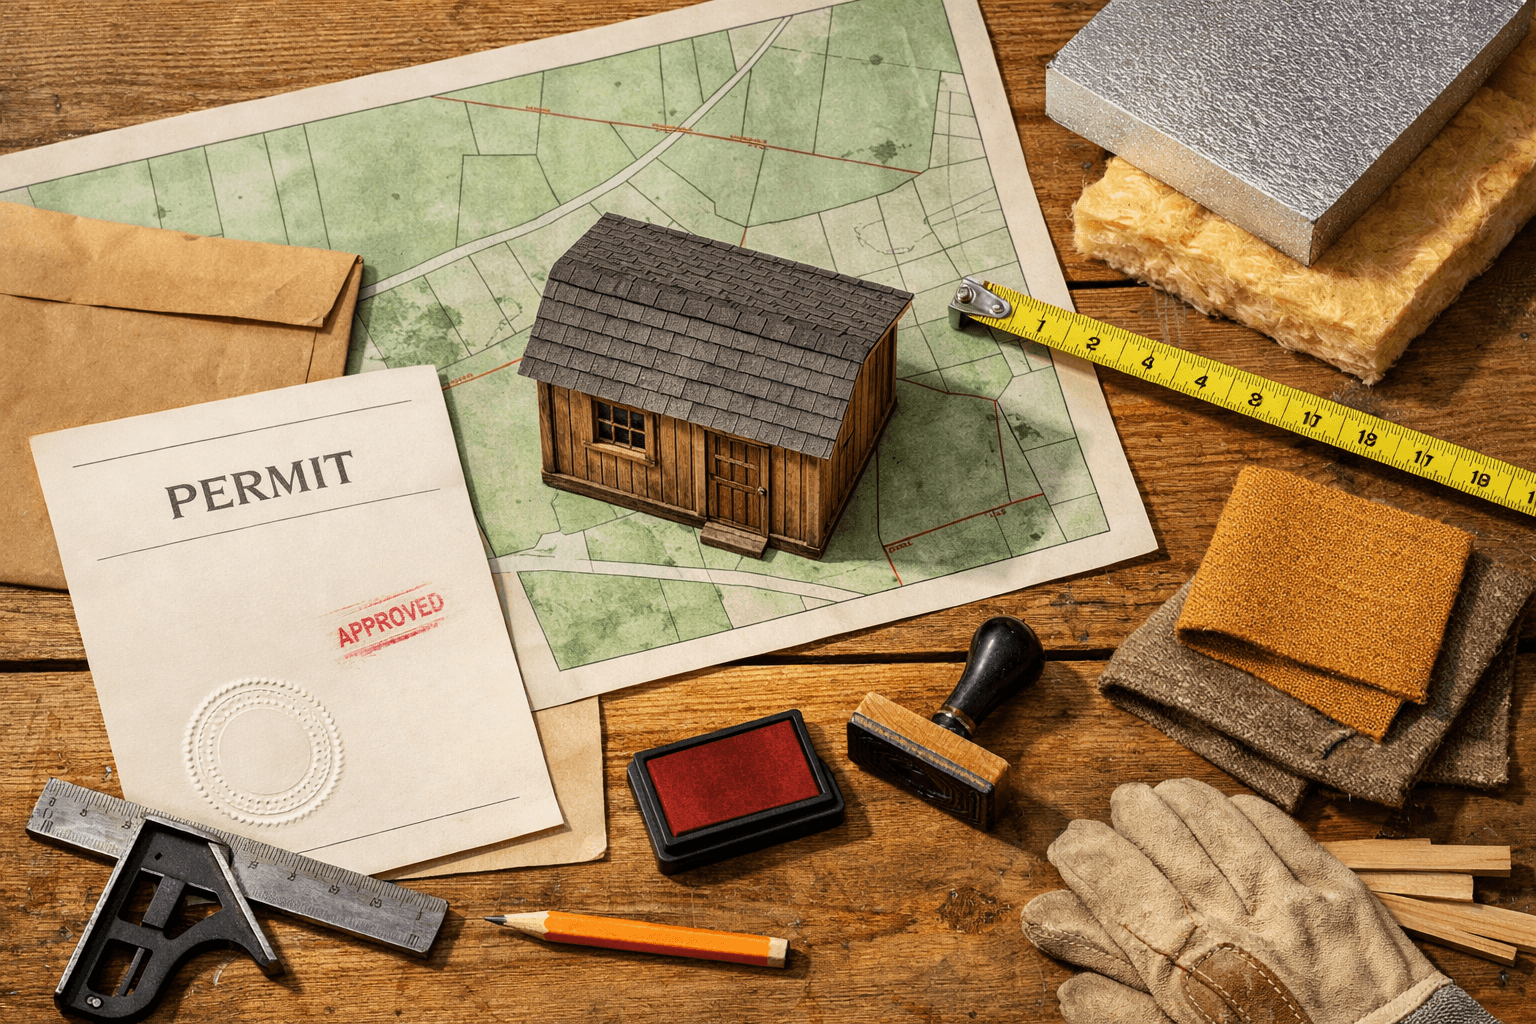
Why Your County’s Zoning Map Is the First Thing to Check
Your county’s zoning map tells you what structures are allowed on your parcel and under what conditions. Rural agricultural zones (often labeled A-1 or A-2) tend to give the most flexibility. Suburban residential zones are much stricter and frequently prohibit any structure from being used as a primary or secondary dwelling unless it meets full residential building codes.
The fastest way to check is to search your county name plus “zoning map” or “parcel viewer” — most counties have an online GIS tool where you can type in your address and see your zoning designation in about two minutes. Once you have that designation, look up the specific ordinance for that zone on your county’s planning department website. You’re looking for language around accessory structures, dwelling units, and minimum habitable area.
Some counties also have specific ADU ordinances that allow a converted shed or small structure to be permitted as a secondary dwelling, but they come with their own size and utility requirements. If your parcel is inside a homeowners association boundary, their CC&Rs add another layer on top of county rules.
What a Building Permit for a Shed Conversion Actually Involves
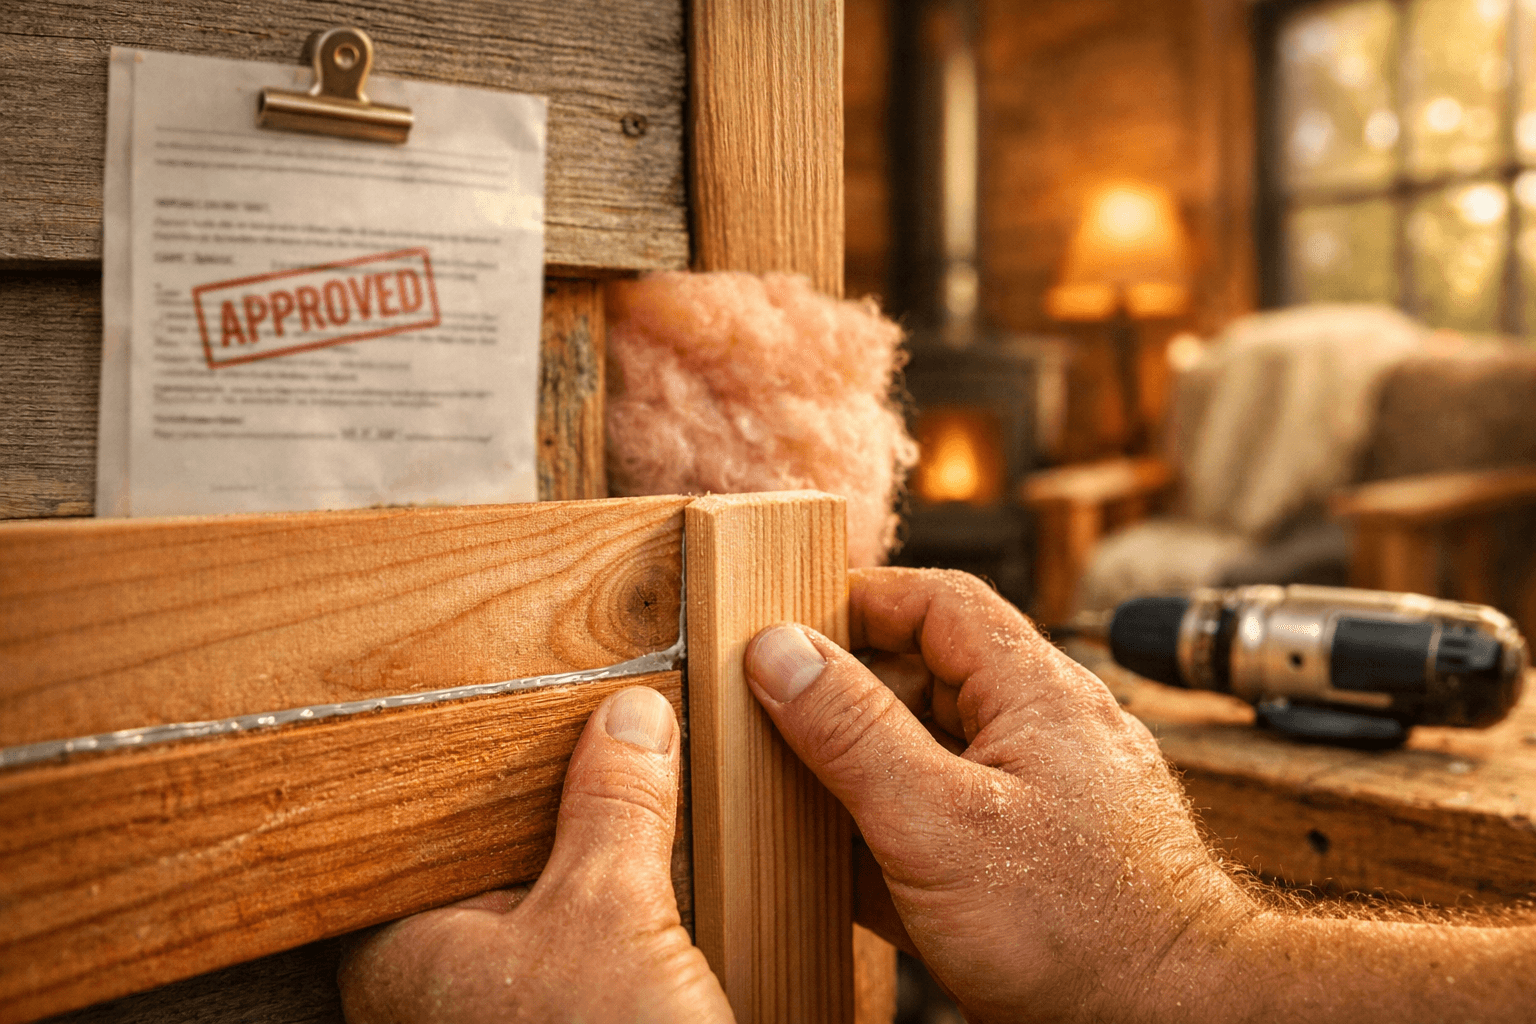
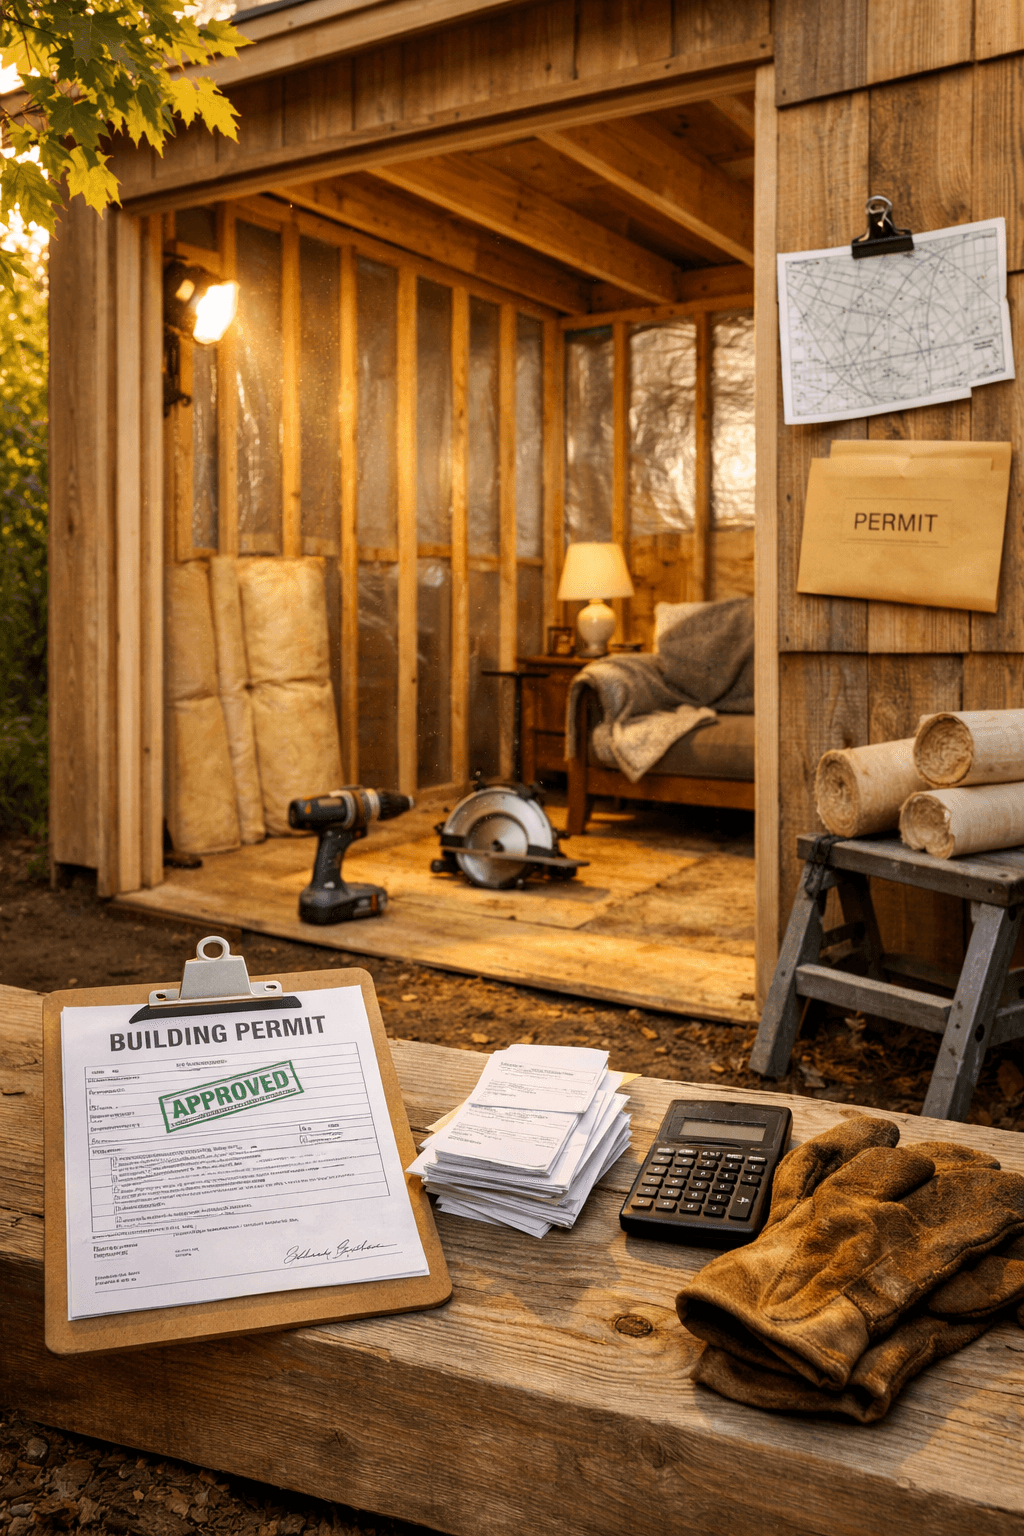
Pulling a building permit for a shed conversion is not just a formality. The permit process triggers inspections at multiple stages, and inspectors will check that your structure meets residential standards, not just shed standards.
Expect to submit a site plan showing where the structure sits on the property, a floor plan with dimensions, and documentation of your proposed electrical, plumbing, and mechanical systems. In most jurisdictions, electrical and plumbing work must be done by licensed contractors unless you are the owner-builder and your county allows owner-builder permits (many do, but with conditions).
The permit fee itself is usually a few hundred dollars for a small conversion, but the inspections it triggers are what cost real money. An inspector who flags your foundation as inadequate for residential loads, for example, can require you to pour a proper frost-depth footing before anything else moves forward. That alone can add $2,000 to $5,000 depending on your climate zone and soil conditions.
Skipping the permit is not a workaround. Unpermitted living spaces create title problems if you ever sell the property, and your homeowner’s insurance likely won’t cover a structure that isn’t legally classified as habitable.
What Size Shed You Actually Need to Live In Legally
The IRC sets a minimum habitable room size of 70 square feet, with at least one room reaching that threshold. But that’s a floor, not a target. Most counties that allow shed conversions require the total structure to hit at least 120 to 150 square feet to be permitted as a dwelling.
Minimum Square Footage Requirements for Habitation
Realistically, a shed you can live in comfortably needs to be at least 200 square feet, and 300 to 400 square feet is where it starts to feel like a home rather than a very organized closet. Here’s how common shed sizes stack up against habitation requirements:
Shed Size
Total Sq Ft
Meets IRC Minimum
Realistic for Full-Time Living
10 x 12
120 sq ft
Borderline
No
12 x 16
192 sq ft
Yes
Tight
14 x 20
280 sq ft
Yes
Workable with loft
16 x 24
384 sq ft
Yes
Comfortable solo or couple
20 x 30
600 sq ft
Yes
Comfortable for small family
A 12 x 16 shed can technically meet the IRC floor, but once you account for wall thickness, a bathroom, and a kitchen area, the usable floor space shrinks noticeably. Most people doing a serious conversion land on 16 x 24 as the practical minimum.
How Ceiling Height and Layout Affect Usable Space
The IRC also requires a minimum ceiling height of 7 feet in habitable rooms, which rules out a lot of standard shed kits that come with 6-foot or 6.5-foot sidewalls. If you’re buying a shed specifically to convert, check the sidewall height before anything else.
Adding a loft sleeping area is one of the most popular ways to reclaim usable square footage in a small footprint. But loft spaces typically fall under a lower ceiling height allowance (the IRC allows 5 feet in non-habitable spaces like sleeping lofts in some jurisdictions), and your local code may treat a loft differently than a full second floor. Confirm that with your building department before you frame it.
Layout matters as much as raw square footage. A narrow 10 x 20 shed gives you the same 200 square feet as a 12.5 x 16, but the narrow width makes furniture placement and code-compliant bathroom sizing genuinely difficult. Wider is almost always more livable at small square footages.
The Conversion Process, Step by Step
A shed-to-house conversion follows a specific sequence, and skipping steps doesn’t save time. It creates problems you fix twice. Most conversions run three to six months of active work, not a weekend. Here’s the order that actually works:
Confirm permits and zoning approval before spending a dollar on materials.
Assess and upgrade the foundation to meet residential load requirements.
Reinforce the framing (floor joists, wall studs, and roof structure) to IRC residential standards.
Install insulation and vapor barriers throughout walls, floor, and ceiling.
Rough in electrical wiring and plumbing before closing up walls.
Complete exterior weatherproofing: house wrap, siding, and roofing upgrades.
Finish interior surfaces, install fixtures, and schedule final inspections.
Foundation and Structural Reinforcement First
Most sheds sit on skids or concrete blocks, and neither qualifies as a residential foundation. Depending on your climate, you may need a poured perimeter foundation with footings below the frost line, or at minimum a reinforced concrete slab. In colder climates, frost-depth footings typically run 18 to 48 inches deep. That work alone can cost $3,000 to $6,000 before anything else happens.
Once the foundation is sorted, look at the floor joists and wall framing. Shed kits often use 2×4 framing on 24-inch centers. Residential code typically wants 2×6 exterior walls for proper insulation depth, and floor joists may need sistering or full replacement to carry furniture, appliances, and people without flex.
Insulation, Vapor Barriers, and Weatherproofing
A thermal envelope is what separates a shed from a livable structure. For a small conversion, closed-cell spray foam insulation is worth the cost. It air-seals and insulates in one step, which matters a lot in a structure with irregular framing gaps. Expect to pay roughly $1.50 to $3.00 per board foot for closed-cell foam, professionally applied.
Vapor barriers go on the warm side of the insulation in cold climates. Get this wrong and you trap moisture inside the wall cavity, which leads to mold inside of a year.
Electrical Panel, Wiring, and Plumbing Basics
Plan for a dedicated electrical panel, at minimum 100-amp service for a small dwelling, 200-amp if you’re adding electric heat or a mini-split system. Running a new service line from your main panel or utility connection is often the single most expensive trade item in the whole project, sometimes $2,000 to $4,000 depending on the distance.
Plumbing requires a connection to a water source and either a septic system or sewer hookup. If your property doesn’t already have septic, installing a new system runs $5,000 to $15,000 depending on soil and local requirements.
What a Realistic Shed-to-House Conversion Costs
Budget between $15,000 and $50,000 for a full shed-to-house conversion that meets residential code. The low end assumes you own the shed already, do significant labor yourself, and have existing utility connections nearby. The high end reflects hiring licensed trades, upgrading a foundation, and adding septic.
Cost Category
DIY-Friendly Estimate
Contractor-Dependent Estimate
Foundation upgrade
$1,500 – $4,000
$3,000 – $7,000
Framing reinforcement
$500 – $1,500
$1,500 – $3,500
Insulation (closed-cell foam)
$1,200 – $2,500
$2,000 – $4,000
Electrical panel + wiring
$1,500 – $2,500
$3,000 – $6,000
Plumbing rough-in
$1,000 – $2,500
$3,000 – $7,000
Septic (if needed)
$5,000 – $8,000
$8,000 – $15,000
Interior finishes
$2,000 – $5,000
$4,000 – $10,000
Total (no septic)
$7,700 – $18,000
$16,500 – $37,500
Where Budgets Break Down: The Upgrades That Add Up Fast
The surprises almost always hit in two places: utilities and structural. A shed sitting 150 feet from your main electrical panel needs a long trench run for the new service line. Trenching costs roughly $4 to $8 per linear foot, so that 150-foot run adds $600 to $1,200 before the electrician even starts.
The other budget-killer is the inspection process itself. An inspector who flags something mid-project (undersized joists, inadequate egress windows, a bathroom too small to meet code) sends you backward. Budget a 15% contingency on top of whatever your estimate is. Most conversions use it.
Shed Conversion vs. Building a Small Cabin from Scratch
A prefab cabin kit in the 300 to 400 square foot range starts around $15,000 to $25,000 for the kit alone, before foundation and finishing. That’s comparable to a mid-range shed conversion, but the cabin kit is already engineered to residential standards. You’re not retrofitting; you’re building forward.
The shed conversion wins when you already own the structure and have utility connections close by. It loses when you’re starting from scratch and buying a new shed specifically to convert, because the math rarely favors it over a purpose-built small cabin.
Interior Layout, Loft Sleeping Areas, and Heating Options
The layout decision that matters most in a small shed conversion is where the bathroom goes. Plumbing walls are expensive to move, so place the bathroom on the wall closest to your incoming water and drain lines. In a 16 x 24 space, a corner bathroom of roughly 40 to 48 square feet leaves a workable open-plan kitchen and living area.
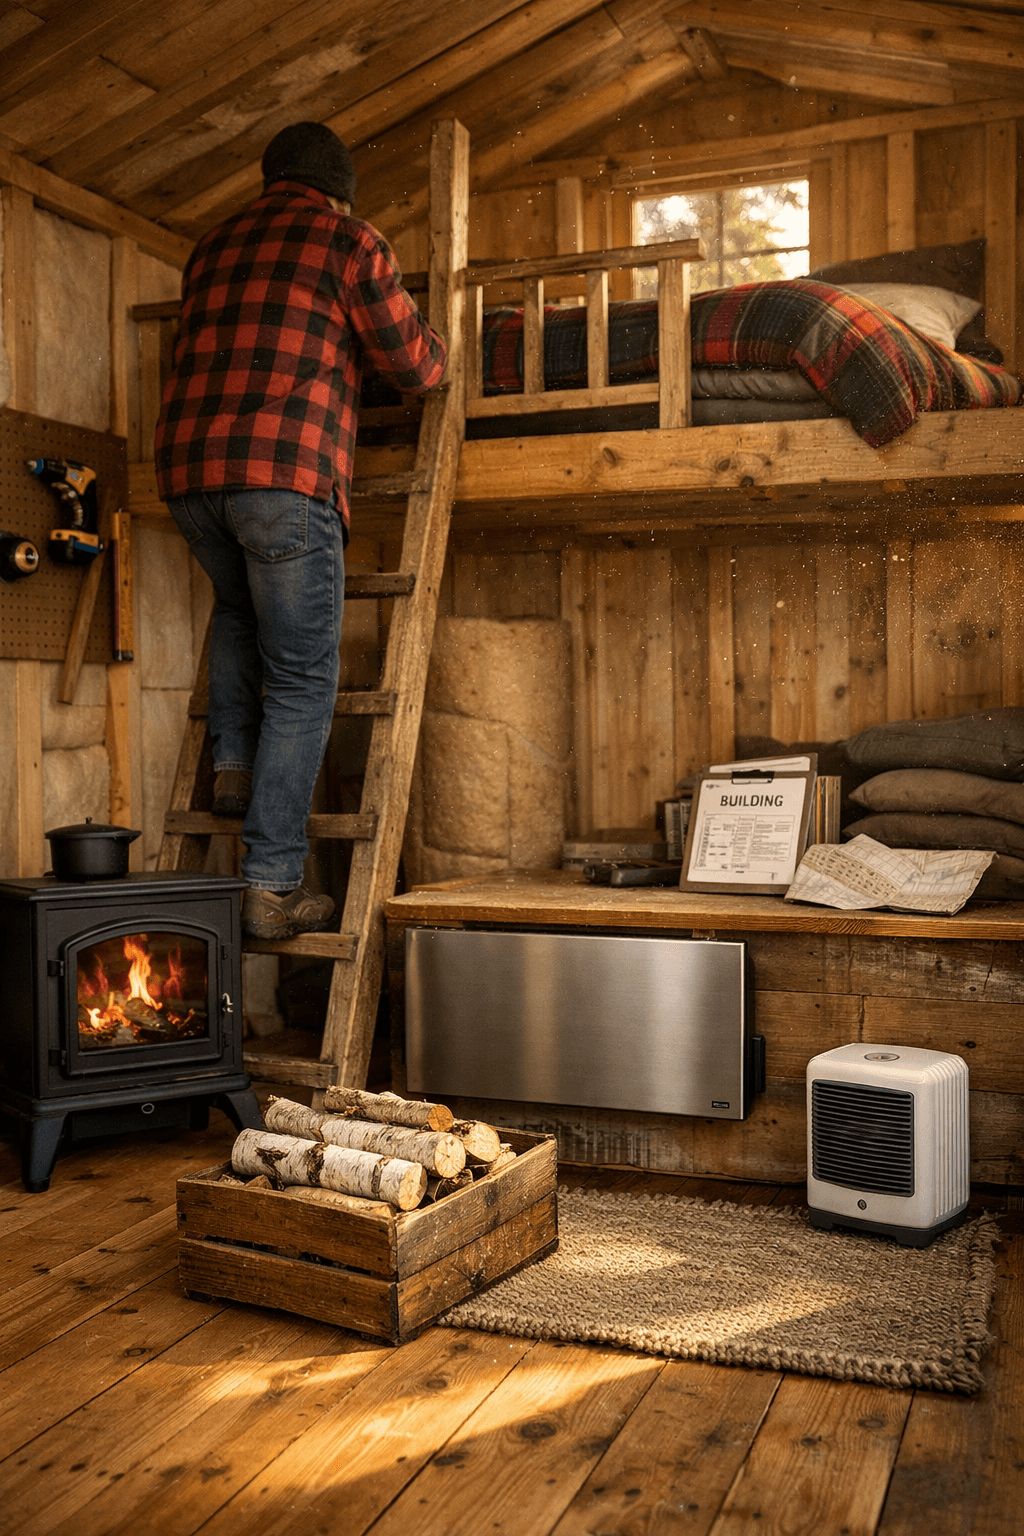
Loft sleeping areas are popular for good reason — a loft over a kitchen or living zone effectively doubles your usable floor plan without adding square footage. A ship’s ladder (a steep fixed stair at roughly 70 degrees) takes up far less floor space than a standard staircase and is code-acceptable in some jurisdictions for loft access. Confirm with your building department before framing it.
For heating, a mini-split heat pump is the most practical choice for a small shed conversion. A single 9,000 BTU unit handles up to about 400 square feet efficiently, costs roughly $700 to $1,200 for the unit, and runs on a standard 240-volt circuit. Wood stoves work well in rural settings but require a proper hearth pad, clearances from combustibles, and a chimney penetration through the roof — all of which add installation cost and inspection requirements.
Frequently Asked Questions
Can I legally live in a converted shed full-time?
It depends entirely on your county’s zoning rules. Some rural and agricultural zones allow it with the right permits; many suburban and residential zones prohibit it outright. Check your zoning classification before buying or converting anything. A call to your local planning department takes 20 minutes and saves months of wasted work.
How long does a shed-to-house conversion realistically take?
For a code-compliant conversion, expect four to eight months from permit approval to final inspection. That timeline accounts for contractor scheduling, inspection hold points, and the reality that rough-in work on electrical and plumbing can’t be covered until an inspector signs off.
What’s the minimum shed size worth converting for full-time living?
A habitable space generally requires at least 120 square feet in most jurisdictions, but that’s a bare legal floor — not a comfortable one. A 16 x 20 footprint (320 square feet) is a more workable starting point once you account for a bathroom, kitchen area, and sleeping space.
Does a shed conversion add resale value to a property?
Only if it’s permitted and on record as a legal dwelling or accessory dwelling unit (ADU). An unpermitted conversion can actually complicate a sale — lenders and buyers flag it during inspections. Permitted ADUs in many markets do add measurable value, but the conversion cost rarely returns dollar-for-dollar.