Can you actually live in a converted shed legally, or will the county shut you down? That question is the first thing serious builders need to answer before spending a dime on tiny homes from sheds. The short version: it depends entirely on where your property sits, and the answer shapes every decision after it.
Most shed conversions fall apart not because of bad carpentry but because of paperwork. Zoning laws, minimum square footage requirements, and certificate of occupancy rules vary wildly from one county to the next. Getting clear on your jurisdiction first saves you from building something you can’t legally sleep in. Find that out before you buy a single board.
First, Check Your County — Zoning Decides Everything
Your county’s zoning classification determines whether a shed conversion can ever be a legal dwelling. In many rural and suburban counties, the answer is no, regardless of build quality. Some areas require a minimum of 200 square feet for a permitted residence. Others ban non-traditional structures as primary homes outright.
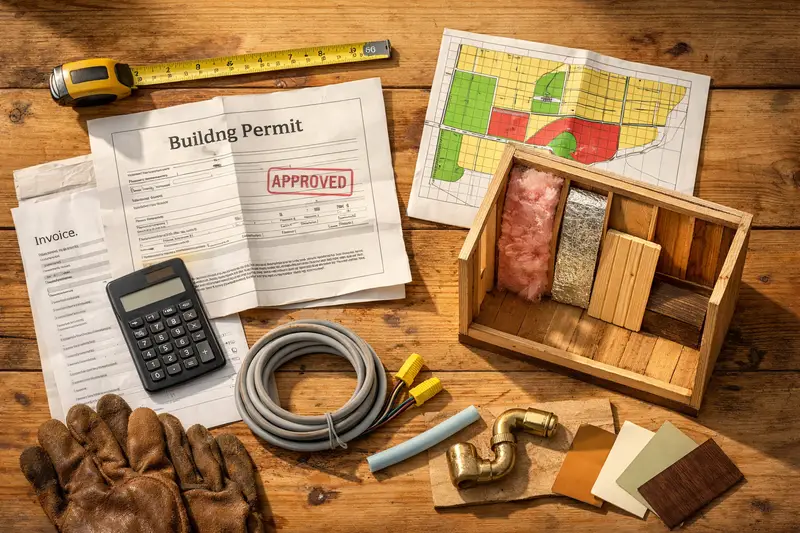
Start with your county’s planning and zoning office before buying a shed or pulling a single board. Ask specifically whether a converted accessory structure can receive a certificate of occupancy (CO). Without a CO, you can’t legally occupy the building as a home, and you risk fines or a demolition order.
Some counties allow shed conversions as accessory dwelling units (ADUs) on properties that already have a primary residence. That’s a real path worth exploring if your land qualifies.
What “Tiny Homes from Sheds” Actually Means (and What It Doesn’t)
Tiny homes from sheds means taking a prefab or site-built shed shell and converting it into a livable space with insulation, electrical, plumbing, and interior finishes. It is not simply decorating a storage shed and calling it a cabin.
The shed is just the starting shell — often the cheapest part of the whole project. A standard 12×24 prefab shed from a big-box retailer runs around $4,000 to $6,000, but that structure typically has no thermal envelope, no sub-flooring rated for residential loads, and wall framing designed for storage, not occupancy.
What it doesn’t mean: buying a Rubbermaid-style plastic shed and running an extension cord to it. Real shed conversions use wood-framed structures with at least 2×4 wall studs, and they go through the same permit process as any other residential build.
The Real Cost of Converting a Shed into a Tiny Home
Budget between $15,000 and $50,000 for a full shed-to-home conversion, depending on size, systems, and finish level. A bare-bones 120-square-foot conversion with minimal plumbing can land closer to $15,000. A finished 400-square-foot build with a full bathroom, kitchen, and proper insulation will push $40,000 to $50,000 or higher.
Here’s a realistic breakdown for a mid-range 200-square-foot conversion:
Item
Low Estimate
High Estimate
Shed shell (prefab kit)
$5,000
$10,000
Foundation (gravel pad or piers)
$800
$3,000
Insulation and vapor barrier
$1,200
$2,500
Electrical (panel + wiring)
$2,500
$5,000
Plumbing (rough-in + fixtures)
$3,000
$7,000
Interior finishes
$2,000
$6,000
Permits and inspections
$500
$2,000
Total
$15,000
$35,500
Shed Kit vs. Custom-Built: Where the Money Goes
A prefab shed kit saves money upfront but often costs more in modifications. Most kits use oriented strand board (OSB) sheathing and lightweight trusses not rated for heavy snow loads or residential live loads (the weight of people and furniture in motion). You may end up reinforcing the floor system, upgrading the roof framing, and adding a proper subfloor anyway.
A custom-built shed shell, framed on-site to residential specs from the start, typically runs $8,000 to $14,000 for a 200-square-foot structure. It skips most of those retrofit costs. For a long-term home, custom framing is the smarter spend.
Hidden Costs That Blow Budgets
Permits and utility hookups are the two costs people consistently underestimate. A septic system alone, required in most rural areas without municipal sewer access, can run $5,000 to $15,000 depending on soil conditions and local requirements. That number isn’t in most shed conversion guides.
Add in a licensed electrician for the service panel connection (often $1,500 to $3,000 on top of interior wiring), and your “cheap” conversion starts looking a lot less cheap. Factor these in from day one, not after the shell is already up.
Structural Reality: What Your Shed Needs Before Anything Else
Most prefab sheds are not built to residential standards. Period. Before you run a single wire or hang a single piece of drywall, the structure itself needs to pass a basic test: can it hold the loads, resist moisture, and sit on a foundation that won’t shift or rot under you?
Foundation Options and Why the Choice Matters
The foundation is the decision that affects everything downstream. Your insulation strategy, your plumbing layout, and whether your county will even consider issuing a CO all follow from that one choice. Three options come up most often for shed conversions.
A gravel pad with concrete deck blocks is the cheapest route, around $800 to $1,500, but it’s not suitable for permanent dwellings in most jurisdictions. Concrete piers (either poured or precast) run $1,500 to $3,000 and give you a more stable, code-friendlier base. A full perimeter foundation or monolithic slab costs more (expect $4,000 and up for a 200-square-foot footprint) but is what most counties require for a permitted residence.
Skip the gravel pad if you’re planning to live there full-time. It’s fine for a weekend cabin in a permissive county, but it won’t pass a residential inspection.
Framing, Roof Load, and Reinforcement Requirements
Standard prefab sheds use 2×3 wall studs on 24-inch centers. Residential code in most areas requires 2×4 studs on 16-inch centers — that’s a meaningful difference in wall strength and insulation depth. If your shed kit uses undersized framing, plan to sister new studs alongside the existing ones before adding insulation.
Roof load is the other issue. A dead load (the weight of roofing materials) plus a live load (snow, in most northern climates) can exceed what lightweight shed trusses are designed to carry. In areas with a ground snow load above 20 pounds per square foot, upgrading the roof framing isn’t optional. Pull your local snow load maps from your county’s building department — they’re usually free and available online.
The Conversion Process, Step by Step
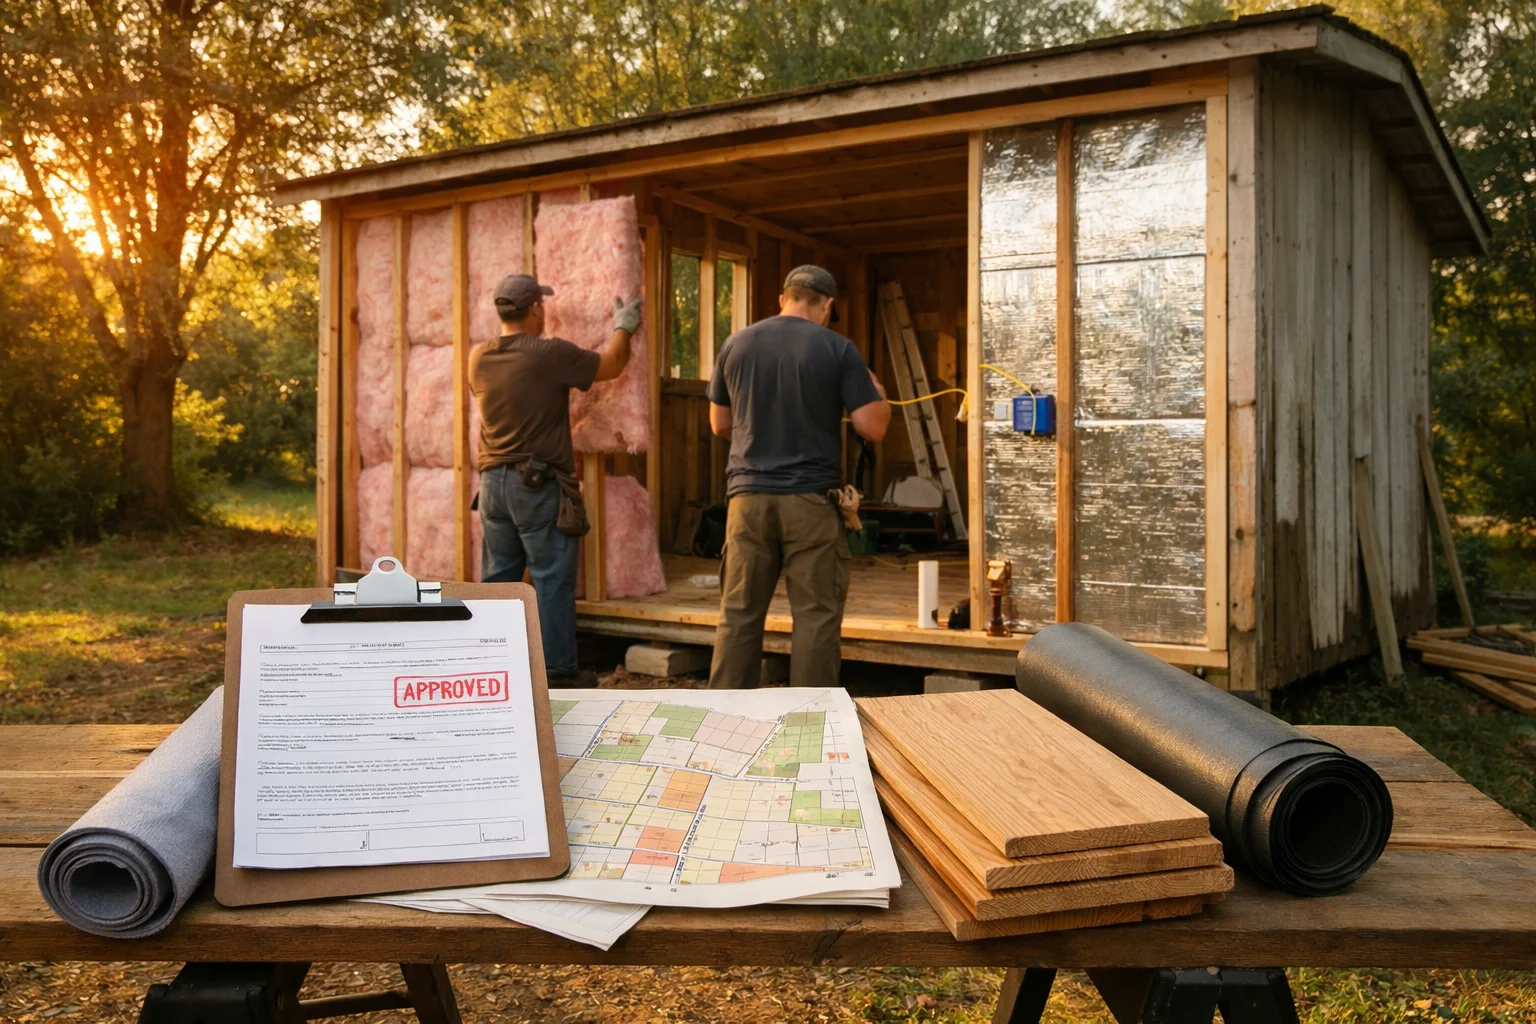
The conversion follows a logical sequence, and skipping steps to save time almost always creates problems that cost more to fix later. Here’s the order that works:
Finalize permits and zoning approval before purchasing materials or modifying the structure.
Set and level the foundation, then anchor the shed shell to it per your local code requirements.
Reinforce framing. Sister wall studs if needed, upgrade roof trusses for load requirements, and add a residential-grade subfloor (3/4-inch tongue-and-groove plywood is standard).
Rough in plumbing and electrical before closing up walls. Doing it after insulation means tearing everything back out.
Install insulation and vapor barriers, then sheathe interior walls.
Finish electrical (outlets, switches, fixtures) and plumbing (fixtures, connections).
Complete interior finishes: flooring, trim, cabinetry, and paint.
Insulation and Vapor Barriers Done Right
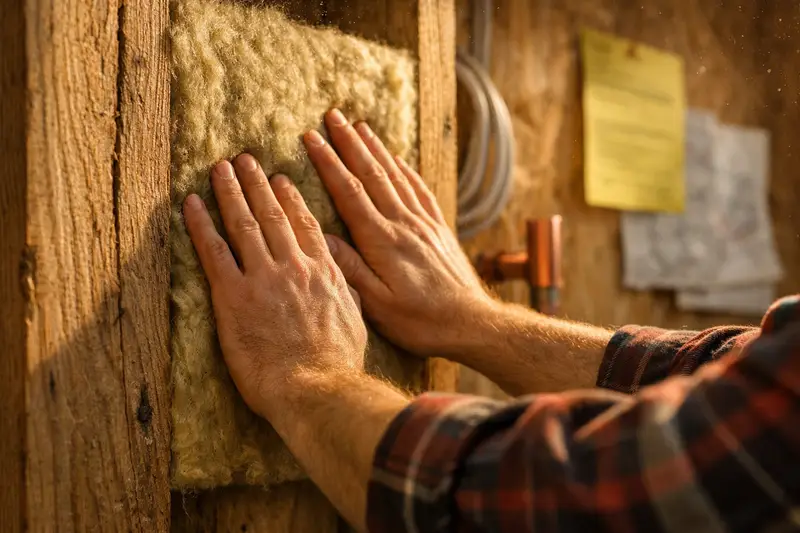
In a small shell, moisture control is more important than in a standard house because the ratio of wall surface to interior volume is much higher. A 12×20 shed has almost no buffer against temperature swings. Poor insulation shows up fast as condensation, mold, or a heating bill that makes no sense.
Use closed-cell spray polyurethane foam for walls and roof decking if your budget allows. It air-seals and insulates in one step, hitting around R-6 per inch. For a 2×4 wall cavity, that gets you to roughly R-21. Rigid foam board (like 2-inch polyisocyanurate) is a cheaper alternative for walls, running about $0.50 to $1.00 per square foot for materials.
The vapor barrier goes on the warm side of the insulation. In most of the U.S., that’s the interior face of the wall. Get this backwards and you’re trapping moisture inside the wall assembly.
Running Electrical and Plumbing in a Small Shell
A 200-square-foot home doesn’t need a massive electrical panel, but it does need a proper one. A 60-amp service panel handles most small shed conversions without issue. Budget for a licensed electrician to handle the service entrance connection, because that part isn’t a DIY job in most states.
For plumbing, PEX tubing is the go-to in small builds. It’s flexible, freeze-resistant compared to copper, and easier to route through tight framing. A basic setup (one bathroom, a kitchen sink, and a small water heater) can be roughed in over a long weekend by someone comfortable with basic plumbing. The water heater decision matters here: a tankless on-demand unit saves significant space in a 200-square-foot floor plan.
Interior Layout: Fitting a Life into 100–400 Square Feet
The floor plan makes or breaks a shed conversion. A bad layout in a 200-square-foot space doesn’t just feel cramped. It makes daily tasks genuinely frustrating. Get the layout right on paper before you frame a single interior wall.
Loft Beds, Built-Ins, and Vertical Storage
Vertical space is the most underused resource in small builds. A loft bed in a shed with 10-foot sidewalls frees up the entire ground floor for living and cooking. Standard loft clearance needs at least 3.5 feet of headroom above the mattress. Factor that into your roof pitch before you commit to a shed shell.
Built-in storage along one wall (think floor-to-ceiling shelving with a depth of 12 to 16 inches) replaces the need for freestanding furniture that eats into your floor plan. Murphy beds are another strong option for single-room layouts where the sleeping and living areas need to share the same footprint.
Choosing a Floor Plan That Won’t Drive You Crazy
Put the bathroom in a corner. That keeps plumbing runs short and consolidates wet walls, which saves money and simplifies the rough-in. The kitchen should sit along the same wall as the bathroom whenever possible, for the same reason.
Leave at least 36 inches of clear walkway through the main living area. That’s the number where a space stops feeling like an obstacle course. Cabinlodger.com has a few detailed posts on small-space layout planning that are worth bookmarking if you’re still sketching floor plans at this stage.
Off-Grid Options Worth Adding From the Start
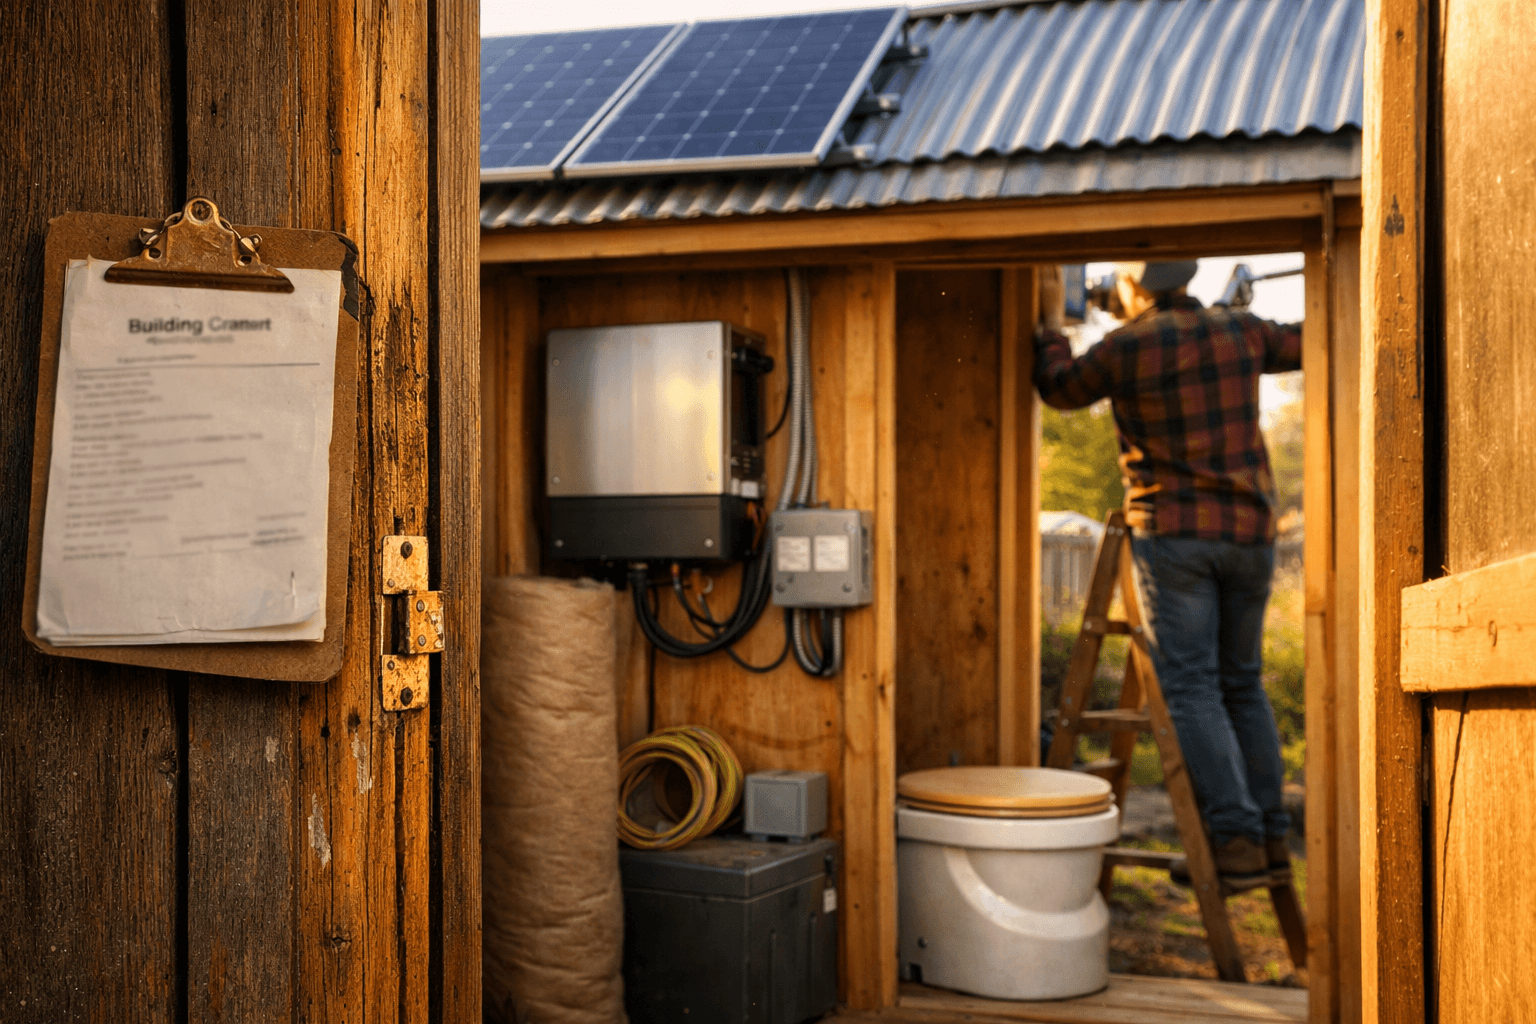
Rough in off-grid systems during the conversion, not after. Retrofitting solar or rainwater collection once walls are closed and finished costs significantly more in labor and disruption. If your property is rural enough to need a shed conversion, it’s probably rural enough to benefit from at least partial off-grid capability.
Solar and rainwater are the two systems worth planning from day one. A basic grid-tied solar setup with a 2-kilowatt array runs roughly $4,000 to $6,000 installed and covers lighting, a mini-split, and small appliances in a 200-square-foot space. Going fully off-grid with battery storage (a lithium iron phosphate battery bank is the current standard) adds another $3,000 to $5,000 to that figure.
System
Estimated Cost
Best For
2kW grid-tied solar
$4,000–$6,000
Rural lots with utility access
2kW off-grid solar + battery bank
$7,000–$11,000
Remote sites, no utility hookup
Rainwater collection (500-gal tank)
$800–$1,500
Supplemental water, garden use
Composting toilet
$900–$1,800
Sites without sewer or septic
Propane tankless water heater
$600–$1,200
Backup or primary hot water
Rainwater collection is worth adding even if you have well access — a 500-gallon polyethylene tank and basic filtration handles outdoor use and reduces pressure on your primary water supply. Check state law first; a handful of states restrict rainwater harvesting.
Frequently Asked Questions
Can a shed conversion legally be a primary residence?
In most U.S. counties, no — not without a building permit, a compliant foundation, and a certificate of occupancy. Some rural counties with light zoning allow it, but urban and suburban areas almost never do. Treat zoning research as step one, not an afterthought.
How long does a full shed-to-tiny-home conversion take?
A realistic timeline for a DIYer handling most of the work personally is four to eight months, assuming permits don’t stall. Electrical and plumbing inspections are usually the bottleneck — schedule those early and build buffer time around them.
What size shed is the minimum for a livable conversion?
A 12×20 footprint (240 square feet) is the practical floor, though some people make 10×16 work with a loft. Anything smaller makes code-compliant bathroom dimensions nearly impossible to hit, and the layout becomes a daily frustration regardless of how clever the design is.
Do I need an architect or engineer for a shed conversion?
Not always, but a structural engineer review is worth the cost (typically $300 to $600 for a small project) if you’re upgrading roof framing or pouring a new foundation. An architect isn’t required, but your county may ask for stamped drawings before issuing a permit.