Can you actually turn a backyard shed into a place you live in full-time? The short answer is yes. But converting sheds into tiny house projects is nowhere near as simple as slapping up some drywall and calling it home. Permits, zoning, structural upgrades, and utility hookups all stand between you and a legal, livable space.
Most guides skip straight to the fun stuff. This one doesn’t.
Before You Buy a Single Board: Zoning and Permits Come First
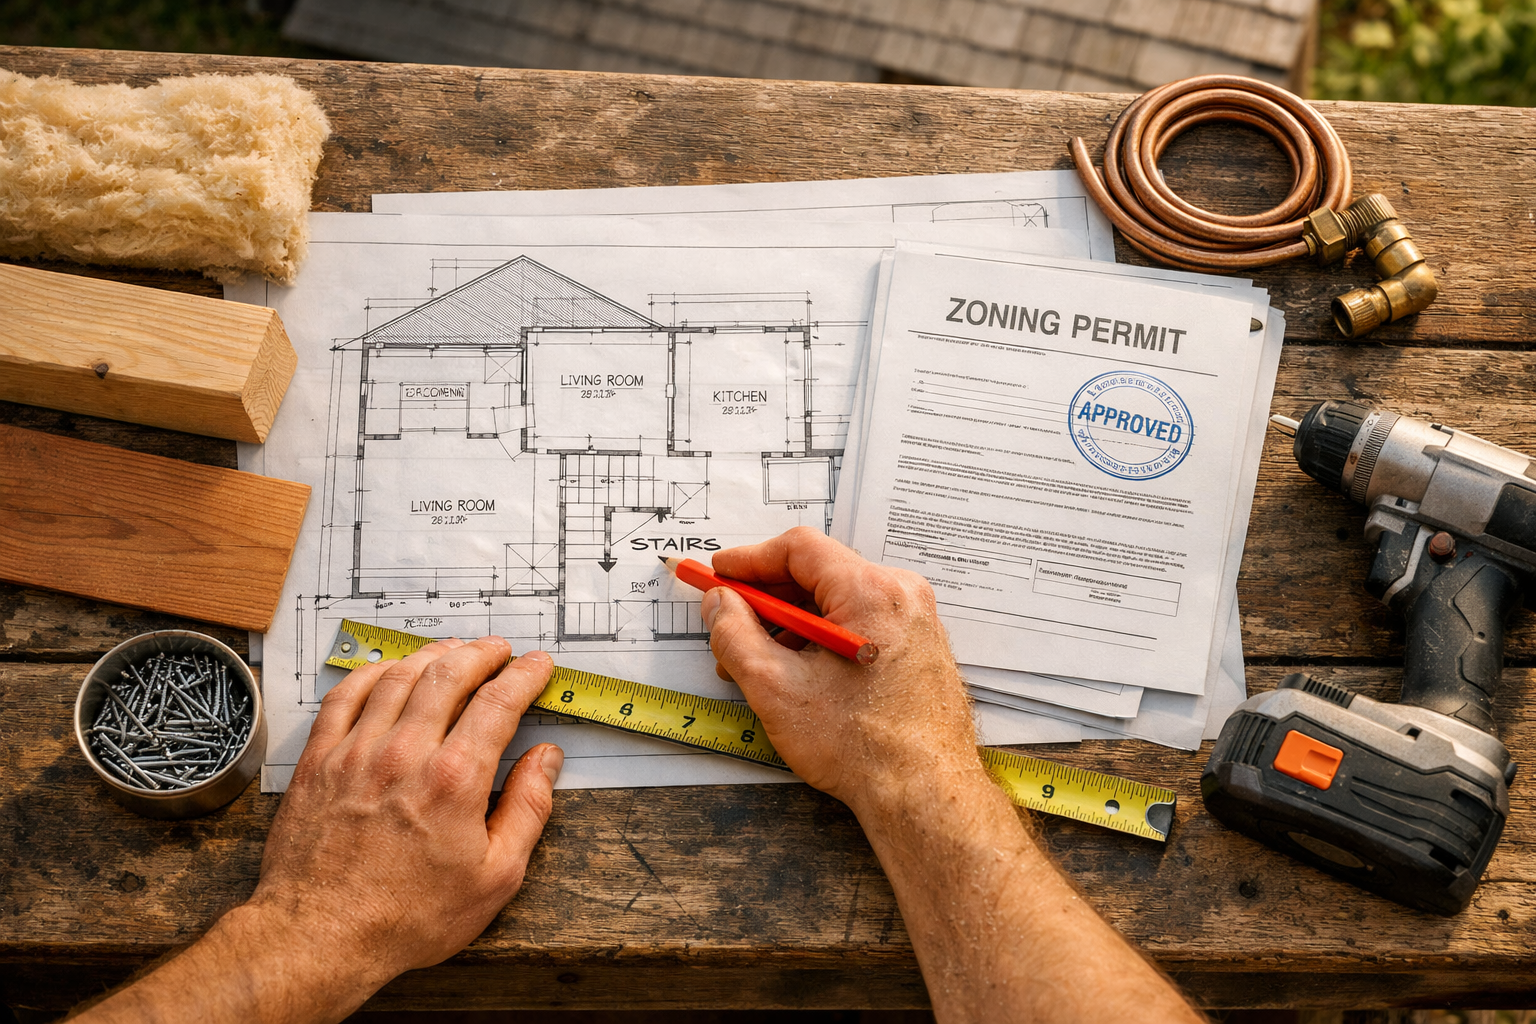
Call your local zoning office before you spend a dollar on materials. This is the step that kills more shed conversion dreams than anything else. In many municipalities, a converted shed cannot legally serve as a primary residence regardless of how well it’s built. Some counties allow it as an accessory dwelling unit (ADU), others permit it only as a guest structure, and some flat-out prohibit it.
Skipping this step risks fines or forced demolition of a finished build. That’s not a hypothetical — it happens. One phone call to your local planning department costs nothing and tells you exactly what’s possible on your property.
What Size Shed Can Actually Become a Livable Space
Most sheds under 100 square feet are a dead end for legal habitation. You need at minimum 120 sq ft of floor space to have any realistic shot at meeting International Residential Code (IRC) habitability minimums, and even that’s tight. A 12×16 shed (192 sq ft) is a much more workable starting point.
Shed Size
Square Footage
Livability Verdict
8×10
80 sq ft
Not viable for habitation
10×12
120 sq ft
Bare minimum; very difficult
12×16
192 sq ft
Workable with smart layout
14×20
280 sq ft
Comfortable for one person
16×24
384 sq ft
Practical for one or two people
Minimum Square Footage for Code-Compliant Habitation
The IRC sets a minimum of 70 sq ft for a single habitable room, with a ceiling height of at least 7 feet over at least half the floor area. That 70 sq ft rule applies to one room — your total structure still needs to fit a bathroom, kitchen area, and sleeping space. In practice, anything under 150 sq ft makes code compliance extremely difficult without a loft.
Structural Red Flags to Catch Before You Commit
Most prefab sheds are built to store lawn equipment, not support a person’s daily life. Before committing to a specific shed, check the floor joists. Standard shed floors often use 2×4 framing on 24-inch centers — residential floors typically need 2×6 or 2×8 joists on 16-inch centers to handle living loads. Also look at the wall framing. Thin T1-11 siding panels nailed to light framing won’t hold insulation, drywall, or a proper window installation without reinforcement.
A shed with rotted sill plates or an unlevel floor is a money pit. Walk away.
The Conversion Process, Step by Step
Converting sheds into tiny house projects follows a clear sequence. Jumping out of order (say, finishing walls before roughing in plumbing) means tearing things apart later. Work through these phases in order:
Secure permits and finalize your design drawings before any physical work begins.
Address the foundation and structural framing so the shell can support residential loads.
Rough in all mechanical systems (electrical, plumbing, HVAC) before closing up walls.
Install insulation and vapor barriers, then hang drywall or your chosen wall finish.
Complete finish work: flooring, trim, cabinetry, fixtures, and exterior upgrades.
Foundation and Structural Reinforcement
Most sheds sit on skids or concrete blocks, and neither meets residential foundation standards in most jurisdictions. A frost-depth footing or concrete pier system is typically required for a permitted dwelling. You’ll also need to sister or replace floor joists, reinforce wall studs to 16-inch on-center spacing, and add a proper ridge beam if the roof needs to carry insulation and a finished ceiling.
Insulation, Vapor Barriers, and Weatherproofing
For a structure this small, spray foam insulation is worth the cost. Closed-cell spray polyurethane foam (SPF) gives you an R-value around R-6 per inch and doubles as an air and vapor barrier, so two problems get solved at once. In a 192 sq ft shed, expect to pay roughly $1,500–$2,000 for professional spray foam application on walls and ceiling.
Electrical Panel and Wiring Rough-In
A converted shed needs its own sub-panel, typically 60–100 amps, fed from your main house panel or a utility connection. Wire everything to residential code using 12-gauge or 14-gauge Romex for general circuits, with dedicated 20-amp circuits for the kitchen and bathroom. This work requires a licensed electrician in most states. Don’t cut corners here.
Plumbing and Water Supply
Run your supply lines and drain lines before the walls close. Cold and hot supply lines connect to either the main house or a well. The drain side requires a proper P-trap at every fixture and a vent stack that exits through the roof. If the shed sits more than 50 feet from the main sewer line, factor in the cost of trenching, which alone can run $1,000–$3,000 depending on soil conditions and distance.
Interior Layout: Making Small Square Footage Actually Work
In a shed conversion, every square foot has to pull double duty. The biggest layout mistake people make is treating a small space like a shrunken version of a normal house. A dedicated bedroom here, a living room there. That doesn’t work at 192 sq ft. You need to think in zones, not rooms.
Zoning in tiny house design means assigning each area a primary function while building in flexibility. Your sleeping area can fold away. Your dining surface can mount to the wall. The goal is that no square foot sits idle for 18 hours a day.
Loft Beds and Vertical Storage
A loft bed is the single best move you can make in a shed conversion. Raising the sleeping area off the main floor frees up roughly 50–60 sq ft of usable ground-level space, which is nearly a third of a 192 sq ft shed returned to daily living. You need a minimum ceiling height of around 7.5 feet at the peak to make a loft work without feeling like a coffin on the upper level.
Build vertical storage into every wall you can. French cleats (horizontal wall-mounted rails that accept interchangeable hooks and shelves) let you reconfigure storage without drilling new holes every time your needs change. Floor-to-ceiling shelving along one full wall can replace what a closet would otherwise eat up.
Kitchen and Bathroom Placement
Put the bathroom and kitchen on the same wall whenever possible. Shared plumbing walls cut your pipe runs in half and keep the drain stack centralized. A galley-style kitchen (two parallel counters or one counter with wall-mounted storage opposite) works well in widths as narrow as 5 feet.
Place the bathroom in a corner, not the center of the space. Corner placement gives you two exterior walls for ventilation and keeps the rest of the floor plan open and connected.
What a Shed-to-Tiny-House Conversion Actually Costs
Budget between $15,000 and $35,000 for a full shed-to-tiny-house conversion, depending on the shed’s starting condition, your local permit fees, and how much of the labor you handle yourself. That range assumes a 12×16 to 14×20 shed. Going smaller doesn’t save as much as you’d think once permits and utility hookups are factored in.
Cost Category
DIY-Heavy Estimate
Contractor-Heavy Estimate
Permits and inspections
$500–$1,500
$500–$1,500
Foundation upgrades
$1,500–$3,000
$3,000–$6,000
Framing and structural
$800–$1,500
$2,000–$4,000
Insulation (spray foam)
$1,500–$2,000
$2,000–$3,000
Electrical rough-in and panel
$1,200–$2,000
$2,500–$4,500
Plumbing rough-in
$1,000–$2,500
$3,000–$6,000
Interior finish and fixtures
$2,000–$4,000
$4,000–$8,000
Exterior siding and roofing
$1,500–$3,500
$3,500–$7,000
Total (estimated)
$10,000–$20,000
$20,500–$40,000
Where Most Budgets Fall Short
People consistently underestimate two line items: utility hookups and permit-driven upgrades. Trenching for water and sewer lines alone can cost $2,000–$5,000 if the shed sits far from the main connections. And once an inspector requires a frost-depth foundation or upgraded roof framing, those costs hit fast and aren’t optional.
Labor is the other gap. A DIY-heavy build saves real money, but rough-in electrical and plumbing still need licensed trades in most jurisdictions. Budget for at least those two inspections and the licensed work they require.
Shed Conversion vs. Buying a Prefab Tiny House
A prefab tiny house on wheels runs $30,000–$80,000 from most manufacturers. A shed conversion done well lands well below that ceiling — but it also takes months of your time and carries permit uncertainty that a purpose-built tiny house doesn’t. The conversion wins on cost. The prefab wins on speed and predictability.
Exterior Upgrades: Siding, Roofing, and Ventilation
The outside of a converted shed has to stop looking like a shed. Beyond appearances, the exterior needs to meet residential weatherproofing standards. Most prefab shed skins don’t come close to that bar.
Roofing and Siding That Meets Residential Standards
Replace T1-11 panel siding with a proper layered assembly: housewrap (like Tyvek), then a nailable substrate, then your finish siding. Fiber cement siding is a practical choice. It holds paint well, resists moisture, and costs around $6–$12 per square foot installed. For roofing, standard architectural shingles with a 30-year rating are the minimum worth putting on a building you plan to live in.
HVAC and Ventilation in a Tight Shell
A well-insulated 200 sq ft space doesn’t need a full HVAC system. A mini-split heat pump (a single 9,000 BTU unit runs around $700–$1,200 for the equipment) handles both heating and cooling efficiently at this scale. Pair it with a heat recovery ventilator (HRV) to bring in fresh air without losing the thermal energy you’ve built up inside. Without an HRV, a sealed, well-insulated shed will develop moisture and air quality problems within one winter.
Realistic Timeline: How Long This Project Takes
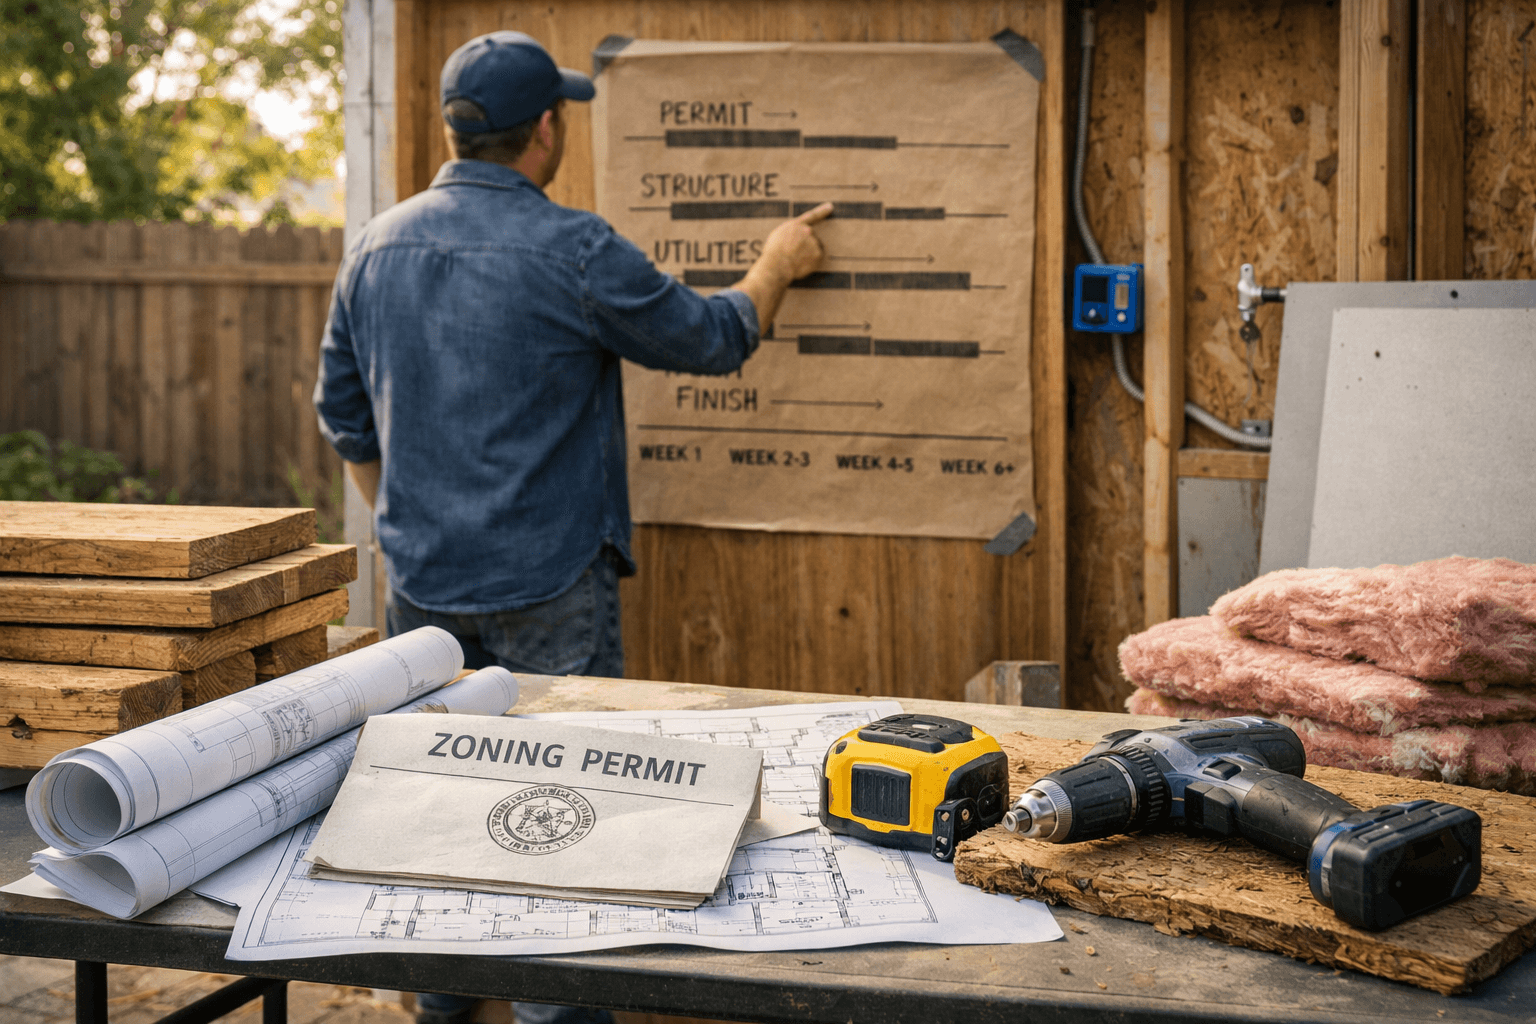
Plan on six to twelve months from permit application to move-in, and that’s for a motivated builder who treats weekends as full work days. The timeline isn’t driven by the construction itself. It’s driven by the permit queue.
Zoning and permit approval alone can take four to eight weeks in most counties. Some jurisdictions move faster, but if your application triggers a variance hearing, add another two months minimum.
Once permits are in hand, the physical build breaks down roughly like this: foundation and structural reinforcement takes two to three weekends. Rough-in framing, electrical, and plumbing together run four to six weeks if you’re coordinating licensed trades around their schedules. Inspections between phases add buffer time you can’t control.
Interior finish work (drywall, flooring, fixture installation) takes another three to five weeks. Exterior siding and roofing, if you’re doing it yourself, add two weekends on top of that.
Don’t compress the inspection phases. A failed rough-in inspection means opening walls after they’re closed, and that mistake costs more time than the original work did.
Frequently Asked Questions
Can a shed conversion legally be a primary residence?
In many municipalities, no. Zoning codes in most areas restrict accessory dwelling units (ADUs) or prohibit residential use of converted outbuildings on certain lot types. Call your local planning department before spending a dollar. That one call determines whether the project is viable at all.
Do I need a separate address for a converted shed?
Yes, if you want mail delivery, emergency services access, or utility accounts in your name. Most counties assign a new address only after a certificate of occupancy is issued, which requires passing all required inspections. Some rural parcels handle this differently, so confirm with your county assessor.
What’s the minimum shed size worth converting?
Anything under 120 sq ft is extremely difficult to bring up to habitable space code standards. Most codes require a minimum ceiling height of 7 feet over a certain percentage of the floor area, and that’s nearly impossible to meet in a very small footprint without significant structural changes. A 12×16 (192 sq ft) is a realistic floor.
Can I do the electrical work myself to save money?
In some states, a homeowner can pull their own electrical permit and do the work, but it still has to pass inspection by a licensed electrical inspector. Check your state’s homeowner exemption rules first. Cabinlodger.com has detailed guides on rough-in wiring for small structures if you want a closer look at what that scope of work actually involves.