
Did you know that wood can last for centuries if preserved right? This fact shows how important it is to protect wood in cabins. With the right stain and seal, your cabin walls can last for generations, fighting off rot and decay.
Keeping rot away is key to cabin upkeep. Using the right wood preservation methods can make your cabin last longer. Choosing the right stains and applying sealants correctly are all important steps to protect your cabin.
In this guide, we’ll look at the best ways to stain and seal cabin walls to prevent rot. We’ll talk about understanding wood rot, picking the right products, and applying them for the best protection. Whether you’re experienced or new to cabin maintenance, you’ll get tips to keep your cabin walls strong and beautiful for years.
Understanding Wood Rot
Wood rot is a serious problem that can weaken your cabin’s structure. It happens when fungi attack wood, breaking it down. Let’s look at what wood rot is and why it happens.
What is Wood Rot?
Wood rot is a type of fungal decay that loves moist places. It eats wood fibers, causing it to weaken over time. There are two main types: wet rot and dry rot. Wet rot needs more moisture, about 20%. Dry rot can spread even with less moisture.
Common Causes of Wood Rot
Several things can lead to wood rot in cabins:
- High humidity levels
- Poor ventilation
- Water leaks
- Inadequate wood treatment
- Improper construction techniques
Moisture damage is the main reason for wood rot. Wood that stays damp for too long is perfect for fungi to grow. Places like basements, roofs, and around windows are at high risk.
| Type of Rot | Moisture Content | Temperature Range | Common Locations |
|---|---|---|---|
| Wet Rot | 20% or higher | 65-90°F | Cellars, roofs, windows |
| Dry Rot | Around 20% | 65-90°F | Can spread through masonry |
| Soft Rot | Varies | 0-110°F | Outdoor structures |
Knowing the causes and types of wood rot is key to preventing and treating it. Regular checks and good upkeep can keep your cabin safe from fungal decay and moisture damage.
Importance of Staining and Sealing
Staining and sealing cabin walls is key for wood protection. These steps make your cabin look great and keep it safe from harm. Let’s look at how staining benefits and sealing stops rot.
Benefits of Staining
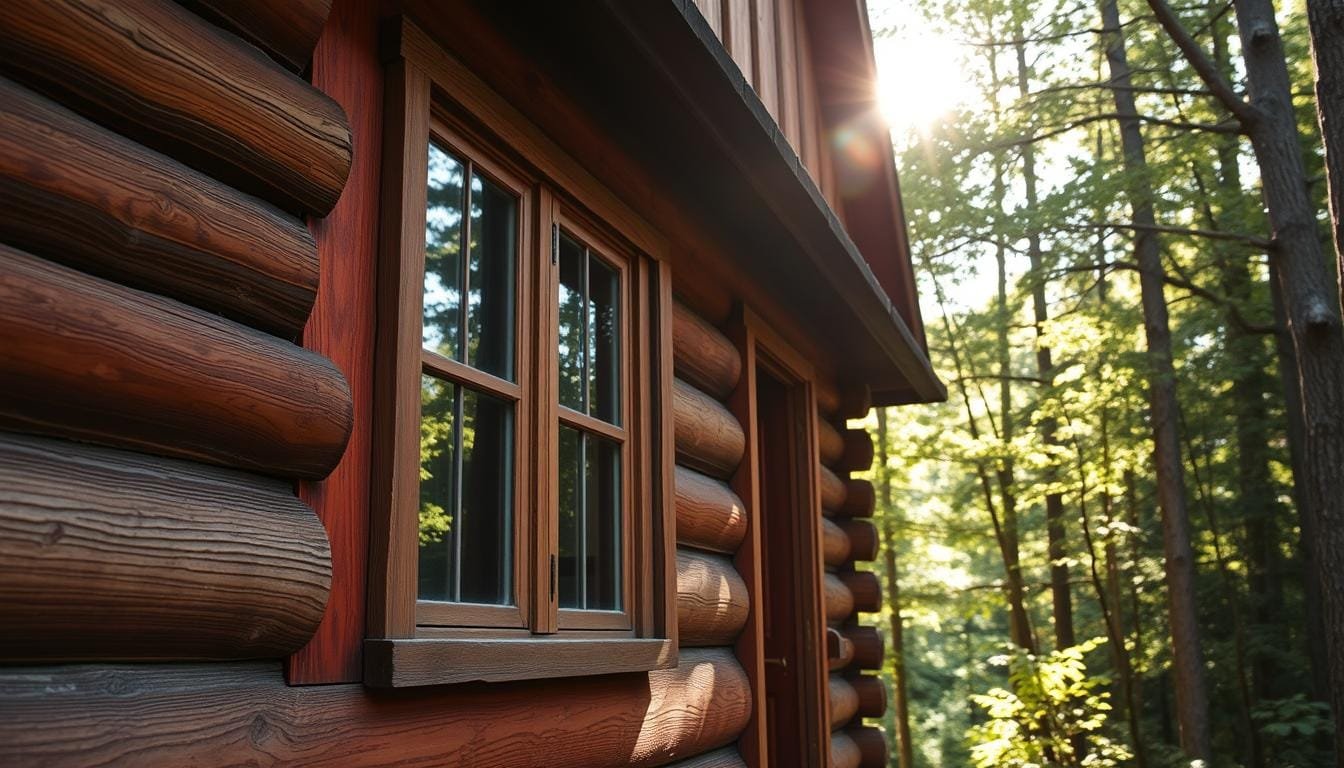
Staining your cabin walls has many pluses. It adds a UV protection layer, protecting the wood from sun damage. You can pick from many colors to match your cabin’s look. Dark stains have more pigment, giving better weather protection.
- Enhances wood’s natural beauty
- Protects against UV rays
- Offers color customization
- Increases wood longevity
How Sealing Prevents Rot
Sealing acts as a moisture barrier, keeping water out. This is vital to stop rot, as fungi love damp places. A good sealant keeps moisture away, keeping your cabin strong.
| Finish Type | Lifespan | Re-application Frequency |
|---|---|---|
| Water repellents | 6-12 months | Annually |
| Clear water repellent | 1-2 years | Every 1-2 years |
| Pigmented water | 2-3 years | Every 2-3 years |
| Semi-transparent stains | 3-8 years | Every 3-5 years |
Regular upkeep is a must. Clean logs when they get dirty and reapply stain every 3-5 years. Walls facing south and west need more care because of more sun. By doing this, your cabin’s wood stays protected for a long time.
Choosing the Right Stain
Choosing the right stain for your cabin walls is key for both protection and looks. Different wood stains affect durability and appearance. Let’s look at what to consider when picking a stain.
Oil-Based vs. Water-Based Stains
The choice between oil-based and water-based stains depends on their unique qualities. Oil-based stains protect better against water, great for moist areas. Water-based stains are better for the environment and have less smell.
| Stain Type | Pros | Cons |
|---|---|---|
| Oil-Based | Better water resistance, deep penetration | Longer drying time, strong odor |
| Water-Based | Faster drying, easy cleanup, eco-friendly | Less durable in wet conditions |
Color Selection
Your stain color choice impacts both looks and protection. Lighter stains reflect heat, while darker ones absorb it. Transparent stains are best for new wood to show the grain.
Think about your cabin’s setting when picking a stain color. In humid places, choose stains that fight mildew. For sunny spots, pick stains with UV protection to keep color and protect wood. Aesthetic choices should also consider practical needs for the best stain durability.
Preparing Cabin Walls for Treatment
Getting your cabin walls ready for staining and sealing is key for lasting protection. Proper surface prep is essential for the best results. It also helps avoid future problems. Let’s explore the important steps for wood cleaning, finish removal, and damage repair.
Cleaning the Surface
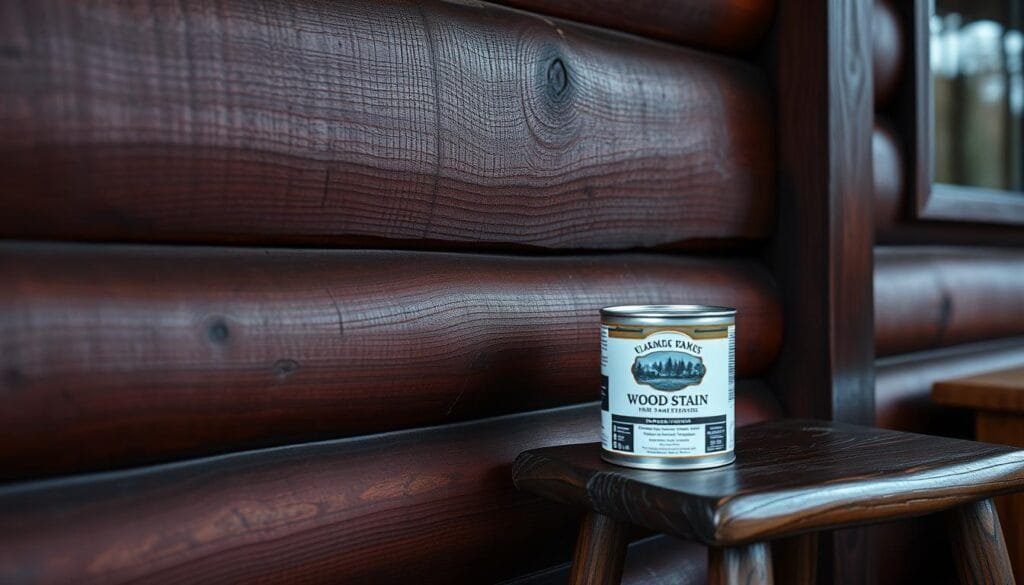
Begin by cleaning the cabin walls well. Use a pressure washer or a stiff brush with a cleaning solution to remove dirt, dust, and debris. This surface preparation step is critical for the stain to stick well. Clean logs a few times a year to keep them looking great and lasting longer.
Removing Old Finish
If your cabin walls have an old finish, it must be removed. Use a paint stripper or sandpaper to get rid of the old stain or sealant. This step lets the new treatment reach the wood better. Remember, weatherproofing your log cabin begins with a clean start.
Repairing Damaged Areas
Check the walls for rot, cracks, or insect damage. Fix these issues before applying new treatments. For rot, remove affected areas if they’re less than 50% of the log. Use wood filler for small cracks and epoxy for bigger ones. Treat the repaired areas with fungicides and insecticides to stop future problems.
By following these steps, you’ll get your cabin walls ready for staining and sealing. This ensures your cabin stays beautiful and strong for many years.
Applying Stain: Step-by-Step
Staining your cabin walls is a key step to protect them from rot. This guide will help you through the process. You’ll learn how to get even coverage and the best results.
Application Tools
Choosing the right tools is important for stain application. For small areas, a brush or 4″ roller is best. Larger areas need 9″ rollers or hand-pump sprayers for quick coverage.
Each tool has its own strengths. Choose based on your project’s size and your comfort level.
Techniques for Even Application
Getting even coverage takes skill and patience. Start at the top and work down, keeping a wet edge to avoid marks. Apply the stain in thin, even coats, following the wood grain.
For spray applications, use a back-brushing technique. This helps the stain penetrate deeply into the wood fibers.
Recommended Drying Times
Proper drying is key for a lasting finish. Wait 2 to 7 days before applying sealants. This lets the stain set and stick well to the wood.
The best temperature for application is between 50°F and 80°F. This helps the stain dry optimally.
| Application Method | Coverage Area | Best For |
|---|---|---|
| Brush | Small | Detailed work, corners |
| 4″ Roller | Small to Medium | Smooth surfaces |
| 9″ Roller | Large | Wide, flat areas |
| Hand-pump Sprayer | Large | Quick coverage, rough surfaces |
Sealing Cabin Walls
Sealing cabin walls is vital for keeping moisture out and protecting against rot. This step is the last in the treatment process. It helps keep your cabin safe from damage.
Selecting the Right Sealant
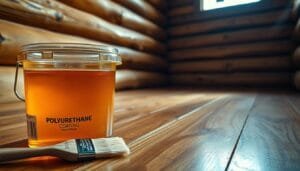
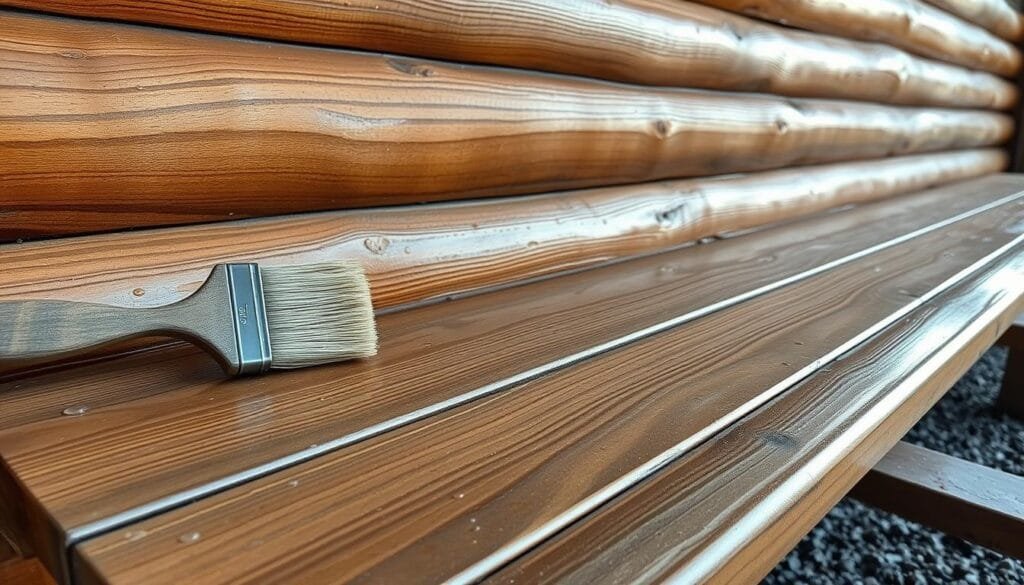
Choosing the right sealant is essential for waterproofing. Look for durability, breathability, and compatibility with your stain. Emperor Exterior Wood Waterproofer is a top pick. It uses advanced technology to protect wood without blocking pores.
Application Techniques
Apply sealant evenly for the best protection. Make sure surfaces are clean and dry. Use a backer rod for large gaps. Sealant should be half the joint width.
For full-round logs, the chinking seam should be about 1/6 of the log’s diameter.
Sealant Application Timing
Timing is key when applying sealants. The best temperature is between 50°F and 80°F. Keep sealants dry for at least 24 hours after application.
In warm weather, sealants can skin over in 10 minutes. But, they fully cure in weeks.
| Sealant Type | Coverage | Drying Time | Best For |
|---|---|---|---|
| Check Mate 2 | 16 ft per 11 oz tube (1/2″ wide) | Skins quickly, cures in weeks | Small checks and gaps |
| Energy Seal | Varies by application | 10 min skin, weeks to cure | Larger seams, energy efficiency |
| Perma-Chink | Varies by log size | Quick skin, weeks to cure | Full-round log construction |
Maintaining Stained and Sealed Walls
Keeping your log cabin in top shape is essential. A solid maintenance schedule is key. Regular upkeep of stained and sealed walls keeps your retreat charming and strong. Let’s look at how to keep your cabin walls looking great.
Regular Inspections
Make a routine to check your cabin walls. Look for wear, discoloration, or damage. Catching problems early saves money on repairs. Check your walls every six months for long-term care.
Cleaning Techniques
Choose gentle cleaning products to protect your walls. Warm water and mild soap are good for daily cleaning. For hard stains, use log home cleaners. Proper cleaning prevents moisture and wood rot.
| Maintenance Task | Frequency | Benefits |
|---|---|---|
| Visual Inspection | Every 6 months | Early problem detection |
| Gentle Cleaning | Annually | Prevents dirt buildup |
| Deep Cleaning | Every 2-3 years | Removes tough stains |
| Reapplication of Sealant | Every 3-5 years | Maintains protection |
Consistent care makes your cabin walls last longer and look better. By following these steps, your log home will stay cozy for years.
Reapplication of Stain and Sealant
Keeping your cabin walls looking great means you need to refinish them sometimes. Let’s look at when and how to do this important wood protection renewal task.
Signs for Reapplication
It’s time to refinish when you see fading, mainly on walls that get a lot of sun. Walls facing south and west might need it every 2 to 3 years because of more UV rays. Look out for water spots or a peeling finish. These signs mean it’s time for some maintenance.
Checking your walls once a year can help spot problems early. This way, you can fix them before they get worse.
Best Time for Reapplication
Choosing the right time to refinish is key. Look for dry weather with temperatures between 50-80°F. Spring or fall is usually the best time. Make sure your logs are clean and dry before you start.
A mix of bleach and water can help get rid of mold and mildew. Let the logs dry for three days before you apply new stain or sealant.
With the right care, your cabin’s finish can last longer. High-quality stains that protect against UV rays can last 4 to 6 years. Some people only need to refinish twice in 20 years. Regular cleaning and checks help keep your cabin looking good for longer.
FAQ
How often should I stain and seal my cabin walls?
The frequency of staining and sealing depends on several factors. These include the type of wood, how much it’s exposed to the elements, and the quality of previous treatments. You should check your cabin walls every year and reapply stain and sealant every 3-5 years. If you see signs of wear, fading, or water absorption, you might need to reapply sooner.
Can I stain and seal my cabin walls in any weather?
No, the weather is very important for successful application. The best weather is dry with temperatures between 50°F and 90°F (10°C to 32°C). Don’t apply stain or sealant in direct sunlight, high humidity, or when rain is expected within 24-48 hours after application.
What’s the difference between oil-based and water-based stains?
Oil-based stains go deeper into the wood, giving better protection and durability. But, they have a stronger smell and take longer to dry. Water-based stains are easier to apply, dry faster, and have lower VOC emissions. They might not last as long, though. Choose based on your needs and environmental concerns.
How do I know if my cabin walls have wood rot?
Look for signs like discoloration, a spongy or soft texture, visible fungal growth, and a musty smell. You might also see cracks, warping, or areas where the wood seems to be crumbling. Regular checks can help catch rot early.
Can I apply new stain over old stain?
It’s not usually a good idea to apply new stain over old without proper preparation. For the best results, remove the old finish, clean the surface well, and let it dry before applying new stain. This ensures better penetration and even coverage.
What tools do I need for staining and sealing cabin walls?
You’ll need a quality brush (natural bristle for oil-based, synthetic for water-based), rollers for big areas, clean rags, sandpaper, and a paint tray. You might also need a power washer for cleaning, protective gear like gloves and goggles, and plastic sheeting to protect areas around your cabin.
How long should I wait between applying stain and sealant?
The wait time between stain and sealant depends on the products used. Generally, let the stain dry completely, which takes 24-48 hours. Always check the manufacturer’s instructions for specific drying times and if the stain and sealant work well together.
Is it better to spray or brush on stain and sealant?
Both methods have their benefits. Brushing gives better control and penetration, great for rough surfaces. Spraying offers even coverage and is quicker for big areas but needs more skill to avoid overspray. For DIY projects, brushing is often preferred for its simplicity and effectiveness.
How can I ensure even coverage when staining?
For even coverage, work in small sections, applying the stain in the wood grain direction. Use long, smooth strokes and avoid letting the stain puddle. Back-brush to ensure even absorption and catch drips. Keep a “wet edge” by overlapping each stroke to prevent lap marks.
What should I do if I find areas of rot while preparing to stain?
If you find rotted areas, you must address them before staining. Remove all rotted wood, treat the area with a wood preservative, and fill small areas with wood filler. For bigger areas of rot, you might need to replace the boards. Always make sure the wood is completely dry before staining and sealing.