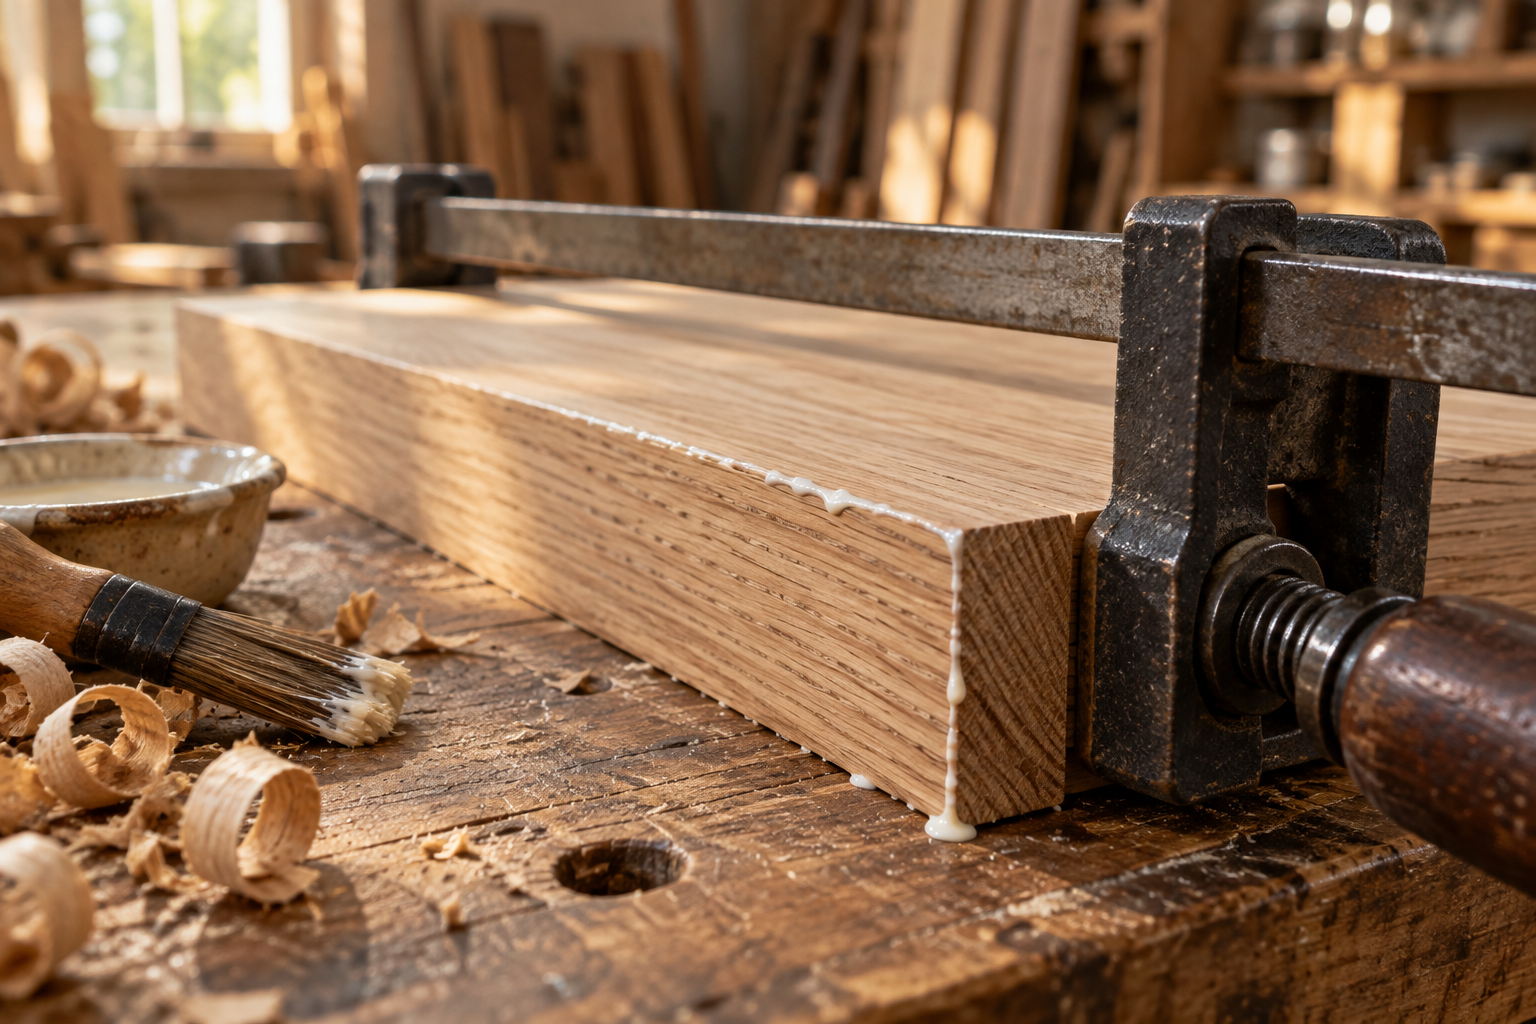
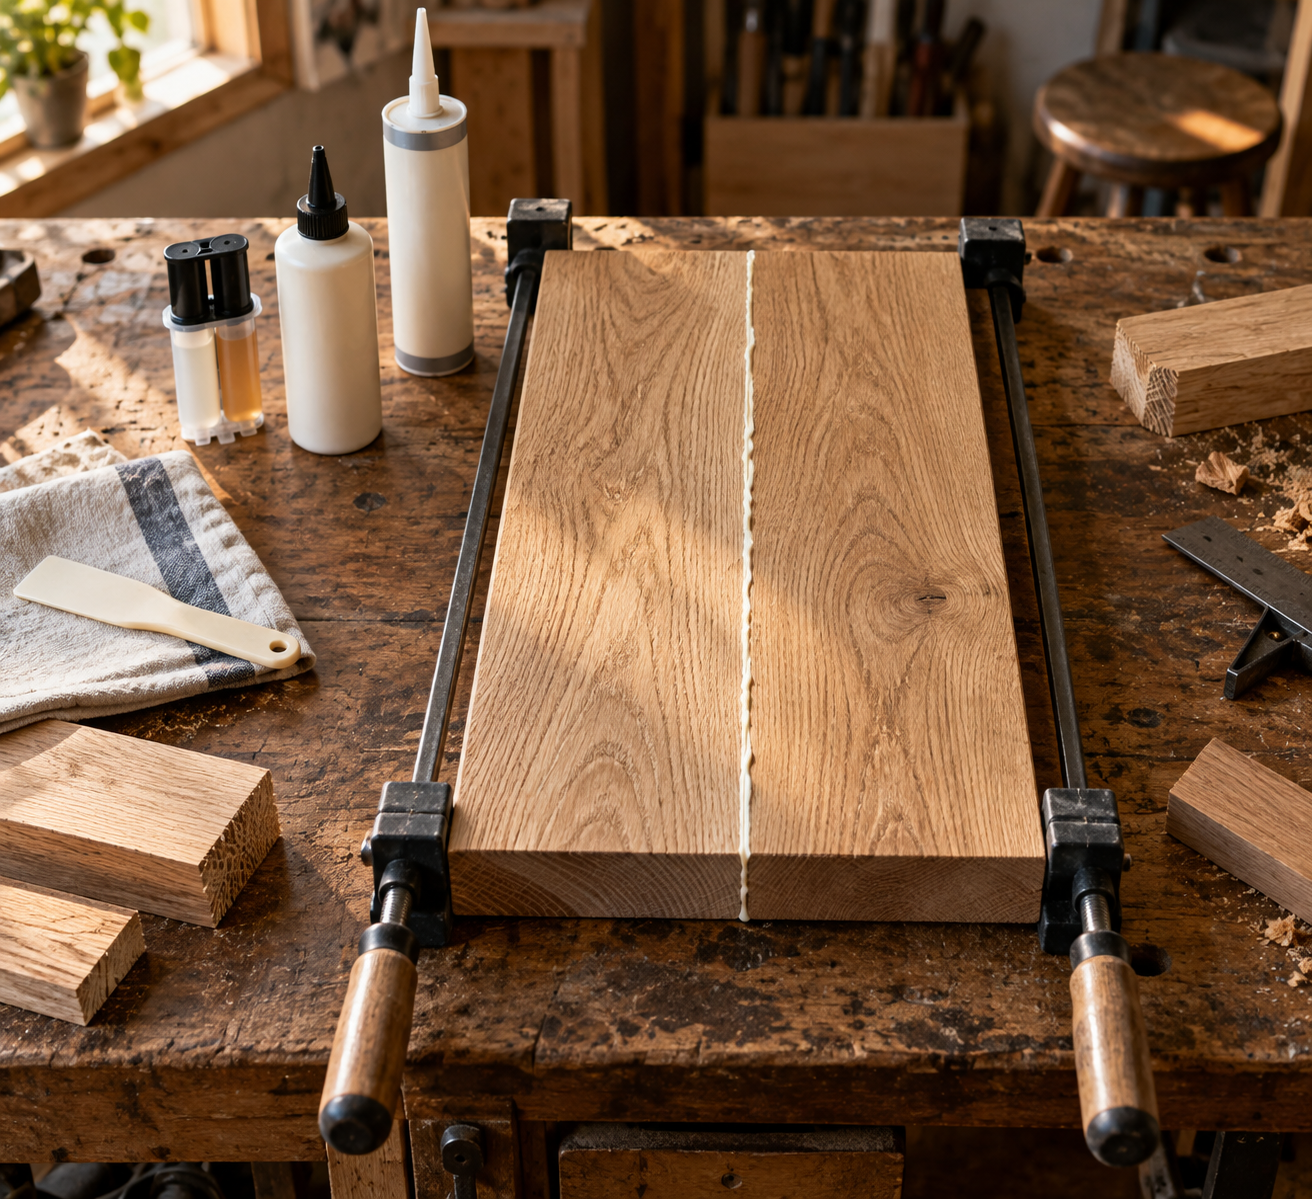
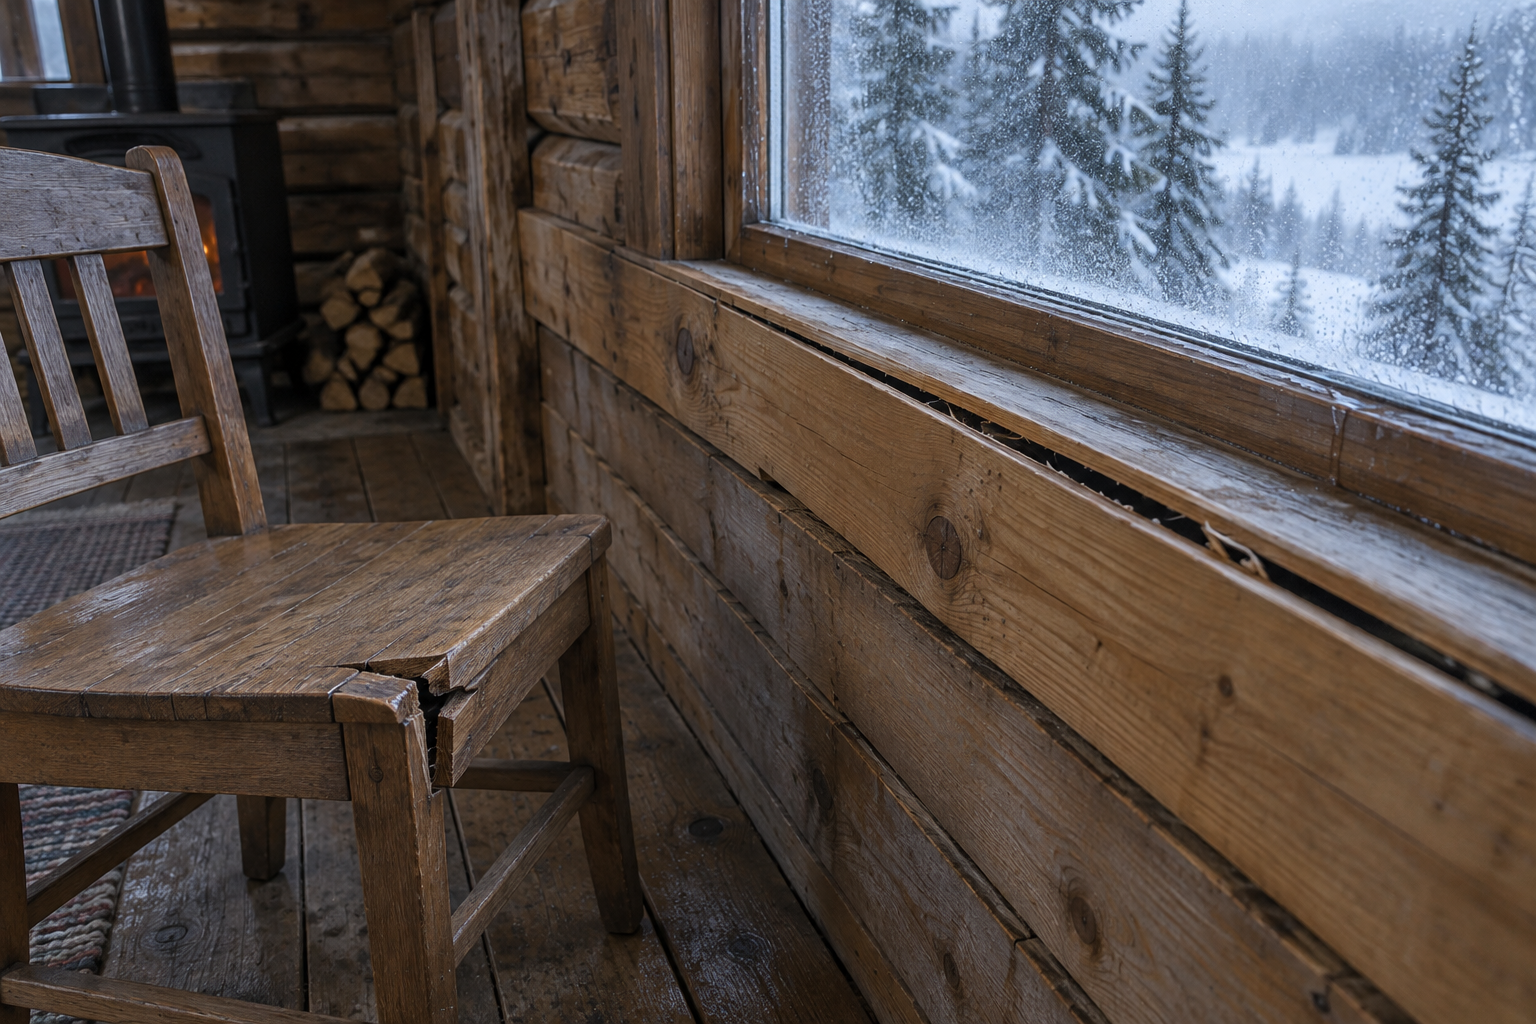
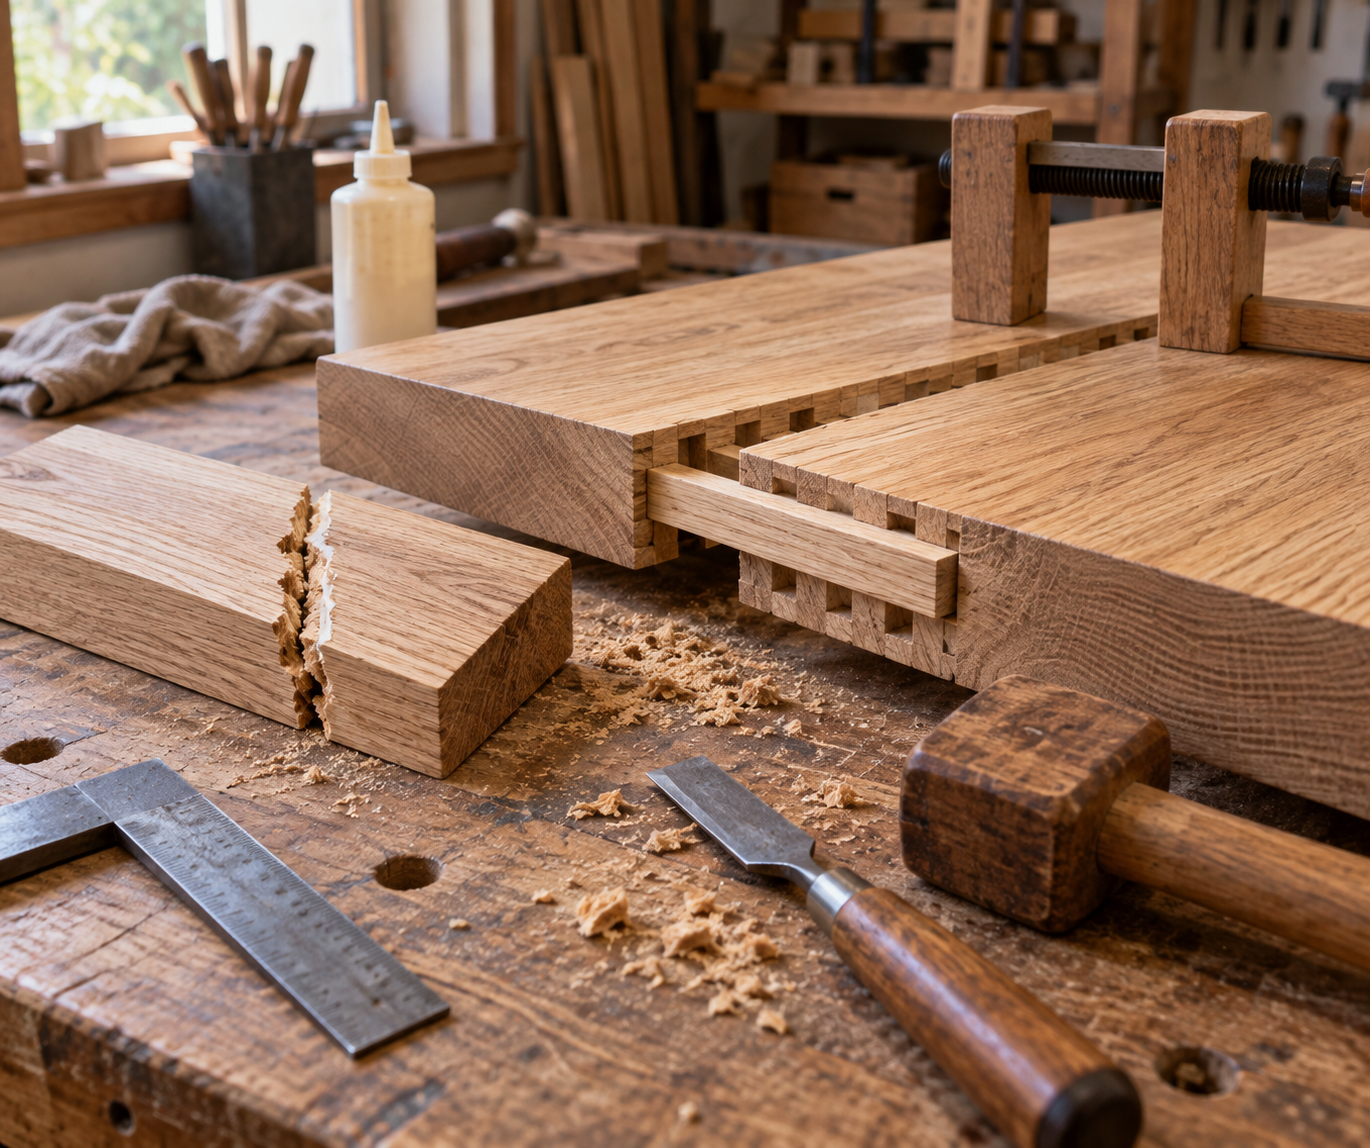
Which glue holds up in a cabin that freezes in January and soaks up humidity in July? Gluing of wood in a heated shop is easy. Gluing it in a half-built cabin is another job. Here’s how I pick adhesives for real cabin conditions, and when I skip glue as the main plan.
Match the Glue to the Joint’s Exposure
Pick the glue by where the joint lives, not by what’s already on your shelf. Interior trim, a porch rail and a sill plate near the ground need three different adhesives.
PVA: Type I vs. Type II
Standard yellow PVA is fine indoors. Titebond II is rated Type II (water resistant), and Titebond III is rated Type I (waterproof under the ANSI/HPVA test). Use Type I or II for anything exterior, and never plain interior PVA on a porch or deck part. Drawback: PVA gets gummy and weak under constant load, so it’s wrong for joints that stay damp.
Epoxy, polyurethane and construction adhesive
Epoxy is the pick for gap-filling, oily woods and damp ground contact. It’s pricey and messy to mix. Polyurethane glue needs a little moisture to cure and foams as it does, so wipe the squeeze-out and expect some mess. Construction adhesive (like PL Premium) bonds subfloors and sheathing to framing, and it fills gaps well. It isn’t for fine joinery.
Hide glue
Hide glue is reversible with heat and moisture. It’s great for furniture repairs and bad for anything outdoors. Skip it for cabin exteriors.
Glue
Water rating
Gap filling
Best cabin use
Yellow PVA (Type II)
Water resistant
Poor
Covered exterior, interior frames
PVA (Type I)
Waterproof
Poor
Porch parts, window trim
Polyurethane
Waterproof
Fair
Mixed woods, damp joints
Epoxy
Waterproof
Excellent
Oily woods, ground contact, repairs
Construction adhesive
Varies by product
Excellent
Subfloor, sheathing
Hide glue
Poor
Poor
Interior furniture only
Cold, Damp and Moving Wood: Cabin Conditions That Break Glue
Most failed joints in cabins fail from conditions, not bad glue. Cold and moisture are the two big ones.
Standard PVA needs the work and the glue above about 50°F. Titebond III’s label allows gluing down to about 47°F. Below that, the glue dries chalky and bonds poorly. If your cabin isn’t heated, warm the glue and the boards indoors overnight, and use a space heater to hold the joint above 50°F while it cures. Epoxy also slows down in the cold, so pick a slow or low-temperature formula and expect long cure times.
Moisture matters just as much. Glue wood at roughly 6-12% moisture content, and check it with a pin meter (about $25-$50). Lumber fresh from a stack in a damp shed can read 18% or more, then shrink and open the joint as it dries.
Seasonal movement is the quiet killer. A wide board swells across the grain in humid summers. A rigid glue line fights that, so use mechanical joints and fasteners where boards are wide or exposed.
Prep, Clamping and Cure: Where Strong Joints Come From
A good joint depends on tight fit, clean surfaces and patient clamping. No glue is stronger than a joint with gaps, and gaps weaken PVA fast.
Dry-fit the joint and check for gaps. Anything over about 1/32″ needs fixing, unless you’re using epoxy.
Surface it fresh. Plane or sand within a few hours of gluing.
Wipe oily or resinous woods (teak, cedar, pine pitch) with acetone or denatured alcohol right before gluing.
Spread glue on both faces, and watch your open time, the window before the glue skins over. For most PVA that’s about 5-10 minutes.
Clamp firmly until you see small beads of squeeze-out. Don’t crank it until the joint runs dry, because that starves the joint.
Hold clamps for the clamp time, usually 30-60 minutes for PVA, longer when it’s cold.
Wait for full cure, about 24 hours for PVA and often longer for epoxy, before loading the joint.
End grain soaks up glue like a straw and bonds weakly. Long grain to long grain is the strong one. Seal end grain with a thin coat of glue first, or add a spline, dowel or biscuit.
When Glue Isn’t Enough
For anything holding weight or facing weather, glue is a helper, not the plan. Rafter ties, sill plates, post-to-beam joints and railings need bolts, screws, structural connectors or real joinery like mortise-and-tenon. Building codes and your local inspector set the rules for structural connections, so check what yours require.
Construction adhesive plus screws on a subfloor is a classic example. The glue stops squeaks and adds stiffness, and the screws hold it in place while it sets. If I’m unsure, I add the fastener.
I put more of my cabin woodworking project notes on cabinlodger.com, including joints I trust outdoors and ones I don’t.
Frequently Asked Questions
Can I use regular wood glue outside?
Only if it’s rated Type I or Type II, and even then keep it covered or finished. Interior yellow PVA softens with moisture. For fully exposed joints, use epoxy or polyurethane, and add fasteners.
How cold is too cold for gluing wood?
Most PVA glues need about 50°F or warmer, and Titebond III works down to roughly 47°F. Below that, the bond turns chalky. Warm the boards and shop, and hold the temperature through cure.
How long should I clamp before loading the joint?
Clamp for 30-60 minutes with PVA, but wait about 24 hours before putting real load on it. Epoxy and polyurethane often need longer, so read the label for the temperature you’re working in.