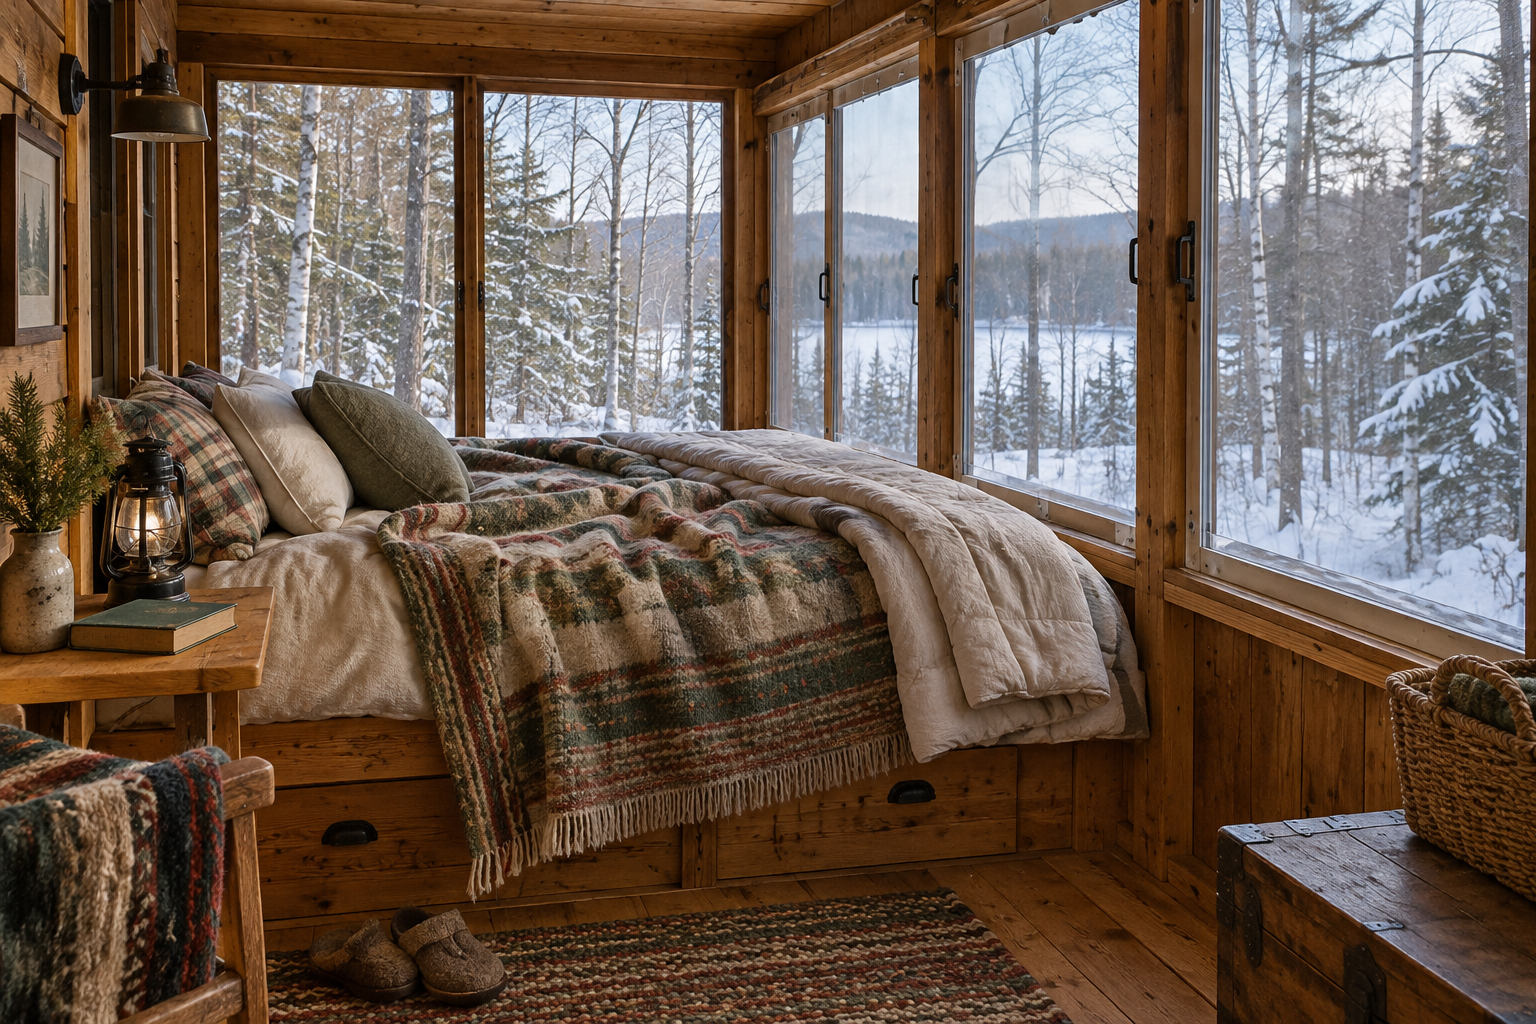
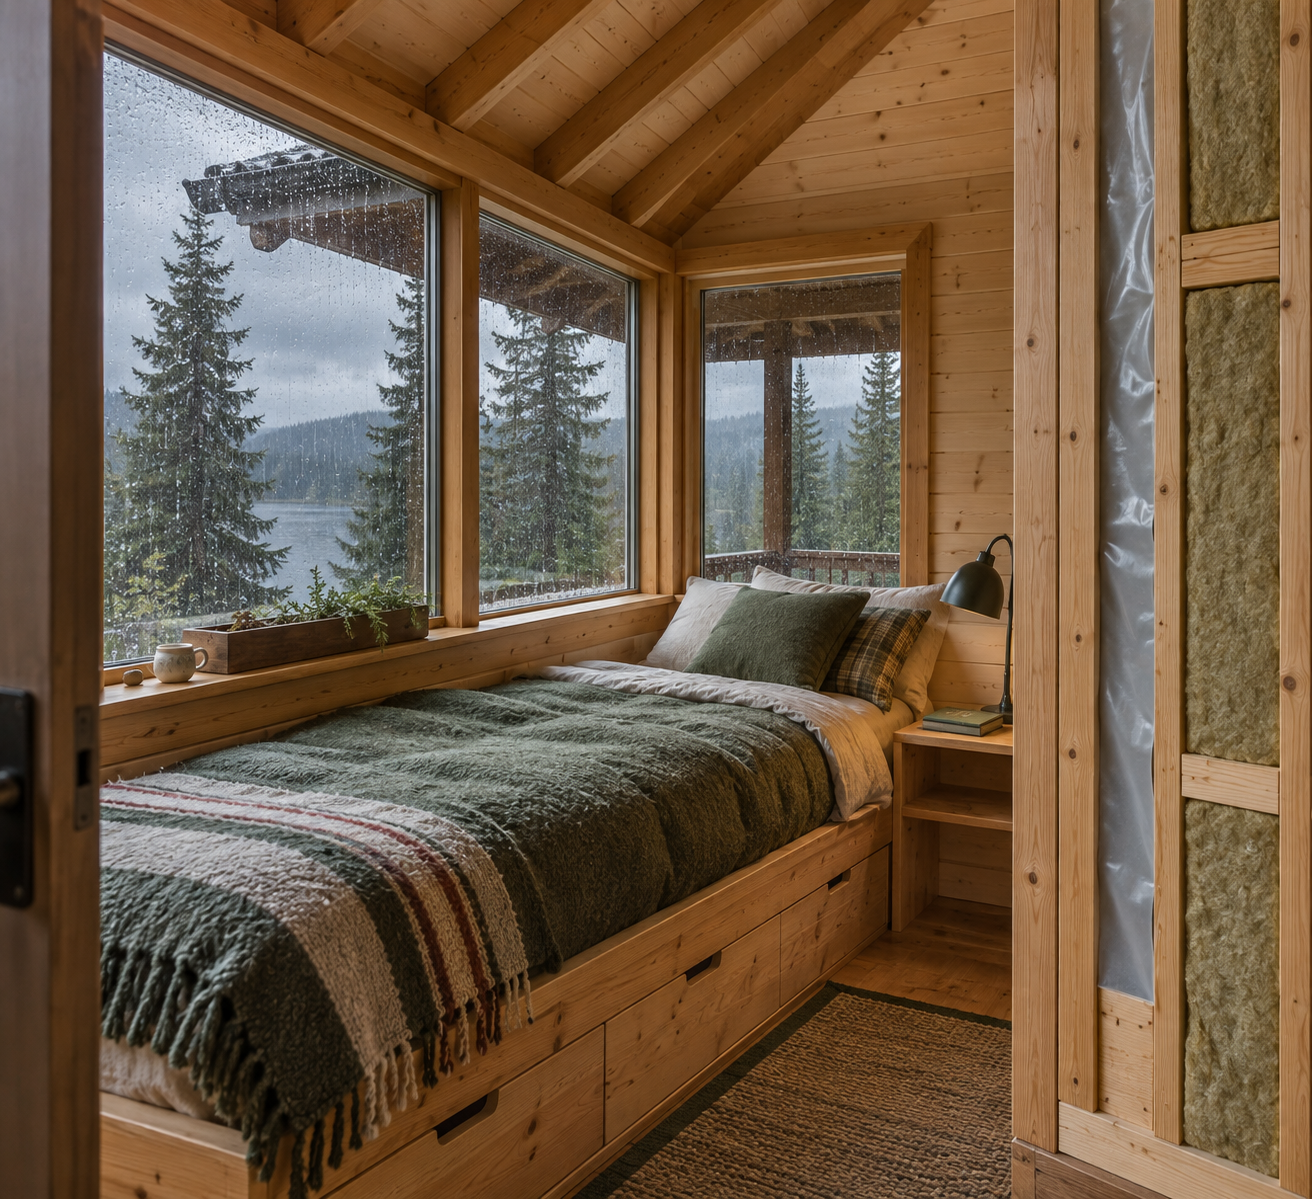
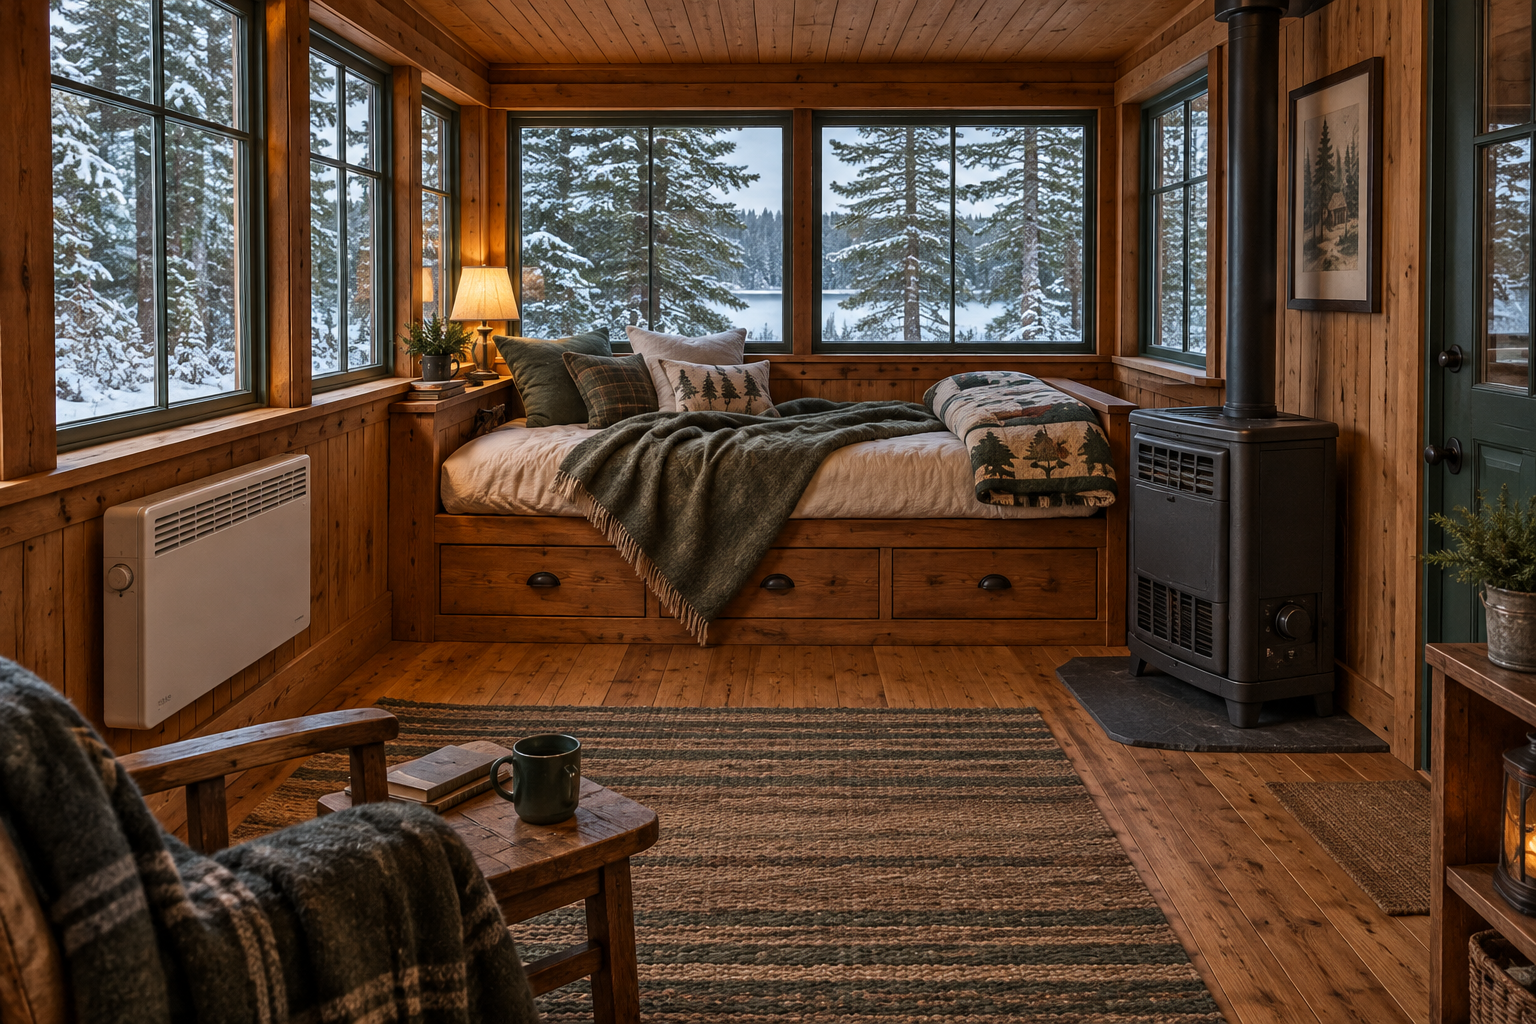
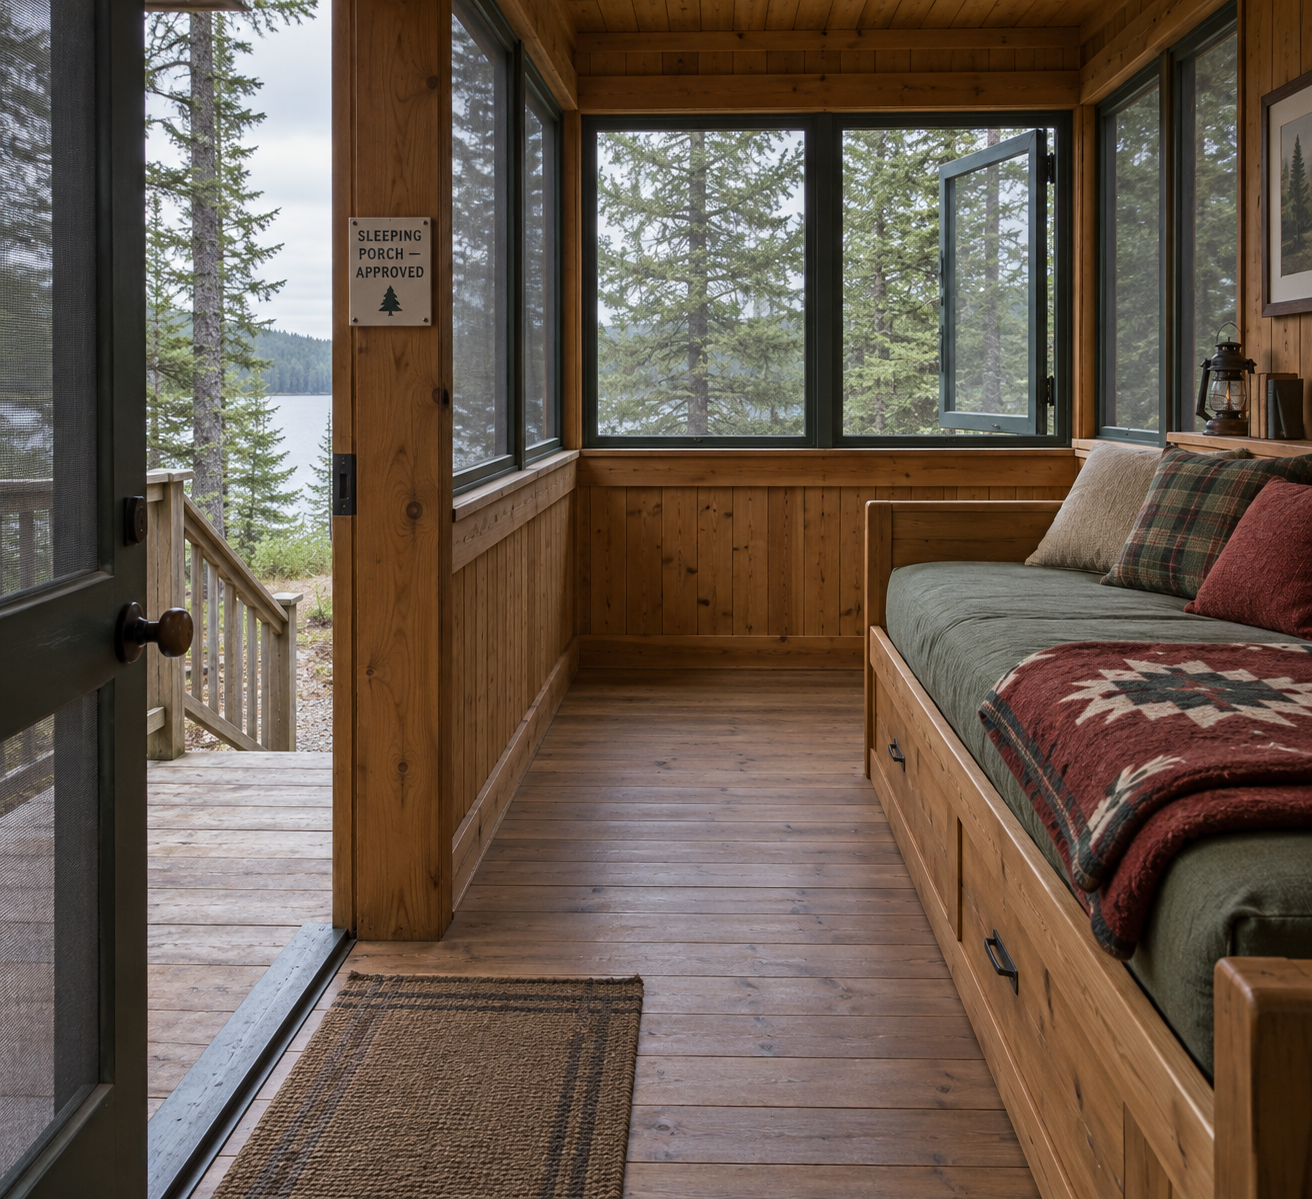
Is your screened porch ready for January? Almost certainly not. A sleeping porch that works year-round needs a real floor, insulated walls, a heat source, and a way to breathe. Here’s how I’d design one so it’s a sealed, warm room in winter and a screened porch in July.
Build the Four-Season Envelope First
Start with the shell, not the screens. Retrofitting insulation into a finished screened porch is a pain, and a porch built as an envelope can always go back to open air later.
Floor and thermal break
The classic mistake is enclosing a screened porch floor with no insulation. You get icy boards and condensation underneath. Use R-19 to R-30 in the floor joists (higher in cold climates like Minnesota or Maine), with a continuous air barrier below the insulation. Pier foundations need the underside closed in so wind can’t strip heat.
Walls, roof, and moisture
Walls in most of the US need about R-13 to R-21, and roofs R-30 to R-49 depending on your climate zone. Put the vapor control layer on one side only. Never vapor-barrier both sides of a wall, because moisture gets in and can’t dry out. In cold climates, that layer goes on the warm (interior) side. Poly or a smart vapor retarder both work.
Roof framing matters too. A porch roof built for a screened space may be undersized for snow. Check your local ground snow load (many northern areas run 40 to 80 pounds per square foot) and upgrade rafters before adding insulation weight.
Make It Convertible: Storm Panels and Operable Openings
Here’s the trick that makes a sleeping porch worth the work. Build the sealed envelope, then add openings you can swap.
Use removable storm panels (acrylic or polycarbonate in light frames) over screened openings. In October you drop them in. In May you pull them and store them in the shed. Operable windows on opposite walls give you cross-ventilation, which beats any fan.
Option
Winter performance
Summer performance
Rough cost
Fixed glazing only
Good
Poor, no airflow
$$
Screens plus storm panels
Good when sealed
Excellent
$$-$$$
Insulated casement windows
Best
Good
$$$
My pick is screens plus storm panels. The drawback is storage and the chore of swapping them twice a year. Panels need a gasket (closed-cell foam tape works) or they leak air at the edges.
Don’t skip ventilation in winter either. A fully sealed room traps breath moisture, and that invites mold. A small trickle vent or a cracked window works. A cheap hygrometer helps; keep indoor humidity around 30 to 50 percent.
Heat It Without Burning It Down
Match the heater to the room, because oversizing is common. A 120-square-foot porch with decent insulation needs roughly 2,000 to 3,000 BTU/hr in most climates, far less than a typical stove puts out.
Heater choices
A ductless mini-split is my first choice. It’s efficient, quiet, and also cools in summer. A 9,000 BTU unit is the smallest common size and may still be bigger than you need. Electric panels are cheap and simple. A wood stove is tough to justify in a small room because of clearance and venting rules.
Placement and safety
Follow the manufacturer’s clearances, and use code-compliant venting for anything that burns fuel. Never run an unvented fuel heater in a room where you sleep. Add a carbon monoxide alarm regardless.
If you’re off-grid, check your power budget first. A small electric panel can pull 500 to 1,500 watts, which a modest solar battery bank won’t carry overnight. Cabinlodger.com has more on heating upgrades for off-grid cabins.
Permits, Egress, and When Not to Build
Don’t assume a four-season porch needs no permit. Once it’s heated and insulated, most jurisdictions treat it as habitable space. Sleeping rooms generally need an egress window under the International Residential Code: at least 5.7 square feet of opening (5 on grade floors), 24 inches minimum height, 20 inches minimum width, and a sill no higher than 44 inches. Ask your building department what code edition applies.
Run this check before you buy lumber:
Confirm the permit and egress requirements with your local office.
Check the roof’s snow load against your ground snow load.
Look at drainage. Water pooling near the foundation will wreck an insulated floor.
Tally your power budget if you’re off-grid.
Check wind exposure and sun orientation. South-facing glass helps in winter, while north-facing walls need the extra insulation.
Decide on privacy and bug screening (fine mesh, or no-see-um screen in bug country).
If drainage is poor, snow loads are heavy and unaddressed, or power can’t support heat, don’t build it yet. Fix those first, or use the room only in the shoulder seasons.
For bedding, a winter-rated sleeping bag over a pad with an R-value around 4 or higher, plus wool blankets, is often enough when the room stays near 50°F.
Frequently Asked Questions
Can I just enclose my existing screened porch?
Usually not without changes. Most screened porches have uninsulated floors, light framing, and no vapor control. Open the floor, add insulation and an air barrier, check roof loads, and get a permit if you plan to heat and sleep there.
Do I need an egress window on a sleeping porch?
Yes, in most places, if it counts as a bedroom. Code typically wants a window or door that opens enough to escape or allow rescue. A porch door can sometimes meet it, so ask your local building department.
How cold can I sleep in a heated porch?
With a good sleeping bag and pad, 45 to 55°F is comfortable for many people. The bigger concern is humidity, so keep air moving and the room dry.