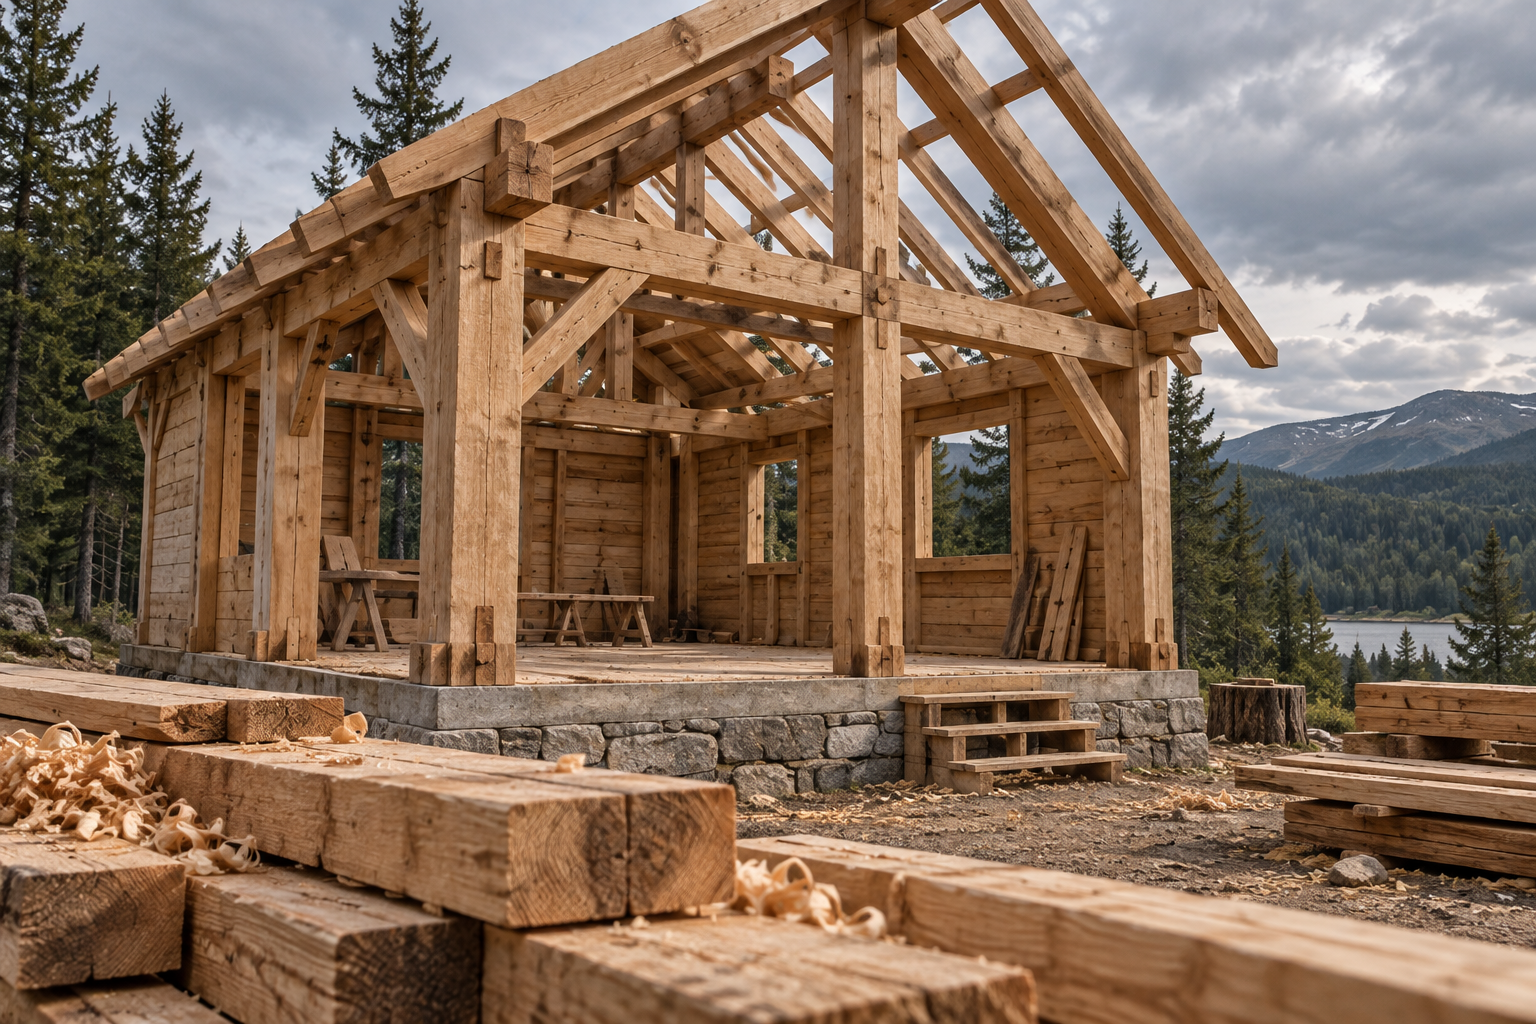
Are beam houses worth the trouble for a small cabin? Sometimes. Timber framing gives you a tough, handsome frame with few pieces, but each piece is heavy and each joint takes hours. If you’re building solo, that math matters more than the looks.
Here’s how timber framing stacks up against stick framing, what the timber and joinery really demand, and where a few exposed beams give you the look for a lot less work.
Timber Framing vs. Stick Framing for a Small Cabin
A timber frame carries the load on big posts and beams, spaced roughly 4 to 12 feet apart. Stick framing uses 2×4 or 2×6 studs every 16 or 24 inches. Fewer pieces sounds cheaper. It usually isn’t.
Where the Money and Time Go
A 16×24 cabin might need 15 to 25 heavy timbers. Each one is 6×6 to 8×8 and can weigh 150 to 400 pounds green. Cutting a mortise-and-tenon joint by hand takes one to three hours when you’re learning, and a small frame has dozens of joints. Joinery labor is the real cost, and a solo builder pays it in weeks, not days.
Stick framing the same shell is a few long weekends with a helper, and lumber comes off the truck at 40 to 50 pounds a piece.
The Hybrid Option
Frame the walls and roof with standard lumber, then add a few timber-look elements inside: a ridge beam, two or three tie beams, and a couple of posts. You get the open, heavy-wood feel with maybe a fifth of the lifting.
Timber Choices: Species, Size, and Moisture
Pick the wood before you pick the joints. Species and moisture decide how the frame behaves for years.
Douglas fir, eastern white pine, and white oak are the common US picks. Fir is strong and widely sold in the West. White pine is soft, easy to cut, and good for a first frame. Oak is hard on chisels but very durable.
Don’t use green timber without a plan. Checking (surface cracks as the wood dries) is normal, and timbers can shrink across the grain by several percent. Joints can loosen or shift. Air-dried or kiln-dried stock costs more but moves less. If you do use green wood, cut joints a bit generous and expect to snug pegs later.
Timber size
Typical use
Approx. weight (green fir)
Solo lift?
4×6
Light braces, purlins
12-15 lb/ft
Yes, with care
6×6
Posts, girts
18-22 lb/ft
Two people
6×8
Tie beams, plates
25-30 lb/ft
Needs gin pole or helpers
8×8
Main posts, ridge
32-40 lb/ft
Needs helpers or a lift
Those weights are estimates. Weigh a sample if your supplier’s wood feels wetter than usual.
Sizing isn’t a look-it-over call. Timbers that seem overbuilt can still fail at a joint, since a mortise removes wood right where stress peaks. Get the sizes checked.
Building the Frame: Joinery, Raising, and Foundation
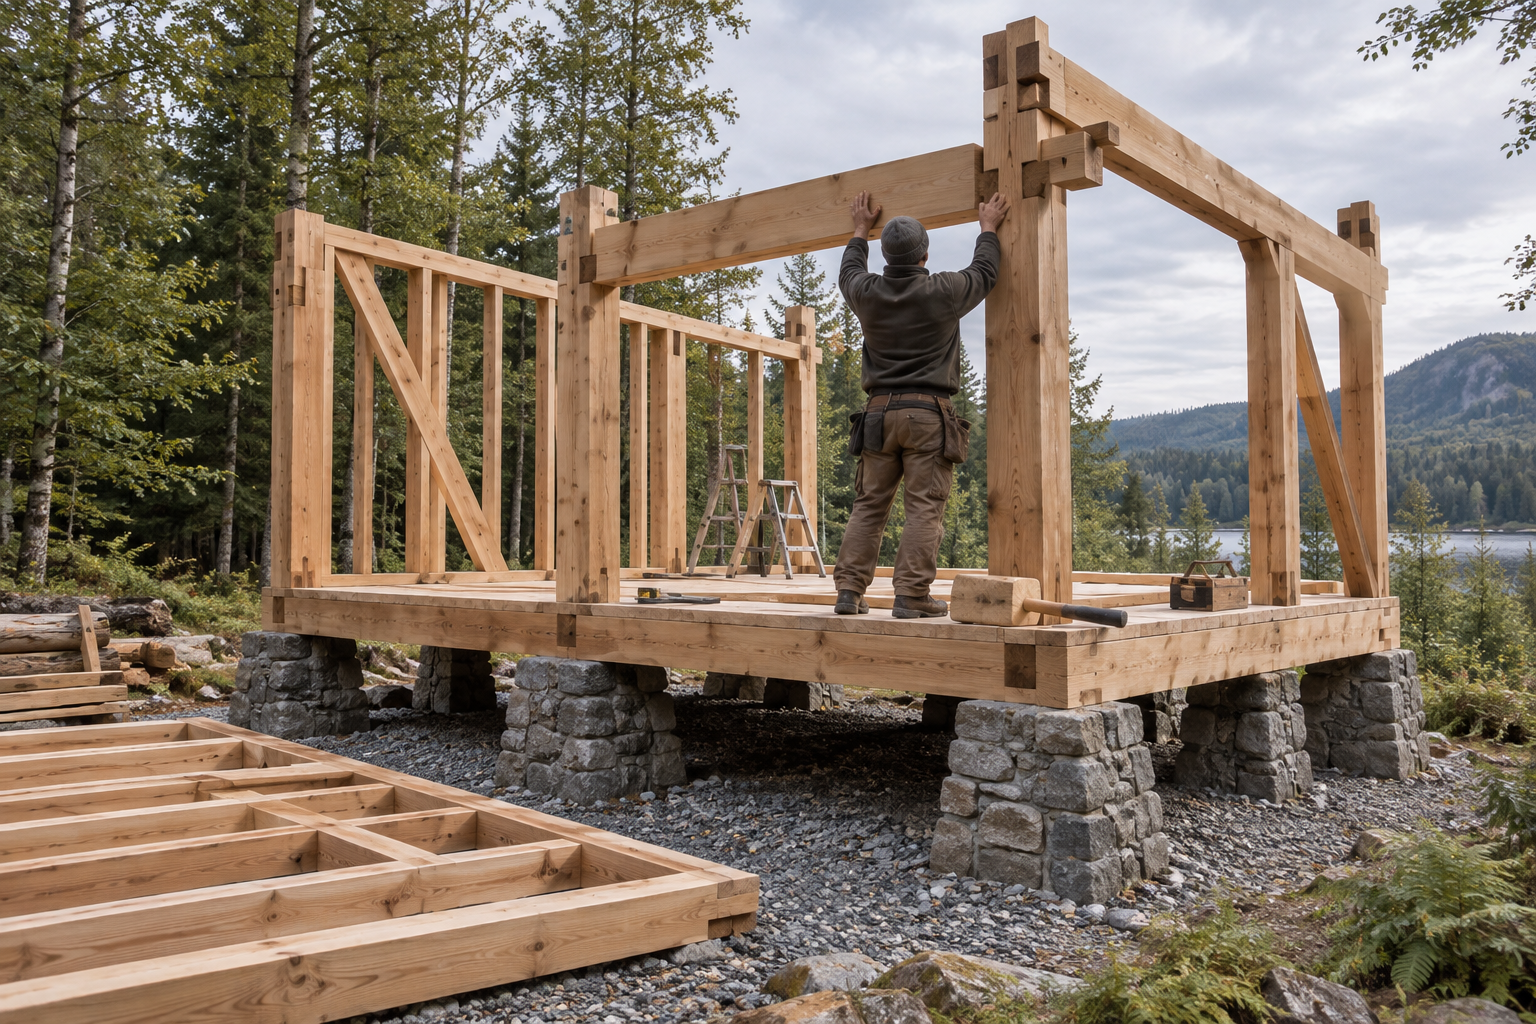
Joinery is where most beginners stall. A bent is a cross-section of the frame (two posts plus a tie beam) built flat on the ground, then stood up. A small cabin might have three or four bents.
Here’s the order I’d follow:
Pour or set a level foundation (piers or slab) and square it by checking diagonals.
Lay sills and anchor them with bolts or hold-downs.
Cut and test-fit each bent flat on the ground.
Raise the bents one at a time with a gin pole, rented lift, or four to six helpers.
Connect bents with girts and plates, then drive hardwood pegs.
Add rafters or purlins, then sheath the roof.
Hand tools (chisels, a framing slick, a boring machine) are quiet and precise, but slow. A chain mortiser or a good drill with a Forstner bit cuts the time sharply. Power tools win for a first build. The drawback is cost: a rented or bought chain mortiser runs hundreds of dollars.
Raising day is the risky part. Plan the crew, the rigging, and the weather before you start. Bad wind and 300-pound posts don’t mix.
Walls, Insulation, and Codes
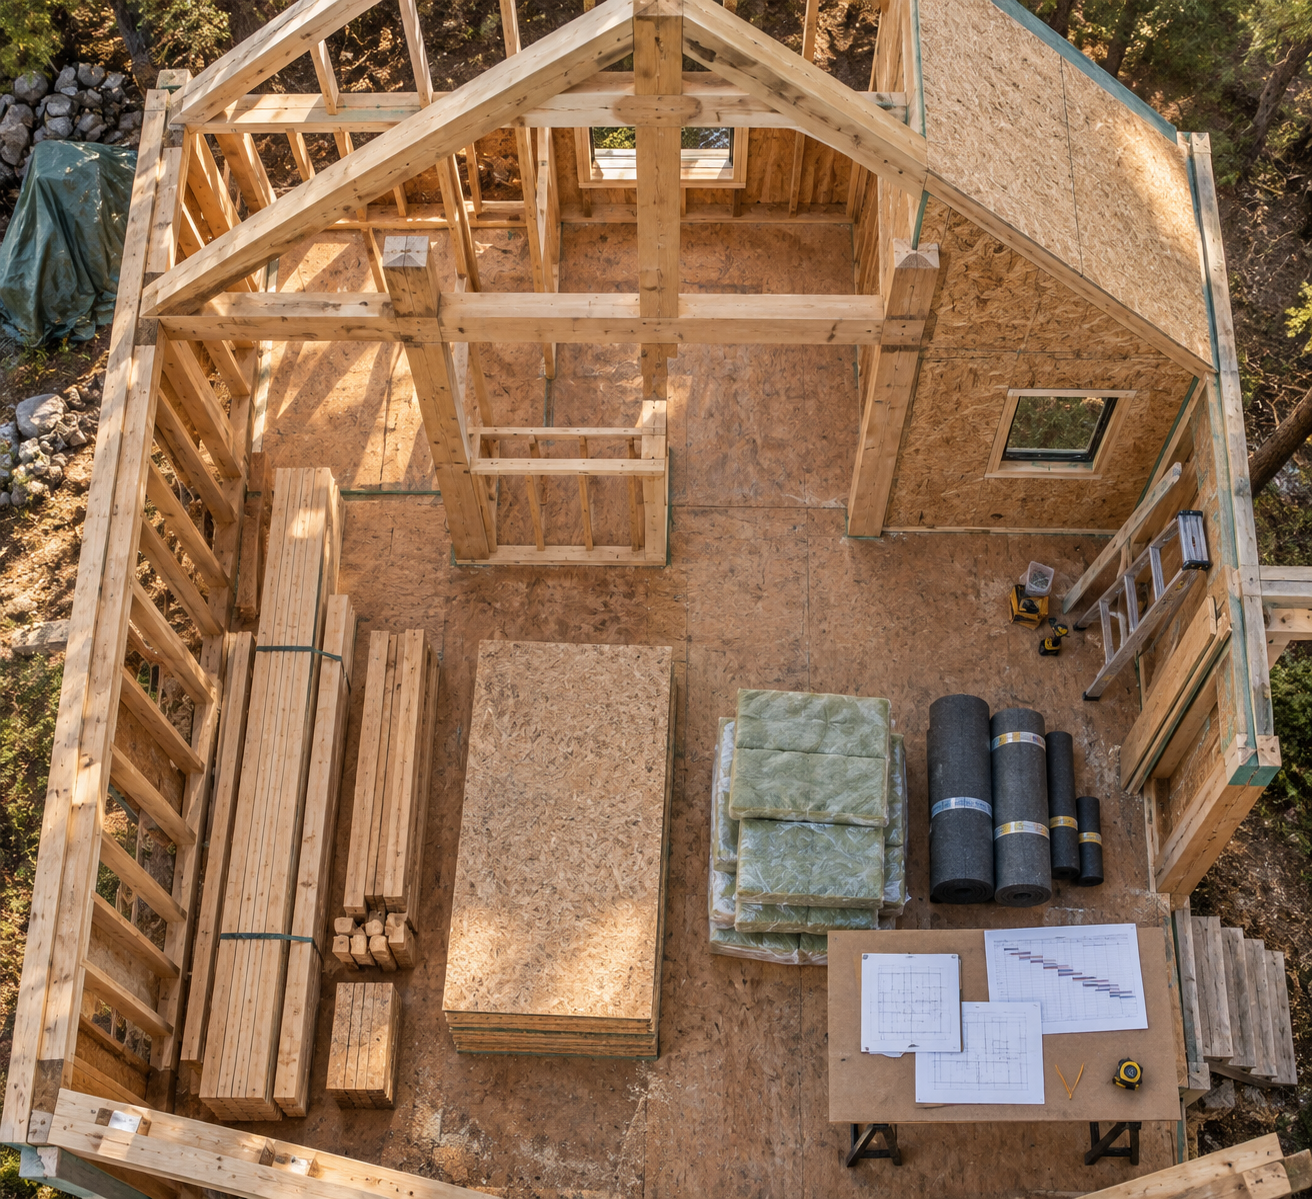
Timber frames need infill. Options include stud walls between posts, or SIPs (structural insulated panels, foam cores bonded between boards) wrapped around the outside of the frame. SIPs give a continuous thermal layer fast, though panels are heavy and need a crane or crew.
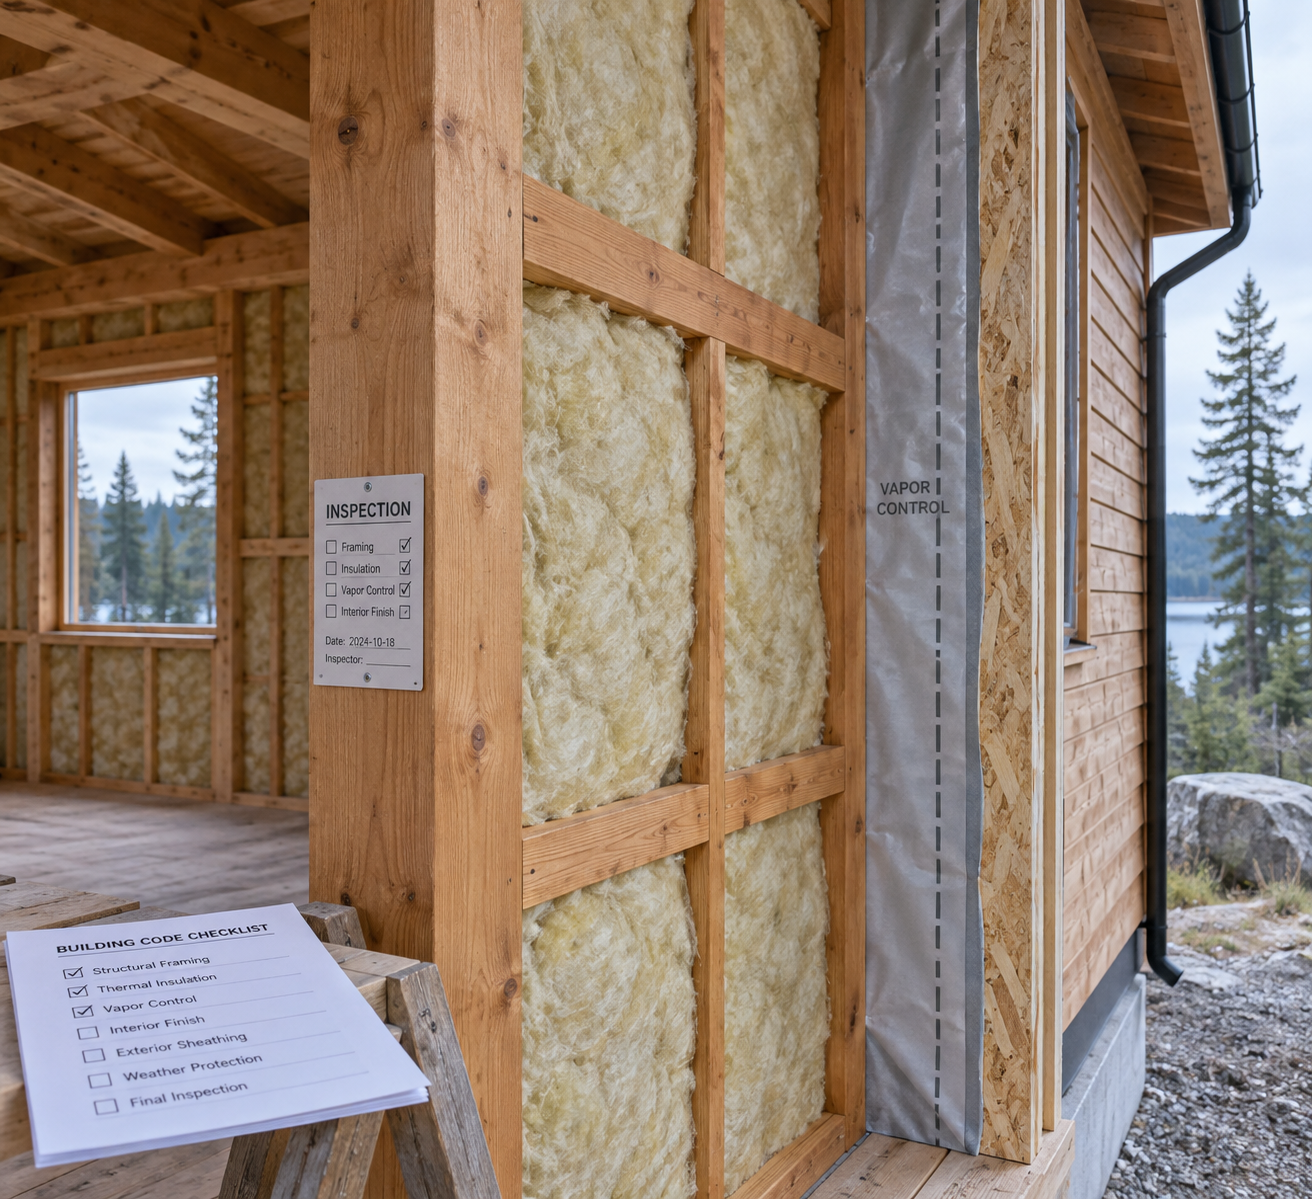
Insulation is where exposed-beam cabins go wrong. If beams pass through the wall plane, they create cold spots and drafts. Put insulation outside the frame, or seal the gaps carefully. Wall thickness also matters in cold climates like Minnesota or Maine.
Codes still apply. Many counties require engineered or stamped plans, and snow loads vary hugely (a few pounds per square foot in Georgia, 100 or more in parts of the Sierra). Ask your building department what they’ll accept for a heavy timber frame before you buy a single beam.
If you want to follow a real framing build as it happens, I’m documenting mine on cabinlodger.com.
Frequently Asked Questions
Is a timber frame cabin cheaper than stick framing?
Usually not. Timbers cost more per board foot, and joinery takes far more labor. Expect a small timber frame shell to run noticeably higher than stick framing unless you mill your own wood and have free help.
Can one person build a timber frame cabin alone?
Cutting joints solo is realistic. Raising the frame isn’t safe without a gin pole, lift, or helpers, since posts can weigh 200 pounds or more. Plan for at least three or four people on raising day.
How do I get the timber look without a full frame?
Use a hybrid: stick-framed walls with a few real or boxed beams inside. A ridge beam and two tie beams give the look at a fraction of the weight, cost, and time.