You’ve got a rough sketch of your dream cabin on a napkin — now what? That gap between a sketch and a set of cabin drawings you can actually build from is where most first-time builders lose weeks of time and hundreds of dollars in framing mistakes. These aren’t the same thing, and knowing the difference upfront saves you real pain.
Cabin drawings are the full document set that takes your idea through a permit office and onto a job site. If you’ve only got a floor plan doodle, you’re missing at least three other drawing types that contractors, inspectors, and your own framing crew need to do their jobs.
What Cabin Drawings Actually Are (and Why a Sketch Isn’t Enough)
A sketch shows what you want. Cabin drawings show how to build it. The difference is scale, dimension, and structural detail. A napkin sketch has none of those things.
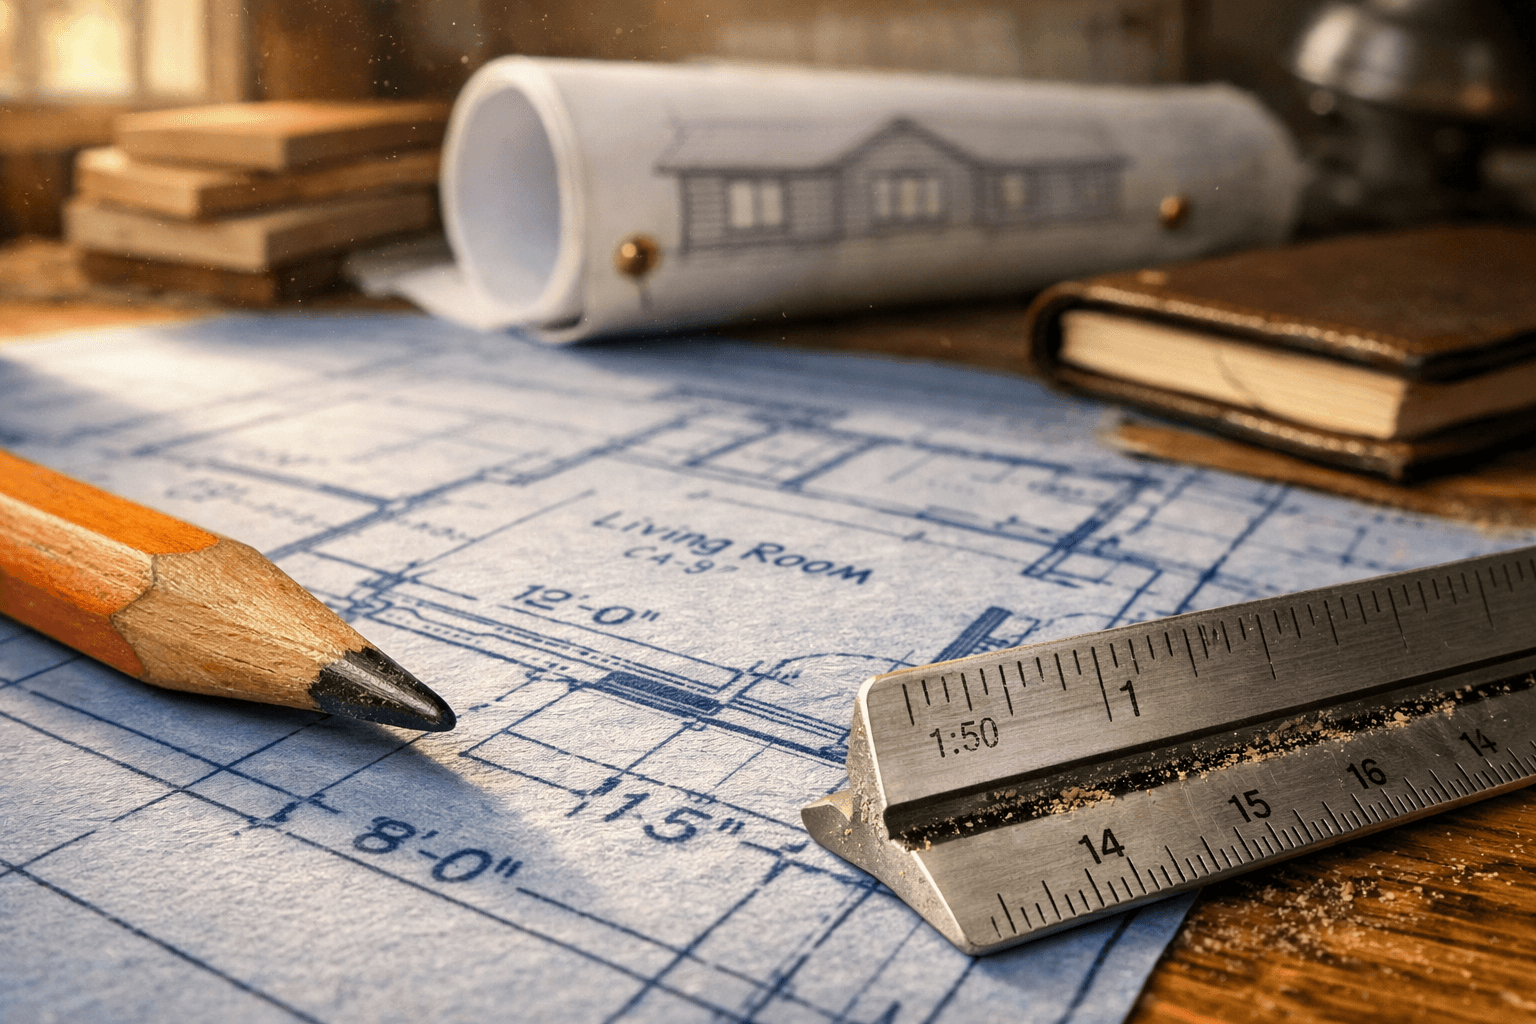
A proper drawing set is drawn to scale (typically 1/4 inch equals 1 foot), so every measurement on paper translates directly to a cut list and a material order. Without scale, you’re guessing at lumber quantities, and those guesses get expensive fast.
Permit offices in most counties won’t accept a freehand sketch. They need dimensioned drawings that show setbacks, ceiling heights, and structural load paths. One missing detail can send your application back for a full redraw.
The Four Drawing Types Every DIY Cabin Set Needs
Most DIY builders start with a floor plan and stop there. That works fine for visualizing a layout, but it leaves your roofline, foundation type, and wall framing completely unresolved. A complete cabin drawing set has four core documents, and skipping any one of them creates real problems during the build.
Floor Plan: Room Layout, Dimensions, and Door/Window Placement
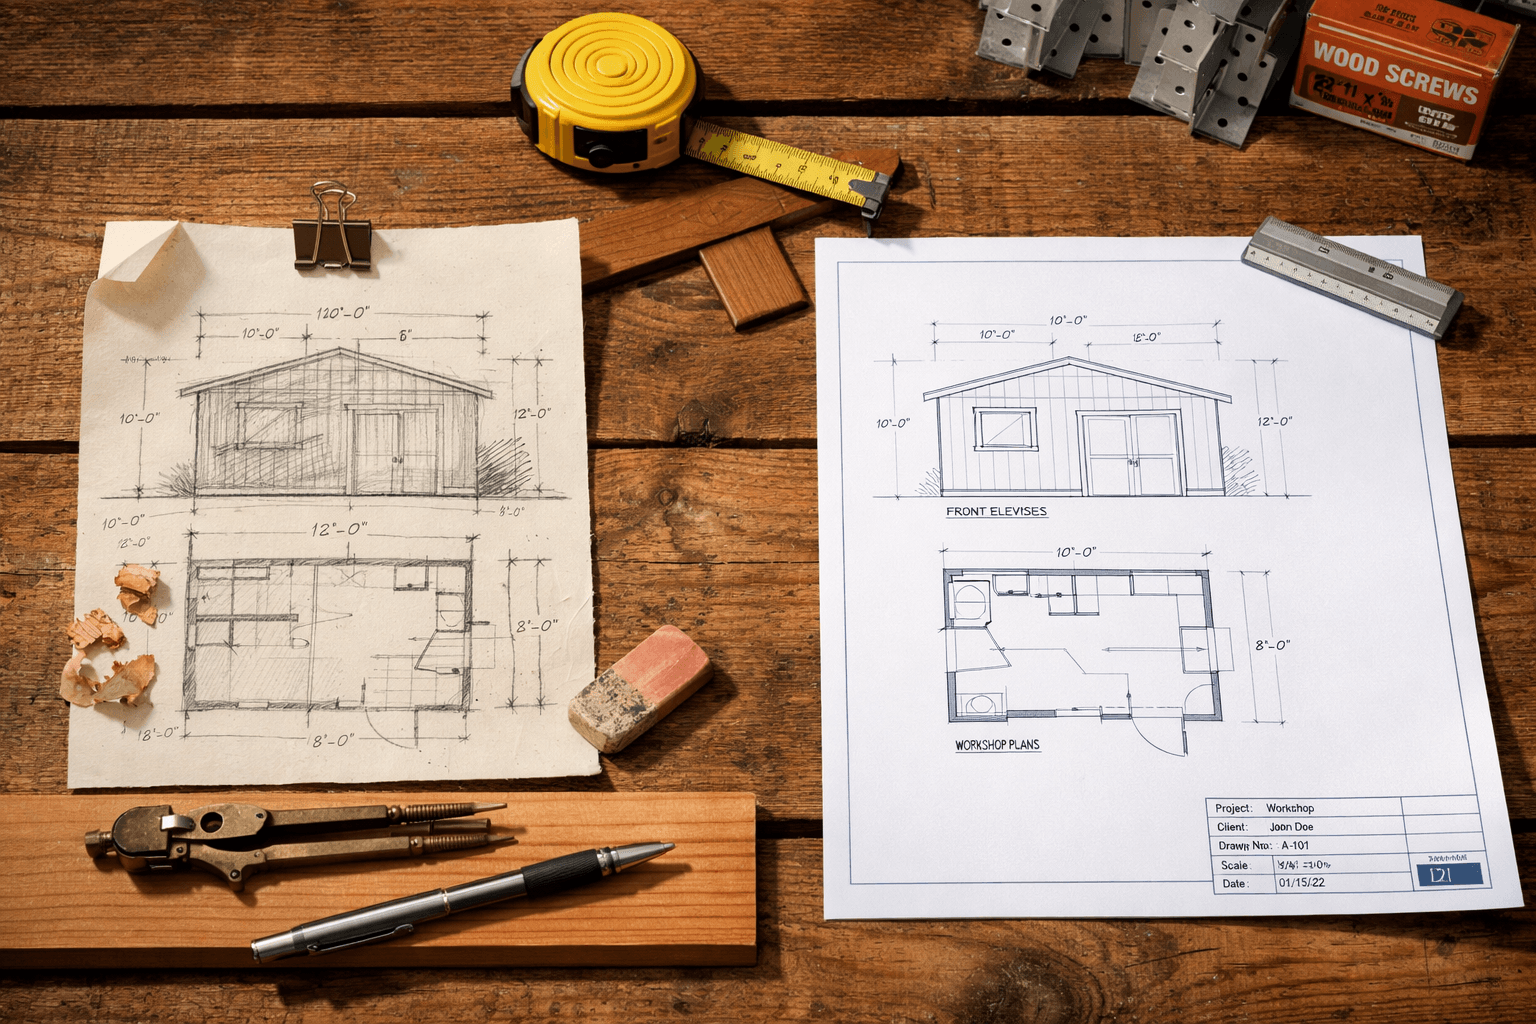
The floor plan is the bird’s-eye view of your cabin at roughly 4 feet above the floor. It shows room dimensions, wall thickness, door swings, and window openings. Every dimension needs to be labeled. Not just overall length and width, but interior wall-to-wall measurements too.
Door and window placement matters more than most people think at this stage. A window on the wrong wall can kill your natural light or put you out of code compliance for egress in a sleeping area. In most jurisdictions, a bedroom window needs a minimum opening of 5.7 square feet for emergency exit.
Elevation Drawings: How Your Cabin Looks From Every Side
An elevation drawing is a flat, straight-on view of each exterior wall: front, back, left side, right side. It’s where your roofline, window heights, siding material, and door header heights get defined.
Builders who skip elevation drawings end up making those decisions on the fly during framing. That’s when mistakes happen. If your front elevation shows a 9-foot wall with a 6/12 roof pitch, your framing crew knows exactly what to cut before they touch a single board.
Foundation and Framing Plans: What Holds It All Up
The foundation plan shows what’s going underneath (pier blocks, a concrete perimeter, or a full slab). The framing plan shows how the walls, floor joists, and roof rafters are arranged. These two drawings are what structural reviewers look at hardest during permit review.
For a small cabin under 400 square feet, a post-and-beam foundation with concrete deck blocks is common and relatively simple to draw. You still need to show spacing, typically 4 to 8 feet on center depending on your floor joist size and span.
Roof Pitch Diagram: Why This Drawing Saves You Mid-Build Headaches
A roof pitch diagram is a simple cross-section showing the angle of your roof slope. Get this drawing done before you order lumber. Roof pitch determines rafter length, ridge board height, and how much overhang you can run before you hit a setback line.
A 6/12 pitch (6 inches of rise for every 12 inches of run) is a solid default for most small cabins. It sheds snow well, gives you usable loft headroom, and isn’t too steep to work on safely. Change that pitch mid-build and your rafter cuts, ridge height, and loft floor elevation all change with it.
Hand-Drawn vs. Software Plans: Which One Actually Works for a Permit
Hand-drawn plans can pass permit review — but only if they’re drawn to scale, fully dimensioned, and legible. A clean hand-drawn set on graph paper (1/4 inch per foot) with labeled dimensions will clear most rural county permit offices without issue. Urban and suburban jurisdictions are stricter and often want software-generated drawings.
Drawing by Hand: When It’s Good Enough and When It Isn’t
Hand-drawing works well for simple rectangular cabins under 500 square feet in counties with lighter permit requirements. It breaks down when your design has complex rooflines, multiple floor levels, or when your jurisdiction explicitly requires CAD (computer-aided design) output.
The honest drawback of hand-drawing is revision time. Change one wall dimension and you’re redrawing multiple sheets.
Free and Low-Cost Software Options Worth Using
SketchUp Free handles basic 3D cabin modeling and lets you export flat views for elevation drawings. For floor plans specifically, SmartDraw and RoomSketcher both have free tiers that work for simple cabin layouts.
Method
Permit-Ready
Learning Curve
Cost
Hand-drawn (graph paper)
Rural counties, often yes
Low
Under $10
SketchUp Free
With cleanup, yes
Moderate
Free
SmartDraw
Yes, with dimensions
Low-moderate
Free tier available
Hired draftsperson
Yes, reliably
None (you hire out)
Roughly $300–$800
If your build is straightforward and your county is flexible, start with graph paper. If you’re building anything with a loft, a shed dormer, or an off-grid mechanical system, the software pays for itself in avoided mistakes.
How to Build Your Cabin Drawing Set Step by Step
Start with what you know for certain, then work outward. Most builders make the mistake of opening a floor plan template and filling in rooms before they’ve looked at their actual lot. That backwards approach causes problems that show up late — during permit review or worse, during framing.
Here’s the order that actually works:
Survey your site and record slope, orientation, and setback lines before drawing anything.
Sketch a rough site plan showing the lot boundary, where the cabin footprint sits, and required setbacks on all four sides.
Draw your foundation plan based on the site conditions — slope determines whether you’re on piers, a perimeter wall, or a slab.
Build the floor plan from the foundation up, locking in room dimensions, wall thickness, door swings, and window rough openings.
Draw all four elevation views, resolving wall heights, roofline, and window head heights on each face.
Complete the roof pitch diagram and confirm your rafter lengths match the floor plan width.
Add a loft framing plan if your design includes one — this is its own drawing, not a note on the floor plan.
Start With Site Conditions, Not the Floor Plan
Your site dictates your foundation, and your foundation dictates everything else. A lot with more than a 2-foot grade change across the cabin footprint almost always needs a pier or grade beam foundation rather than a flat slab. That changes your floor framing height, which changes your wall height, which changes your rafter cuts.
Pull a simple slope measurement before you draw a single line. A line level and a 50-foot tape get you close enough for planning purposes.
Sizing Your Cabin: Standard Small Cabin Dimensions That Work
A 16×24-foot footprint (384 square feet) is one of the most practical small cabin sizes for a solo builder. It fits standard lumber spans without custom engineering, keeps material waste low, and clears the threshold in many counties where cabins under 400 square feet face lighter permit requirements.
Don’t size your cabin by feel — size it by lumber span tables. A 2×8 floor joist at 16 inches on center spans roughly 12 feet before needing a beam. That’s why 12-foot and 16-foot widths show up so often in small cabin designs.
Adding the Loft: The Most Space-Efficient Feature Most Builders Under-Draw
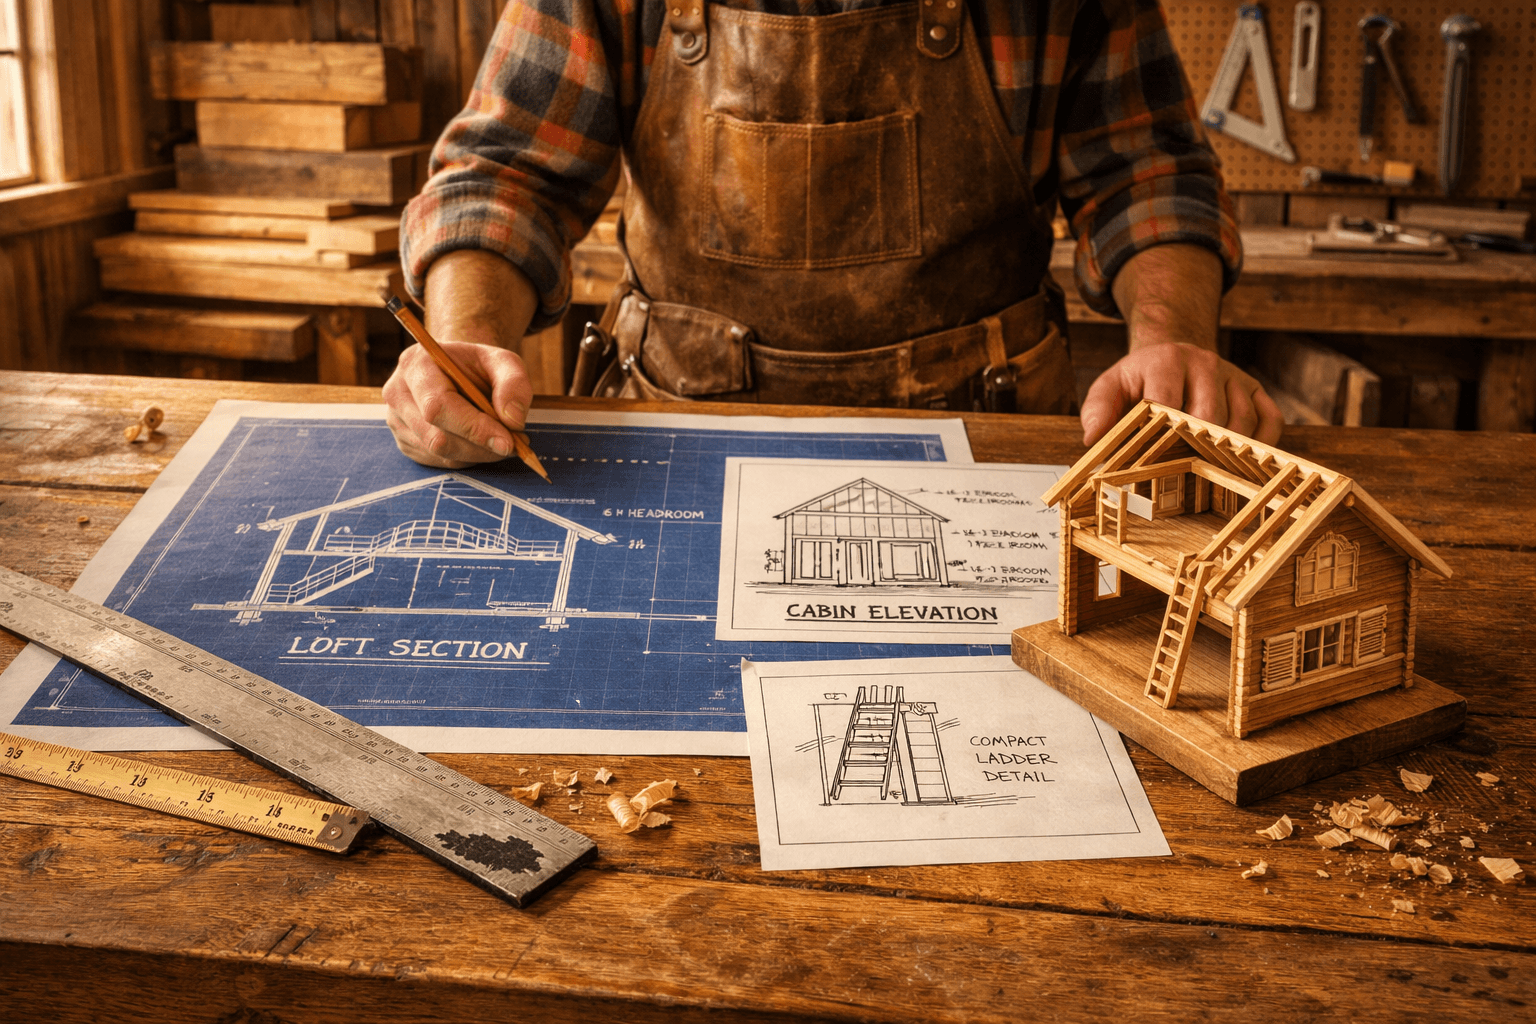
A loft drawing isn’t optional if you’re building one. It needs to show the bearing wall or post locations that carry the loft floor load, the loft floor joist size and spacing, and the guardrail height (42 inches is standard in most residential codes).
Most builders just sketch a box on the floor plan and call it a loft. That leaves the framing crew guessing about load transfer, and it gives a permit reviewer nothing to approve. A proper loft drawing takes an extra hour and saves a full day of on-site confusion.
What Permit Reviewers Actually Look For in Cabin Drawings
Permit reviewers aren’t trying to reject your project. They’re checking a specific list of items, and if your drawings address those items clearly, approval moves fast. The builders who get sent back for revisions almost always missed something predictable.
Code Compliance Basics: Setbacks, Ceiling Heights, and Load Requirements
The three things that kill cabin permit applications most often are missing setback dimensions, unlabeled ceiling heights, and no indication of snow or wind load design. Fix those three and you’re most of the way there.
Setbacks are the minimum distances your cabin must sit from property lines, roads, and water features. These vary by county — some rural counties require only 5 feet from a side property line, while others require 25 feet or more. Your site plan needs to show measured distances from the cabin footprint to every boundary.
Ceiling height requirements catch a lot of loft builders off guard. Most residential codes require a minimum of 7 feet of ceiling height over at least half the floor area of a habitable room. A sleeping loft with a 6/12 pitch and a 16-foot-wide cabin gives you roughly 6 feet of headroom at the center ridge — not enough to call it a bedroom in most jurisdictions without bumping the pitch or the wall height.
Live load and dead load requirements for floors and roofs need to appear on your structural drawings. For a roof in a moderate snow area, a 40 pounds per square foot (psf) ground snow load is a common design value. Your framing plan needs to show that your rafter size and spacing can handle it.
The Material Takeoff List: Turning Your Drawings Into a Shopping List
Once your drawings are dimensioned and complete, a material takeoff (or MTO) is straightforward. Go drawing by drawing and count every piece: linear feet of wall plate, number of studs at 16 inches on center, sheet count for sheathing, board feet of ridge and rafter lumber.
A 16×24 cabin with an 8-foot wall height and a 6/12 roof needs roughly 45 to 55 sheets of OSB (oriented strand board) for wall sheathing, floor decking, and roof sheathing combined. That’s a number you can only get right from scaled, dimensioned drawings. Cabinlodger.com has framing guides that walk through this count step by step if you want a cross-reference while you build your own list.
Off-Grid and Small Cabin Designs: Adapting Your Drawings for Remote Builds
Off-grid builds add a layer to your drawing set that most standard templates ignore entirely. When there’s no utility hookup, your drawings need to show where your mechanical systems live — propane tank setback from the structure, solar panel placement and roof load, rainwater collection if applicable, and septic or composting toilet location relative to the cabin footprint.
A greywater disposal area, for example, needs to sit a minimum distance from your water source and property line. That distance is set by your county health department, not the building department, and it needs to appear on your site plan.
Remote builds also tend to involve sloped or uneven lots where standard foundation templates don’t apply. Draw your foundation plan for the actual site, not a flat-lot assumption. Pier spacing and height will vary across the footprint, and that variation needs to be on paper before you order concrete.
Keep your off-grid cabin drawings simple in structure but complete in systems detail. A 12×20 footprint with a sleeping loft, a single-wall kitchen, and a composting toilet is a straightforward build — but the drawings need to account for every system, or you’ll be redesigning mid-build in a location where a lumber yard run takes half a day.
Frequently Asked Questions
Do I need an architect to draw cabin plans for a permit?
Not always. Many counties accept owner-drawn plans for small structures under 600 square feet, especially in rural areas. Check your local building department first — some require a licensed engineer to stamp structural drawings, while others just need legible, dimensioned plans that address code basics.
What scale should I use for hand-drawn cabin drawings?
1/4 inch equals 1 foot is the standard for floor plans and elevations. At that scale, a 16×24-foot cabin fits on an 11×17-inch sheet with room for dimensions and notes. Using a different scale isn’t wrong, but label it clearly so reviewers can verify your dimensions.
Can I use a downloaded cabin plan template instead of drawing from scratch?
You can use one as a starting point, but don’t submit it as-is. A downloaded template won’t show your site’s setbacks, your specific foundation type, or your local snow load requirements. Treat it as a reference, then redraw the parts that need to match your actual lot and county code.
How many drawings does a typical small cabin permit application need?
Most building departments want at minimum four sheets: a site plan, a floor plan, at least two elevation views, and a foundation plan. Some counties add a roof framing plan to that list. Call your local permit office and ask for their checklist — they’ll tell you exactly what’s required for your structure size.