A chisel skids off a knot, your line wanders, and now that trim piece looks hacked instead of carved. Carving into wood for cabin details is a different job than whittling a figurine at the kitchen table. The wood faces rain, sun, and freeze-thaw cycles, so the margin for error is smaller, and the finish matters as much as the cut.
This is where most online carving guides fall short. They’re written for people carving indoor spoons and decorative bowls, not a lintel over your front door that sees weather for the next twenty years. Cabin trim carving needs its own rules for wood choice, tool selection, and sealing.
Choosing Wood That Carves Clean and Survives Outside
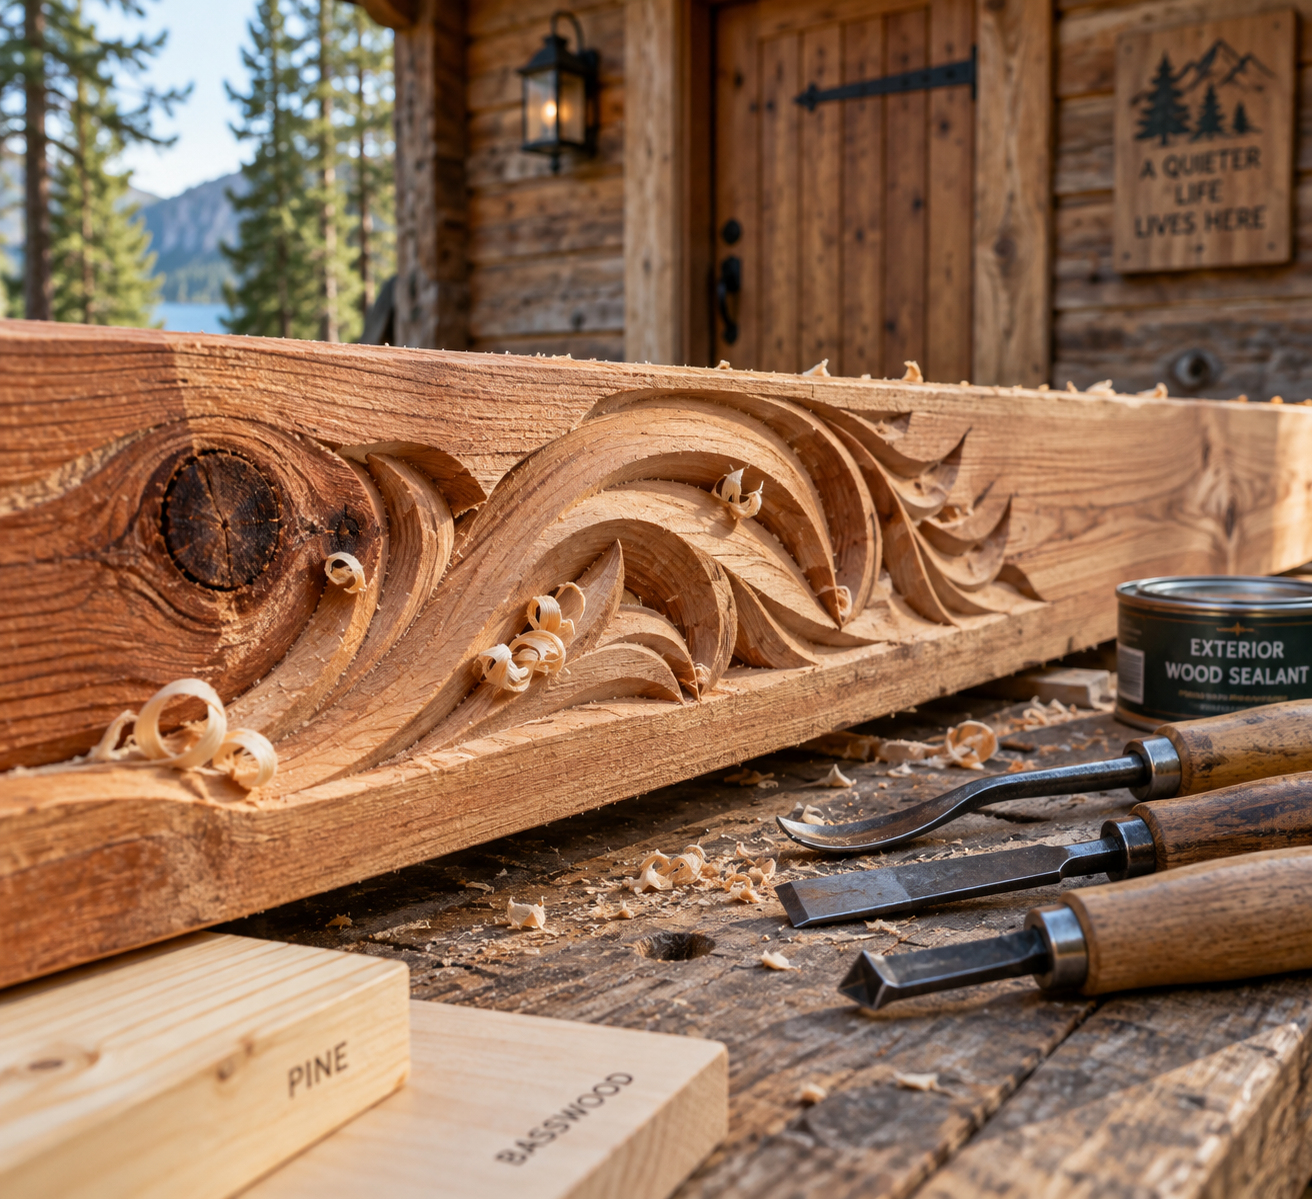
Not every “soft” wood is good for carving, and not every good carving wood holds up outside. This is the first mistake I see builders make: grabbing a cheap pine board because it’s easy on the chisel, then wondering why the detail blurs out after one winter.
Basswood vs. Pine for Cabin Work
Basswood is the gold standard for fine detail work. It has a tight, even grain with almost no knots, so your lines stay crisp. The catch: basswood is soft and doesn’t weather well untreated, which makes it a better fit for interior trim, mantels, or carved signs under a porch roof than for a railing exposed to driving rain.
Pine is cheaper and more available at any lumberyard, but grain quality varies a lot by grade. Clear pine (free of knots) carves almost as well as basswood and takes exterior sealant better once it’s treated. Knotty pine fights you — the resin pockets dull your tools and the grain direction shifts around every knot, leading to tear-out.
A Middle Ground: Cedar and Cypress
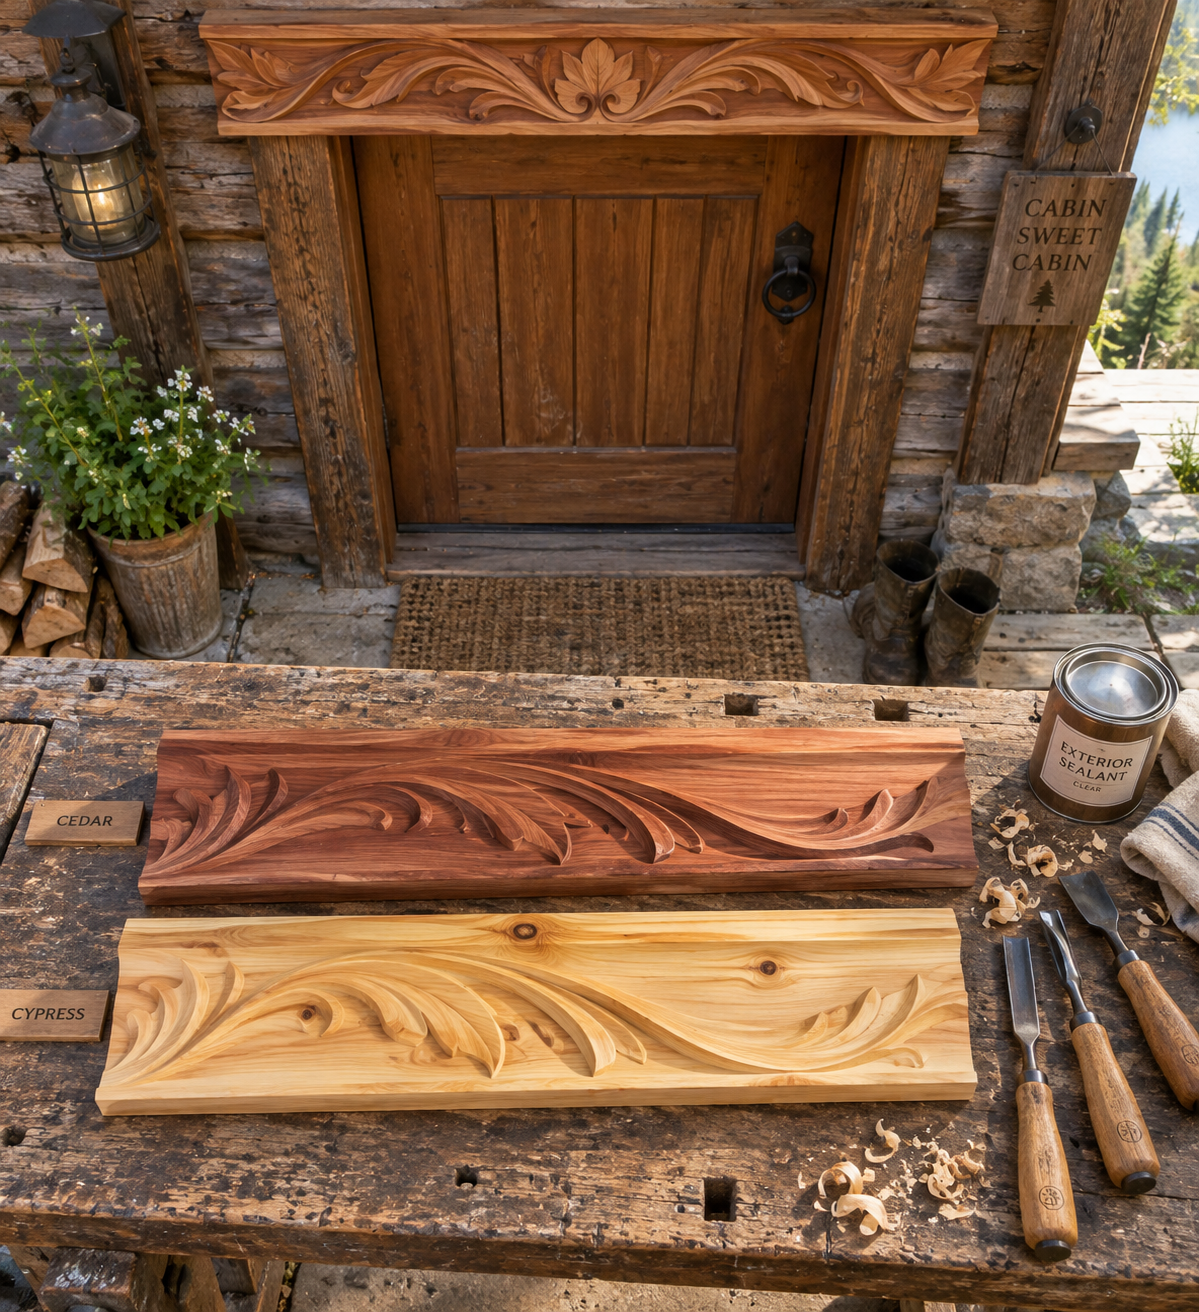
For anything that actually sits outside year-round — door surrounds, newel posts, railing caps — look at western red cedar or cypress. Both carve reasonably well, resist rot naturally thanks to their oils, and don’t need chemical pressure treatment to survive weather. They’re harder on tools than basswood, so expect to sharpen more often.
Tools: Chisels, Gouges, and What You Actually Need
You don’t need a full 40-piece carving set to start on cabin details. A focused kit covers 90% of trim work, and buying quality over quantity saves you from fighting bad steel later.
A straight carving knife for chip carving and detail cleanup
A set of three to five gouges (shallow, medium, and deep sweep) for relief work
A V-tool for outlining designs and cutting clean grooves
A mallet (wood or urethane) sized to your gouge handles
A strop and honing compound — you’ll use this more than any single tool
Bench clamps or a carving vise to hold trim pieces steady
Dull tools are the number one cause of splintered, ragged cuts. A sharp gouge slices through fibers; a dull one tears them, especially on softwood like basswood or pine. If you’re pushing hard and still getting rough cuts, the tool needs stropping, not more muscle.
Carving Techniques for Trim, Lintels, and Railings
Different cabin details call for different carving approaches, and picking the wrong one for the job wastes time and wood.
Chip Carving for Flat Trim
Chip carving uses a knife to remove small triangular or geometric chips from a flat surface, like a door casing or a shelf edge. It’s fast to learn, works well on basswood or clear pine, and is a good starting project before tackling anything structural.
Relief Carving for Doors and Lintels
Relief carving raises a design above the background by removing wood around it, which suits door panels and lintels where you want a visible motif — a pine tree, a mountain outline, a family initial. Plan the depth before you start; most cabin relief work looks best at 1/4 inch to 3/8 inch of depth, enough to cast a shadow without weakening thin trim stock.
Carved Railings and Newels
Newel posts and railing balusters take carving well because they’re usually thick, solid stock (4×4 or bigger). That extra mass matters: carving into a load-bearing post removes material, so keep decorative cuts shallow and away from the structural core. A newel carrying railing loads shouldn’t lose more than a small fraction of its cross-section to decoration — if you’re unsure, consult a local building code office before carving into anything that supports a staircase or deck railing.
Sealing Carved Wood So Detail Doesn’t Disappear
This is the step people skip, and it’s the one that decides whether your carving looks good next spring or turns gray and fuzzy by Thanksgiving.
Carved recesses trap moisture differently than flat boards. Water sits in the grooves of a chip-carved pattern or pools in the shadow line of a relief cut, and if it can’t dry out, rot starts right where your best detail work is. Skipping sealant on exterior carving is the fastest way to lose months of work.
For outdoor cabin details, a penetrating oil-based sealer (spar varnish or a marine-grade exterior oil) works better than a thick film finish. Film finishes like polyurethane can pool in carved grooves and crack over time, which actually obscures fine detail instead of protecting it. A penetrating sealer soaks in and lets the wood grain and your knife marks stay visible.
Finish type
Best for
Reapply interval
Penetrating oil/spar varnish
Relief carving, chip carving, exterior trim
Every 1-2 years
Marine spar varnish (film)
High-traffic railings, newels
Every 2-3 years
Exterior wood stain + sealer
Large flat carved panels
Every 2 years
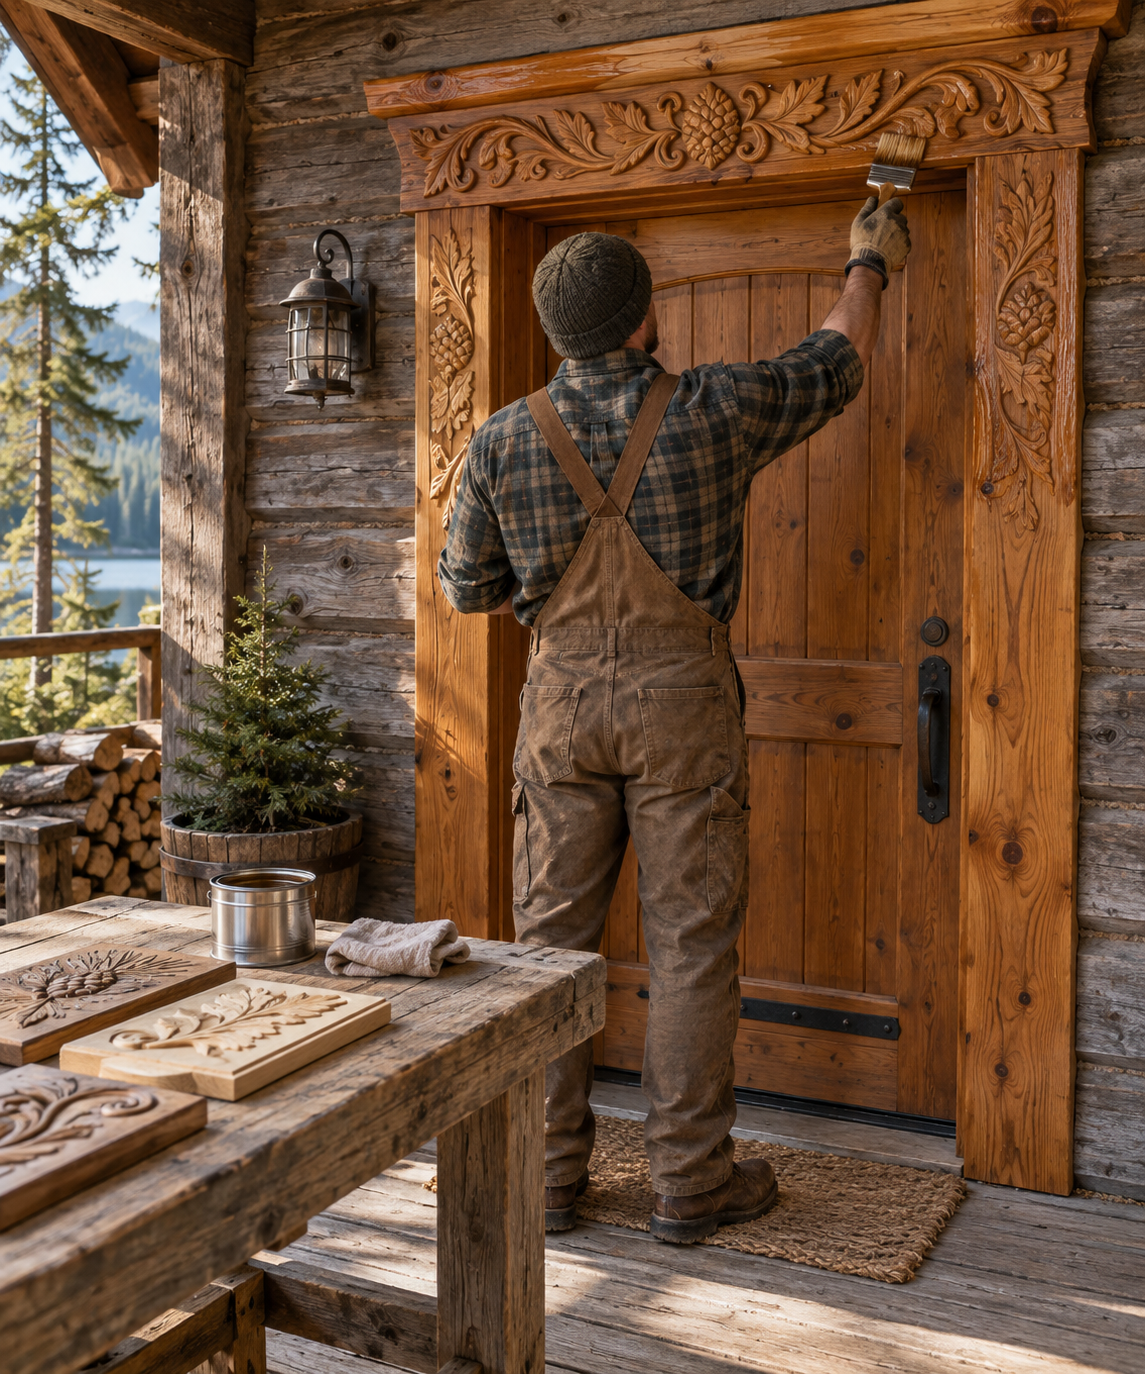
Apply the first coat within a day or two of finishing the carving, before moisture or dust settles into the fresh cuts. Two thin coats beat one thick one, since a heavy coat pools in the grooves and dulls the crisp lines you just cut. If you want a deeper rundown on sealants and wood treatment schedules for cabin exteriors generally, cabinlodger.com has more on matching finish type to climate and wood species.
Safety gear matters here too: a cut-resistant glove on your non-dominant hand, safety glasses for mallet work, and good lighting so you can actually see your cut lines. Most carving injuries happen from the knife slipping, not from the mallet, so keep that glove on even for “quick” detail cuts.
Frequently Asked Questions
Is carving into wood the same as whittling?
No. Whittling is typically knife-only, freehand shaping of small pieces like figurines or spoons. Carving for cabin trim often uses gouges, chisels, and a mallet on larger, fixed pieces like door surrounds or railings, and follows a planned design rather than freehand shaping.
What’s the easiest wood for a beginner to start carving cabin trim?
Clear (knot-free) basswood or pine is easiest for learning chip carving and relief work, since the grain is even and predictable. Save cedar or cypress for after you’ve practiced, since they’re tougher on tools and less forgiving of mistakes.
How often does carved exterior trim need resealing?
Most penetrating oil finishes on carved cabin trim need reapplication every one to two years, depending on sun exposure and rainfall in your area. South-facing pieces that get direct sun most of the day will fade and dry out faster than shaded north-facing trim.