Did you know you can build a DIY cabin roof for under $2,000? A real cabin was built for just $12,745. It’s 240 square feet and took 55 days to finish.
Building a DIY cabin roof doesn’t have to cost a lot. With the right plan and materials, you can make a strong and cheap cabin. This guide will show you how to build your cabin roof, from start to finish, without spending too much.
Are you ready to start your cabin roof project? Let’s explore budget-friendly roofing together. You can make your dream cabin a reality without spending a lot. This guide is for anyone wanting to build their own cabin.
Planning Your Cabin Roof Design
Planning your cabin roof design is key to your DIY project. A good roof protects your cabin and makes it look great. Let’s look at the important parts of roof planning to help you build a strong and beautiful cabin roof.
Choosing the Right Roof Style
Cabin roof styles come in many forms. Gable roofs are simple and classic. Shed roofs are modern and easy to make. Hip roofs are great for windy areas. Your choice should match your cabin’s look, the weather, and your taste.
Understanding Roof Pitch and Slope
Roof pitch is important for water flow and attic space. A common pitch is 5/12, rising 5 inches for every 12 inches. Steeper pitches are better for snow but harder to build. Think about your local weather when picking a pitch.
Creating a Material List
Having a detailed material list is vital for budgeting and planning. Include things like trusses, sheathing, shingles, and flashing. Don’t forget nails, underlayment, and ventilation parts. Accurate planning helps avoid expensive mistakes and delays.
| Roof Style | Advantages | Best For |
|---|---|---|
| Gable | Simple design, good ventilation | Traditional cabins |
| Shed | Easy to build, modern look | Small cabins, additions |
| Hip | Wind resistant, stable | Windy areas, larger cabins |
Your cabin roof design affects both function and looks. Take time to explore different styles and pitches. Make a detailed material list for a smooth build. With careful planning, you’ll build a beautiful and lasting cabin roof.
Budgeting for Your Cabin Roof Project
Creating a cabin roof budget needs careful planning and smart choices. A well-thought-out budget helps you save on construction costs. It also ensures your roof is of high quality. Let’s look at how to manage your finances well for your cabin roof project.
Estimating Costs for Materials
Start by making a list of all the materials you need for your roof. This includes roofing tiles, underlayment, fasteners, and flashing. Look for the best prices from different suppliers. Quality is important – choosing durable materials can save you money in the long run
Saving Tips for Cabin Construction
To keep your budget in check, here are some tips:
- Buy materials in bulk to get discounts
- Look for sales or clearance items
- Use reclaimed materials when possible
- Rent tools instead of buying them
- Plan carefully to avoid waste
Considerations for Labor Costs
Labor costs can be a big part of your budget. If you’re handy, doing it yourself can save money. But roofing can be tricky and dangerous. Think about the pros and cons of hiring pros versus DIY. Remember, mistakes can cost a lot in the long run.
| Cost Category | DIY | Professional |
|---|---|---|
| Labor | $0 – $500 | $2,000 – $5,000 |
| Materials | $3,000 – $6,000 | $4,000 – $7,000 |
| Tools | $500 – $1,000 | Included |
| Time | 1-2 weeks | 2-4 days |
By planning your cabin roof budget well, you can get a beautiful and durable roof without spending too much. Remember, good planning is key to saving money and getting quality results.
Essential Tools for Building a Cabin Roof
Building a cabin roof needs the right tools and equipment. You’ll need everything from basic hand tools to power tools and safety gear. Having the right setup makes your project efficient and safe.
Hand Tools You’ll Need
A good set of hand tools is key for building a cabin roof. You’ll need hammers, measuring tapes, levels, chalk lines, and utility knives. For accurate cuts, a circular saw and jigsaw are a must. Also, a sturdy ladder is essential for safe access.
Power Tools for Efficiency
Power tools can make your roof construction faster. A cordless drill with different bits is vital for screwing and making pilot holes. An electric nail gun, like a wide crown staple gun, is great for fastening roofing materials. You might need to rent bigger tools like pneumatic roofing nailers.
Safety Gear and Equipment
Safety is a top priority with the right construction safety gear. You’ll need hard hats, safety glasses, work gloves, and non-slip shoes. For dust or fumes, use the right respirators. Always wear fall protection gear like harnesses and anchor points when working high up.
| Tool Category | Essential Items | Purpose |
|---|---|---|
| Hand Tools | Hammer, Measuring Tape, Level | Basic construction tasks |
| Power Tools | Cordless Drill, Electric Nail Gun | Efficient material fastening |
| Safety Equipment | Hard Hat, Safety Glasses, Harness | Personal protection |
Selecting the Right Roofing Material
Choosing the right cabin roofing materials is key for your DIY project. Let’s look at popular options to help you decide.
Wood Shingles vs. Metal Roofing
Wood shingles add a rustic charm but need regular care. Metal roofing, though, is durable and lasts long. It’s a top pick for cabins because it’s weather-resistant and easy to maintain.
Asphalt Shingles: Pros and Cons
Asphalt shingles are affordable and simple to put up. They come in many colors and designs. Bitumen shingles, a type of asphalt, are light and fit any roof slope. They might cost more at first, but they’re worth it in the long run.
Eco-Friendly Options
For those who care about the environment, there are eco-friendly roofing choices. Living roofs need little upkeep after installation. They require two vapor barrier layers for success. Bamboo roofs are green and light but need treatment to avoid mold.

| Roofing Material | Lifespan | Maintenance | Cost |
|---|---|---|---|
| Wood Shingles | 20-30 years | High | Moderate |
| Metal Roofing | 40-70 years | Low | High |
| Asphalt Shingles | 15-30 years | Low | Low |
| Living Roof | 30-50 years | Very Low | High |
Think about durability, cost, and how easy it is to install when picking your cabin roofing. Each choice has its own perks. Pick the one that meets your needs and budget best.
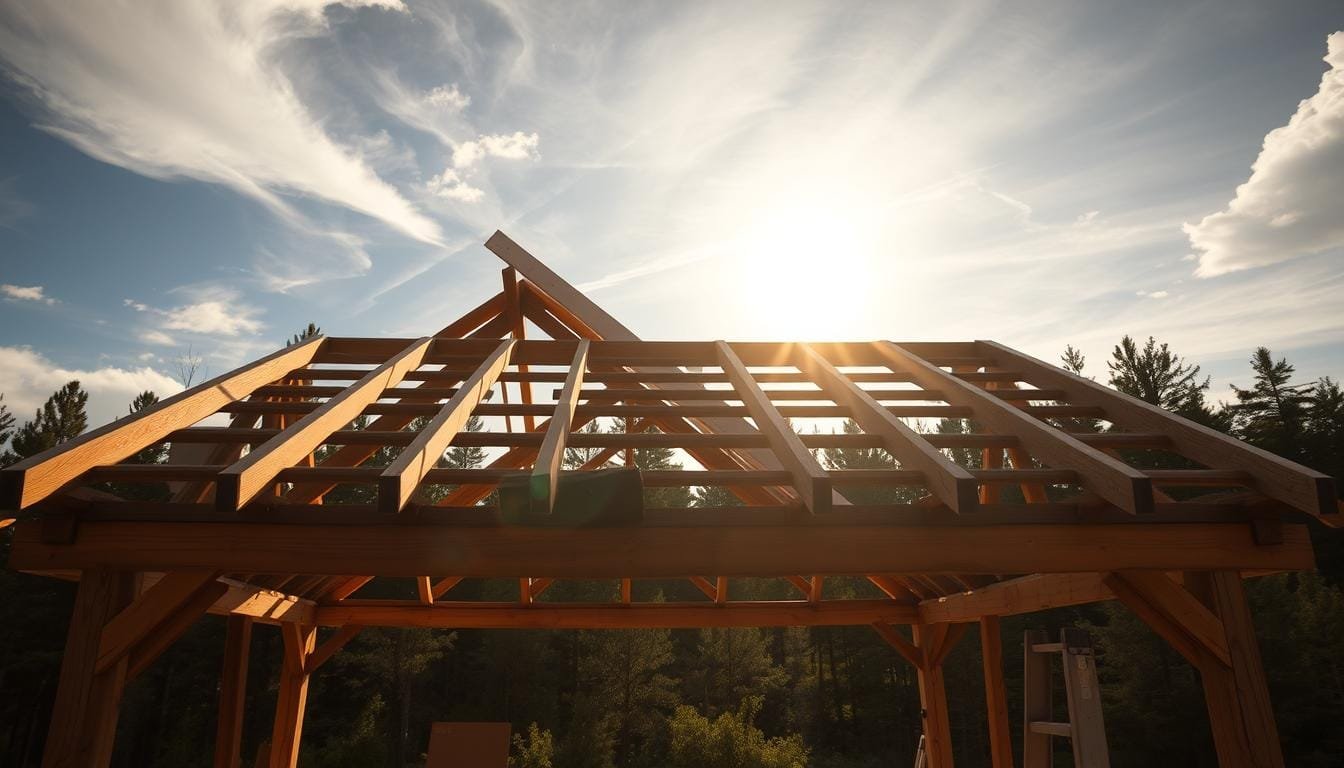
Constructing the Roof Frame
Building a strong cabin roof frame is key for your DIY project. It’s the base for a lasting and weather-tight shelter. We’ll explore the main steps, including roof trusses, how to secure them, and insulation choices.
Building the Roof Trusses
Roof trusses are the core of your cabin’s roof. For a 12×12 foot cabin, use 2×6 boards for rafters, spaced 24 inches apart. The ridge board should be a 2×8. Check the first rafter’s fit before making patterns for others. Some rafters might need special templates because of fit differences.
Securing the Roof Frame
After making your trusses, it’s time to secure the roof. Use 8D nails every 12 to 16 inches to attach sheathing. Adding storm braces gives extra support in strong winds. This keeps your cabin roof frame stable in harsh weather.
Insulation Options
Good roof insulation saves energy. Think about using eco-friendly materials like recycled denim or sheep’s wool. They insulate well and are good for the planet. Make sure there’s enough space between the roof deck and insulation for air flow.
By following these steps, you’ll build a durable cabin roof frame. The secret is careful planning and precise work in each step of building the frame.
Installing the Roof Decking
Installing roof decking is key in your DIY roof project. It gives a solid base for your roofing and boosts your cabin’s strength.
Preparing the Roof Frame
First, make sure your roof frame is set. Check that all trusses are tight and evenly spaced. Roof trusses usually go 24 inches apart, but local codes and design might change this.
Types of Decking Materials
You have many decking material choices:
- Plywood: Known for its strength and durability
- Oriented Strand Board (OSB): A budget-friendly option
- Tongue and Groove Boards: Offers a snug fit and nice look
For flat roofs, use at least 5/8 inch sheathing. The standing seam metal roof is also a durable and weather-resistant choice.
Proper Installation Techniques
Begin at the roof’s bottom edge and move up. Overlap sheet joints for extra strength. Use 8d nails 6 inches apart on edges and 12 inches in the field. Don’t forget to leave a 1/8-inch gap for expansion.
| Decking Material | Thickness | Weight | Cost per sq ft |
|---|---|---|---|
| Plywood | 5/8 inch | 2 lbs/sq ft | $0.75 – $1.25 |
| OSB | 5/8 inch | 1.8 lbs/sq ft | $0.50 – $0.75 |
| Tongue and Groove | 3/4 inch | 2.5 lbs/sq ft | $1.50 – $2.50 |
With these tips, you’re ready to start your DIY roof project. Always put safety first and follow local building codes during installation.
Weatherproofing Your Cabin Roof
Keeping your cabin roof weatherproof is key to protecting your investment and keeping you comfortable. Let’s look at some effective ways to keep your cabin safe from the weather.
Choosing Waterproofing Products
Choosing the right waterproofing products is essential for a long-lasting roof. EPDM rubber coverings are great for log cabins because they last in harsh weather. Felt roofs are a cost-effective option, best in wet climates. Asphalt shingles are affordable but might need to be replaced more often than fiberglass ones.
| Roofing Material | Durability | Cost | Maintenance |
|---|---|---|---|
| EPDM Rubber | High | Varies | Low |
| Felt | Medium | Low | Medium |
| Asphalt Shingles | Medium | Low | High |
| Fiberglass Shingles | High | Medium | Medium |
Installing Eaves and Gutters
Eaves and gutters are critical for keeping your cabin roof weatherproof. They help keep water away from your cabin’s foundation, avoiding moisture damage. For a 14′ x 20′ cabin, install gutters on the 20′ sides with downspouts at each corner. Use materials like aluminum or copper for lasting performance.
Maintenance Tips for Longevity
Regular roof maintenance is vital for keeping your cabin in top shape. Check your roof twice a year, removing debris and looking for damage. Replace any damaged shingles right away. For EPDM roofs, apply a protective coating every 5-7 years. Also, keep gutters clean to ensure water drains properly. These steps will help your roof last longer and stay weatherproof.
- Clean gutters seasonally
- Check for loose or damaged shingles
- Inspect flashing around chimneys and vents
- Trim overhanging branches
- Address leaks immediately
Adding Finishing Touches to Your Roof
Your cabin roof is more than just protection – it’s a canvas for creativity. We’ll explore ways to enhance your cabin roof aesthetics while staying budget-friendly. From eye-catching elements to practical choices, we’ll help you create a roof that’s uniquely yours.
Decorative Elements to Consider
Spice up your cabin roof with decorative touches. A charming cupola or dormer can add character without breaking the bank. For a rustic feel, consider decorative trim or exposed beams. These small details can make a big impact on your cabin’s overall look.

Choosing the Right Color
Roof colors play a big role in your cabin’s appearance. Dark shades like deep green or brown blend with nature, while lighter hues reflect heat. Think about your surroundings and climate when picking a color. Remember, your roof makes up a large part of your cabin’s visible exterior, so choose wisely!
Painting and Sealing Options
Roof painting and sealing are vital for both looks and longevity. A fresh coat of paint can revitalize your cabin’s appearance, while proper sealing protects against the elements. For wood shingles, a clear sealant preserves natural beauty. Metal roofs benefit from specialized coatings that enhance durability and reflect sunlight, keeping your cabin cooler.
| Roof Type | Best Paint/Sealant | Lifespan | Maintenance |
|---|---|---|---|
| Wood Shingles | Clear UV-resistant sealant | 15-20 years | Reapply every 3-5 years |
| Metal Roof | Acrylic elastomeric coating | Up to 50 years | Inspect annually, recoat as needed |
| Asphalt Shingles | Acrylic roof paint | 20-30 years | Repaint every 5-7 years |
By focusing on these finishing touches, you’ll create a cabin roof that’s not only functional but also visually appealing. Remember, your roof is a key part of your cabin’s character – make it count!
Final Inspection and Maintenance
Finishing your DIY cabin roof is a big win. But, it’s just the start. A detailed cabin roof inspection and regular upkeep are key to its long life. We’ll look at how to keep your roof in great shape without spending a lot.
Checklist for Roof Completion
Before you celebrate, go through a detailed roof maintenance checklist. Make sure all shingles or metal panels are tight, flashing is right, and gutters are straight. Look for any gaps or exposed nails that could cause leaks. This check can prevent expensive fixes later.
Regular Maintenance Practices
Plan to spend a few weekends each year, in spring and fall, on roof care. Clean out gutters and check for wear signs. For log cabins, power-washing yearly at 500 to 1,500 psi keeps it looking good and safe. Use special sealants to guard against the weather. These easy steps can stop a small issue from becoming a huge problem.
Signs Your Roof Needs Attention
Keep an eye out for roof repair signs. Look for curled or missing shingles, sagging spots, or daylight showing through the roof. Inside, watch for water stains on ceilings or walls. If you see these, act fast. Fixing problems early can save you a lot of money. By following these tips, your DIY cabin roof will protect you for many years.


