How do you actually get lighting for a cabin right when most of the advice out there was written for a standard house? The answer starts earlier than you think — before the drywall goes up, before you pick a single fixture. Get the planning wrong at the build phase and you’re either cutting into finished walls or living with a space that feels like a gas station bathroom.
Cabin lighting is its own problem. Wood-heavy interiors absorb light differently than painted drywall, off-grid power limits your options, and the fixtures that look good in a showroom often look ridiculous nailed to a log wall. The sections below break it down in build order, starting with the layering concept that changes everything.
Layer Your Light: Why One Overhead Fixture Never Works in a Cabin
One ceiling light in the middle of a room creates one bright spot and a lot of shadows. In a cabin with dark wood walls and low ceilings, that single fixture makes the space feel like a cave. Good lighting for a cabin comes from three distinct layers working together, and skipping any one of them shows immediately.
Ambient Light Sets the Floor
Ambient lighting is your base layer — the general illumination that fills the room so you’re not squinting. In a cabin, recessed cans or a central pendant can handle this, but you need more than one source. A 12-by-16-foot main room typically needs at least three to four light points to get even coverage without harsh shadows in the corners.
Don’t go bright here. Ambient light in a cabin should be comfortable and warm, not the kind of overhead glare that makes you feel like you’re being interrogated.
Task Lighting Where You Actually Work
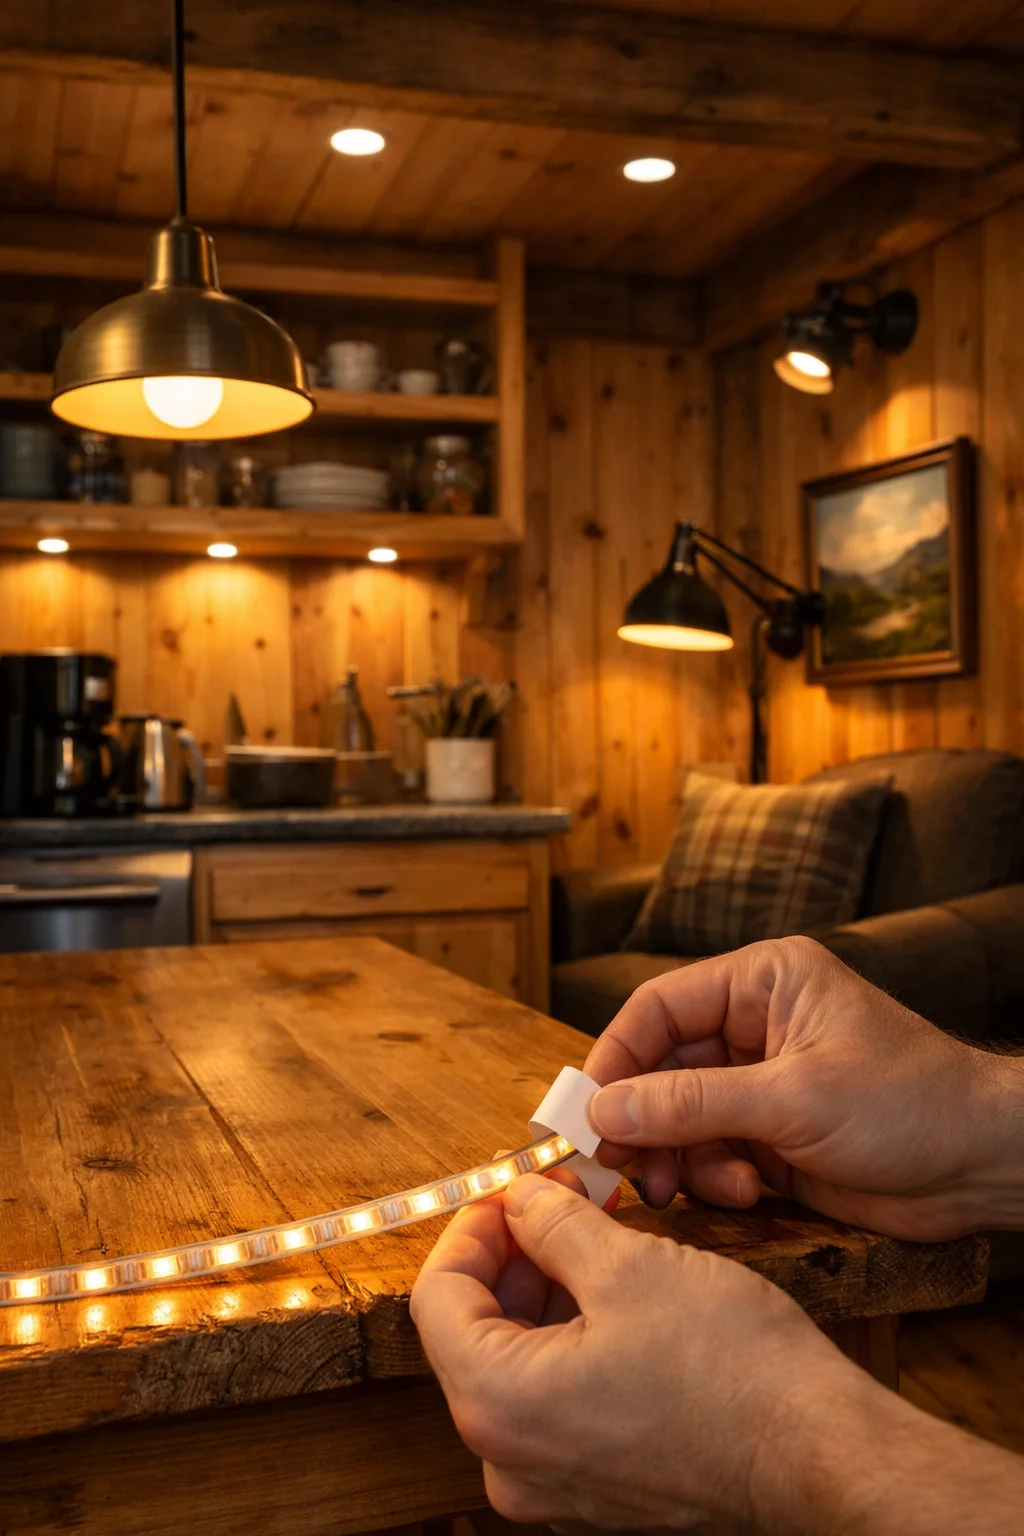
Task lighting sits on top of your ambient layer and points at specific surfaces — the kitchen counter, the reading chair, the workbench. Under-cabinet LED strips in the kitchen are the single most useful upgrade most cabin builders skip during the build phase and regret later. Running wire for them before the cabinets go in takes twenty minutes; doing it after takes a full afternoon of fishing wire through finished walls.
A swing-arm wall sconce next to a reading spot costs around $40–$80 and does more for livability than a $300 overhead fixture ever will.
Accent Lighting That Makes Wood Grain Pop
This is where cabin lighting gets genuinely interesting. A small directional spotlight or a puck light aimed at an exposed beam or a section of knotty pine wall brings out the texture in a way no ambient fixture can. The wood actually looks like wood instead of just a dark background.
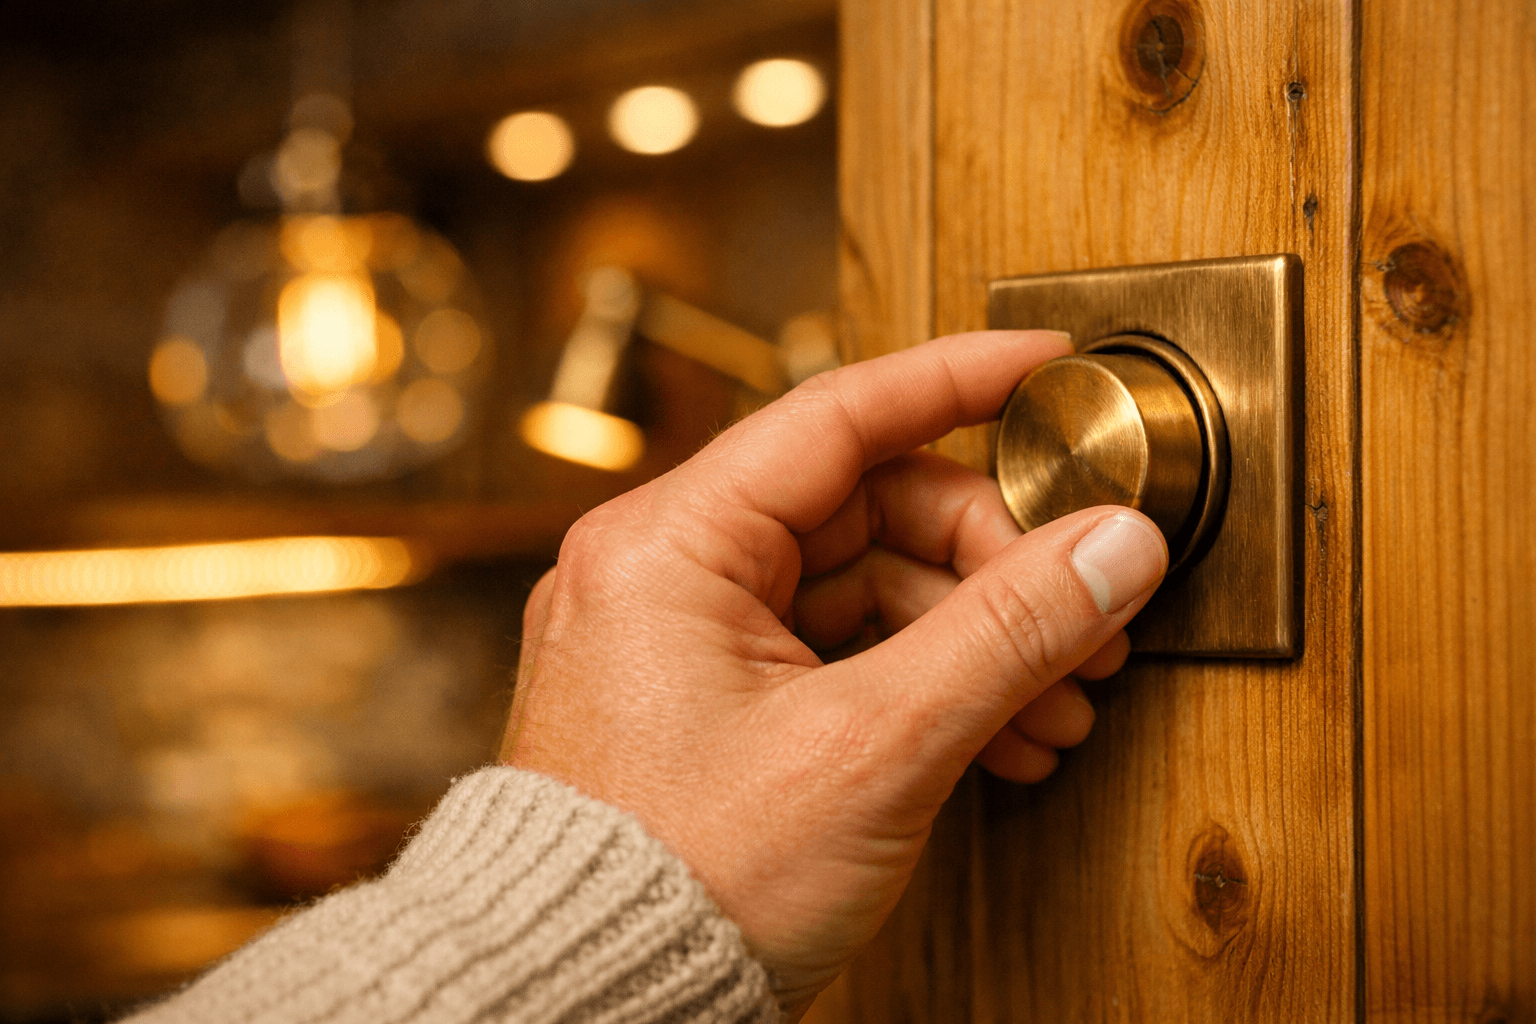
Keep accent lights on a separate switch or dimmer from your ambient layer. That way you can run just the accent lights in the evening and the whole room shifts into something that feels intentional rather than accidental.
Plan the Wiring Before the Walls Close
The biggest lighting mistake in cabin builds isn’t picking the wrong fixture — it’s not planning wire runs before the walls are closed. Retrofitting electrical in a finished cabin wall, especially one with tongue-and-groove pine or log siding, can cost two to three times what it would have during the build phase.
Outlet and Switch Placement During the Build Phase
Before any sheathing goes on, walk every room with a pencil and mark where you actually want switches and outlets. Think about furniture placement: a switch at the door is obvious, but do you want one at the bed too? A three-way switch setup costs maybe $15 more in parts and saves you fumbling across a dark room every night.
Here’s a practical order for roughing in during the build phase:
Mark all switch locations at 48 inches from the floor before framing is complete.
Run wire for every outlet, switch, and fixture before any insulation goes in.
Leave a dedicated circuit for the kitchen counter — 20 amps minimum.
Pull wire for under-cabinet lighting even if you’re not installing it yet.
Add a conduit sleeve anywhere you might want to run additional wire later.
Roughing In for Solar or Battery Systems
If you’re going off-grid, rough in a dedicated low-voltage wire run from where your battery bank will sit to every room. This is the time to do it. A 12-volt DC lighting circuit for a small cabin uses thinner wire than a standard 120-volt AC circuit, but it still needs to be planned before the walls close.
Mark the location for your charge controller and inverter on the wall before framing is done. Moving those later means redoing wire runs that are already buried.
Bulb Color Temperature: Stick to 2700K–3000K in a Wood Interior
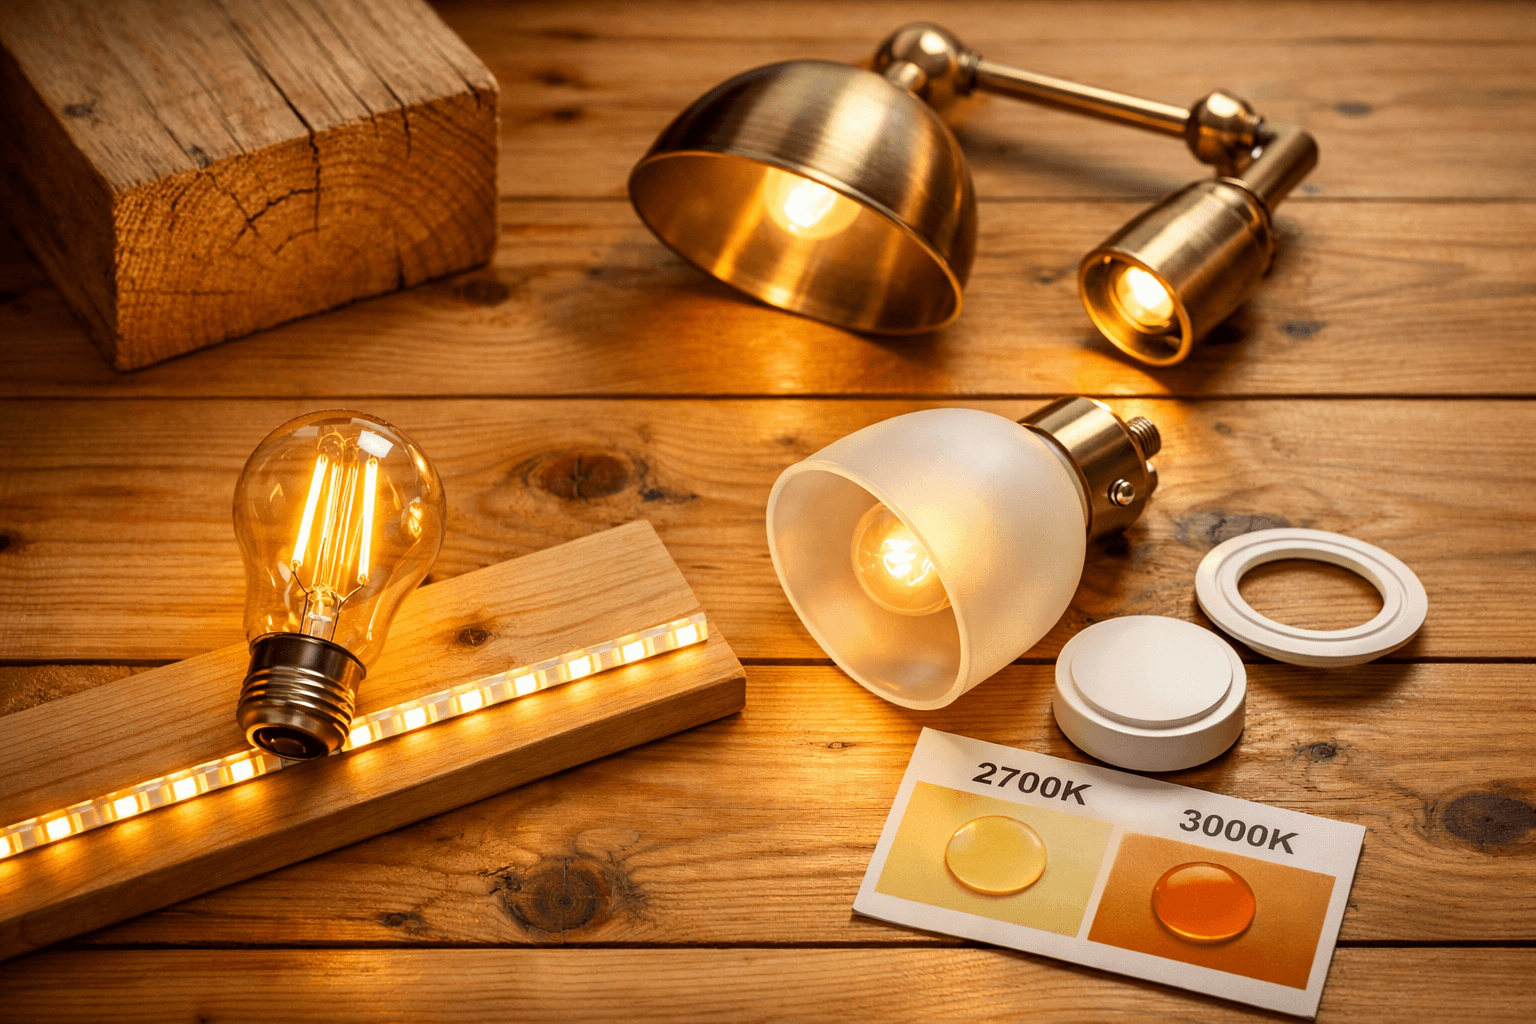
Never use bulbs above 3000K in a wood-interior cabin. Cool white bulbs in the 4000K–5000K range fight against warm wood tones and make the space feel clinical and cold. The 2700K–3000K range is where wood looks like wood and the room feels like somewhere you actually want to be.
Color temperature, measured in Kelvin (K), describes how warm or cool a light source appears. Lower numbers are warmer and more amber; higher numbers are cooler and bluer.
Color Temperature
Appearance
Best Use in a Cabin
2700K
Warm amber
Living areas, bedroom, accent lighting
3000K
Soft white
Kitchen, bathroom, task lighting
3500K
Neutral white
Borderline — avoid in wood-heavy rooms
4000K
Cool white
Garage, workshop only
5000K+
Daylight
Not recommended for cabin interiors
Most LED bulbs sold at hardware stores are labeled with their Kelvin rating on the box. Philips and GE both make widely available 2700K LED options in standard A19 and BR30 sizes that fit most common fixtures without any adapter. Pick one temperature and stick with it across a room — mixing 2700K and 3000K bulbs in the same space creates a subtle visual inconsistency that’s hard to name but easy to notice.
Off-Grid Power Options: Solar, Battery, and What Each Actually Costs
Off-grid lighting is completely doable, but the math has to be honest. Most small cabin lighting setups — LED fixtures only, no big appliances — draw somewhere between 200 and 400 watt-hours per day. Getting that number wrong at the planning stage means either a dead battery bank by 9 p.m. or an oversized system that cost twice what it needed to.
Solar-Powered Systems: Capacity Math That Matters
Start with your daily load. Add up every light fixture’s wattage, multiply by the hours you’ll run it, and that’s your baseline. A cabin running eight LED fixtures at 10 watts each for five hours a night uses 400 watt-hours daily. To cover that with solar, you need a panel array and battery bank sized for your worst sun days, not your best.
A rough starting point for a small lighting-only off-grid cabin is a 200-watt photovoltaic (PV) panel paired with a 100 amp-hour lithium battery. Expect to spend around $300–$500 for that combination from brands like Renogy, which sells complete starter kits that include the charge controller. That setup handles basic lighting comfortably in most regions with four or more peak sun hours per day.
Don’t size for average days. Size for two or three cloudy days in a row.
Battery and Propane Backup When the Sun Doesn’t Cooperate
Lithium LiFePO4 batteries hold their charge longer and handle more discharge cycles than standard AGM lead-acid batteries, but they cost roughly twice as much upfront. For a lighting-only system, a 50–100 amp-hour LiFePO4 runs $150–$300 depending on the brand.
Propane lanterns and candles are legitimate backup options, not just aesthetic choices. A single high-output propane lantern can light a 200-square-foot room well enough to cook and read by. Keep one on hand regardless of how good your solar setup is — weather happens, and a dead battery bank at 7 p.m. in November is a real problem.
Fixture Styles That Fit a Rustic Cabin Without Looking Like a Theme Park
The wrong fixture turns a nice cabin into a gift shop. The right one disappears into the space and just looks like it belongs. Aim for fixtures that reference the materials already in your cabin (wood, iron, aged metal) without overdoing any single motif.
What to Look for in Log Cabin and Farmhouse Fixtures
Stick to fixtures with exposed Edison-style bulbs, simple iron frames, or wood accents rather than ornate antler chandeliers or anything with a pine tree stamped into it. Those read as costume, not design. A simple black iron pendant with a cage shade costs $30–$60 at most home improvement stores and works in a cabin without announcing itself.
Seeded glass shades — the kind with small air bubbles pressed into the glass — scatter light softly and look genuinely good against wood walls. They’re worth hunting for.
Mixing Metal Finishes Without Making It Chaotic
Pick one dominant finish and let everything else support it. Matte black works with almost any wood tone. Brushed bronze reads warmer and pairs well with knotty pine or cedar. The rule isn’t that every fixture must match. It’s that no two competing finishes should be visible from the same spot in the room. A black pendant over the table and an oil-rubbed bronze sconce on the far wall is fine. Both on the same wall, side by side, is where it gets messy.
Outdoor and Porch Lighting: Safety First, Ambiance Second
On a remote or wooded property, outdoor lighting isn’t optional — it’s a genuine safety issue. A dark path between the cabin and a detached structure is a twisted ankle or worse. Get the safety layer working first, then add ambiance on top.
Start with motion-activated fixtures at every entry point and along any path you walk after dark. A solar-powered motion light mounted at the porch eave costs around $20–$40 and needs no wiring at all. That’s your baseline.
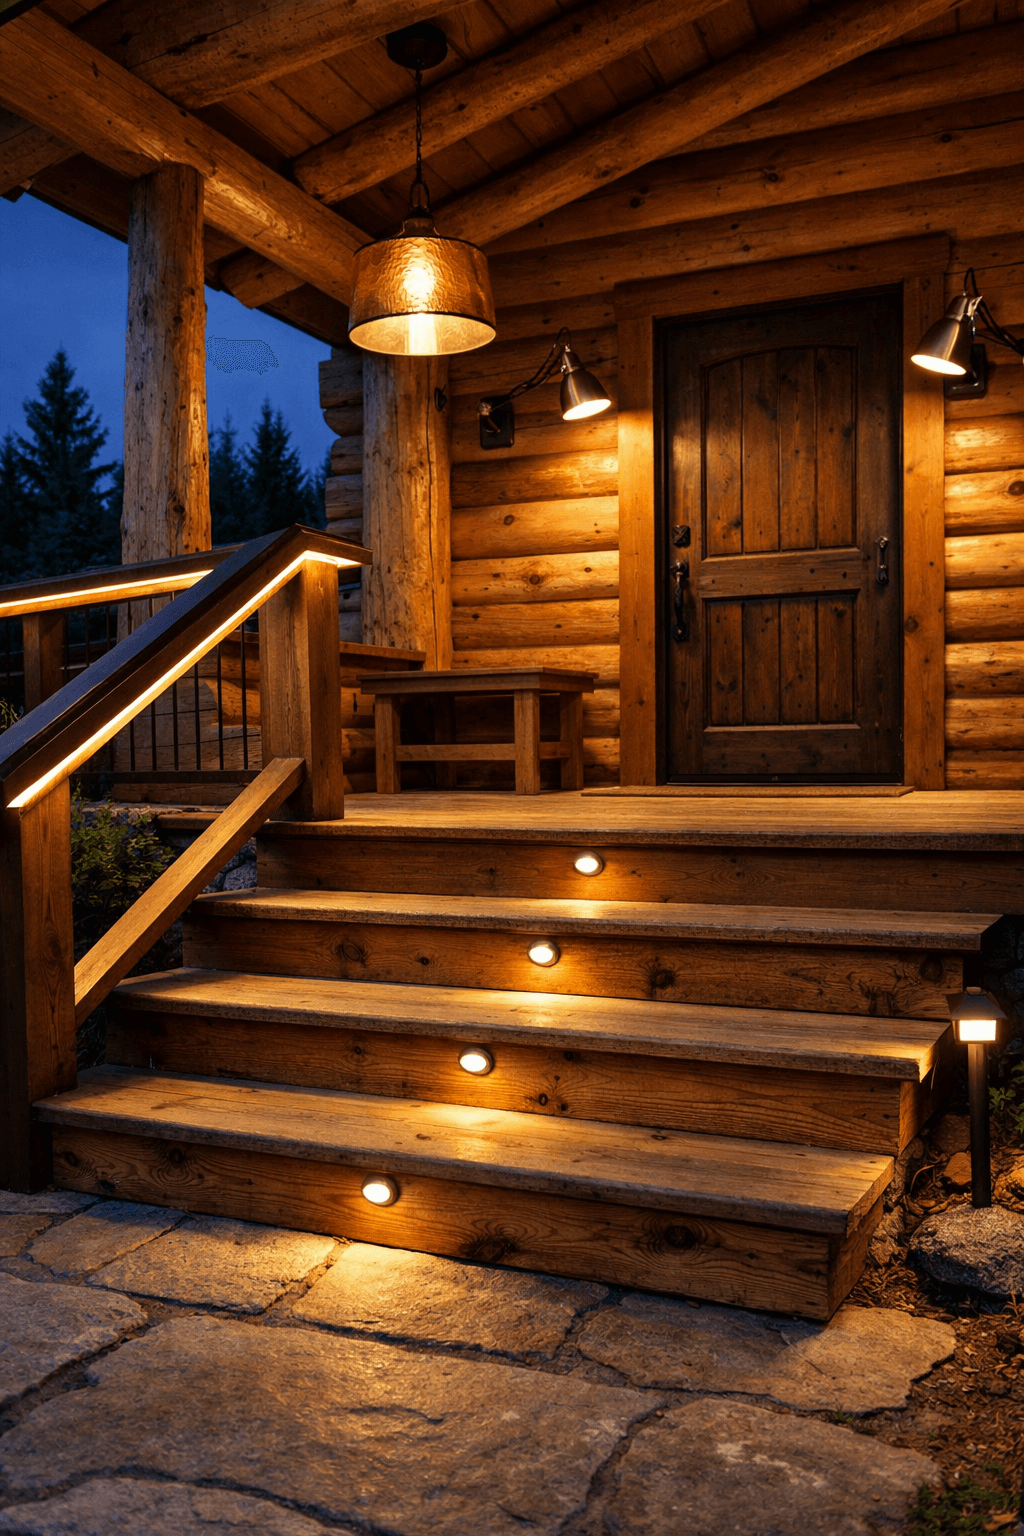
For the porch itself, a pair of wall sconces flanking the door gives you enough light to find your keys and see who’s there. Warm 2700K bulbs in weatherproof fixtures keep the porch feeling like an extension of the cabin interior rather than a parking lot entrance.
String lights along a porch railing or overhead between posts add atmosphere without replacing functional light. Run them on a separate switch so you can kill the ambient sconces and leave just the strings on a quiet evening. Keep all outdoor fixtures rated for wet or damp locations — the rating is stamped on the fixture box, and skipping that detail leads to corroded sockets within one winter.
The Cheapest Way to Light a Cabin That Still Works
Plug-in LED fixtures on a single 20-amp circuit are the lowest-cost starting point that actually functions. A basic cabin lighting setup (four rooms, one fixture each) can run under $150 in hardware if you shop smart and skip anything with “rustic” in the product name.
Start with hardwired LED ceiling fixtures in the $15–$25 range. Big-box stores like Home Depot carry simple flush-mount LED fixtures at that price, and they’re bright enough for any room under 200 square feet. Pair them with 2700K A19 bulbs at roughly $2–$4 each.
For task areas, plug-in puck lights under cabinets cost around $10–$20 for a four-pack and need zero wiring. They’re not glamorous, but they work. Add a few plug-in floor lamps with warm-toned shades for accent light, and you’ve got a layered setup for well under $200 total.
The one place to spend more is outdoor safety lighting. A $30 solar motion light beats a $10 one in rain and cold. Cheap outdoor fixtures fail fast.
Frequently Asked Questions
How many lumens do I need to light a cabin room?
For a living area around 200 square feet, aim for 1,500–2,000 lumens total across all fixtures in the room. A single 800-lumen bulb (a standard 60-watt equivalent LED) isn’t enough on its own — that’s why layering two or three sources matters more than one bright overhead fixture.
Can I run cabin lighting entirely on solar without a generator?
Yes, for a lighting-only setup. A 200-watt panel and a 100 amp-hour LiFePO4 battery handles roughly 400 watt-hours of daily use, which covers eight LED fixtures running five hours a night. Add a propane backup lantern for cloudy stretches longer than two days.
What’s the easiest lighting upgrade for a cabin that’s already built?
Plug-in fixtures and battery-powered LED puck lights require no rewiring and make an immediate difference. Swap any existing bulbs to 2700K LEDs first — that single change costs under $20 and fixes the most common complaint about cabin lighting feeling harsh or flat.
Does cabin lighting need to be on a separate electrical circuit from outlets?
Not always, but it’s good practice during a build. Keeping lighting on its own 15-amp circuit prevents a tripped breaker from knocking out both your lights and your outlets at once. If you’re planning wiring from scratch, the cabinlodger.com build phase guides cover circuit layout decisions worth reading before your walls close.