A shelf bolted straight into paneling will hold your coffee mugs. It won’t hold a case of canned food, a propane torch kit, and a row of hand tools. Wall cleats fix that problem by spreading the load across a horizontal ledger instead of a handful of screws, and in a cabin with rough or uneven walls, that difference is what keeps your storage on the wall instead of on the floor.
If you’re setting up shelving or a hanging cabinet system in a cabin, the cleat method is worth learning properly instead of guessing at it.
What Makes a Wall Cleat Different From a Ledger Board?
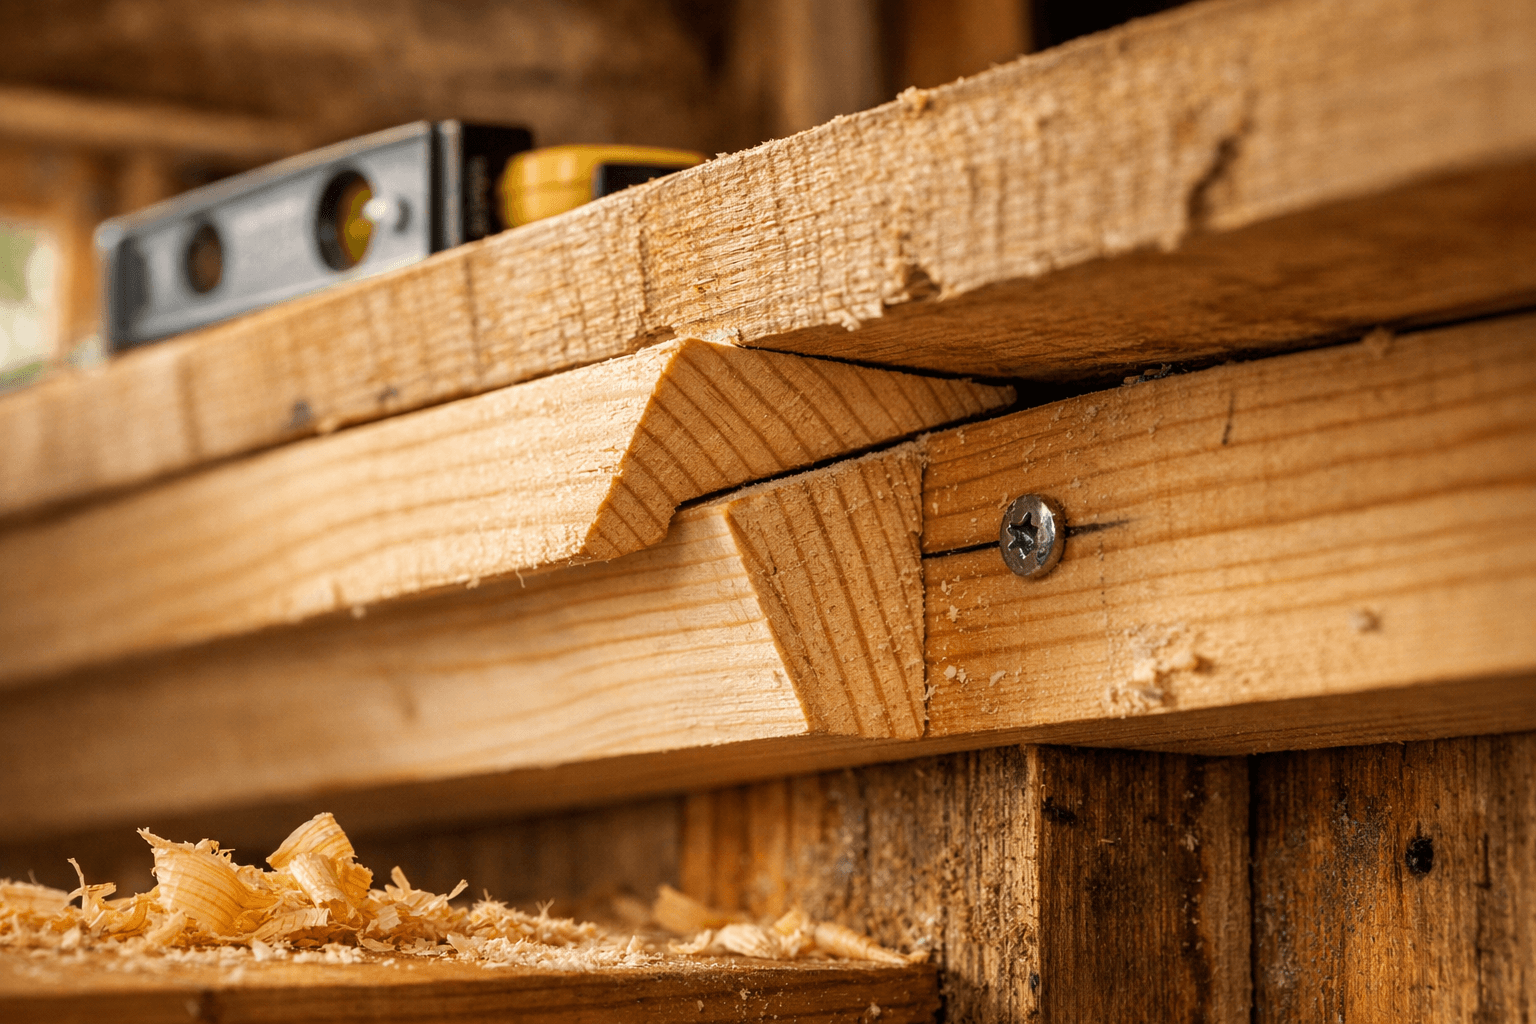
A ledger board is a straight strip screwed flat against the wall to support a shelf resting on top of it. A French cleat, by contrast, is cut at a 45-degree angle so two matching pieces interlock, letting the shelf or cabinet hang and lock into place instead of just sitting there.
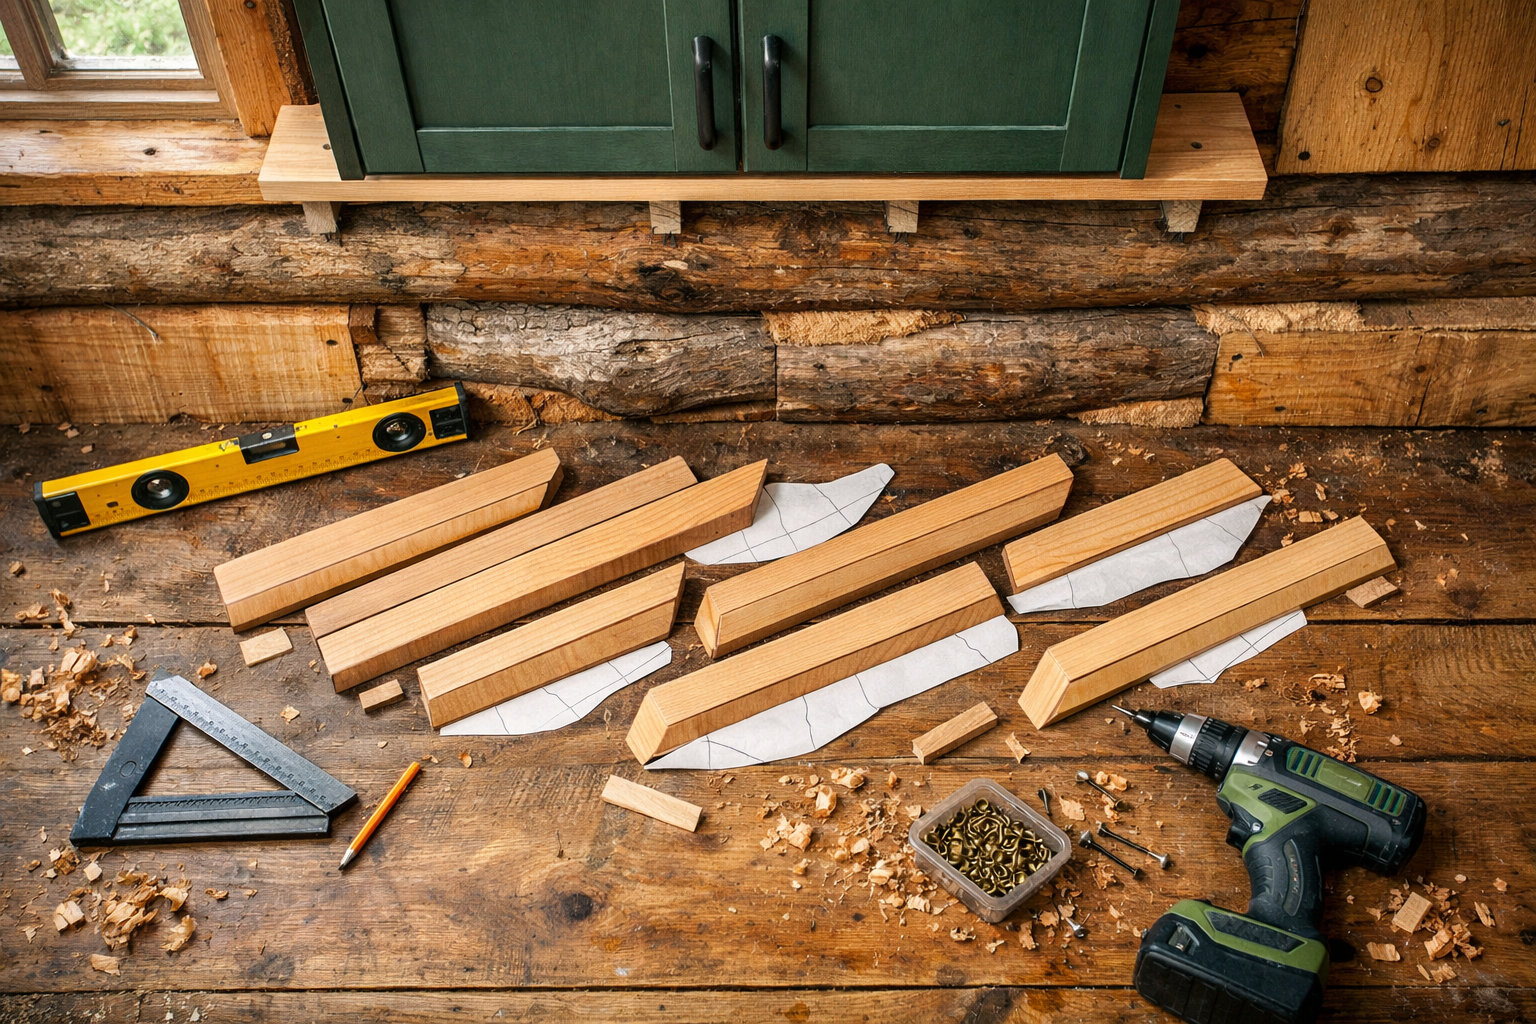
The angle cut matters more than people think. Cut it wrong, with the bevel facing the wrong direction, and the top piece slides forward off the wall-mounted piece instead of locking against it. The wall-side cleat needs the angled face cut so the top edge sits closer to the wall and the bottom edge sticks out — the mating piece on your shelf or cabinet gets the opposite angle so the two bevels hook together under gravity.
Ledger Board: Simpler, But Less Forgiving
A ledger board works fine for lightweight open shelving where you’re not swapping pieces in and out. It’s a straight 1×4 or 1×6 screwed level across studs, with the shelf resting on top and maybe a lip underneath for extra grip.
French Cleat: Built for Modular Storage
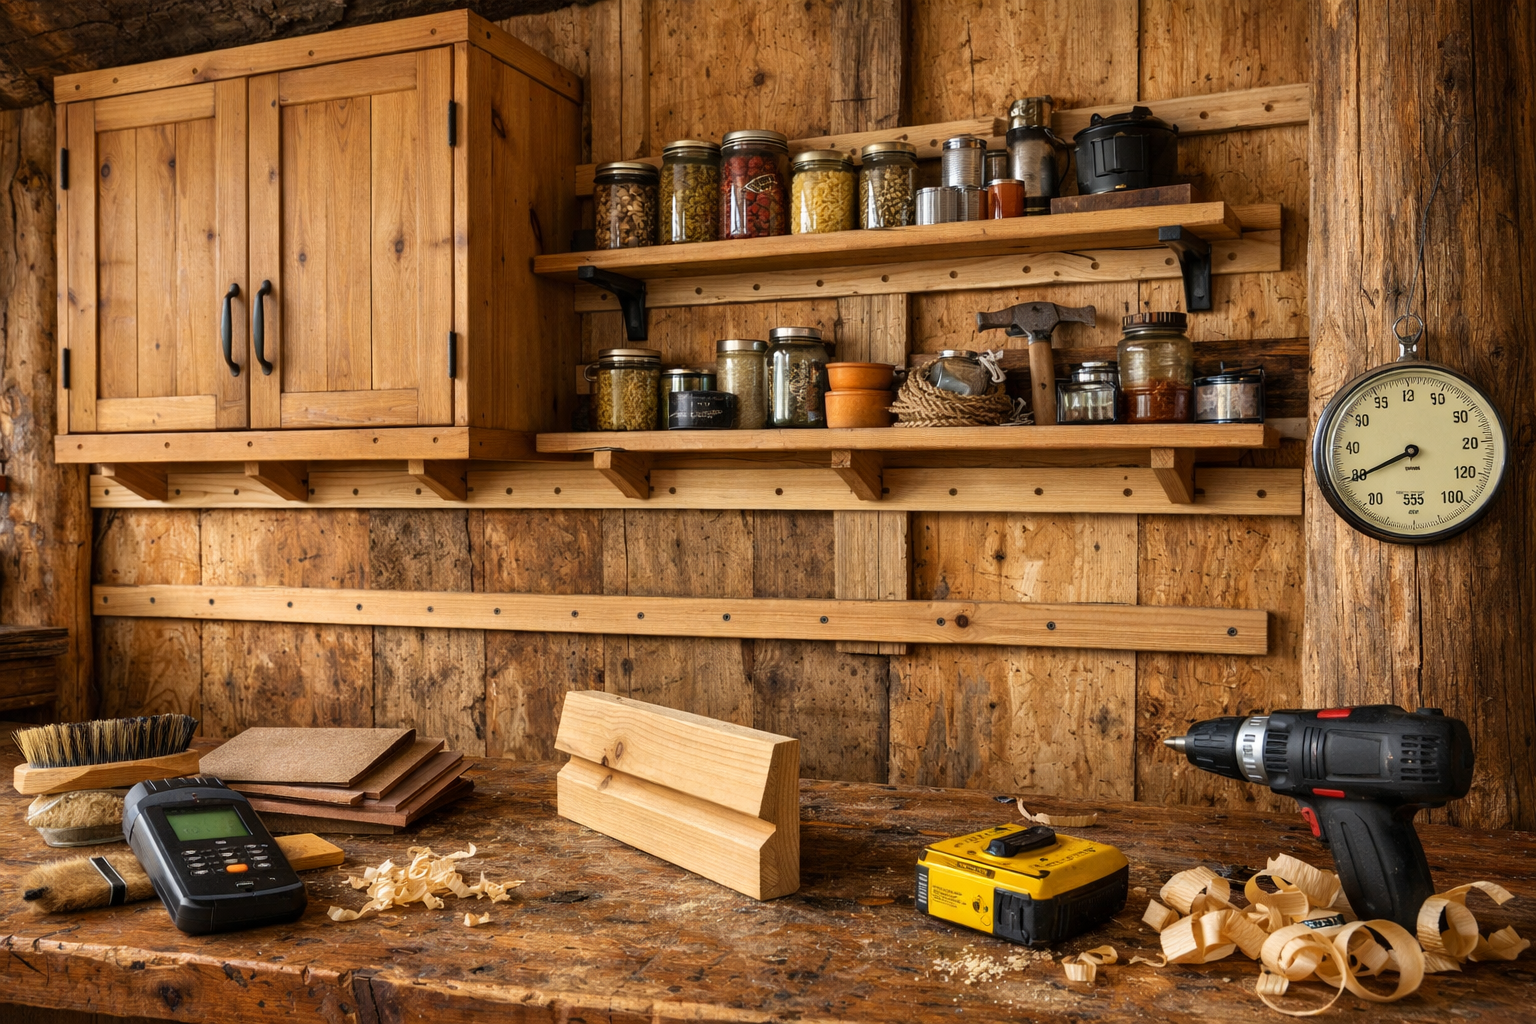
The French cleat system shines when you want to rearrange things — pull off a tool cabinet, hang a different rack, move a shelf six inches over. That flexibility is why it’s become the go-to for garage and cabin tool walls, and it’s the system I’d recommend for anyone setting up a modular off-grid pantry or gear wall.
Building Cleats for Cabin Walls That Aren’t Standard
Cabin walls rarely behave like the drywall-over-16-inch-stud walls this system was designed for. Log walls, rough-sawn board walls, and plywood-sheathed stud walls all need different approaches, and getting this wrong is the number one reason cleats fail in a cabin setting.
Stud-Framed and Plywood Walls
If your cabin has conventional 2×4 or 2×6 framing at 16-inch or 24-inch on-center spacing, find your studs with a stud finder or by tapping and measuring from a known point, then screw the cleat directly into at least two, ideally three, studs. Never rely on the plywood sheathing alone to hold weight; the sheathing might hold a picture frame, but it won’t hold a loaded tool cabinet.
Log Cabin Walls
Log walls don’t have studs at all, so you’re fastening into solid log with lag screws long enough to bite at least 2 inches into the wood, spaced across at least two courses of logs if the cleat spans that height. Logs also shrink and shift as they season, so drilling oversized pilot holes and using screws instead of nails gives the wood room to move without shearing the fastener.
Uneven or Rough-Sawn Board Walls
Board-and-batten or rough-cut interior walls are rarely flat, so shim behind the cleat where gaps show up, or plane the back edge of the cleat itself to match the wall’s contour before you mount it. A cleat that rocks on high spots will eventually crack loose under load, even if the fasteners are solid.
Choosing Cleat Material and Fasteners for Real Load
Plywood is the standard choice for French cleats, and 3/4-inch plywood (cabinet grade or exterior grade) is the right call for anything holding more than a few pounds. Solid hardwood works too and holds up better against repeated wear, but it costs more and is harder to cut a clean 45-degree bevel on without a table saw.
Skip 1/2-inch plywood or thin lumber for anything beyond decorative shelving. It flexes under load and the bevel edge is more likely to chip or shear off over time, right where all the weight is concentrated.
For fasteners, wood screws (#8 or #10, at least 2.5 inches long) work fine into studs or solid wood framing. Into log walls or where you need serious pull-out resistance, switch to lag screws with washers, sized 1/4-inch by 3 inches at minimum for heavy racks.
Storage Load
Cleat Material
Fastener
Approx. Weight Capacity
Light shelving (books, decor)
1/2-inch plywood
#8 wood screws, 2 in
up to 25 lbs per linear foot
General kitchen/pantry storage
3/4-inch plywood
#10 wood screws, 2.5 in
40-60 lbs per linear foot
Tool racks, cabinets
3/4-inch hardwood plywood
1/4-in lag screws, 3 in
75-100 lbs per linear foot
Propane gear, heavy food storage
Solid hardwood
1/4-in lag screws, 3-4 in into studs/logs
100+ lbs per linear foot
That last row matters for off-grid cabins specifically. Propane canisters, canned goods, and hand tool sets add up fast, and undersized cleats are one of the most common failure points I see in cabin storage builds.
Protecting Cleats From Cabin Humidity and Wood Movement
Untreated cleats in a cabin will warp, swell, or loosen within a season or two if you skip the finishing step. Off-grid cabins swing harder on humidity than a climate-controlled house, so wood movement isn’t optional to think about — it’s built into the environment.
Seal every cleat, front and back, with an exterior-grade wood sealant or a couple coats of polyurethane before you mount it. Don’t just finish the visible face; moisture wicks in from the back and edges just as easily, especially against a log wall that’s holding its own moisture content.
Here’s the install sequence I’d follow for any cleat system going into a rough cabin wall:
Locate studs or log courses and mark fastener points.
Cut the cleat pair at a true 45-degree angle, wall piece bevel-up, mounting piece bevel-down.
Seal all faces and edges with exterior wood finish and let it cure fully (check the product label, but 24 hours is typical).
Shim or plane the wall-side cleat to match wall irregularities.
Pre-drill pilot holes sized slightly smaller than your fastener shank.
Drive lag or wood screws into studs or solid log, not just sheathing.
Test-load the cleat with roughly double the expected weight before hanging anything permanent.
Skipping the sealing step is the single most common shortcut that comes back to bite people a year or two down the road, when a cleat that felt rock-solid on install day starts to wobble because the wood behind the screws has swelled and shrunk one too many times.
Sizing Cleats for Tool Walls and Pegboard Alternatives
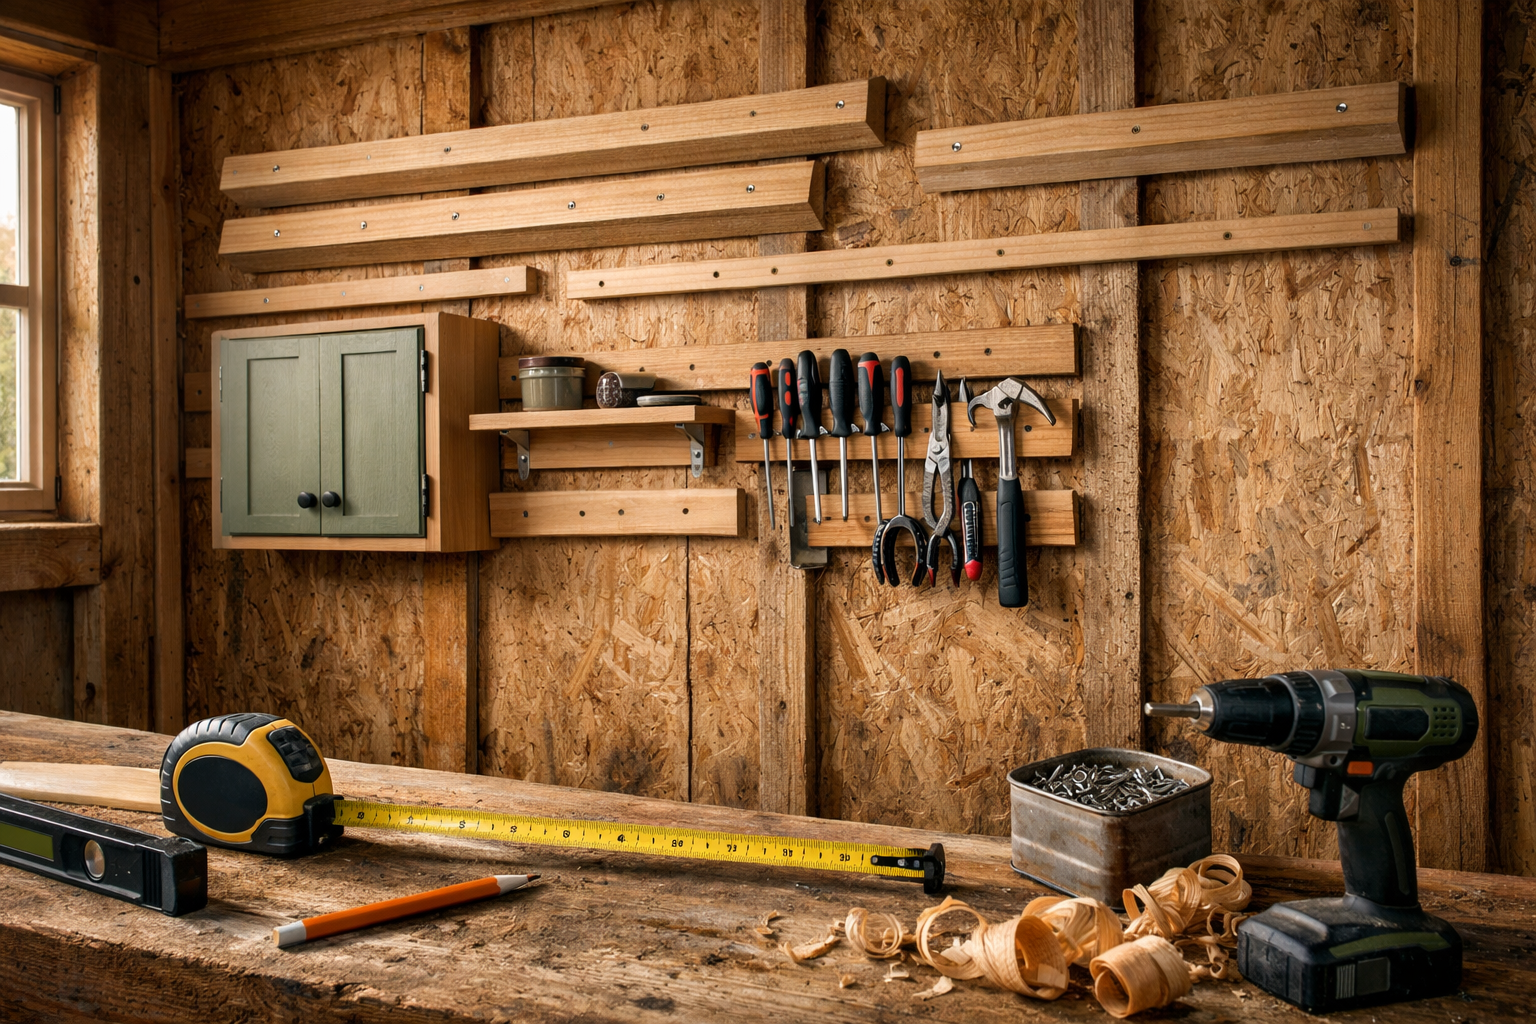
Pegboard is fine for light hand tools, but it’s a poor match for heavier gear like drills, hatchets, or coiled rope, since the hooks concentrate weight on small holes that tear out over time. A cleat-based tool wall spreads that same load across a full board, which is why it’s the sturdier option for a cabin workshop corner.
Space horizontal cleats 12 to 18 inches apart vertically for a tool wall, matched to the height of whatever hangs between them. Mount backing plates or small mounting cleats on the back of tool holders, buckets, or bins so anything on the wall uses the same interlocking system instead of a mix of hooks and nails.
This is exactly the kind of upgrade worth documenting as you go. If you’re building out a cabin storage wall from scratch, it’s worth looking at how a full build gets organized room by room, and that’s the kind of project breakdown you’ll find across cabinlodger.com if you want to see how the pieces fit together beyond just the cleats.
Don’t mix systems on one wall if you can avoid it. A wall with pegboard hooks in one section and cleats in another looks improvised and it usually is, functionally as well as visually.
Frequently Asked Questions
How much weight can a French cleat actually hold?
A properly built 3/4-inch plywood cleat anchored into studs or solid log with lag screws can hold 75 to 100 pounds per linear foot. Weight capacity depends more on the fastener and wall anchoring than the cleat material itself.
Can I use wall cleats on a log cabin without studs?
Yes, but use lag screws that bite at least 2 inches into solid log, and drill slightly oversized pilot holes to allow for seasonal wood movement. Skipping that clearance is the main reason cleats crack loose on log walls.
Do wall cleats need to be treated or sealed?
Yes, always seal cleats front, back, and edges with exterior-grade sealant or polyurethane before mounting. Off-grid cabins see bigger humidity swings than typical homes, and untreated wood will warp or loosen within a season or two.