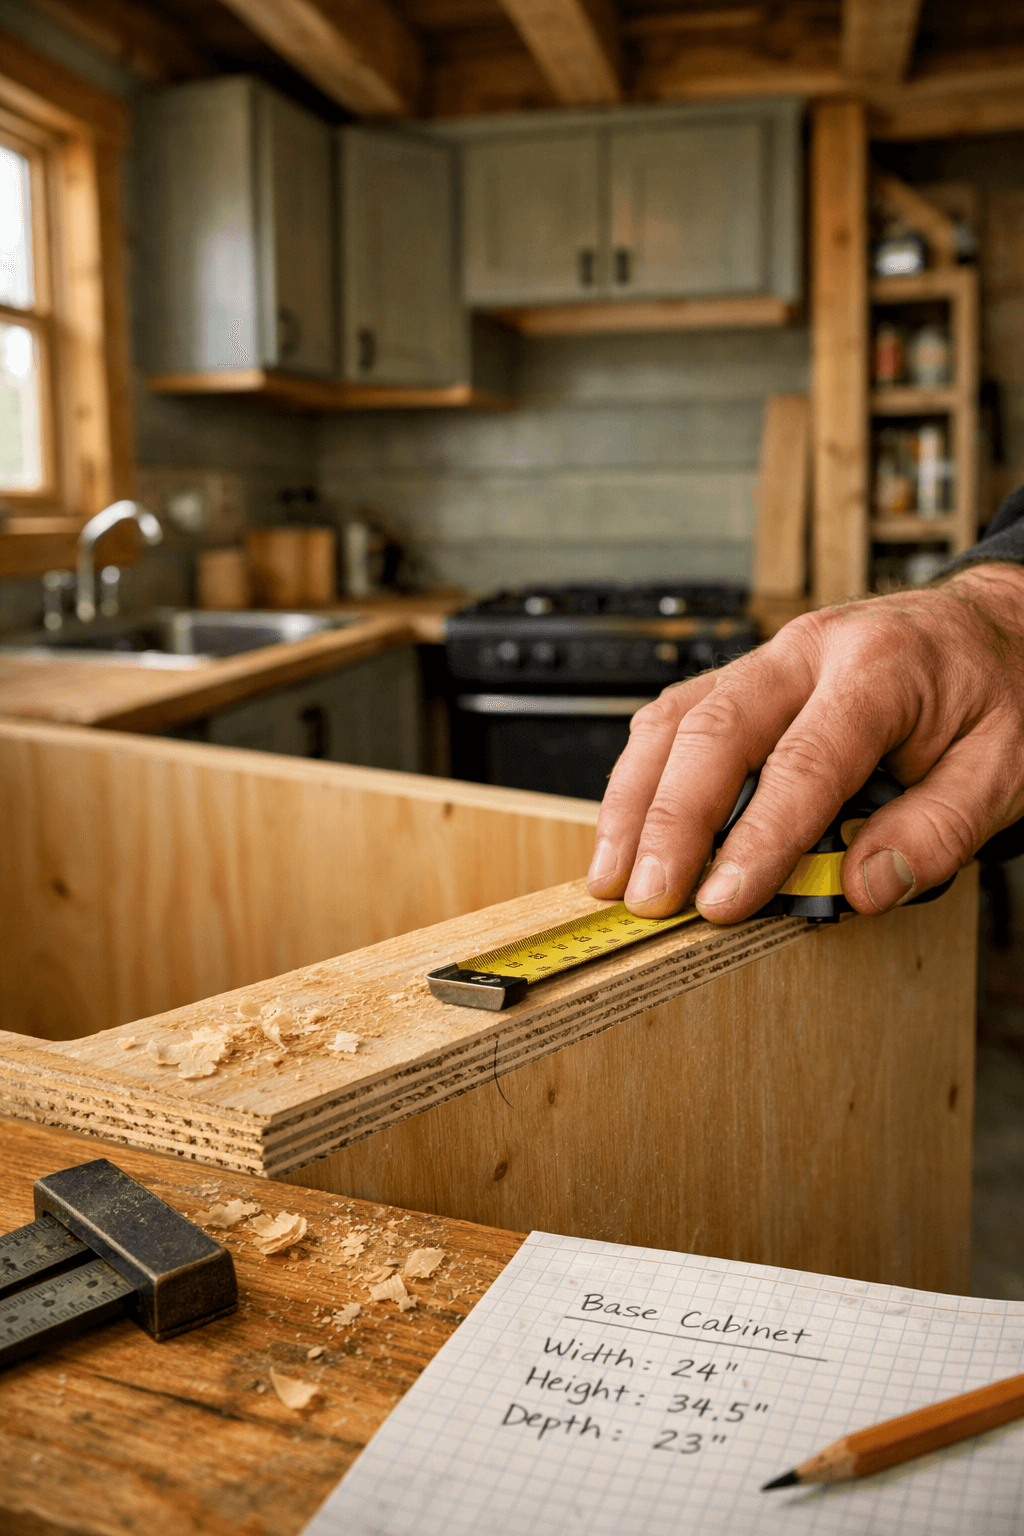
Standard base cabinets run 24 inches deep and 34.5 inches tall because that’s what fits a full-size kitchen. In a cabin, that same depth eats up walking room you don’t have. Kitchen cabinet woodworking for a small cabin isn’t about shrinking a normal design — it’s a different set of rules built around a few square feet, no climate control, and hardware that has to survive humidity swings a suburban kitchen never sees.
Get the scale wrong and you’ll spend a weekend building boxes that block the fridge door or leave no room to actually cook. Get the joinery and finish wrong, and you’ll be re-gluing warped face frames by your second winter off-grid.
Cabinet Dimensions That Actually Fit a Cabin Kitchen
Cabin kitchens usually run 6 to 10 feet of usable wall, so scaled cabinet sizes matter more than following a big-box store’s stock measurements. Drop base cabinet depth to 18-20 inches instead of 24, and trim upper cabinet depth to 10-12 inches instead of 12-13. That alone can reclaim 4-6 inches of floor space in a galley layout, which matters when your whole kitchen is 5 feet wide.
Height still matters for comfort, even in a small footprint. Keep base cabinets around 32-34 inches tall including the countertop, and hang uppers with 15-16 inches of clearance above the counter instead of the usual 18. You lose a little storage room, but you gain headroom in a space where ceiling height is already tight from loft framing above.
Planning the Layout Before You Cut Anything
Sketch the kitchen at actual scale on graph paper or in a free layout app before touching plywood. A single 8-foot run with a sink, a 24-inch cooktop, and 4 feet of base cabinet is workable; cramming in an island is usually not, unless your cabin is pushing 300 square feet or more.
Corner Cabinets: Skip the Lazy Susan
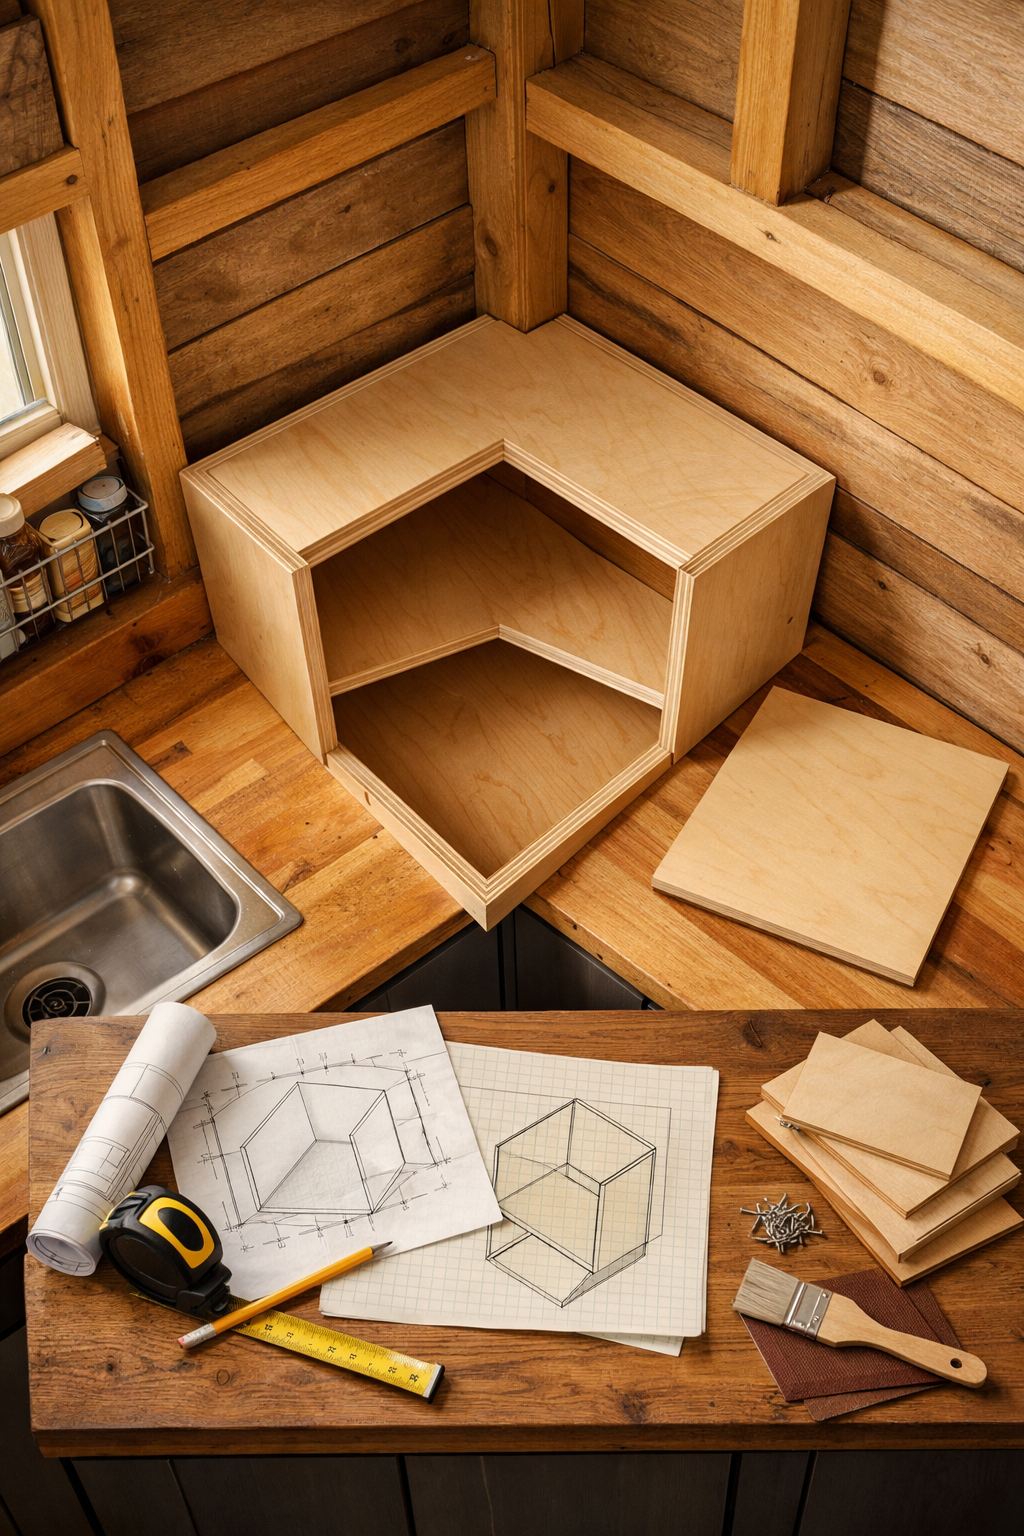
Full lazy Susan corner units need at least 33 inches of clearance to swing open, which most cabin kitchens don’t have. A diagonal corner cabinet with a single door and a fixed shelf, or just leaving the corner open for a pantry rack, solves the same storage problem without eating the swing radius.
Face-Frame vs. Frameless: Which Wins in a Tiny Kitchen
Frameless (or European-style) cabinet construction wins for cabin kitchens because it saves material and interior width. A face-frame box adds 1.5 inches of solid wood around every opening, which sounds small until you’re trying to pull a stack of plates out of a 15-inch-wide cabinet.
Face-frame cabinets are stronger for sagging shelves over time and give you more forgiving tolerances if your cuts aren’t perfectly square, which is a real advantage if you’re building with a circular saw and a track guide instead of a full shop setup. But that extra strength costs you cubic inches you don’t have to spare in a 100-square-foot kitchen.
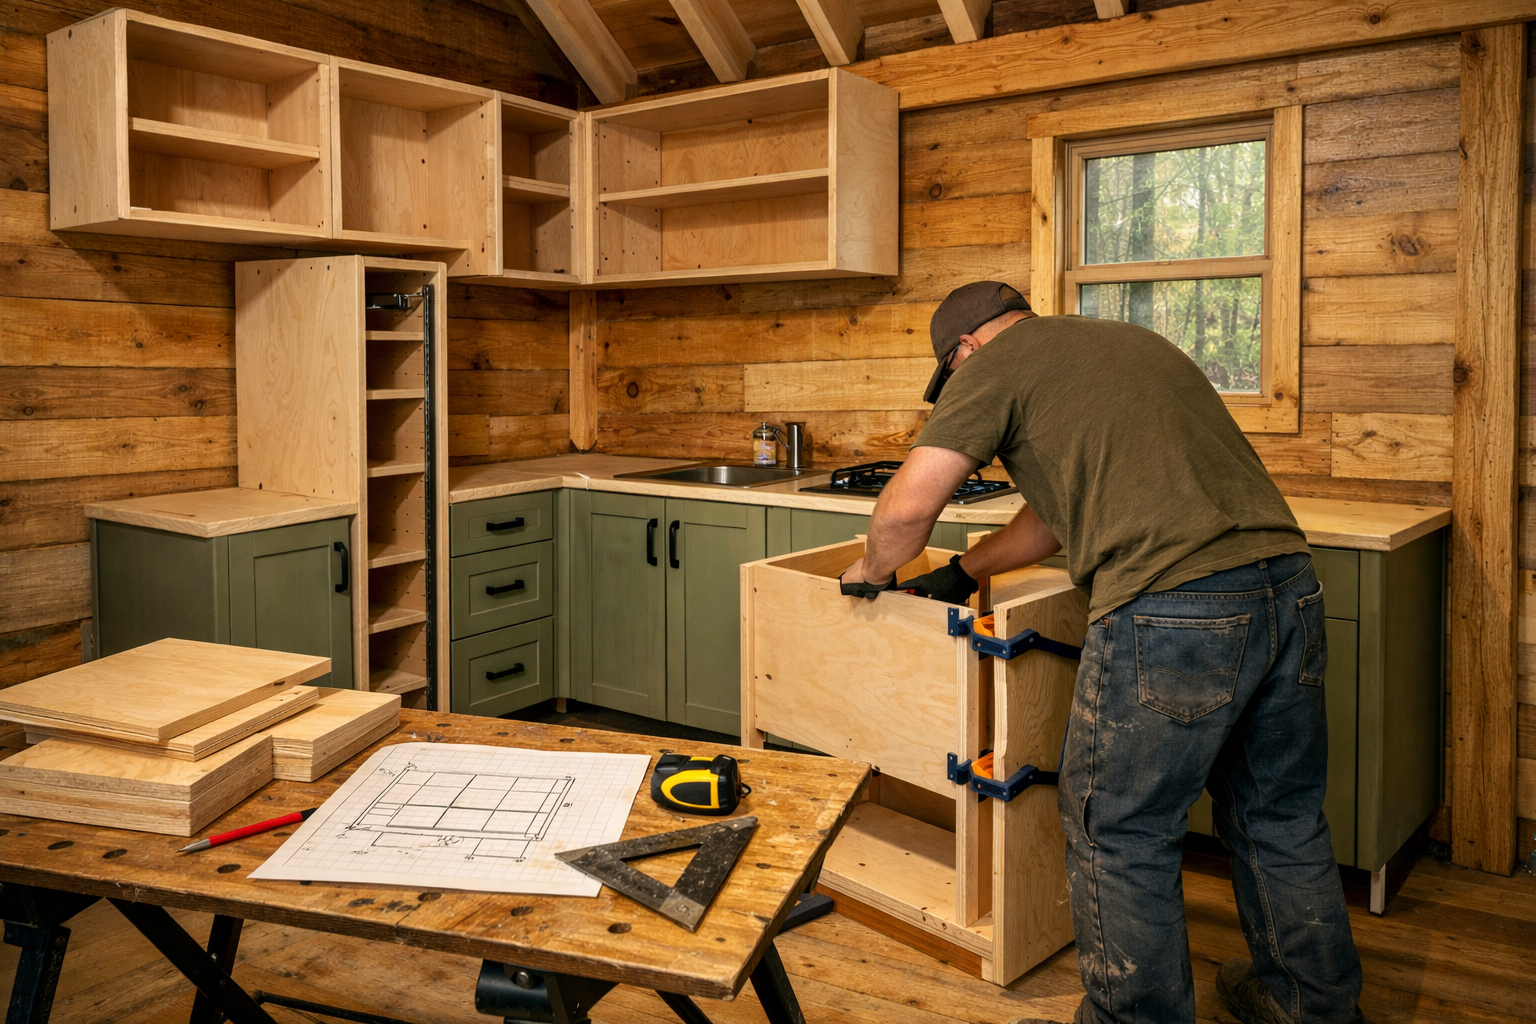
I’d build frameless for a first cabin kitchen. Use 3/4-inch plywood sides with a full overlay door, and you get nearly the full box width usable, plus simpler 32mm-system hardware that’s easy to source at any hardware store.
Plywood Grades, Joinery, and Wood Treatment for Humid Cabins
Cabin humidity swings hard between seasons, and that’s the real fight in kitchen cabinet woodworking out here — not the cutting, the moisture. Standard interior-grade plywood delaminates fast once it’s near a sink with no HVAC keeping things stable.
Picking the Right Plywood
Use marine-grade or exterior-rated plywood for anything within 3 feet of the sink or a water source, even if it costs $15-20 more per sheet than cabinet-grade birch. For the rest of the kitchen, 3/4-inch cabinet-grade plywood (birch or maple-faced) at roughly $55-75 a sheet is plenty, as long as you seal every edge.
Joinery That Holds Without a Full Shop
Pocket screws with a Kreg jig are the fastest reliable joint for cabin conditions, and they hold up fine without climate control. Dado joints are stronger for shelves that’ll carry heavy cast iron cookware, but they need a table saw or router, so weigh that against what tools you’re hauling to the build site.
Sealing Against Moisture Without a Spray Booth
Skip anything that needs a controlled spray environment. A brushed-on polyurethane or a hardwax oil finish, applied in 2-3 thin coats with 24 hours drying time between coats, handles cabin humidity fine and doesn’t need dust-free conditions to cure well. I’ve got a full breakdown of finish options and drying times for off-grid builds over on cabinlodger.com if you want to compare products before you buy.
Hardware, Hinges, and the Tool List You Actually Need
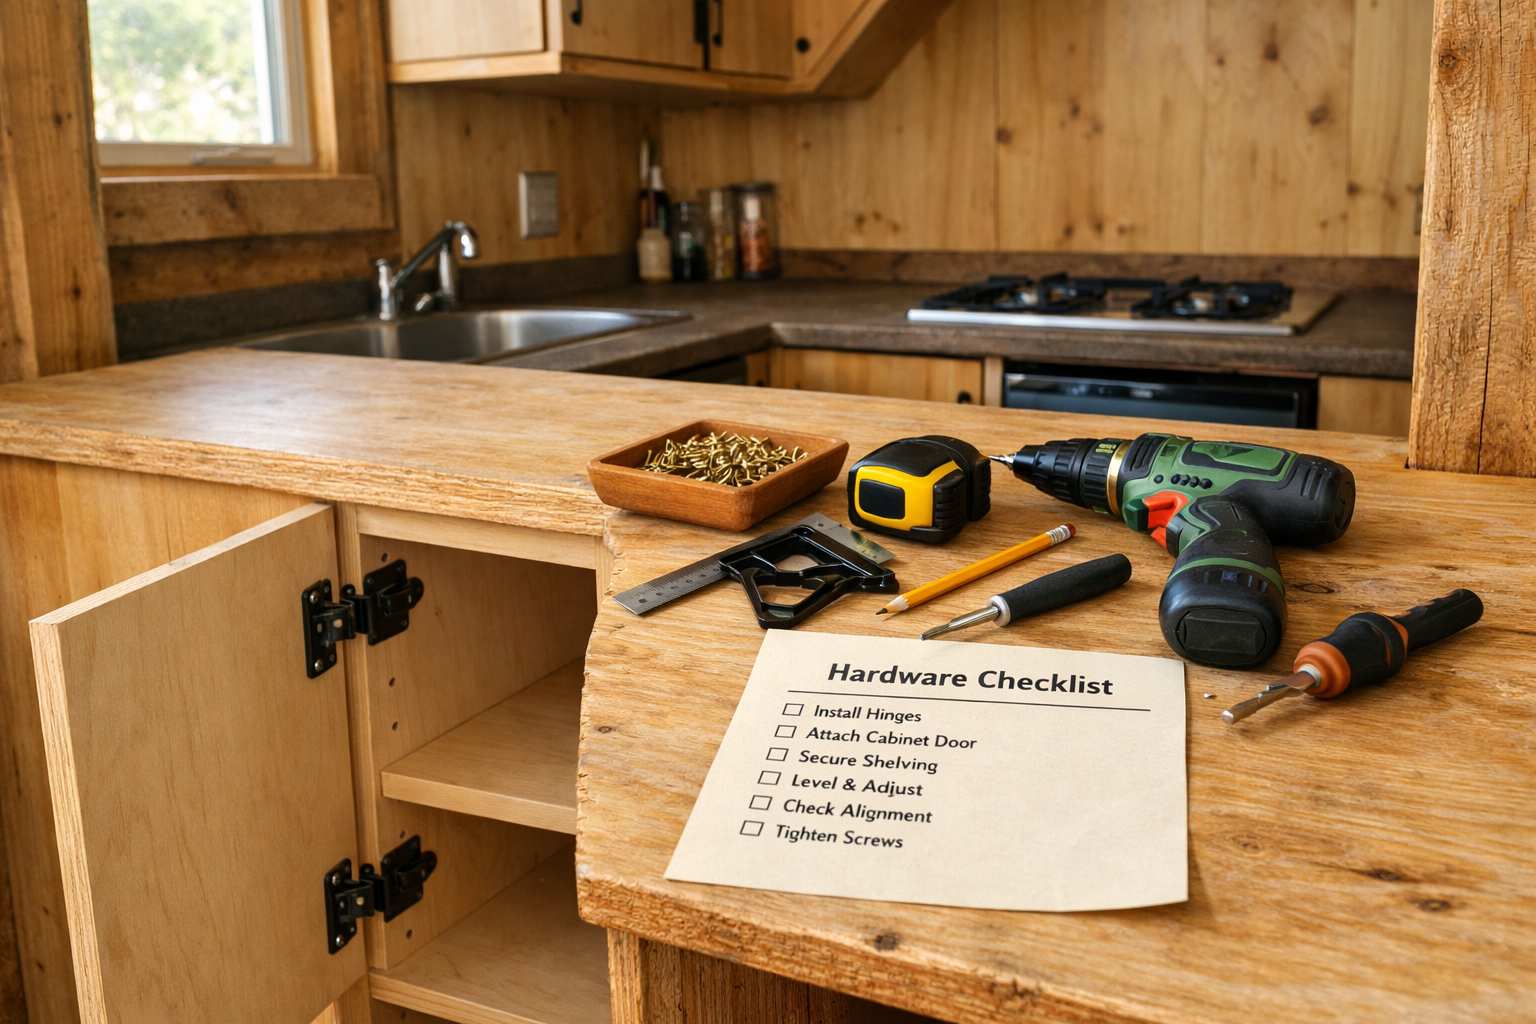
Cheap hinges are the number one hardware failure point in cabin kitchens, mostly from swelling doors catching on undersized clearance gaps. Buy soft-close, adjustable European hinges rated for at least 1/2-inch overlay adjustment, so you can compensate as the wood moves with the seasons.
Corner clearance is the other trap. A door swinging open in a tight galley kitchen needs at least 21 inches of clear floor space in front of the cabinet, and drawer slides need 1/2 inch of side clearance minimum, or they’ll bind the first time humidity swells the wood even slightly.
Here’s a realistic tool list for building cabin kitchen cabinets without a full home shop:
Circular saw with a straightedge guide, for breaking down plywood sheets on-site
Kreg pocket-hole jig, for fast, strong box joinery without a table saw
Cordless drill/driver with a full bit set, for hardware and assembly
Random orbital sander (5-inch pad), for finish prep between coats
Combination square and a 4-foot level, for keeping everything true
Clamps (at least six 24-inch bar clamps), for glue-ups and door alignment
Brad nailer or finish nailer, for face frames and trim if you go that route
For open shelving, which a lot of cabin builders use instead of upper cabinets entirely, the tool list shrinks even further: saw, drill, sander, and clamps cover it. Open shelving also sidesteps the door-swing clearance problem completely, though you lose the closed storage that keeps dust and mice out of your dishes.
Cabinet Style
Depth Needed
Best For
Approx. Material Cost (per linear foot)
Frameless base
18-20 in
Tight galley kitchens
$70-95
Face-frame base
20-22 in
Heavier daily use, uneven cuts
$85-110
Open shelving
10-12 in
Minimal tools, max airflow
$30-45
Corner (diagonal)
24 in at the point
Wasted corners, no lazy Susan
$90-120
Frequently Asked Questions
What’s the minimum kitchen width for a workable cabin layout?
You need at least 5 feet of clear floor width for a single-run galley kitchen, or 7 feet if you’re putting cabinets on both walls. Below that, doors and drawers start colliding with each other when open.
Can I build cabin cabinets with just hand tools?
Yes, but budget more time. A hand saw, chisels, and a brace-and-bit drill can build a full frameless cabinet set; expect a weekend project to stretch to 2-3 weekends without power tools.
Do I need to seal the inside of the cabinets too?
Yes, especially in humid cabins. Unsealed interior plywood absorbs moisture from stored food and dish residue just as fast as the exterior does, so give interiors at least one coat of the same finish.