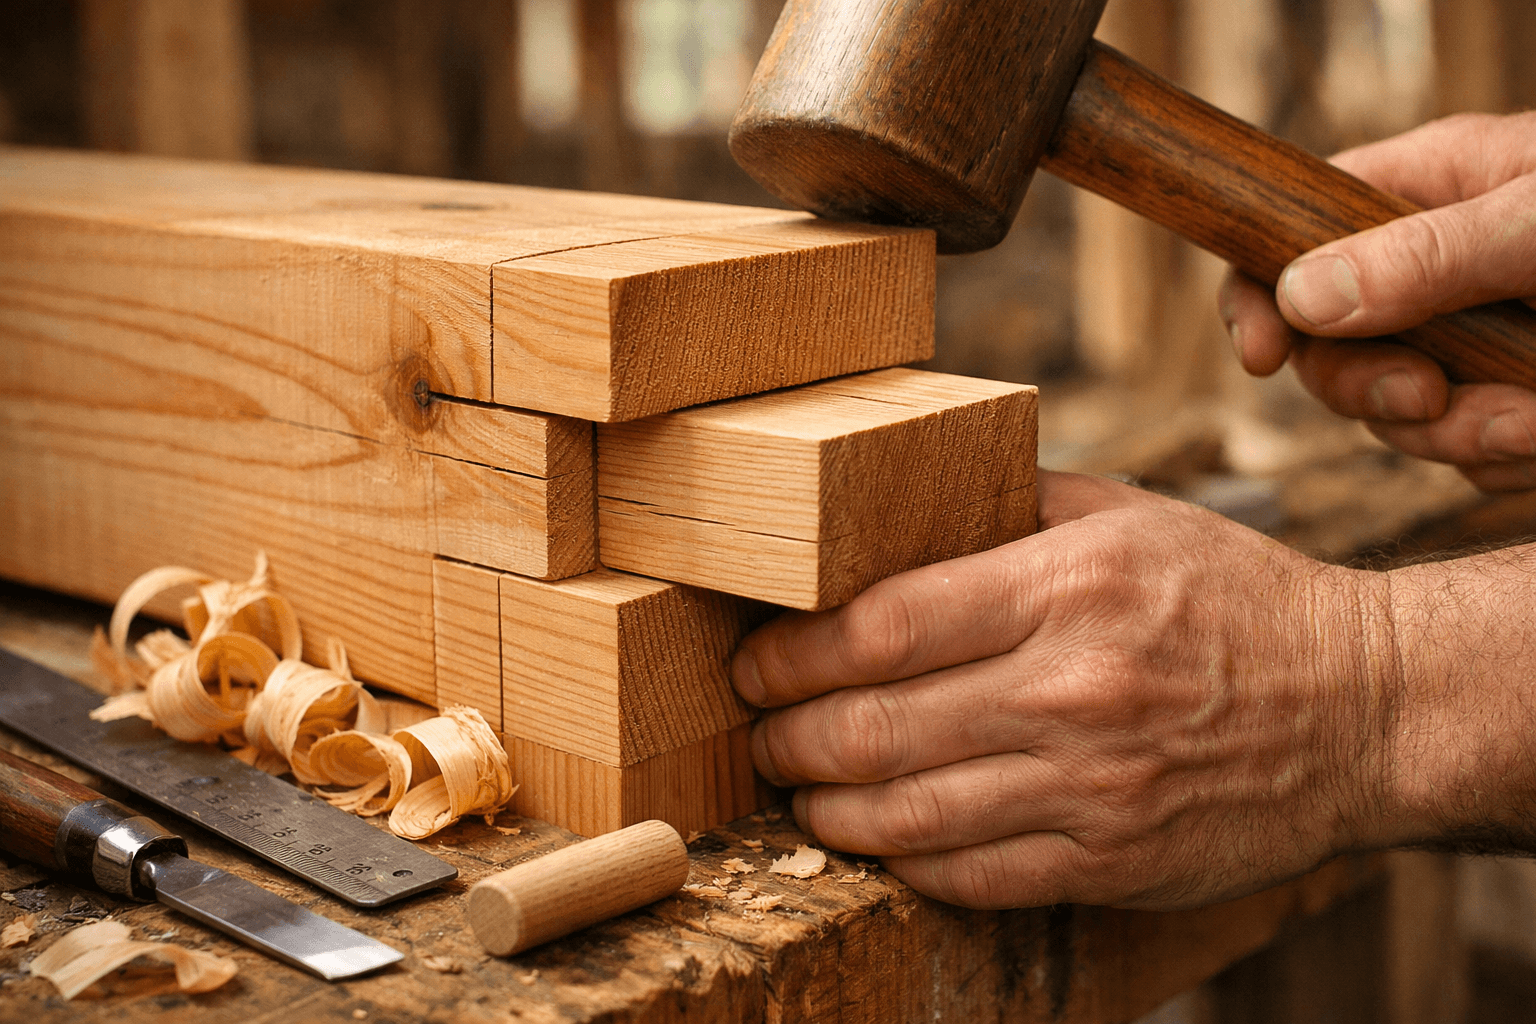
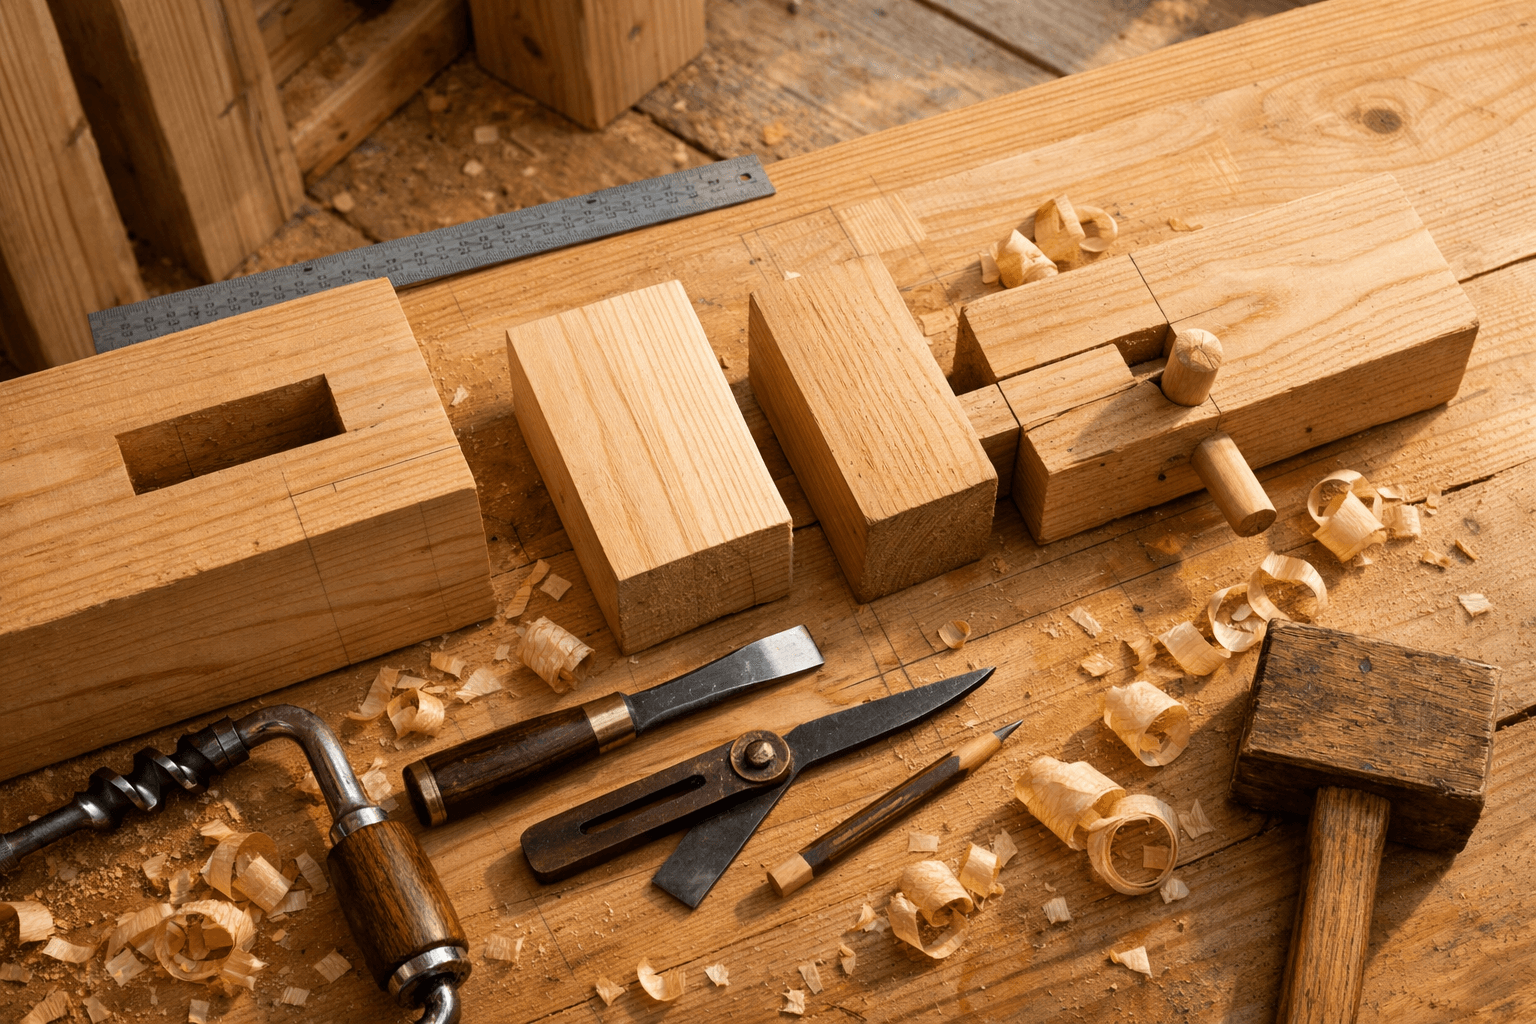
A mortise and tenon joint is two pieces of wood becoming one, no metal required. Cut a rectangular hole (the mortise) in one timber, shape a matching tongue (the tenon) on the other, and drive it home. That’s the whole idea behind cabin framing that’s outlasted plenty of nail-and-bracket builds by a century or more. If you’re weighing whether to hand-cut every joint in your cabin frame or just use a few where it counts, that’s the real question worth answering before you buy a single chisel.
What Actually Happens Inside a Mortise and Tenon Joint
The joint works because wood grabs wood, not because of glue or steel. The tenon’s cheeks (the flat faces) and shoulders (the perpendicular stops) transfer load directly into the mortise walls, and a well-fit joint resists racking, twisting, and pull-apart forces all at once.
Why Pegs, Not Glue
Traditional timber framers use a technique called drawboring: you bore the mortise hole slightly offset from the tenon hole, then drive a wooden peg (usually 3/4-inch or 1-inch oak dowel) through both. Pulling the offset closed pulls the joint tight, mechanically, for good. Glue doesn’t belong here — wood moves seasonally, and rigid glue joints crack under that movement. A drawbored peg lets the frame breathe while still holding thousands of pounds in shear.
Tolerances That Actually Matter
Cut it too tight and you’ll split the timber driving it home, especially in dense species. Cut it too loose and you get a wobble that never tightens back up once the wood dries further. Aim for a tenon that fits with hand pressure plus a mallet tap, roughly a 1/16-inch tolerance on a standard 1.5-inch-thick tenon. That’s tighter than most first-timers expect.
Picking Wood: Oak, Fir, or Pine for Structural Joints
Fir wins for most DIY cabin frames because it’s strong, straight-grained, widely available as Douglas fir, and far easier to cut by hand than oak. Oak is stronger and more traditional but brutal on tool edges and prone to checking if not dried properly. Pine works for secondary framing but isn’t dense enough for main post-and-beam load points.
Moisture content is where most first-time builders lose the joint before it’s even assembled. Green lumber (anything above 19% moisture content) will shrink and twist after you’ve already cut and pegged it, opening gaps that no amount of pegging fixes. Kiln-dried or air-dried timber sitting at 12-15% moisture is what you want going into the mortiser, and if you can’t get that locally, stack and sticker your own lumber for at least 6-12 months before cutting.
Species
Strength for Framing
Ease of Hand-Cutting
Typical Cost per Board Foot
Douglas Fir
High
Moderate
$3-$5
White Oak
Very High
Difficult
$7-$10
Eastern White Pine
Moderate
Easy
$2-$4
Time Per Joint: The Number Most Guides Skip
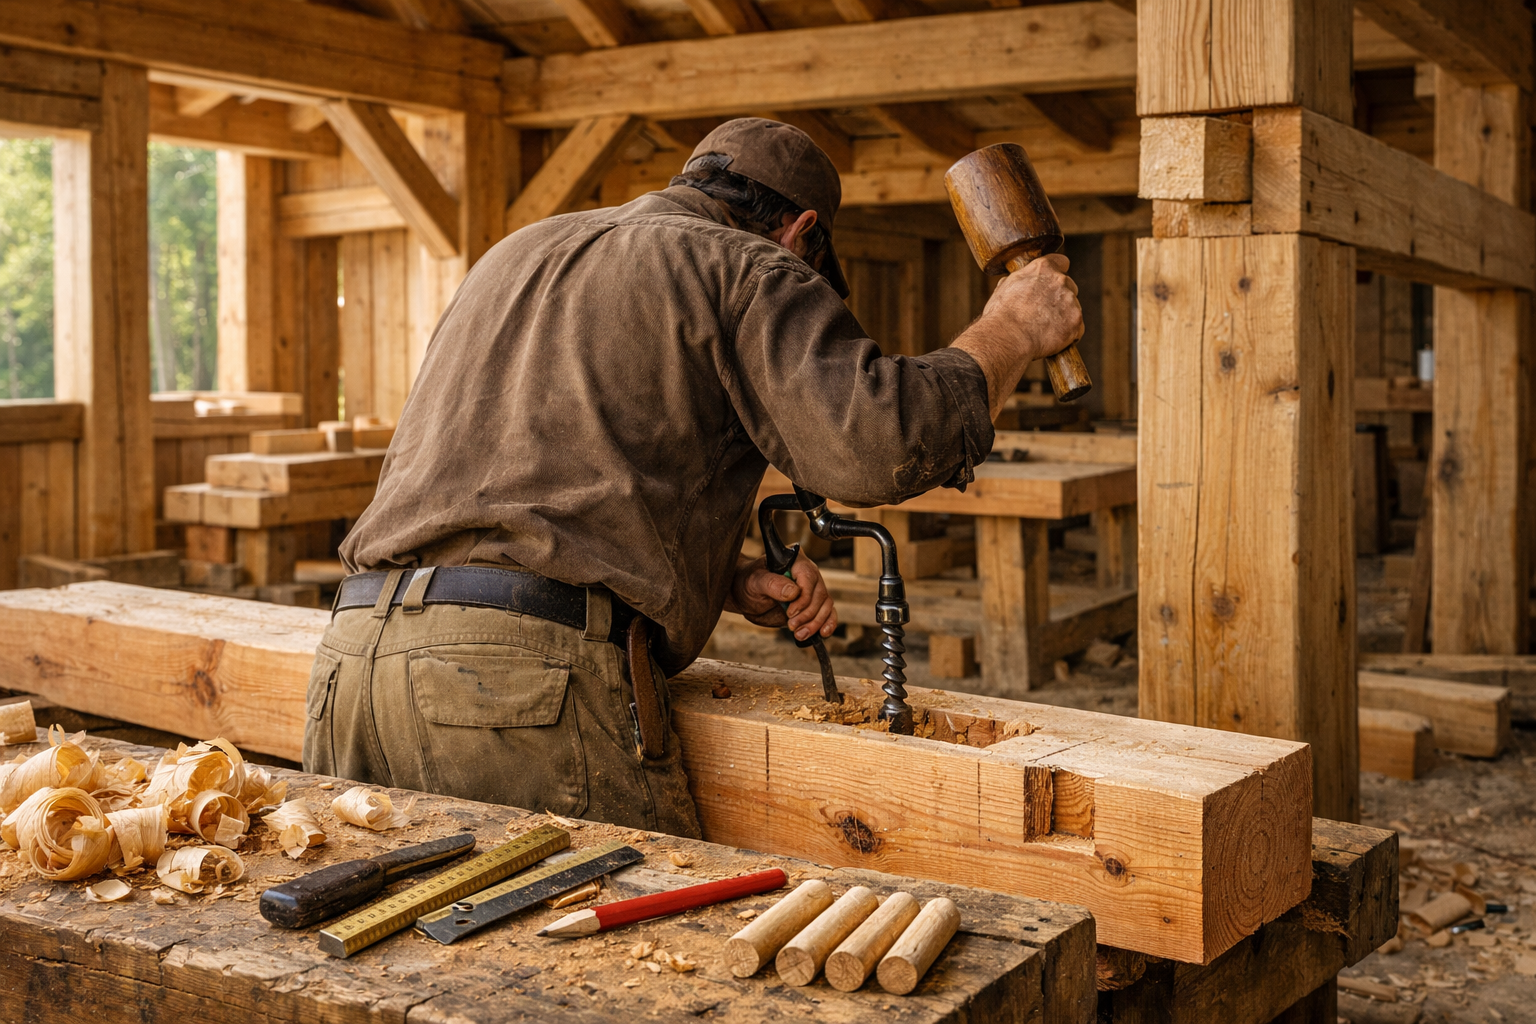
Here’s the part that decides whether full timber framing makes sense for your build: a hand-cut mortise and tenon joint takes roughly 1.5 to 3 hours per joint once you’ve got your layout marked, including chopping the mortise with a chisel and mallet and cutting the tenon cheeks with a handsaw. A jig-assisted setup, using a router-based mortising jig, cuts that to 30-45 minutes per joint. A dedicated hollow-chisel mortiser plus a tenoning jig on a table saw can get you under 20 minutes per joint if you’re running several identical ones back to back.
A small cabin frame (roughly 16×20 feet, single story, post-and-beam) typically needs somewhere between 24 and 40 structural joints once you count posts, plates, beams, and rafter connections. Do the math on that: at 2 hours per joint by hand, you’re looking at 48-80 hours of joinery alone, before you’ve raised a single wall. That’s realistically two to three full weekends of nothing but chisel work.
The Hybrid Approach
Most DIY builders don’t need every joint cut by hand. A practical middle ground: hand-cut or jig-cut true mortise and tenon joints at the four to eight highest-stress points — main posts to sill, posts to top plate, ridge beam connections — and use through-bolts, timber screws, or steel brackets everywhere else. This can cut total joinery time by more than half while keeping the structural integrity where it actually matters.
Mark and cut mortises at main corner posts first — these carry the most compound load.
Fit tenons on connecting beams with a dry-fit test before final pegging.
Drawbore and peg the four corner joints for permanent structural strength.
Use timber screws or heavy lag bolts at secondary rafter-to-plate connections.
Reserve hand tools for visible, structural joints; let a circular saw and drill handle the rest.
Recheck all dry-fits after the frame sits under its own weight for a week before final pegging.
Tools You Actually Need (and What to Skip)
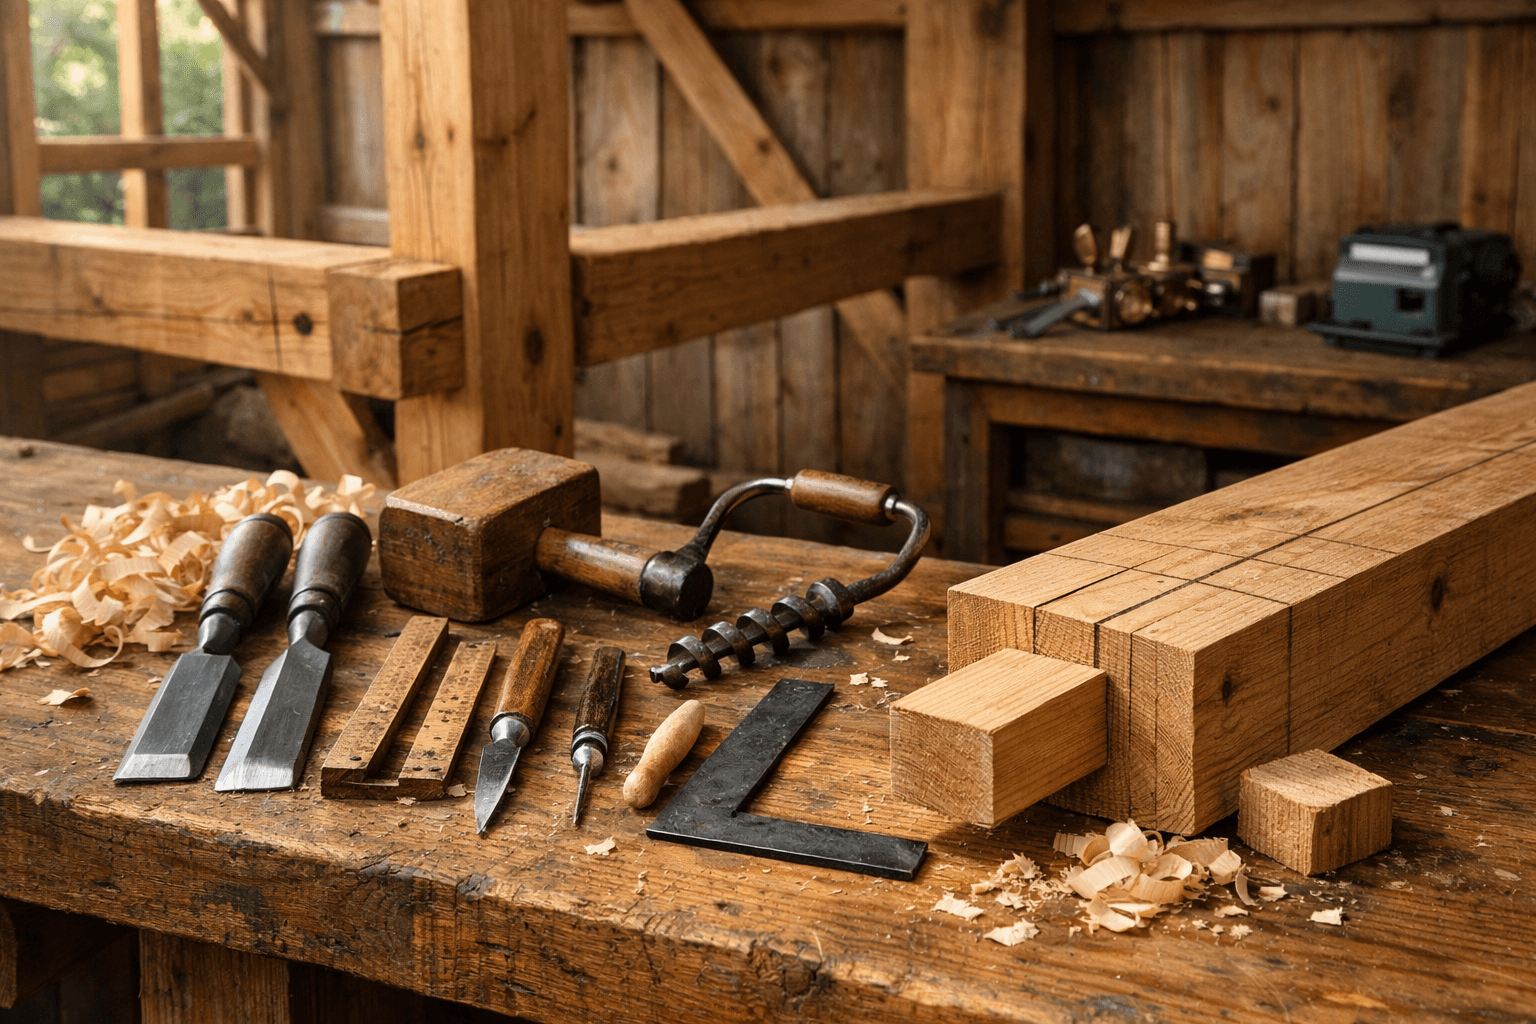
You don’t need a full blacksmith-shop setup to cut good joints. A 1-inch and 1.5-inch framing chisel, a wooden mallet, a sharp handsaw or circular saw for shoulder cuts, and a combination square for layout will get you through most of a small frame. A corded drill with a Forstner bit speeds up mortise waste removal dramatically compared to chopping the whole cavity by hand.
Skip the specialty slick and the boring machine unless you’re doing a full timber frame house — for a cabin-scale project, they’re overkill. If you want a full rundown of what’s actually worth buying versus what sits in the toolbox unused, Cabin Lodger has a timber framing tool checklist that breaks down exactly what earns its spot on a real build site.
One more practical note: buy your chisels sharp and keep them that way. A dull chisel doesn’t just slow you down, it tears grain instead of slicing it, which weakens the exact surfaces your joint depends on for a tight fit.
Frequently Asked Questions
Does a mortise and tenon joint need glue to hold?
No. Traditional joints rely on a drawbored wooden peg, not glue, because wood needs to move seasonally and rigid glue joints crack under that movement over years.
Is hand-cutting a whole cabin frame realistic for a DIY builder?
It’s possible but slow — expect 48-80 hours of joinery on a small frame. Most builders get better results hand-cutting the 4-8 highest-stress joints and using bolts or brackets elsewhere.
What moisture content should framing lumber be before cutting joints?
Aim for 12-15% moisture content. Green lumber above 19% will shrink and twist after assembly, opening gaps at the mortise shoulders that no pegging can fix later.