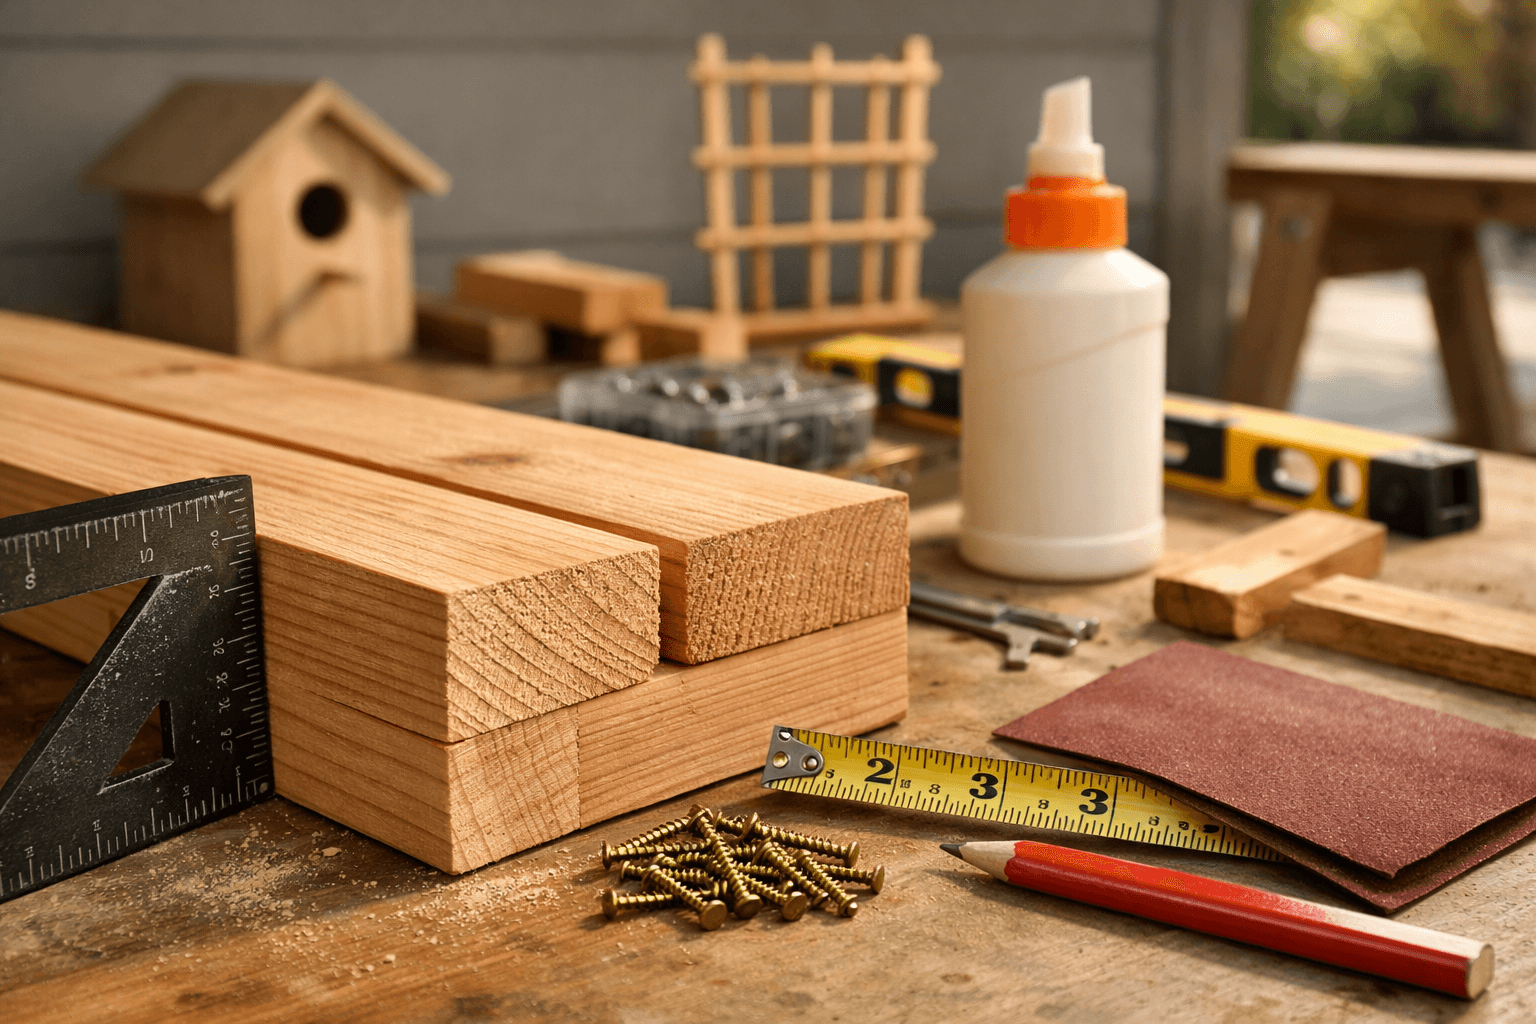
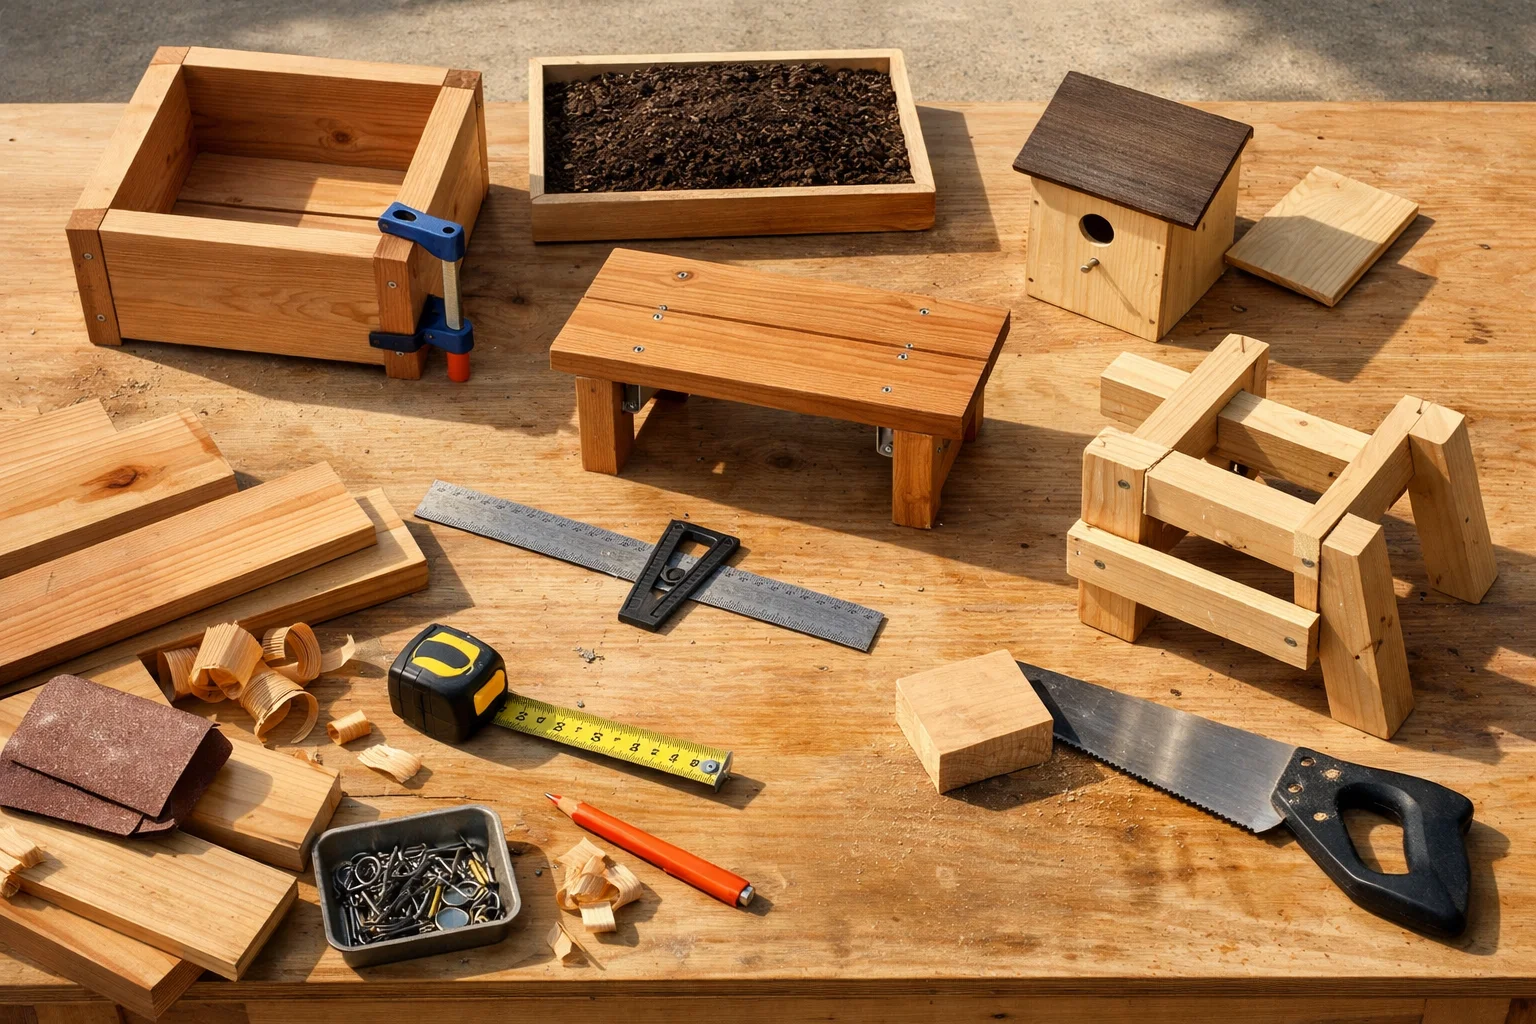
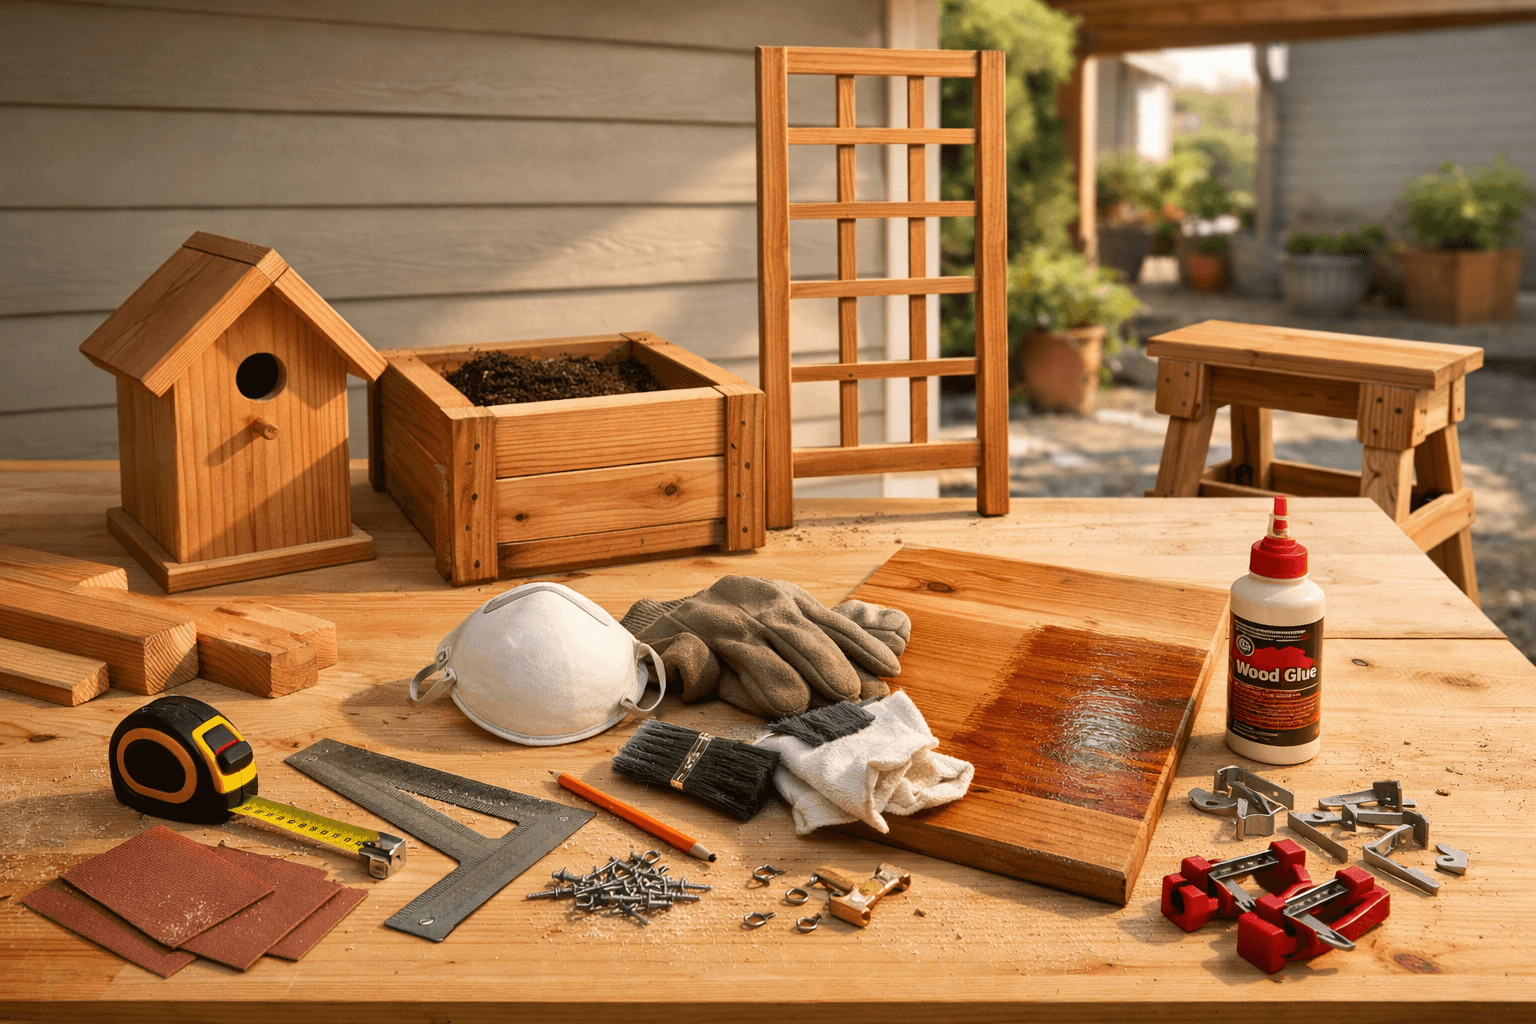
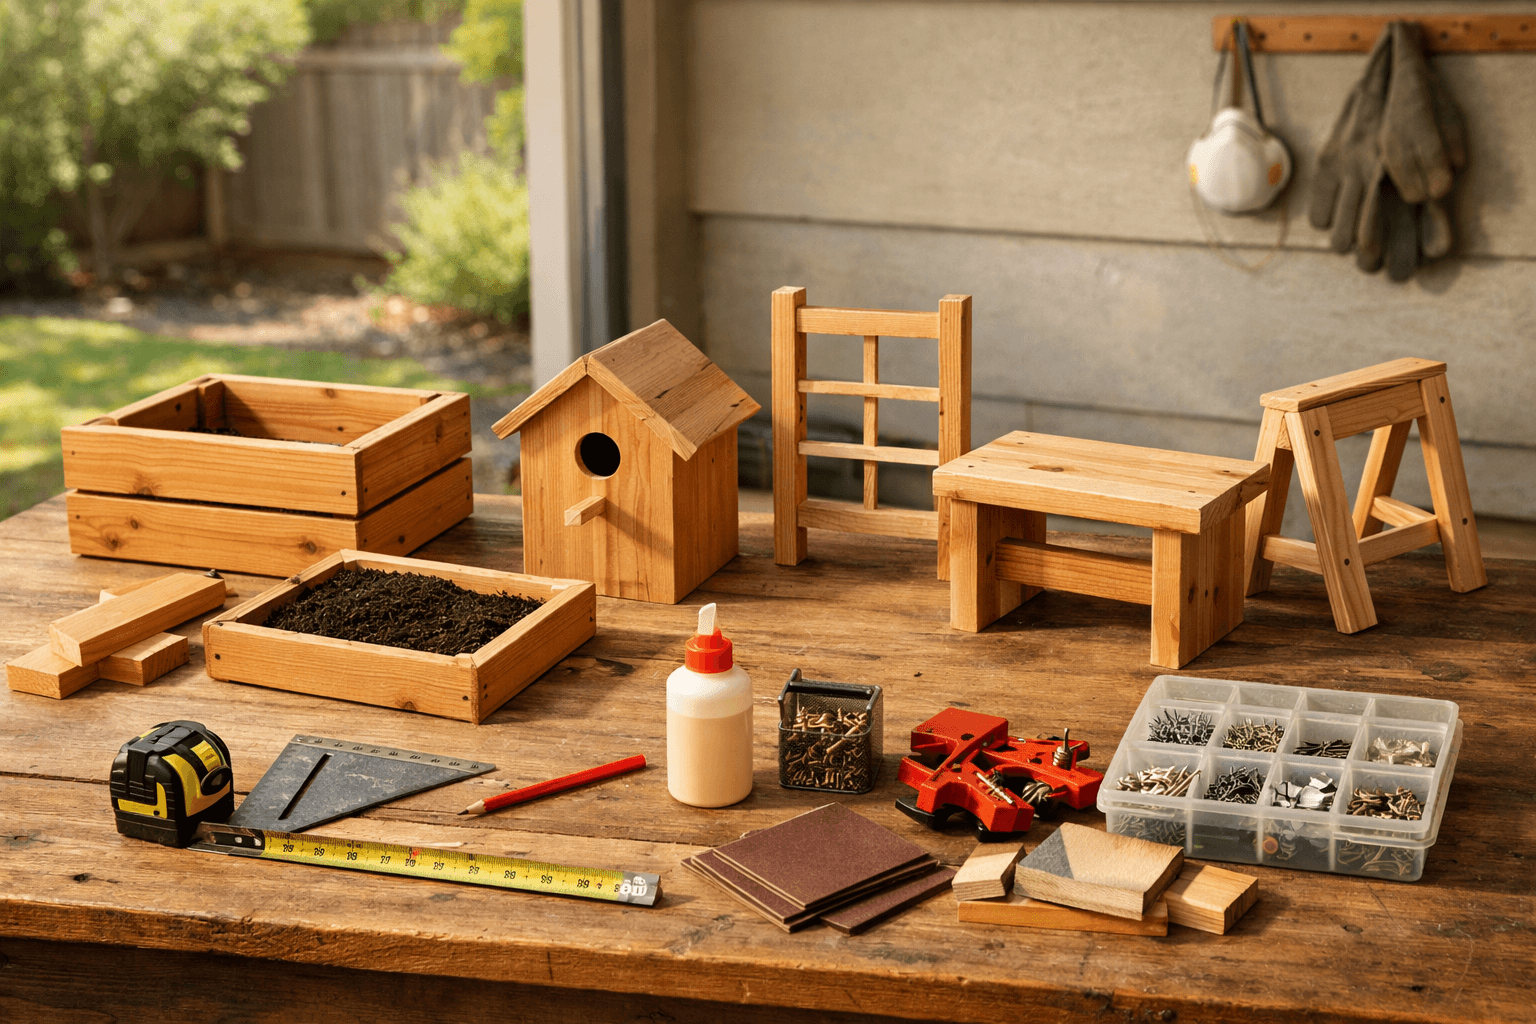
Where do you actually start if you’ve never built anything but want to end up building a cabin someday? Start small, with easy to build wood projects that teach real skills instead of just filling a weekend. A planter box or a birdhouse might look like a beginner distraction, but it’s actually where you learn to measure straight, cut square, and join two boards so they don’t wobble.
That’s the secret nobody tells you when you’re staring at cabin blueprints feeling overwhelmed. Every skill a cabin needs shows up first in a small project, at a scale where mistakes cost you a $12 board instead of a $200 sheet of plywood.
Why Small Projects Actually Prepare You for Cabin Building
Small wood projects work as a training ground because they isolate one skill at a time instead of throwing five at you simultaneously like a cabin build does. A birdhouse teaches angled cuts. A planter teaches square corners and rot-resistant wood choice. A bench teaches load-bearing joinery. Stack enough of these up and you’ve quietly built the whole skill set a cabin demands.
I’ve watched plenty of first-time builders jump straight into framing a wall and get stuck on something as basic as keeping two studs plumb. That’s not a framing problem — it’s a measuring and leveling problem, and it’s the exact thing a simple garden trellis or a sawhorse teaches you for free.
The Direct Skill Transfer
Think about what a cabin actually requires: accurate measuring, square cuts, solid joinery, and weatherproofing that holds up through actual seasons, not just a photo op. Every one of those shows up in a project you can finish in a weekend.
A raised garden bed, for instance, forces you to think about rot-resistant lumber the same way you will when picking floor joists or sill plates for a cabin sitting on damp ground. Get that wrong on a planter and you lose $20 of cedar. Get it wrong on a cabin sill and you’re replacing structural lumber two years in.
Why Skipping Ahead Backfires
Jumping straight to cabin-scale work without this groundwork usually means relearning basics at the worst possible time — mid-build, with lumber already cut and money already spent. I’ve seen people order a full cabin kit and then discover they don’t actually know how to read a tape measure past the quarter-inch marks.
Small projects let you fail cheap. That’s the whole point, and it’s worth repeating: fail on a $15 birdhouse, not a $3,000 wall system.
Picking the Right Wood: Indoor Furniture vs. Outdoor Structures
The single biggest beginner mistake is treating all lumber the same, when indoor and outdoor wood need completely different properties. Outdoor projects need rot and moisture resistance; indoor pieces prioritize looks and workability. Mixing these up is how a nice-looking bench turns gray and soft after one winter.
Pine is cheap, easy to cut, and forgiving for indoor practice pieces, shelves, or anything that won’t see rain. It dents easily and isn’t great outside untreated, but for learning joinery on a budget, it’s hard to beat. A standard 2x4x8 stud runs somewhere around $4 to $6 depending on your region and the lumber market that month.
Cedar and pressure-treated pine are the two realistic choices for anything living outside — planters, benches, birdhouses. Cedar costs more, often close to double the price of pressure-treated lumber, but it doesn’t need chemical treatment and smells better in your shop. Pressure-treated lumber is cheaper and rot-resistant by design, but you shouldn’t burn the scraps and you need to let it dry before painting or staining.
Matching Wood to Project Type
For a raised garden planter, go cedar or pressure-treated — it’s in constant contact with wet soil, which is the worst-case scenario for rot. For a birdhouse, cedar again, since it holds up outside without needing a finish that might off-gas near nesting birds. For an indoor stool or shelf, pine or even a mid-grade poplar works fine and keeps costs down while you’re still learning.
The Mistake That Ruins Good Work Fast
Building an outdoor bench out of construction-grade pine without any treatment is a classic beginner move, and it looks fine for about one season. By the second summer, you’re looking at cupping, splitting, and soft spots where water pooled in the joints. This is the exact lesson that maps onto cabin decking and exterior trim: the wood choice matters as much as the joinery.
Five Beginner Projects That Build Real Cabin Skills
These five projects aren’t random beginner suggestions pulled from a general list — each one is chosen because it drills a skill you’ll lean on heavily once you’re framing walls or setting a foundation. Do them in order if you can; the skills stack.
Sawhorses — teaches angled leg cuts and stable four-point weight distribution, the same math behind porch posts and deck supports.
Birdhouse — teaches precise small-scale cutting, angled roof joints, and weatherproofing on a tiny structure.
Outdoor bench or stool — teaches load-bearing joinery and how leg angle affects stability under real weight.
Simple garden trellis or lattice screen — teaches leveling, plumb lines, and repetitive spacing accuracy, which is basically a preview of studding a wall.
Each of these costs under $40 in materials if you’re buying dimensional lumber at a big-box store, and most take a single weekend from cut list to finished piece. That’s a low enough bar that there’s no excuse to skip straight to bigger builds without at least trying two or three of them first.
Tools You Actually Need (And the Ones You Don’t Yet)
You need a tape measure, a speed square, a hand saw or circular saw, a drill/driver combo, clamps, and sandpaper. That’s it for the first several projects. Skip the table saw, the planer, and the $600 miter saw until you know what you’re actually going to build.
I get why beginners want to buy the full shop setup on day one. It feels like progress. But a $150 circular saw and a $20 speed square will get you through sawhorses, a planter, a birdhouse, and a bench without any gaps in capability.
The Core Kit and What It Costs
Tool
Approximate Price
Used For
Tape measure (25 ft)
$10-$15
Measuring cuts, layout
Speed square
$10-$20
Marking square and angled cuts
Circular saw
$60-$150
Straight cuts in dimensional lumber
Drill/driver combo kit
$80-$150
Pilot holes, driving screws
Bar clamps (set of 4)
$30-$50
Holding joints during glue-up
Sandpaper (80-220 grit variety)
$10-$15
Smoothing edges, prepping for finish
That’s a full starter kit for roughly $200 to $400, and every tool on that list works just as hard on cabin framing as it does on a birdhouse. Don’t buy a table saw until you’ve hit a project that genuinely needs long, repeated rip cuts — for most beginner projects, a circular saw with a guide rail handles it fine.
Tools Worth Waiting On
A miter saw is genuinely useful once you’re cutting a lot of angled trim, but it’s overkill for five starter projects. A router is the same story — great for edge details, useless if you haven’t built the base project yet. Buy tools when a specific project demands them, not because a tool list online says you should own them.
One Habit That Matters More Than Any Tool
Safety glasses and hearing protection cost less than $15 combined and should go on before the saw goes on. Sawdust in your eye or a ringing ear from an unmuffled circular saw isn’t a “someday” problem — it happens on project one if you’re careless. Keep your workspace clear of cords and offcuts too; tripping while holding a running drill is a real, avoidable way to get hurt.
Joinery Choices That Make or Break Stability
The joint you pick determines whether a project wobbles in six months or holds tight for years, and this is the one area beginners consistently underestimate. A butt joint held with screws is fast and fine for a lot of projects, but it’s the weakest option under lateral stress. A pocket-hole joint, made with a jig like a Kreg pocket-hole system, is stronger and still beginner-friendly.
For anything load-bearing — a bench seat, a stool, shelving that’ll hold real weight — go with pocket-hole joinery or add corner braces to a basic butt joint. For decorative or low-stress builds, like a birdhouse roof or a planter’s side panels, simple screwed butt joints are fine.
Reading Joinery Like a Skill Ladder
Butt joints are step one: fast, forgiving, good enough for low-stress builds. Pocket-hole joints are step two: stronger, still fast, and they’re what most modern framing crews use for face-frame work and trim. Mortise-and-tenon joints are step three, the traditional joint you’ll see in timber-frame cabin construction, slower to cut but far stronger under twisting loads.
You don’t need mortise-and-tenon skills for a planter box. But if your end goal is a cabin, especially anything with exposed timber framing, this is the joint you’ll eventually want in your hands, and a small practice piece (a stool leg, a shelf bracket) is a low-stakes place to try it before you’re forty feet up a ladder on a real structure.
Why This Directly Predicts Cabin Success
A cabin wall that racks side to side, a porch railing that flexes, a deck that bounces when you walk on it — these all trace back to joinery decisions made months earlier. If your beginner bench wobbles because you skipped bracing, that’s the same failure mode, just at a smaller and cheaper scale. Learn to fix it now, on a $30 bench, and you won’t repeat it on a load-bearing wall.
Finishing and Sealing: The Step Beginners Skip
Skipping sanding and sealing is the fastest way to turn a solid project into a short-lived one, and it’s the step beginners cut first when they’re eager to call something “done.” Raw wood left outside without a finish will gray, crack, and soak up water within a single season, especially at joints and end grain.
Sanding isn’t optional cosmetic polish — it opens the wood grain so finish actually penetrates instead of sitting on top and flaking off. Start around 80-grit to knock down rough spots, then move to 120 and finish around 220-grit for anything that’ll get touched a lot, like a bench seat or stool top.
Indoor Finishes vs. Outdoor Sealers
For indoor pieces, a wipe-on polyurethane or Danish oil gives you a durable, low-effort finish that looks good and protects against everyday wear. For outdoor projects, you want a genuine exterior sealer or stain with UV protection, since sunlight breaks down unprotected wood fibers almost as fast as moisture does.
A basic exterior sealer runs about $25 to $35 a can and covers roughly 100 to 150 square feet, which is plenty for a planter, birdhouse, and bench combined. Reapply outdoor sealer roughly once a year in harsher climates, maybe every two years somewhere mild and dry.
The Direct Cabin Connection
Sealing a birdhouse roof teaches you the exact logic behind sealing cabin roof edges and exposed trim: water finds the weakest, least-protected point first. Skip this step on a small project, watch it fail, and you’ll never skip it on the cabin. That’s a cheap lesson worth learning early, and it’s honestly one of the more detailed things covered if you look at wood treatment guides on a site like cabinlodger.com, where sealing and weatherproofing gets treated as its own subject rather than an afterthought.
Budgeting Your First Five Projects
A realistic beginner budget for all five projects mentioned earlier, tools included, lands somewhere between $350 and $550 total. That number assumes you’re buying a starter tool kit once and reusing it across every project, not repurchasing tools each time.
Material costs stay low because these builds use standard dimensional lumber, not specialty stock. A sawhorse pair might run $25 in lumber. A planter, depending on size, lands around $30 to $45 in cedar. A birdhouse is often under $20. A bench runs $50 to $80 depending on size and wood choice. A trellis lands around $30 to $40.
Where the Money Actually Goes
Project
Material Cost
Time (Weekend Hours)
Sawhorses
$20-$30
2-3 hours
Raised garden planter
$30-$45
3-5 hours
Birdhouse
$15-$20
2-4 hours
Outdoor bench or stool
$50-$80
5-8 hours
Garden trellis
$30-$40
3-4 hours
Add those up and materials alone run $145 to $215, plus the $200 to $400 tool kit from earlier, putting your realistic total in that $350 to $550 range depending on wood prices in your area and whether you already own a drill.
Where People Overspend Early
The classic overspend is buying premium hardwood for a first project that doesn’t need it, or grabbing every clamp size Home Depot sells instead of the four you’ll actually use. Save the nicer lumber and specialty tools for after you know your own build style. Budget for mistakes, not perfection — expect to waste one or two boards while you’re learning to cut square, and price that into your material estimate from the start.
Frequently Asked Questions
Do I need woodworking experience before trying these projects?
No. These projects are chosen specifically because they don’t require prior experience, just a tape measure, a square, and patience. Expect your first cuts to be a little off — that’s normal and part of learning to measure twice before cutting.
How long before I could realistically start building a small cabin?
Most beginners who work through five to eight small projects, spread over a few months of weekends, build enough measuring, joinery, and sealing skill to attempt a small structure like a shed or tiny cabin shell. There’s no fixed timeline, but rushing past the practice stage is the more common failure than taking too long.
What’s the biggest reason a beginner wood project fails?
Skipping sanding and sealing, or picking the wrong wood for outdoor exposure, causes most early failures. Both mistakes look fine on day one and only show up as cracking, graying, or rot months later, once it’s harder to fix.
Can I use reclaimed or scrap wood for these projects?
Yes, for low-stress builds like a birdhouse or small planter, but check for rot, old fasteners, and treatment chemicals first. Avoid using reclaimed wood of unknown origin for anything load-bearing like a bench seat until you can confirm it’s structurally sound.