Which wood projects actually add value to a cabin, and which ones just look nice for a season before rot sets in? The honest answer depends less on the project and more on how well it’s built, sealed, and matched to your site. A gorgeous accent wall means nothing if the plywood backing swells in year two.
This matters more for cabins than regular houses because most cabin builders don’t have a hardware store ten minutes away or a truck full of power tools on site. Every project on this list gets weighed by two things: how hard it actually is to build without a full shop, and whether your site can even support the materials and labor it needs. That’s the filter most “cabin upgrade” lists skip.
Exposed Beam Accents: The Highest Payoff for the Lowest Material Cost
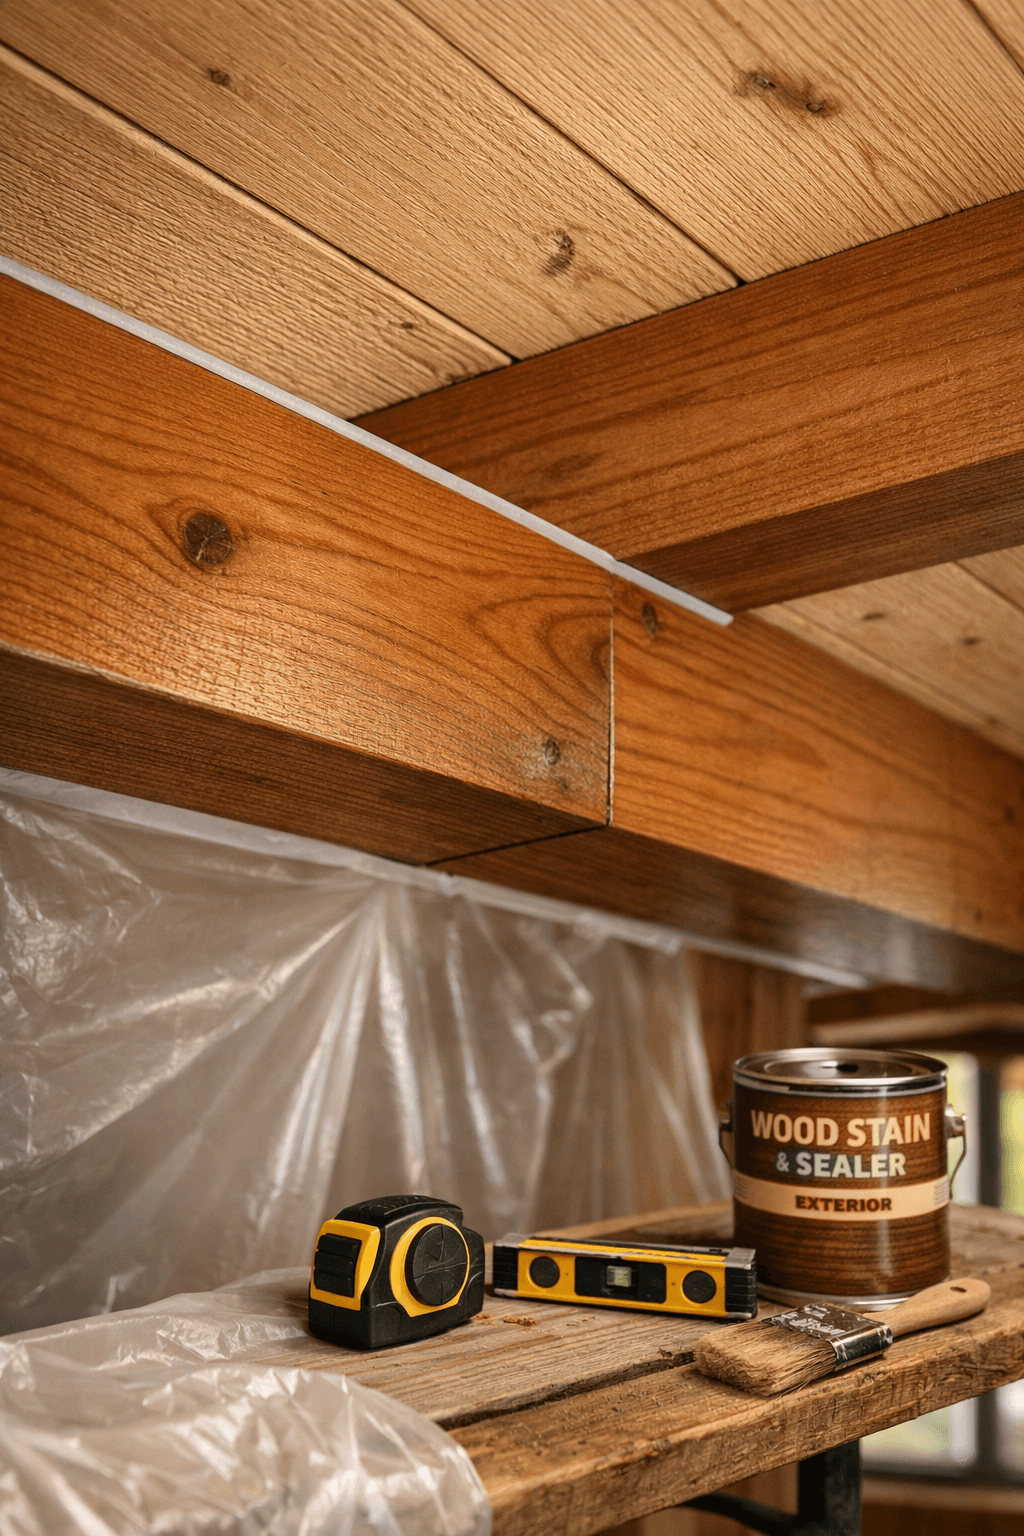
Exposed beams give a cabin that lodge look buyers actually pay for, and they cost far less than people assume because you’re usually working with structural members you’d need anyway. A rough estimate for adding decorative beam wraps to an existing ceiling runs $8 to $15 per linear foot in cedar or pine, depending on how far you have to haul lumber.
The trick is knowing the difference between structural beams and cosmetic wraps. Structural beams are load-bearing and need to be sized by span tables or an engineer’s say-so — don’t wing this part. Cosmetic wraps are hollow boxes built around steel or dimensional lumber, purely for looks, and that’s where most DIY cabin owners should start.
Picking the Right Beam Material for Your Climate
Douglas fir is the standard pick for structural beams because it’s strong relative to its weight and widely available even in rural lumber yards. For cosmetic wraps, rough-sawn cedar boards give you that timber-frame look without the weight or cost of a solid beam.
If you’re off-grid and hauling material in yourself, weight matters more than grain pattern. A solid 6×8 fir beam can run over 100 pounds per 8-foot section — fine if you’ve got a trailer and a couple of extra hands, brutal if you’re carrying it up a trail.
Installation Difficulty: Where Beginners Get Stuck
Cosmetic beam wraps are genuinely a weekend project for someone comfortable with a miter saw and a nail gun. The hard part isn’t the woodworking — it’s getting a heavy wrap up to ceiling height alone. A basic beam lift or even a couple of scaffold planks makes this manageable solo; trying to hold a 12-foot wrap overhead while nailing it is how people get hurt.
Skip this project entirely if your ceiling has any sign of moisture staining or sagging. Beams draw the eye up, and nothing kills a cabin’s value faster than a beautiful beam sitting under a water-stained deck board.
Built-In Shelving and Storage: Space You Can’t Get from Furniture
Built-ins beat freestanding furniture for cabin value because they use dead space efficiently and read as permanent upgrades rather than stuff you’ll haul out when you sell. A simple set of floor-to-ceiling shelves flanking a wood stove, built from poplar or pine, typically runs $150 to $400 in materials for an 8-foot run, depending on whether you’re adding doors.
Cabins have odd angles, low headroom, and weird nooks under stairs or beside chimneys — exactly the spaces built-ins are good at using and furniture is bad at using. That’s the core argument for prioritizing this project over buying a bookshelf from a big-box store.
Storage Projects Ranked by Skill Level
Open shelving with cleats — screw a ledger board to studs, rest shelves on it. No joinery beyond a saw and drill. Doable in an afternoon.
Bench seating with lift-top storage — needs basic box construction and a hinge, but no advanced joints. A solid first “furniture” build.
Built-in bed frame with drawers — requires accurate measuring and some plywood work for drawer boxes. Expect a full weekend.
Full pantry or mudroom cabinetry with face frames — real cabinetmaking: face frames, doors, hardware alignment. Budget several weekends unless you’ve built cabinets before.
Custom staircase storage (drawers under treads) — the hardest on this list, since it touches structural framing and needs precise fitting against an existing stair stringer.
Materials That Hold Up Without a Climate-Controlled Shop
Baltic birch plywood is worth the extra cost over standard construction-grade plywood for shelving, because it doesn’t warp as easily in a cabin that swings between damp and bone-dry depending on the season. If you’re building storage in an uninsulated loft or a mudroom that takes weather straight off the door, treat every cut edge with a sealer before assembly — end grain soaks up moisture fast and that’s where warping starts.
Porch and Deck Upgrades: Where Indoor-Grade Lumber Ruins the Whole Project
A deck or porch is the single most common place cabin owners make a costly mistake: using leftover interior lumber, or even standard pine, on a structure that’s going to sit in rain and snow for years. Any exterior wood project needs pressure-treated lumber for the frame, at minimum, and a rot-resistant species for the decking surface if you want it to last past a few seasons.
Pressure-treated pine is the budget standard for deck framing and runs roughly $2 to $4 per linear foot for standard 2x8s, depending on your region and how far the lumber yard has to deliver. For the visible decking boards, a lot of cabin owners upgrade to cedar or tropical hardwood decking because it resists rot without chemical treatment and looks better bare.
Porch Roof and Railing Details That Signal Quality
A covered porch with a simple gable roof and exposed rafter tails does more for a cabin’s resale appeal than almost any interior project, because it’s the first thing anyone sees pulling up. Rafter tails left exposed and cut at a clean angle — instead of boxed in with soffit — give that timber-frame character buyers associate with well-built cabins.
Railings are where a lot of DIY decks look homemade even when the deck itself is solid. Spacing matters here for a real reason beyond looks: most building codes require balusters spaced so a 4-inch sphere can’t pass through, which keeps small kids and pets safe.
Site Access Changes Everything About This Project
If your cabin site doesn’t have vehicle access to the build area, a full deck becomes a much bigger undertaking than the lumber list suggests. Carrying pressure-treated 2x10s up a hillside by hand is slow, heavy work, and it changes the math on whether a big wraparound porch makes sense versus a smaller, simpler landing and stair.
In practice, I’d scale the porch to match your access before scaling it to match the view. A modest 8×10 covered porch you can actually haul material to and finish in a season beats a half-built wraparound design that stalls out because you can’t get materials up the trail.
Wood Accent Walls: The Project Most Likely to Be Done Wrong
Done right, an accent wall using shiplap, rough-sawn boards, or reclaimed barn wood adds warmth fast and cheap. Done wrong — thin luxury vinyl planks stapled to drywall, or raw lumber with no finish in a humid cabin — it looks like a rental unit and can trap moisture against the wall behind it.
The single biggest mistake on this project is skipping an air gap or moisture barrier behind the boards when the wall backs onto an exterior surface. Wood against a cold exterior wall without any breathing room is a setup for condensation and eventual mold, especially in cabins that aren’t run with heat year-round.
Board Options and What They Actually Cost
Accent Wall Option
Material Cost (per sq ft)
Skill Level
Best Use Case
Pine shiplap (new)
$2.50–$4.00
Beginner
Living room, bedroom feature wall
Reclaimed barn wood
$4.00–$8.00
Beginner–Intermediate
Rustic focal wall, fireplace surround
Cedar tongue-and-groove
$5.00–$9.00
Intermediate
Bathroom, sauna, humid areas
Rough-sawn hemlock boards
$3.00–$5.50
Beginner
Loft walls, cabin exterior soffits
Working with Reclaimed Wood Without Importing Problems
Reclaimed barn wood is genuinely one of the best-value accent materials because it already has the character new wood takes years to develop, and it’s often cheaper than milled cedar. The catch: old barn wood can carry powder-post beetles or old nails buried in the grain, so always inspect boards closely and consider a heat treatment or at least a thorough brushing before bringing it inside.
Don’t install reclaimed wood straight from a barn without checking for structural rot in individual boards. A board that looks weathered and charming on the surface can be soft and crumbling on the back side, and you won’t notice until it’s already screwed to the wall.
Handmade Furniture: The Highest-Skill, Highest-Reward Category
Handmade furniture is the project category with the widest range between “adds real value” and “looks like a first attempt,” which makes skill-matching more important here than anywhere else on this list. A simple farmhouse-style table built from pine 2x6s, glued and screwed with pocket-hole joinery, is realistic for most DIY builders in a weekend or two. A dovetailed dresser is not, unless you’ve already got cabinetmaking experience.
Furniture that stays with the cabin — built-in benches, a live-edge mantel, a bed frame sized to the room — adds more perceived value than furniture that could just as easily be sold separately at a yard sale. Buyers and appraisers both notice when a piece is clearly made for the space versus placed in it.
Species Selection Matters More Than Joinery for Beginners
Pine and poplar forgive mistakes. They’re soft enough to cut and sand by hand, cheap enough that a ruined board isn’t a disaster, and they take stain evenly if you condition them first. Hardwoods like oak or walnut look better long-term but punish measurement errors and dull hand tools fast, which makes them a poor choice for a first furniture project done without power tools.
If your cabin site has no power access, plan furniture builds around hand tools that actually work well without electricity: a good hand plane, a coping saw, and a set of quality chisels get you further than a cheap battery-powered router that dies halfway through a project.
A Live-Edge Mantel Is the Best First “Statement Piece”
A single live-edge slab mantel over a wood stove or fireplace is one of the highest visual-impact, lowest-skill projects on this entire list. It needs flattening (a router sled works, but a hand plane and patience work too), sanding through a few grits, and a food-safe or heat-resistant finish if it’s near a stove. Most cabin owners can complete one in a single weekend once the slab itself is sourced.
Wood Species, Treatment, and Finishing: The Step Most Guides Underweight
This is the section that determines whether every project above lasts five years or twenty, and it’s the one most “cabin project” articles barely mention. Skipping proper sealing is the single most common reason cabin wood projects fail early, especially in humid climates or off-grid cabins that sit closed up for weeks at a time.
Species selection sets your baseline. Cedar and cypress naturally resist rot and insects without heavy chemical treatment, which matters if you want to avoid maintaining a finish every year. Pine and fir are cheaper and easier to find but need real sealing commitment to last outdoors.
Matching Finish to Location
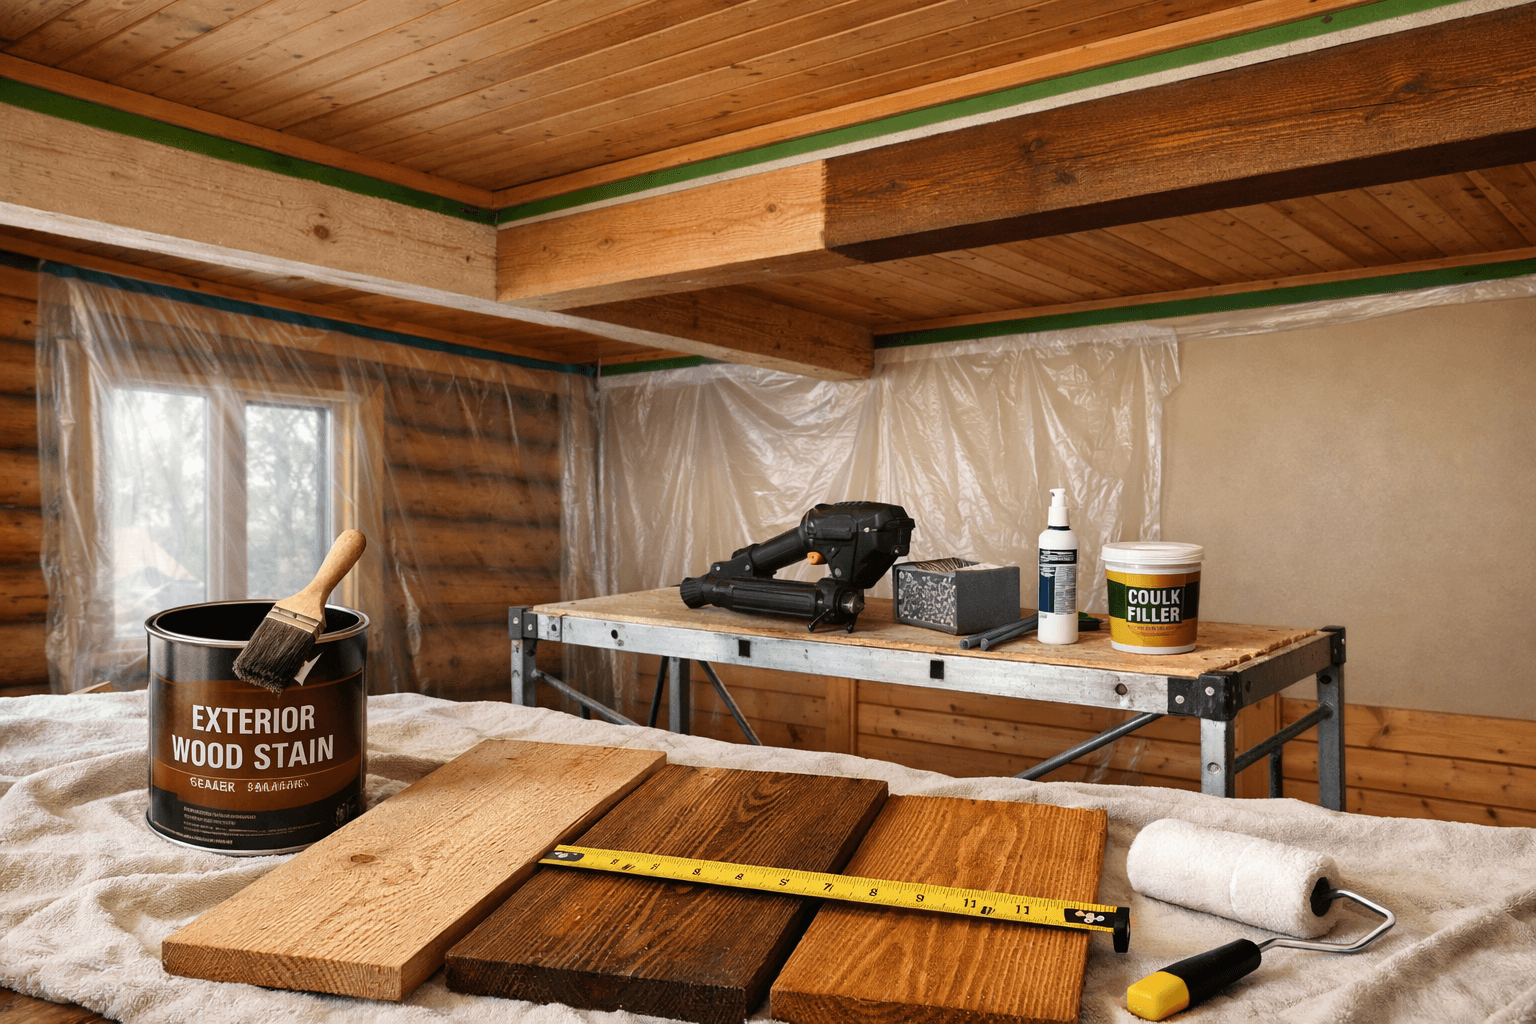
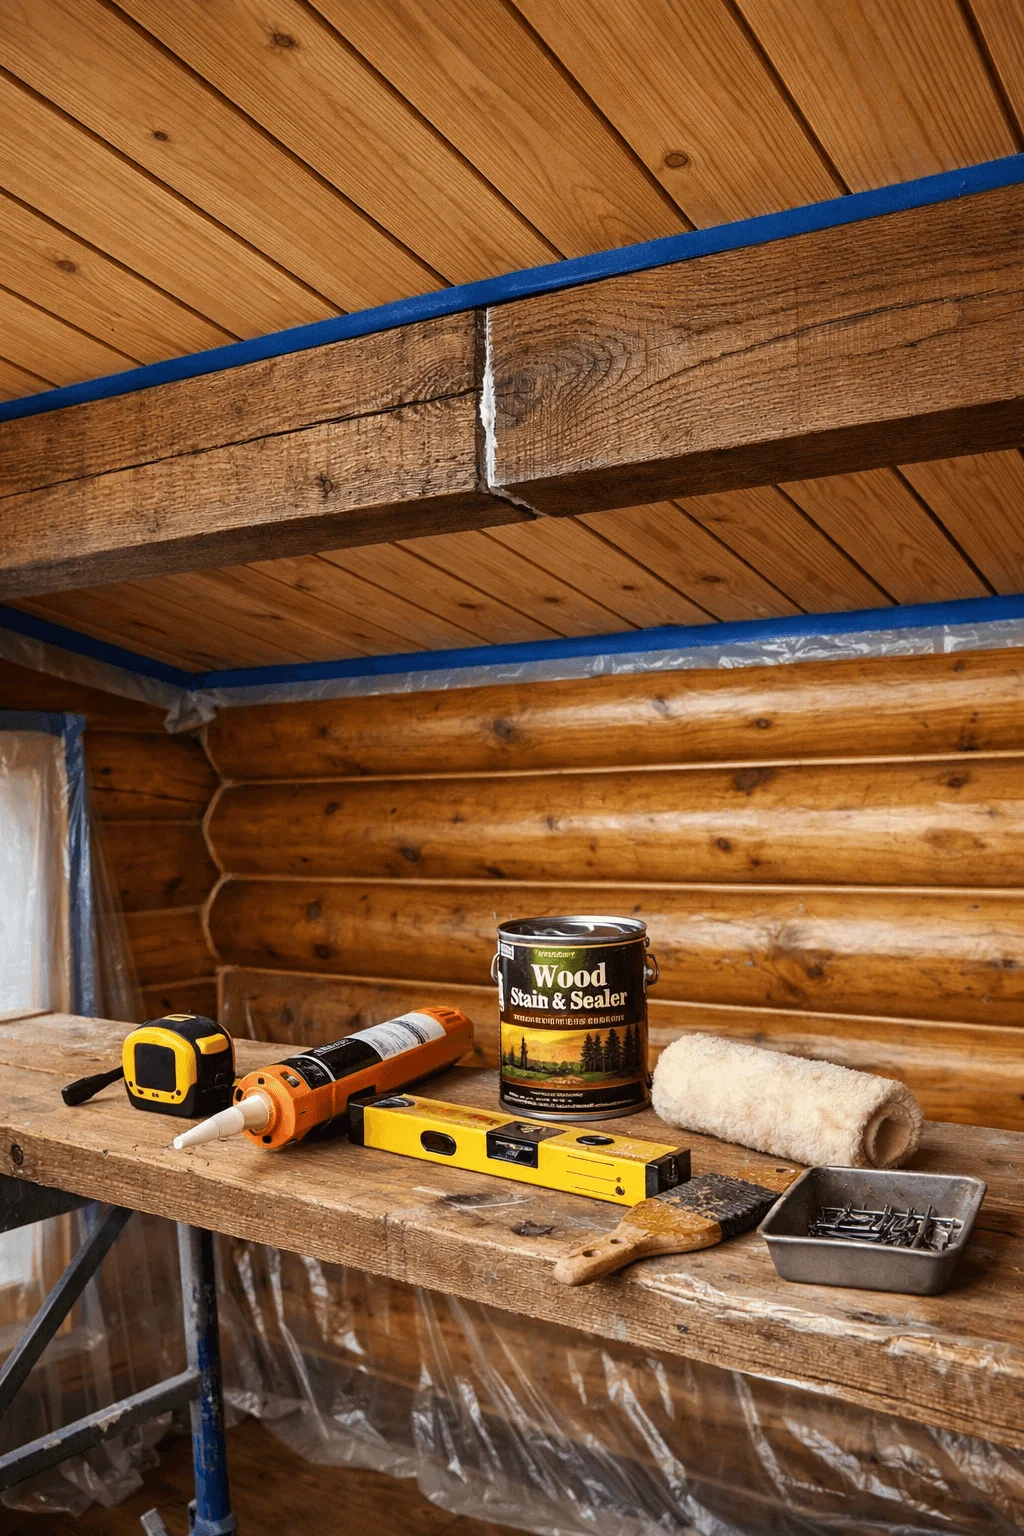
Interior projects like shelving or accent walls can get away with a simple wipe-on polyurethane or a natural oil finish like tung oil, reapplied every couple of years. Exterior projects — decks, porch posts, exposed beam ends — need a proper exterior-grade stain-sealant combo, and they need it reapplied more often than most people expect, often every 1 to 2 years depending on sun exposure.
A cabin that sits empty for stretches at a time, which describes most off-grid setups, is more vulnerable to finish failure because nobody’s around to catch the first signs of peeling or checking. Building a seasonal check into your routine, even just a walk-around every time you visit, catches problems while they’re a $20 touch-up instead of a $400 board replacement.
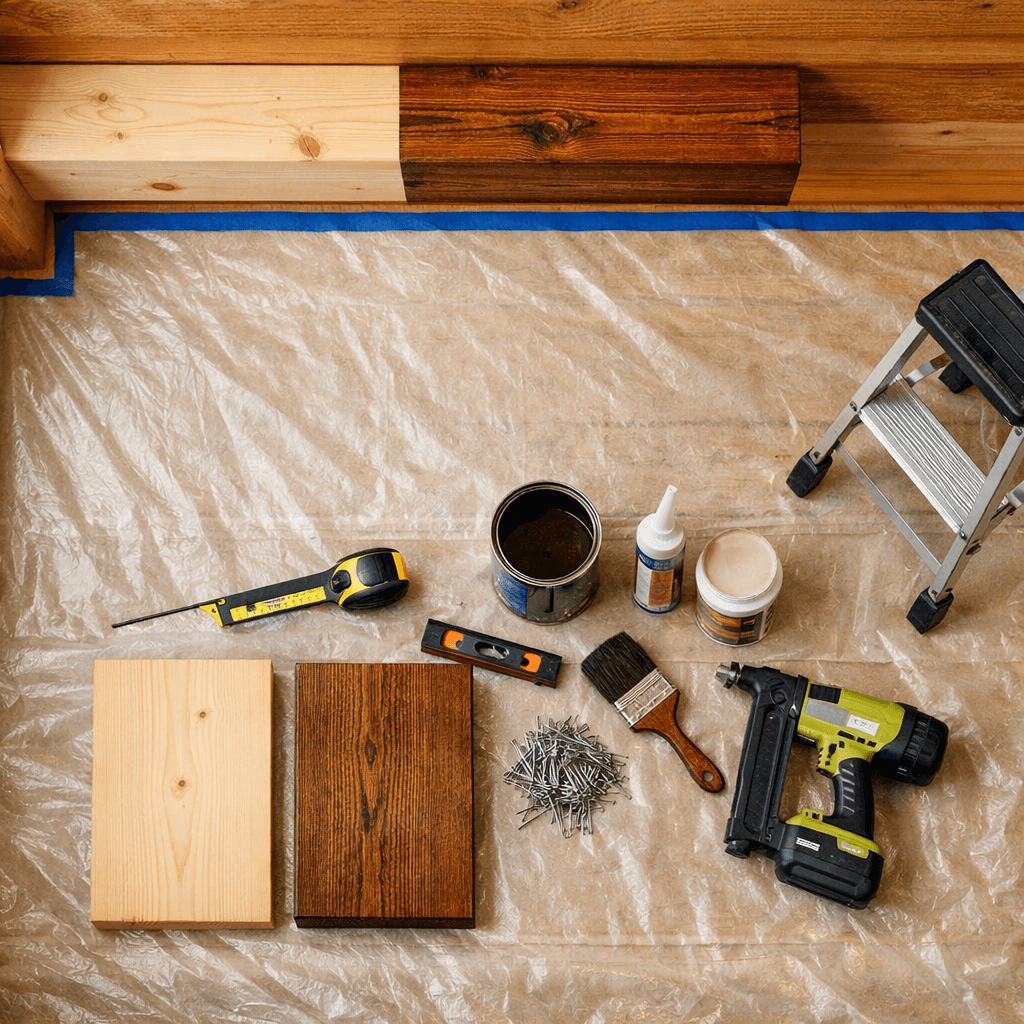
A Straightforward Sealing Process for New Cabin Wood
Let new lumber acclimate on-site for at least a week before finishing, especially pressure-treated stock, which is often still wet from the treatment process.
Sand any rough-sawn or reclaimed boards to remove splinters and open the grain for finish absorption.
Apply a wood conditioner on soft woods like pine if you’re staining, to prevent blotchy color.
Apply stain in thin, even coats, wiping excess before it dries tacky.
Seal with a product rated for the wood’s actual exposure — interior poly for indoor pieces, exterior stain-sealant combos for anything outside.
Recoat on a schedule, not just when it looks bad — waiting until you see gray, weathered wood means the protection already failed weeks ago.
For anyone building step by step and documenting the process, cabinlodger.com has more detailed breakdowns of specific sealing products and how they’ve held up over multiple seasons, which is worth a look before you commit to a full gallon of any one finish.
Tools, Materials, and Realistic Budgeting for a Remote Build Site
The right tool list for a cabin build depends entirely on power access, and this is the part most general woodworking articles get wrong for off-grid readers. A full shop setup with a table saw and planer is great if you’ve got generator power or grid hookup on site; it’s dead weight if you’re hauling everything in by hand or ATV.
A Minimum Viable Tool Kit for No-Power Sites
A cordless drill/driver with a couple of spare batteries covers most fastening needs. A hand saw and a decent miter box handle crosscuts accurately enough for shelving and framing without a chop saw. A block plane and a set of chisels handle fitting and cleanup work that would otherwise need a router. A four-in-one rasp and a good sanding block round it out for finishing edges.
That kit won’t build a dovetailed cabinet, but it will build every shelf, bench, and beam wrap described earlier in this article, just slower.
Budget Reality: DIY Labor vs. Hired Trades
The honest budget comparison isn’t materials versus materials — it’s your time versus a contractor’s rate. A hired carpenter building a comparable set of built-ins and a covered porch might charge in the range of $3,000 to $7,000 for labor alone on a modest cabin, depending on region and access difficulty, on top of materials.
Doing it yourself doesn’t eliminate cost, it shifts it into tool purchases and time. Budgeting an extra 20 to 30% on top of a materials estimate for mistakes, extra fasteners, and finish products is realistic for a first-time builder, and it’s better to plan for that than get caught short halfway through a project.
Structural and Moisture Issues Come Before Any Aesthetic Project
No amount of exposed beam accents or accent walls fixes a leaking roof or a rotting sill plate, and building over those problems is the most expensive mistake on this entire list. Address structural and moisture issues before starting any cosmetic wood project — full stop.
This shows up constantly in the built-in shelving example from earlier: a gorgeous set of floor-to-ceiling shelves flanking a wood stove is worthless if the wall behind it has a slow leak from a bad flashing job. You’ll be tearing out the shelving to fix the wall within a year or two, and now you’ve paid for lumber and labor twice.
Check for these before starting any of the projects above: soft spots in subfloor near exterior walls, staining on ceiling boards near roof penetrations, gaps around window and door flashing, and any musty smell in enclosed storage areas. All four are cheap to inspect and expensive to ignore.
Aesthetic value follows structural soundness, not the other way around. A buyer or appraiser who sees a beautiful accent wall next to a spongy floor board doesn’t credit you for the wall — they discount the whole cabin for what else might be hidden.
Frequently Asked Questions
Do wood projects actually increase a cabin’s resale value?
Only if they’re built well and match the cabin’s style and condition. A poorly sealed deck or a mismatched accent wall can actually hurt perceived value, while a well-built covered porch or exposed beam ceiling genuinely draws buyer interest.
What’s the cheapest wood project that makes a real visual difference?
A pine shiplap accent wall, at roughly $2.50 to $4.00 per square foot in materials, gives one of the best visual returns for the lowest cost and skill requirement on this whole list.
Can I build these projects without power tools at a remote cabin site?
Yes, for most projects. Shelving, beam wraps, benches, and simple furniture are all doable with a hand saw, drill, and basic hand tools; only advanced cabinetry and precision furniture really need power equipment.
How often do exterior wood projects need resealing?
Plan on every 1 to 2 years for decks, porches, and exposed beam ends, depending on sun and moisture exposure. South-facing or high-rain sites need the shorter end of that range.