How much house can you actually fit on a trailer without blowing past the weight limit? That’s the real question behind every micro house build, and it’s different from asking how to shrink a regular home. A micro house usually means something under 200 square feet, often on wheels, where every stud and screw counts toward a hard weight ceiling.
Most people searching how to build a micro house want a beginner-friendly sequence they can actually follow, not a contractor’s blueprint. That’s what this is. Eleven steps, real trade-offs, and the honest stuff nobody mentions until you’re already mid-build.
Step 1: Decide Between a Trailer Foundation and a Slab
Pick a trailer if you want to move the house later or dodge certain permit categories; pick a slab or pier foundation if the house stays put and you want more framing freedom. This single choice shapes almost every decision after it.
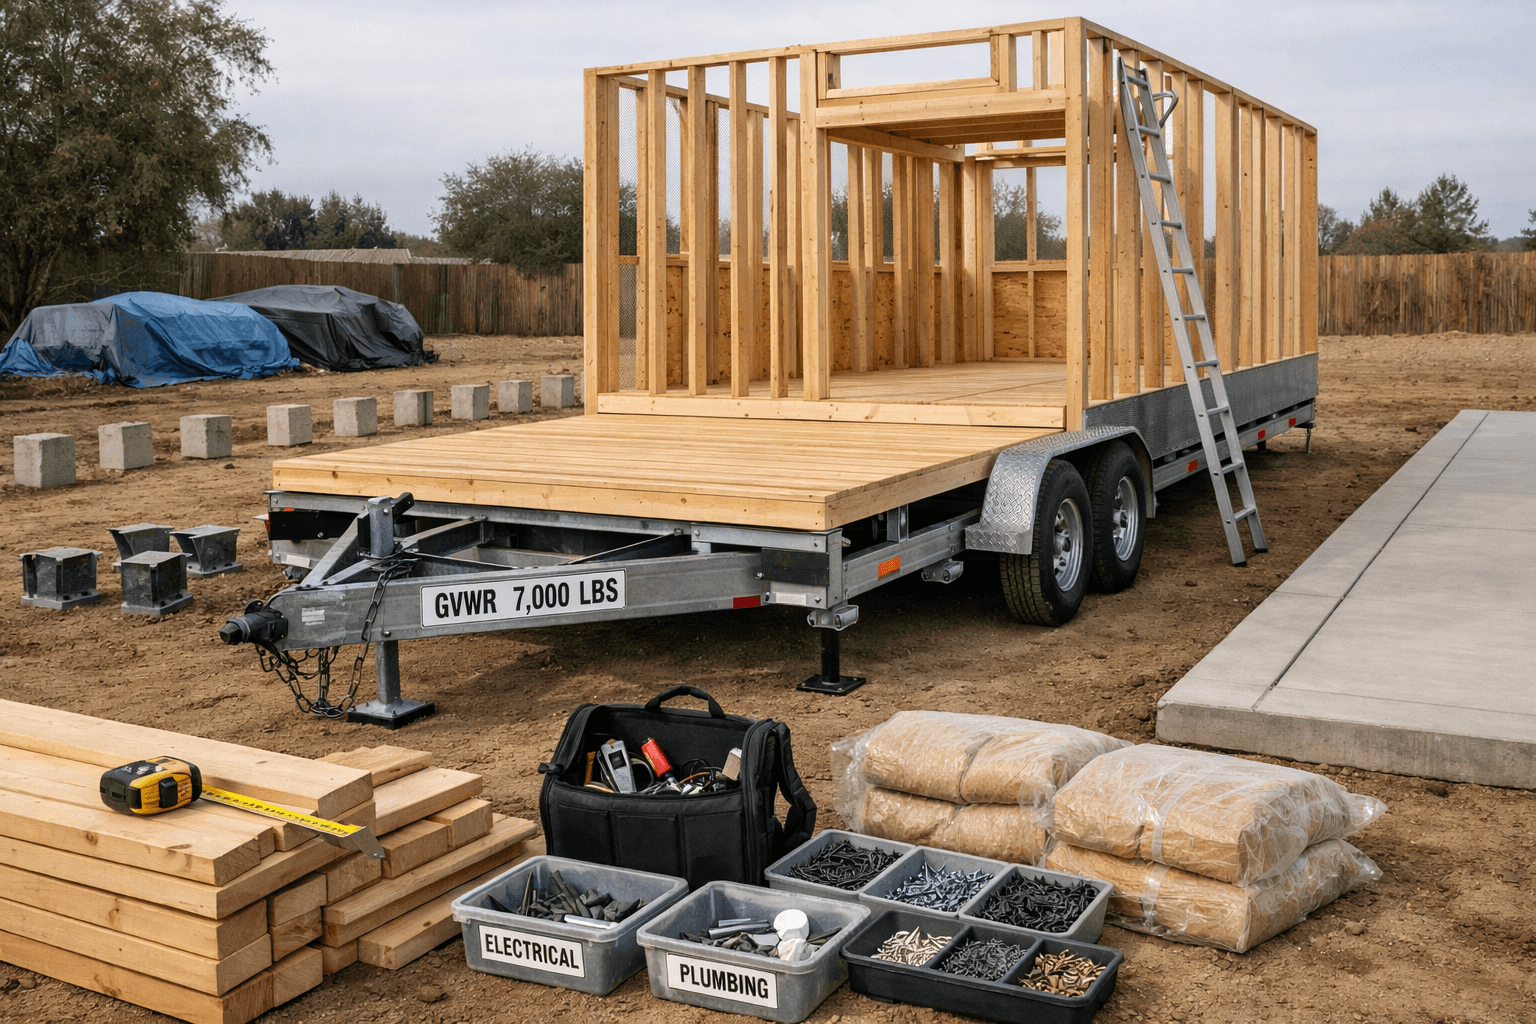
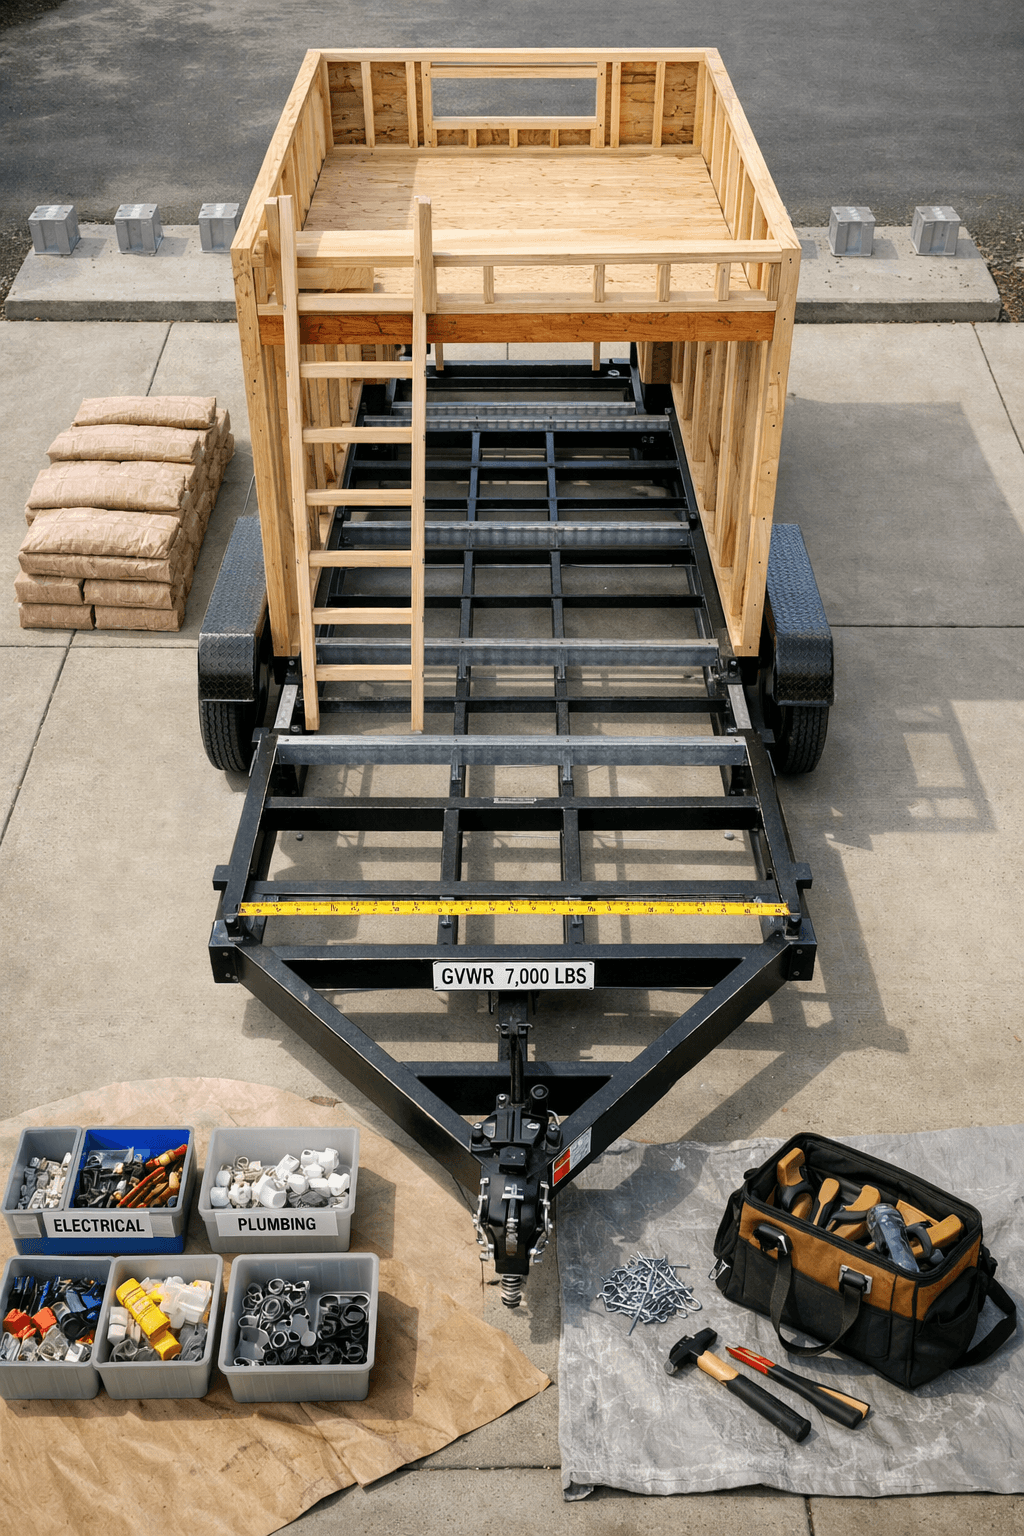
A trailer foundation, usually a flatbed or tiny house trailer rated between 7,000 and 10,000 pounds gross vehicle weight, gives you mobility and often lets you sidestep some residential building codes since the structure counts as a vehicle in many jurisdictions. But that weight rating is a hard ceiling. Every wall, appliance, and water tank has to fit under it, and that math starts on day one, not after the walls go up.
A slab or pier-and-beam foundation removes the weight problem entirely. You can use heavier materials, thicker insulation, real drywall instead of lightweight panels, and you don’t lie awake wondering if your loft pushed you over axle capacity. The tradeoff is permanence. Once it’s on a slab, it’s not going anywhere without serious effort.
Trailer Build Realities
Trailers built specifically for tiny houses cost roughly $4,000 to $7,000 new, and buying used can save a third of that if the frame is solid and rust-free. Check the axles. A single-axle trailer under 7,000 pounds GVWR is fine for a sleeping cabin but tight for anything with a kitchen and bathroom combined.
Slab and Pier Realities
A concrete slab for a 150 to 200 square foot footprint typically runs $3,000 to $6,000 depending on region and site prep, and pier foundations can come in cheaper if the ground doesn’t need much leveling. Either way, you’ll want a local contractor to check soil conditions before pouring anything.
Most first-time builders lean trailer because it feels less committal, but plenty end up wishing they’d gone slab once they realize how much weight budgeting eats into design freedom later.
Step 2: Check Zoning and Permit Rules Before You Buy a Single Board
Assuming a micro house is too small to need permits is one of the most common and expensive mistakes builders make. Size doesn’t exempt you from building codes, zoning laws, or utility hookup rules in most counties, and getting caught mid-build can mean a stop-work order or forced teardown.
Zoning treats micro houses differently depending on whether they’re on wheels or on a foundation. A house on a trailer might get classified as an RV, which opens some parking flexibility but restricts where you can legally live in it full-time. A house on a slab usually falls under standard residential building code, which means minimum square footage rules in some areas, plus inspections for electrical and plumbing work.
What to Check With Your Local Office
Call your county building department, not just city hall, since rules often differ between city limits and unincorporated areas. Ask specifically about minimum dwelling size, setback requirements from property lines, and whether a structure on wheels needs a separate RV or park model certification.
Permit Costs and Timelines
Permit fees for a small dwelling generally range from $200 to $1,500 depending on the jurisdiction and whether you need separate electrical, plumbing, and building permits. Processing can take anywhere from two weeks to two months. Start this step before ordering materials. Nothing stalls a build faster than a rejected permit application after the framing’s already up.
Some rural counties have looser rules for accessory dwelling units or seasonal cabins, and that’s worth asking about directly. Don’t assume; ask, get it in writing, and keep a copy of every approval you receive.
Step 3: Set Your Weight and Space Budget Before Designing Anything
This is where most guides get it wrong. They treat a micro house like a shrunk-down regular house, picking materials for looks first and worrying about weight later. If you’re building on a trailer, weight has to lead the design, not follow it.
Start with your trailer’s GVWR, subtract the trailer’s own weight (usually 1,800 to 2,500 pounds for a tiny house trailer), and what’s left is your building budget. A typical 8-by-20-foot micro house on wheels finishes between 6,000 and 10,000 pounds fully loaded with water, appliances, and furniture. That number needs to stay under your trailer’s rated capacity with room to spare, not right at the edge.
Space budgeting works the same way. Every square foot you spend on a bathroom is a square foot you don’t have for a kitchen or sleeping loft. In an 8-by-20 footprint, that’s roughly 160 square feet total, and a full bath with a tub can eat 25 to 30 square feet alone.
Where Weight Adds Up Fast
Water tanks are the sneaky one. A 40-gallon fresh water tank weighs about 330 pounds full, and if you’re carrying fresh, gray, and black tanks, that’s over 1,000 pounds before you’ve hung a single cabinet. Same goes for stone countertops or tile flooring, both of which look great in photos and add weight nobody accounts for until the trailer’s sagging.
A Simple Way to Track It
Keep a running spreadsheet from day one. List every material, its weight per unit, and a running total. It sounds tedious. It’s the difference between a house that tows safely and one that blows a tire on the highway.
Step 4: Frame With Lightweight Techniques, Not Standard Stick-Framing
Standard 2×6 stick framing on 16-inch centers is overkill for a micro house and adds unnecessary weight. Most experienced builders switch to 2×4 framing on 24-inch centers, or use structural insulated panels, to cut pounds without sacrificing strength on a structure this size.
The framing stage is where the weight budget from Step 3 either holds or falls apart. A stick-built wall system with 2×6 studs, standard sheathing, and house wrap can add 30 to 40% more weight than a comparable 2×4 system with SIPs (structural insulated panels), which combine framing and insulation into one lighter panel.
Floor and Wall Framing Choices
For the floor, use 2×6 joists on 16-inch centers if you’re on a slab, but drop to 2×4 or engineered lumber on a trailer where every pound matters. Walls should be framed with 2x4s unless you’re stacking a second story or heavy loft, in which case some 2×6 load points make sense structurally.
Roof Framing and Loft Support
Roof trusses need enough pitch for water runoff, generally a minimum of 2:12, but steeper pitches around 4:12 to 6:12 shed snow better in colder climates and create usable loft headroom. If you’re adding a sleeping loft, plan the joist spacing during framing, not after, since retrofitting loft supports into finished walls is a mess nobody enjoys.
Framing is also where you decide window and door rough openings, and it’s worth over-planning here. Cutting into finished walls later to widen a window is a full afternoon of work you don’t want.
Step 5: Choose Insulation That Fits Your Climate, Not Just Your Budget
Skipping proper insulation to save a few hundred dollars is the single most common regret builders report months into living in a micro house. A poorly insulated micro house heats up like a car in summer and loses heat fast in winter because the small volume of air amplifies temperature swings.
Spray foam insulation gives the best performance per inch, running roughly R-6 per inch for closed-cell foam, which matters a lot when your wall cavities are only 3.5 inches deep in a 2×4 wall. Rigid foam board is the budget-friendlier option, cheaper per square foot and easier to install yourself, but it needs careful sealing at every seam to avoid air gaps.
Comparing Common Insulation Options
Here’s how the main choices stack up for a micro house wall cavity:
Insulation Type
R-Value per Inch
Approx. Cost (per sq ft)
Best For
Closed-cell spray foam
R-6
$1.50–$2.00
Cold climates, tight cavities
Rigid foam board
R-4 to R-5
$0.50–$1.00
DIY budget builds
Fiberglass batt
R-3 to R-3.5
$0.30–$0.60
Mild climates, easy install
Mineral wool batt
R-3.7 to R-4
$0.70–$1.20
Fire resistance, sound dampening
Sealing Matters More Than R-Value
A perfectly insulated wall with gaps at the corners performs worse than a slightly lower R-value wall with tight seams. Use canned spray foam to seal every penetration around wiring and plumbing before closing up walls. This step takes an extra afternoon and saves you a winter of chasing drafts.
Don’t forget the roof and floor. Heat loss through an uninsulated floor in a trailer-mounted house is a real problem, especially in freeze conditions, since there’s often nothing but a thin subfloor between you and the cold air moving underneath.
Step 6: Pick Roofing and Siding That Balance Weight, Weather, and Looks
Metal roofing is the go-to choice for most micro house builds because it’s light, sheds snow and rain well, and lasts 40-plus years with basic maintenance. Asphalt shingles are heavier and shorter-lived but cheaper upfront, which matters if your budget’s tight and weight isn’t your main constraint.
Standing seam metal roofing runs about $8 to $14 per square foot installed, while asphalt shingles run closer to $4 to $7 per square foot. The weight difference is real too: metal panels weigh around 1 to 2 pounds per square foot compared to asphalt’s 2.5 to 3 pounds. On a trailer build, that difference across a 200-square-foot roof adds up to 100-plus pounds saved.
Siding Options Worth Comparing
Board-and-batten siding, corrugated metal panels, and cedar shake are the three most common choices for micro houses, each with a different weight and maintenance profile. Board-and-batten in cedar or pine gives that classic cabin look but needs re-staining every few years. Corrugated metal is nearly maintenance-free and light, but some people find the look too industrial for a cozy build.
Weatherproofing Steps You Can’t Skip
Install a weather-resistant barrier (house wrap) under all siding, tape every seam, and flash every window and door opening before siding goes up. Skipping flashing is how water gets behind walls and rots framing from the inside, often without any visible sign until the damage is already bad.
Gutters are optional on a lot of micro houses, but if you’re in a rainy climate, a simple gutter and downspout system running $150 to $300 in materials protects your siding and foundation from splash-back damage over time.
Step 7: Run Electrical Using a Simplified System Built for Small Loads
Most micro houses run on a 30-amp or 50-amp shore power system similar to an RV setup, which is enough for lights, a small fridge, and basic appliances without overloading the circuit. Full 100-amp residential service is usually unnecessary unless you’re running electric heat or a full-size electric range.
A 30-amp system handles roughly 3,600 watts at once, which covers lighting, a laptop, a small fridge, and a microwave, but not all at the same time as a space heater. If you’re planning to cook with an electric range or run central air, step up to 50-amp service, which gives you 12,000 watts of headroom.
DIY Wiring vs. Hiring an Electrician
Basic wiring for lights and outlets is doable for a confident DIYer, but the panel connection and any work tying into shore power or a permanent hookup should go through a licensed electrician, both for safety and because most permits require it for inspection sign-off. Expect to pay $500 to $1,500 for an electrician to handle the panel and final connections on a micro house.
Off-Grid Options
Solar setups are common for micro houses that move around or sit off municipal power. A basic system with two 100-watt panels, a charge controller, and a couple of deep-cycle batteries runs about $800 to $1,500 and covers lighting and small device charging, though it won’t run a full-size fridge or AC unit without a bigger array.
Wire runs should be planned during framing, not after walls close up. Fishing new wire through finished 2×4 walls in a house this small is frustrating work, and it’s much easier to over-run a few extra circuits during framing than to add one later.
Step 8: Plumb for Minimal Water Use and Easy Winterization
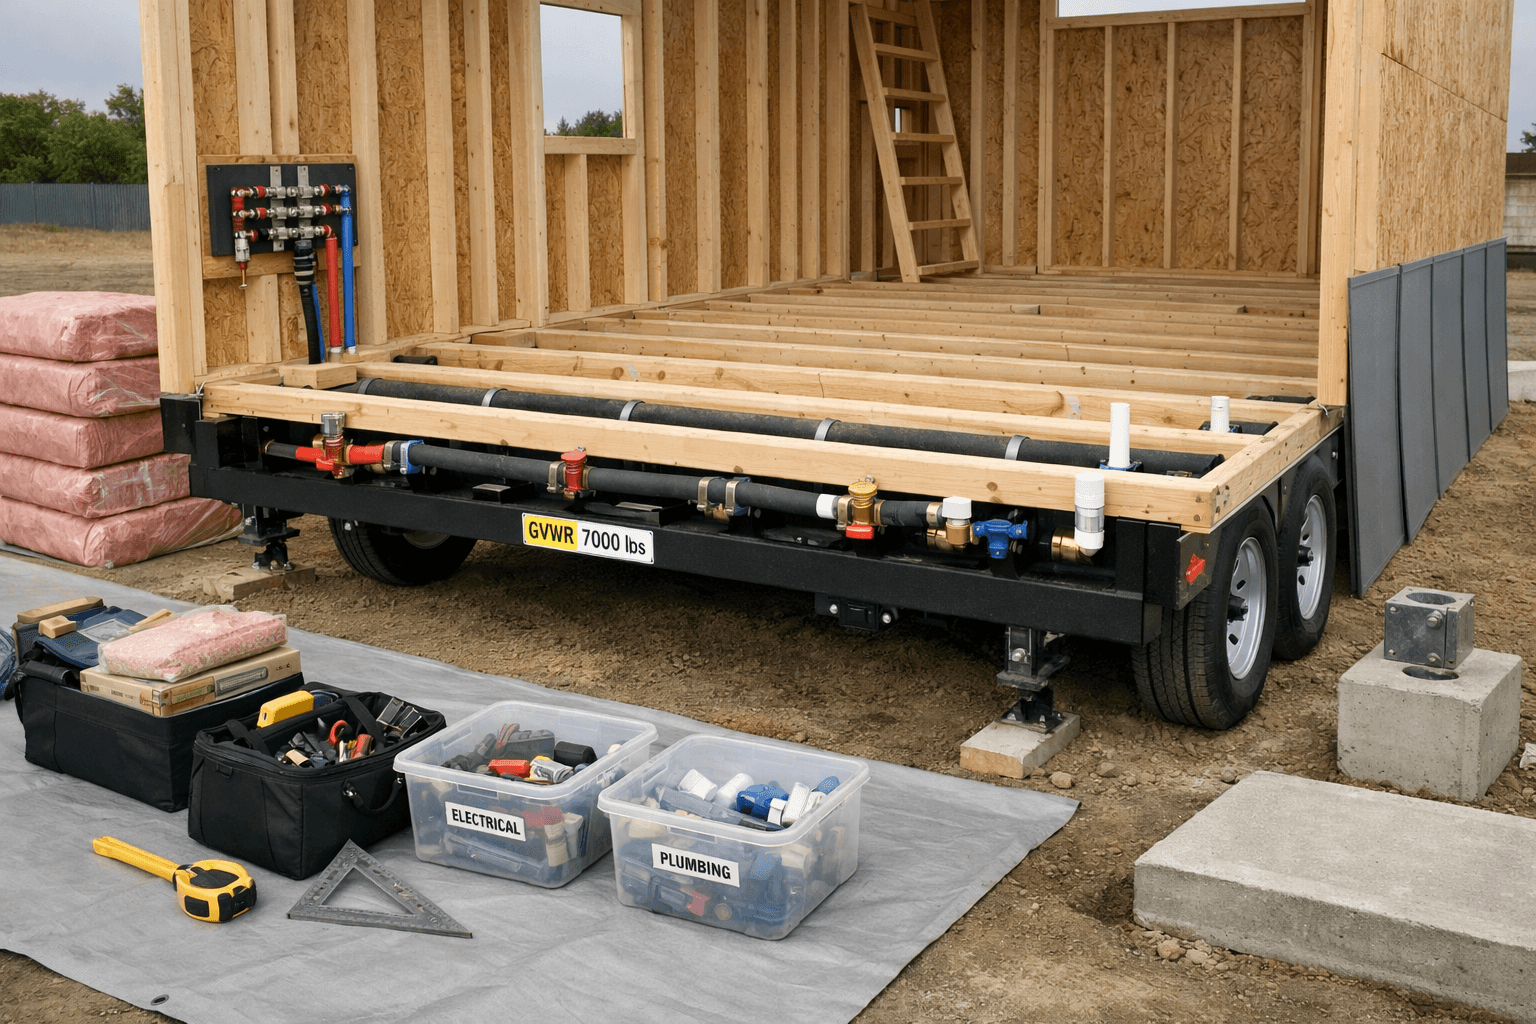
A micro house plumbing system usually means a fresh water tank, a small water heater, and either a composting toilet or a compact flush system tied to a gray and black tank setup. The goal is minimizing weight and complexity while still having real running water.
Composting toilets are popular in micro houses because they eliminate the need for a black water tank entirely, saving both weight and plumbing complexity. A quality composting toilet runs $900 to $1,600, which sounds steep next to a $200 standard toilet, but it removes the need for black tank pump-outs, which matters if you’re moving the house or don’t have sewer access.
Fresh Water and Heating
A tankless mini water heater, propane-powered, is the standard choice since it’s compact and doesn’t need a bulky tank taking up cabinet space. These run $200 to $500 and heat water on demand rather than storing it, which also saves weight versus a traditional tank heater.
Winterizing for Cold Climates
If you’re in a climate with hard freezes, insulate every water line and consider heat tape on exposed pipes, since a frozen and burst line inside a 160-square-foot house is a disaster with nowhere to spread out and drain. Some builders skip fresh plumbing entirely in winter and switch to jugs for a few months. It’s not glamorous, but it beats a flooded floor.
Plan your plumbing runs alongside electrical during framing. Both need to route through the same tight wall cavities, and figuring out clearances after the fact usually means cutting into work you already finished.
Step 9: Build the Loft and Interior Layout Around Real Furniture Sizes
A sleeping loft is the single biggest space-saver in a micro house, typically adding 40 to 60 square feet of usable sleeping area without expanding the footprint. But lofts only work if the ladder or stairs leading up don’t eat more floor space than the loft saves.
Standard loft height needs at least 24 to 30 inches of headroom for a queen mattress to fit without brushing the ceiling, and most builders frame the loft floor around 6 feet 4 inches from the main floor for that clearance. Anything tighter feels like sleeping in a drawer, which some people genuinely don’t mind but most do.
Making the Downstairs Layout Work
Measure your actual furniture before finalizing the floor plan. A standard two-person dinette or a compact kitchenette with a 24-inch stove needs real inches accounted for, not guessed. Multi-use furniture, like a bench that opens into storage or a table that folds against the wall, saves more square footage than people expect once it’s actually in place.
Storage Solutions That Punch Above Their Size
Build stairs with drawers built into each step instead of a plain ladder.
Use the space under the loft floor for a closet or pantry, since it’s otherwise dead air.
Install shelving in every wall cavity between studs where plumbing and wiring allow.
Choose a fold-down table over a fixed one to reclaim floor space during the day.
Hang cookware and tools on wall-mounted rails instead of using cabinet depth.
Once framing and rough-in are done, the layout stops being theoretical. This is usually when builders realize they need to move an outlet or shrink a countertop, and that’s normal. Better to catch it now than after drywall.
Step 10: Finish the Interior With Lightweight, Moisture-Resistant Materials
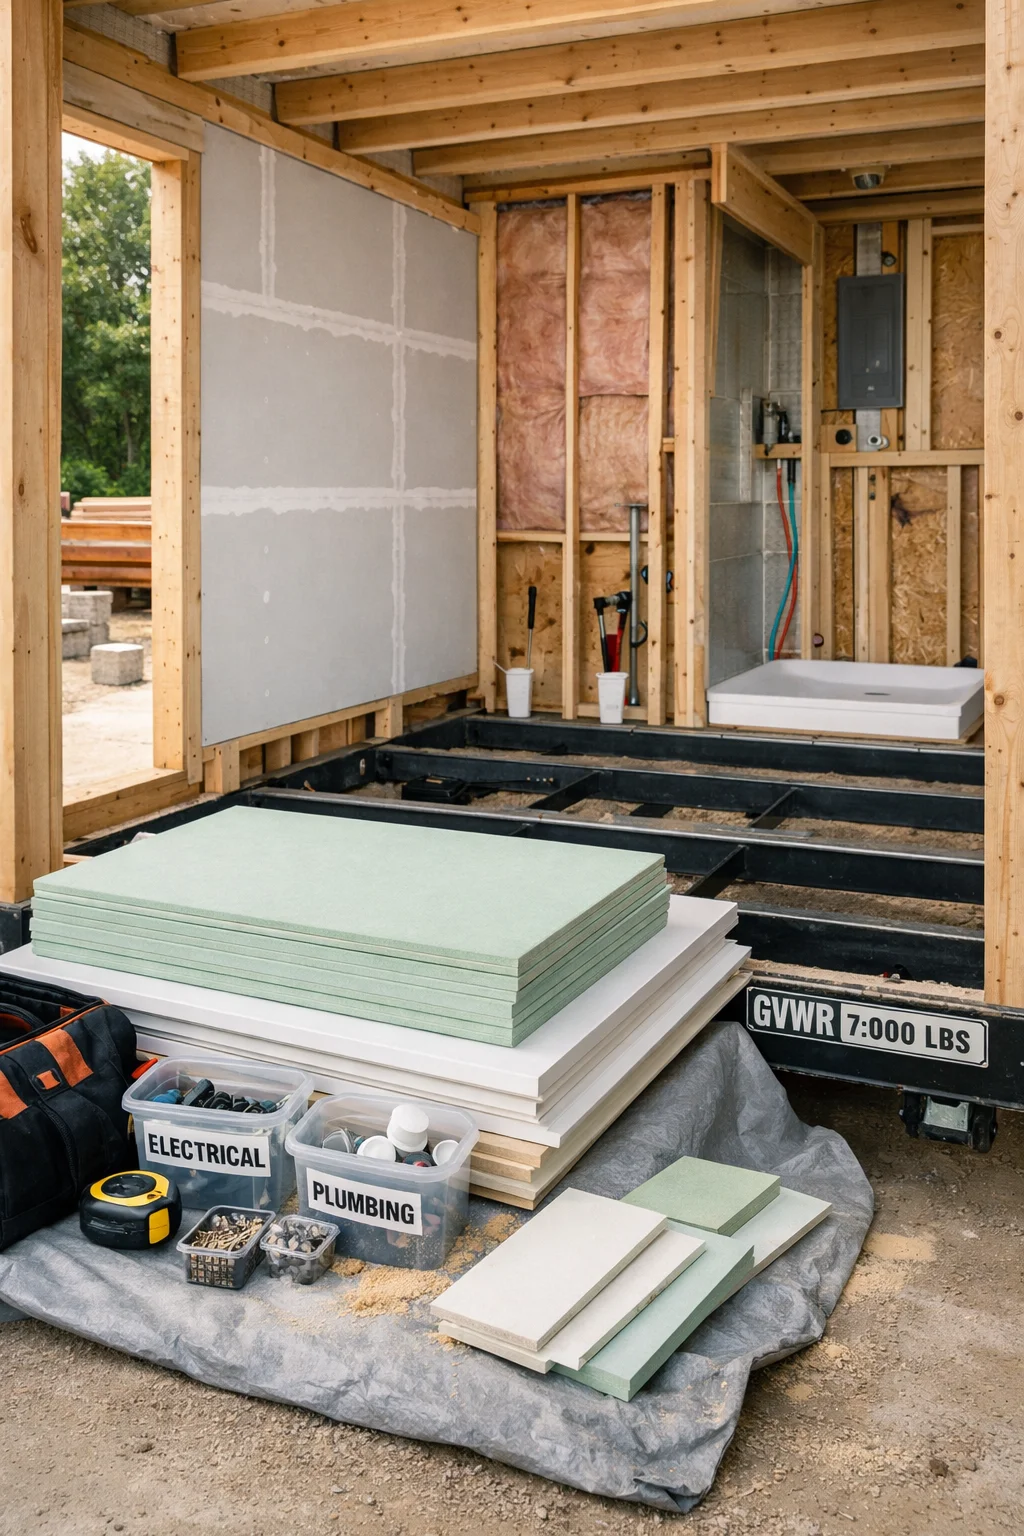
Tongue-and-groove pine paneling is the standard interior wall finish for micro houses because it’s light, looks good, and skips the need for drywall mud and tape in a tight space. Drywall works fine on a slab-foundation build where weight isn’t a factor, but on a trailer, every sheet adds pounds you don’t have room for.
Pine paneling runs about $2 to $4 per square foot and installs faster than drywall since there’s no taping, sanding, or drying time between coats. It also handles the flex and vibration of a house that occasionally travels better than drywall, which can crack at the seams over a few road trips.
Flooring That Won’t Add Unnecessary Weight
Skip tile. It’s heavy, it’s rigid, and it doesn’t handle trailer flex well over time. Luxury vinyl plank flooring gives a similar look at a fraction of the weight, runs $2 to $5 per square foot, and holds up fine to the minor flexing a towed structure experiences on the road.
Final Touches That Matter More Than People Expect
Ventilation is the finish detail most builders underrate. A small bathroom fan and a vent above the kitchen area prevent moisture buildup that would otherwise soak into your pine paneling and cause problems within a year or two. It’s a $50 to $150 part that saves a much bigger repair down the line.
If you want more detail on wood treatment options for interior paneling, especially for finishes that hold up in humid climates, that’s exactly the kind of thing covered in depth over on cabinlodger.com, where the wood treatment side of cabin building gets its own dedicated attention.
Step 11: Do a Final Weight Check and Safety Walkthrough Before Move-In
Before you call the build finished, weigh the whole structure, ideally at a certified truck scale, and compare that number against your trailer’s GVWR with a safety margin of at least 10%. This single step catches problems that are nearly impossible to fix after the fact, which is why it belongs at the very end, not skipped.
Public truck scales, often found at truck stops or recycling centers, charge $10 to $20 for a weigh-in, and it’s worth every penny to know your actual number instead of a guess based on a spreadsheet. If you’re over weight, options are limited at this stage: remove furniture, swap a water tank for a smaller one, or accept a lower fresh water capacity for travel days.
Safety Items to Check Before Living In It
Test every smoke detector and carbon monoxide detector, especially if you’re running a propane appliance, since propane leaks in a tight 160-square-foot space are far more dangerous than in a full-size house. Check that all electrical work has passed inspection if required by your permit, and confirm your gray and black tanks (if applicable) are sealed and draining correctly.
Living In It: What Changes After Move-In
The first month in a finished micro house tends to reveal small fixes: a drawer that sticks in humid weather, a loft ladder rung that needs re-tightening, a spot where condensation collects near a cold corner. None of it’s alarming. It’s just what happens when a house this small gets used daily for the first time.
Keep your permit documents, weight receipts, and inspection records together in one folder. If you ever sell the house or move it across state lines, that paperwork answers questions before anyone has to ask them.
Frequently Asked Questions
How much does it cost to build a micro house from scratch?
Most owner-built micro houses cost between $20,000 and $45,000 in materials and labor, depending on trailer versus slab foundation and finish quality. Hiring out electrical and plumbing work pushes costs toward the higher end of that range.
Can I build a micro house without any construction experience?
Yes, but budget extra time for research and expect some rework, especially on framing and electrical rough-in. Many first-time builders take 6 to 12 months of weekends rather than the 2 to 3 months a crew would need.
Do micro houses need a foundation permit if they’re on wheels?
Often not a foundation permit specifically, but most areas still require RV or park model certification, and some restrict where you can legally park and live in one full-time. Rules vary heavily by county.
What’s the biggest mistake first-time builders make with weight?
Adding heavy finish materials, like tile or stone counters, after already hitting a comfortable weight estimate with framing and appliances. Track total weight continuously, not just at the framing stage, since finish materials sneak up fast.