Those perfectly round, dime-sized holes drilled into your porch beam aren’t termite damage, and that yellowish sawdust pile underneath isn’t from anything eating your wood. That’s carpenter bee activity, and figuring out carpenter bees control before they multiply is exactly the right instinct. These bees don’t consume wood for food; they hollow it out for nesting, and left alone for a couple seasons, a handful of holes turns into tunnels running two feet deep into your structural beams.
If you’re staring at your cabin’s eaves or deck rail wondering whether this is a five-minute fix or a full weekend project, the honest answer depends on how long the bees have been at it and what your wood looks like underneath the paint. Let’s get into what actually works.
How to Tell Carpenter Bees From Bumblebees
The fastest way to tell them apart is the abdomen: carpenter bees have a shiny, black, hairless lower body, while bumblebees are fuzzy all over, top to bottom. If you see a bee hovering near your fascia board that looks like it’s wearing a bald patch on its backside, that’s your culprit.
Carpenter bees (genus Xylocopa) are also loners. Bumblebees live in social colonies with a queen and workers moving in and out of a ground nest or cavity, but carpenter bees are solitary — each female drills her own gallery and raises her own brood without a hive structure backing her up. That matters for treatment, because you’re not dealing with a colony defending a nest. You’re dealing with individual females picking off exposed, unpainted wood one board at a time.
What the Holes and Damage Actually Look Like
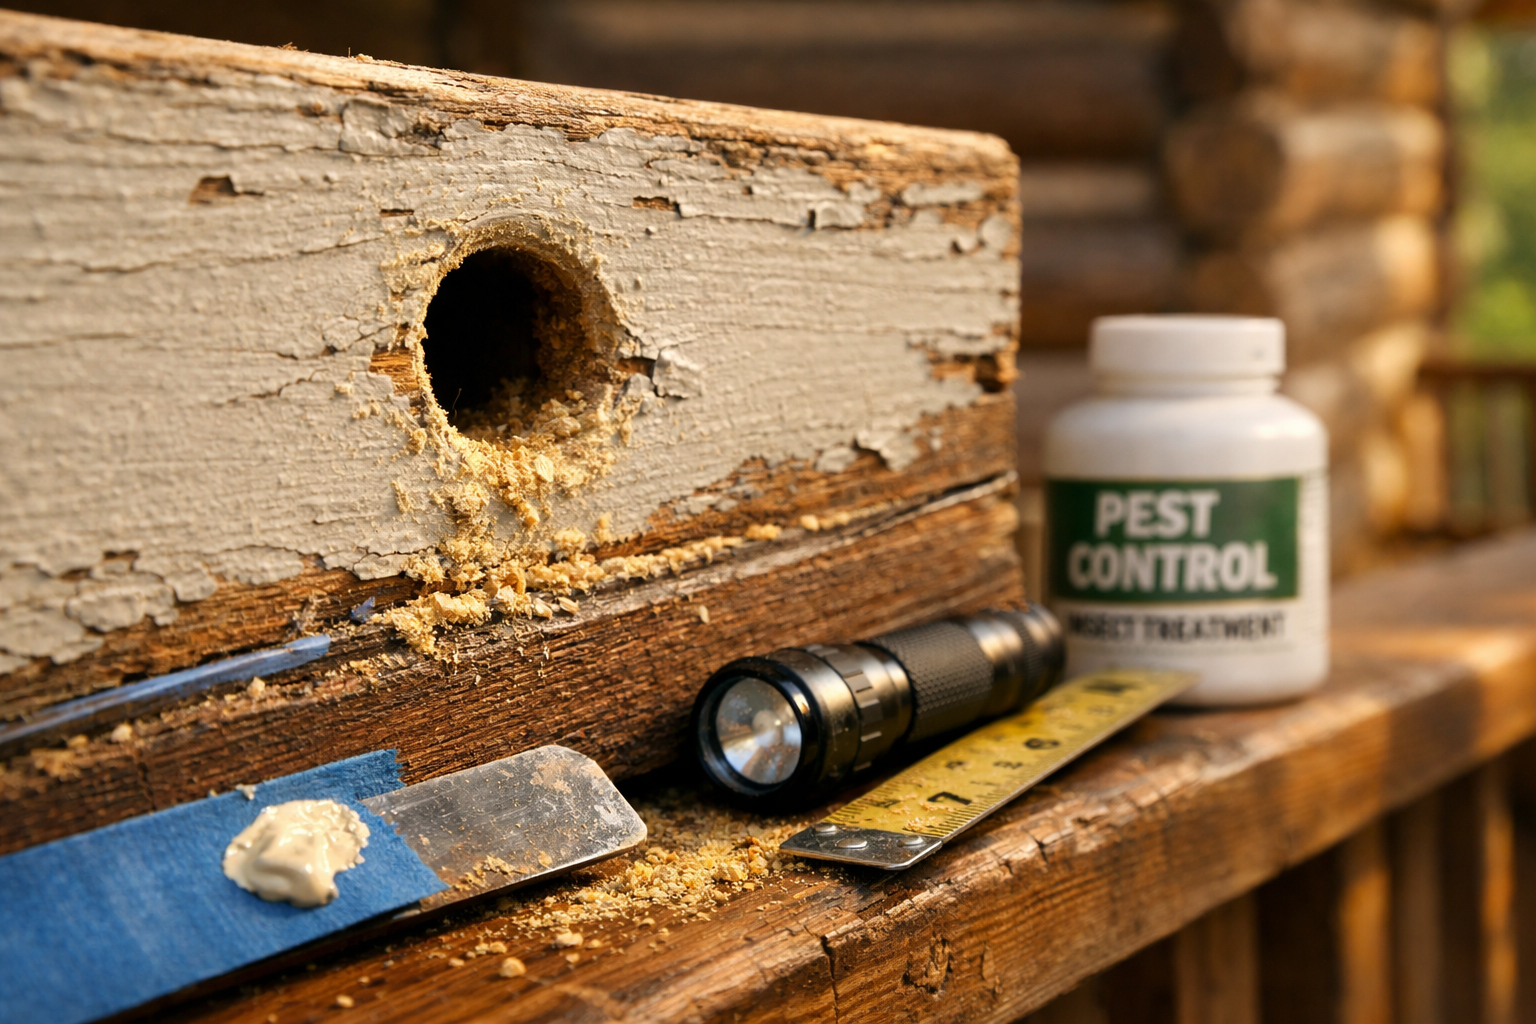
The entry hole is close to perfectly circular, about three-eighths of an inch across, roughly the size you’d get from a drill bit sized for a wood screw. Right below it, you’ll usually find a pile of fine sawdust, sometimes called frass, dusted on the ground or on a windowsill.
Inside, the tunnel makes a hard 90-degree turn once it’s an inch or so deep, then runs parallel to the wood grain for anywhere from six inches to two feet in an established nest. That’s the part most cabin owners underestimate. A single hole on the surface doesn’t tell you much about what’s happening inside the beam.
Why Bumblebee Confusion Leads to Wasted Effort
People sometimes spray bumblebee nests near the ground thinking they’ve solved a carpenter bee problem, and it does nothing for the holes up on the soffit. Identify the actual bee before you treat anything — bumblebees are usually beneficial pollinators you want to leave alone, while carpenter bees drilling into your fascia board are the ones costing you wood integrity over time.
Reading the Damage: When It’s Cosmetic and When It’s Structural
A handful of holes on an unpainted deck rail is mostly cosmetic, but repeated years of tunneling in the same beam without treatment turns cosmetic into structural. The tell is depth and repetition — one female’s gallery from a single spring is a minor issue, but woodpeckers hunting the larvae inside can turn that same beam into a chewed-up mess by fall.
Here’s something a lot of people miss: carpenter bees don’t ruin wood by eating it. They tunnel to create nesting galleries for their eggs, and the actual wood loss from one bee is fairly small. The bigger threat is compounding damage — the same tunnel gets reused and expanded year after year, plus moisture gets into the exposed gallery and starts rot from the inside, plus woodpeckers peck open the wood chasing bee larvae for a meal.
Signs You’ve Moved Past a Minor Problem
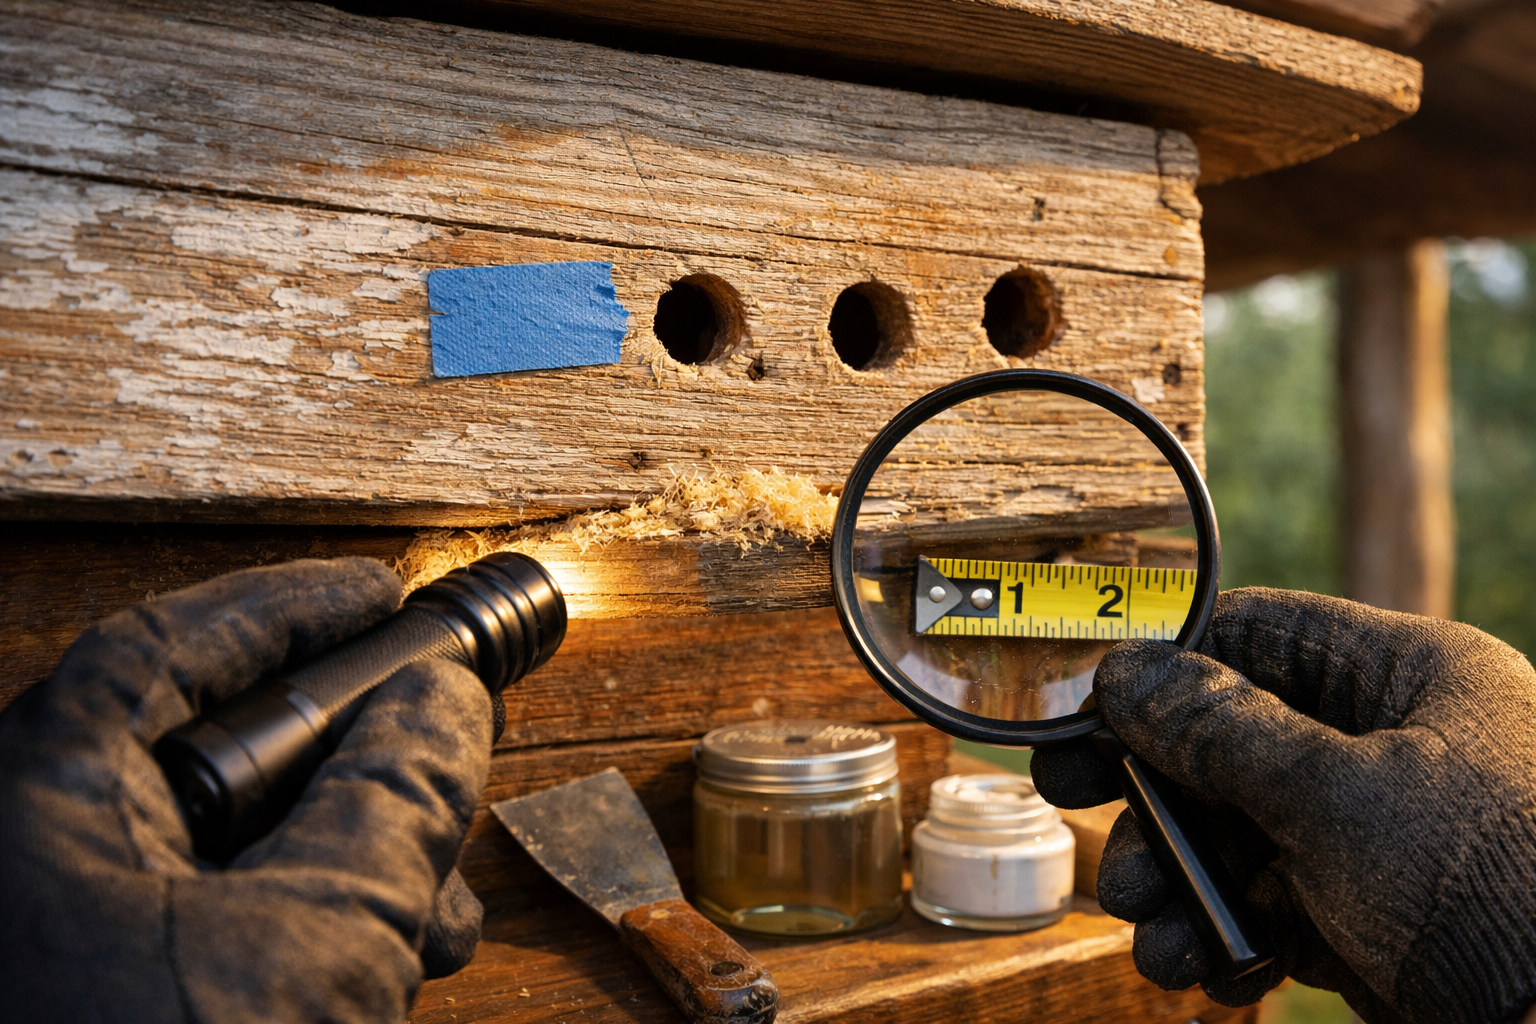
Watch for a soft spot when you press on the wood near a hole, sawdust piles that keep reappearing in the same spot every week, multiple holes clustered within a foot of each other, or visible woodpecker damage around the entry points. Any one of those means the damage has gone beyond the surface.
If you tap the beam with a screwdriver handle and it sounds hollow or punky instead of solid, that’s rot setting in from repeated bee activity and weather exposure combined. At that point you’re not just doing pest control, you’re doing a repair job, and it’s worth deciding early whether that board needs replacing rather than just patching.
Untreated vs. Treated Wood Makes a Bigger Difference Than People Expect
Bare, untreated softwood is basically an open invitation. Xylocopa females strongly prefer weathered, unpainted, or unfinished wood because it’s softer to drill into. Cedar and pine, both common cabin materials, are especially vulnerable when left raw. Hardwoods and painted surfaces are far less appealing, and that single fact should shape how you think about prevention long before you ever reach for a spray can.
Carpenter Bees Control at Build Time, Not Just Treatment Time
The single biggest lever you have against carpenter bees isn’t a spray or a trap — it’s the wood-finishing decisions made while you’re actually building. If you’re framing a cabin right now, treat this as a wood-treatment problem baked into construction, not a pest problem you’ll deal with later.
Every board you leave bare on an exterior soffit, fascia, or deck rail is a future nesting site. That’s not an exaggeration; it’s just how these bees select targets. They’re drawn to soft, exposed, unfinished wood, and a cabin with unpainted cedar trim is basically advertising vacancy to every female carpenter bee within a few hundred feet come spring.
Paint Beats Stain, and It’s Not Close
Paint forms a continuous film that bees can’t easily bite into, while stain soaks into the grain and leaves the wood surface still workable for drilling. If you’ve got a choice between the two for exposed trim, fascia boards, or railings, paint wins for bee resistance every time, even though stain often looks better on a rustic cabin build.
This is a real trade-off, not a minor detail. A lot of cabin builders choose stain because it keeps the natural wood look, and that’s a fair aesthetic call, but it comes with a maintenance cost: stained wood needs yearly bee inspections that painted wood mostly doesn’t. If you go the stain route, budget for that ongoing check as part of the deal.
Joint Sealing and Wood Choice Matter Just as Much
Gaps at butt joints, exposed end grain, and unsealed corners are prime drilling spots because the bee doesn’t have to start from scratch on solid material. Caulking those joints during construction and choosing denser woods like cedar heartwood over soft sapwood cuts down on easy entry points significantly.
If you’re planning your build and want a deeper walkthrough on which sealants and finishes actually hold up outdoors over multiple seasons, cabinlodger.com has more detailed wood-treatment guides worth reading before you order lumber. Getting this right during the framing stage saves you years of yearly touch-up work later.
Insecticide Dust Treatment: The Most Reliable DIY Method
Insecticide dust applied directly into the tunnel opening is the most effective DIY carpenter bees control method, because it clings to the bee’s body as she moves through the gallery and kills the brood inside along with her. Sprays evaporate too fast to reach deep into a two-foot tunnel; dust doesn’t.
Products containing permethrin or deltamethrin dust formulations, sold at most hardware stores as bee-and-wasp dust, are the standard choice here. You want a dust, not a liquid spray, specifically because the tunnel geometry makes penetration the whole point.
Applying It the Right Way
Treat in the early morning or evening when bees are less active and less likely to be hovering right at the hole when you approach. Puff the dust directly into the entry hole using the applicator that usually comes with the product, then wait — don’t plug the hole yet.
Give it 24 to 48 hours before you do anything else. The bee needs to move through the dust, track it around the gallery, and die, along with any larvae she’s tending. Sealing the hole too soon just traps a live bee inside with a lethal ring around her, and sometimes that means she chews a brand-new exit hole right next to the one you just treated, which defeats the purpose entirely.
A Simple Treatment Sequence That Actually Works
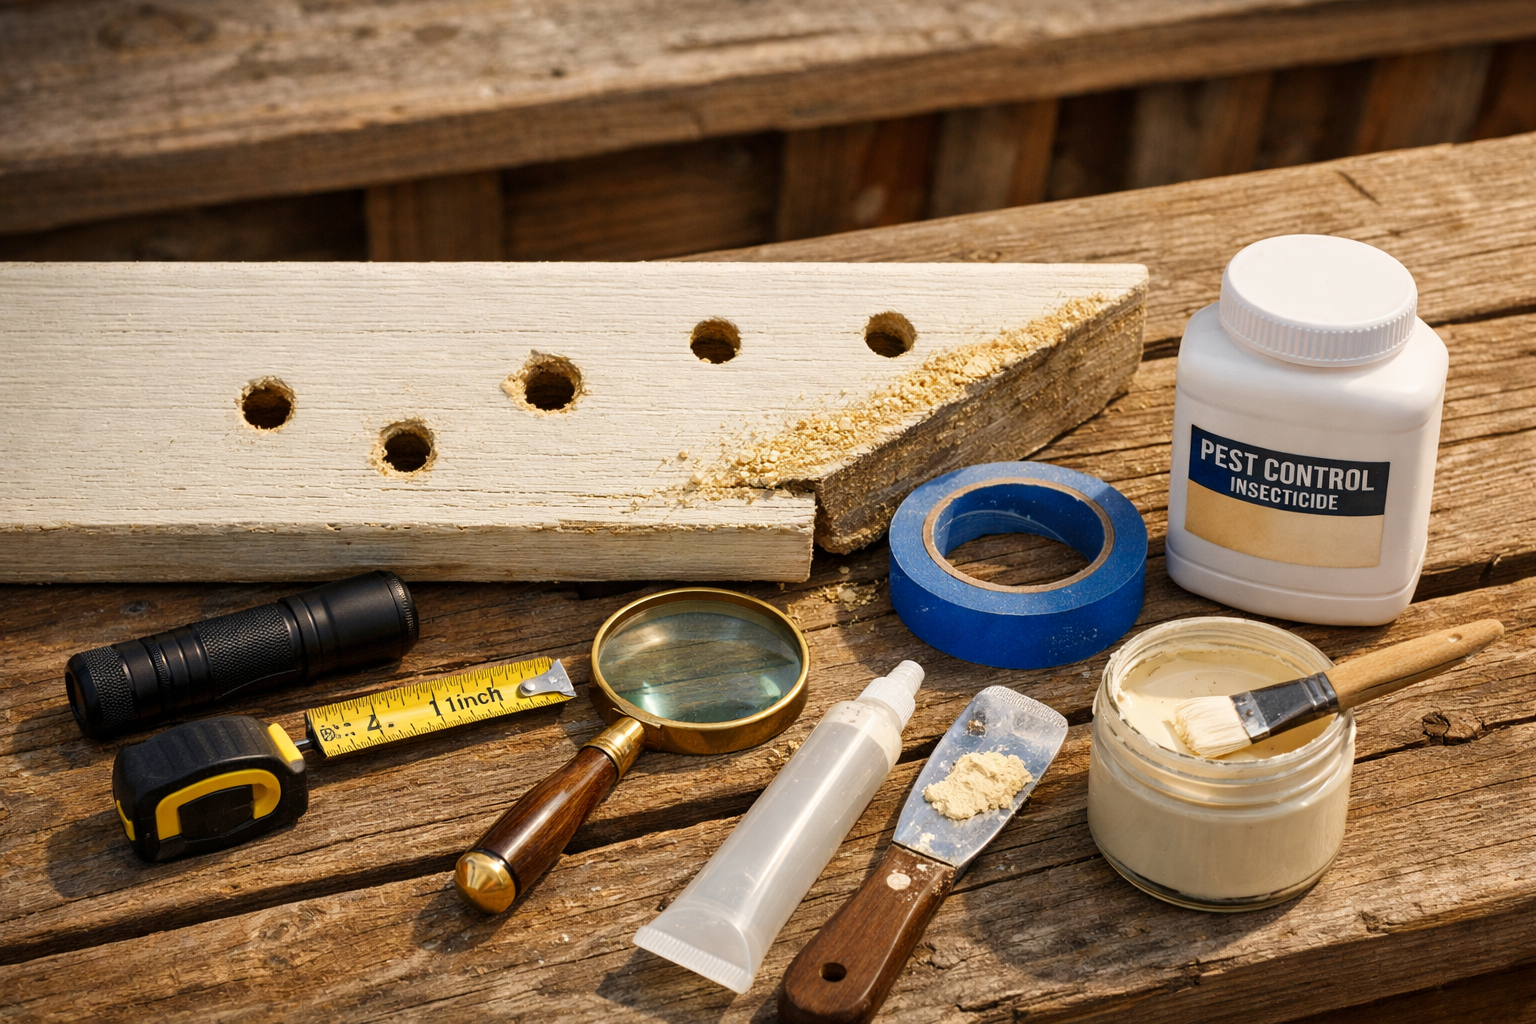
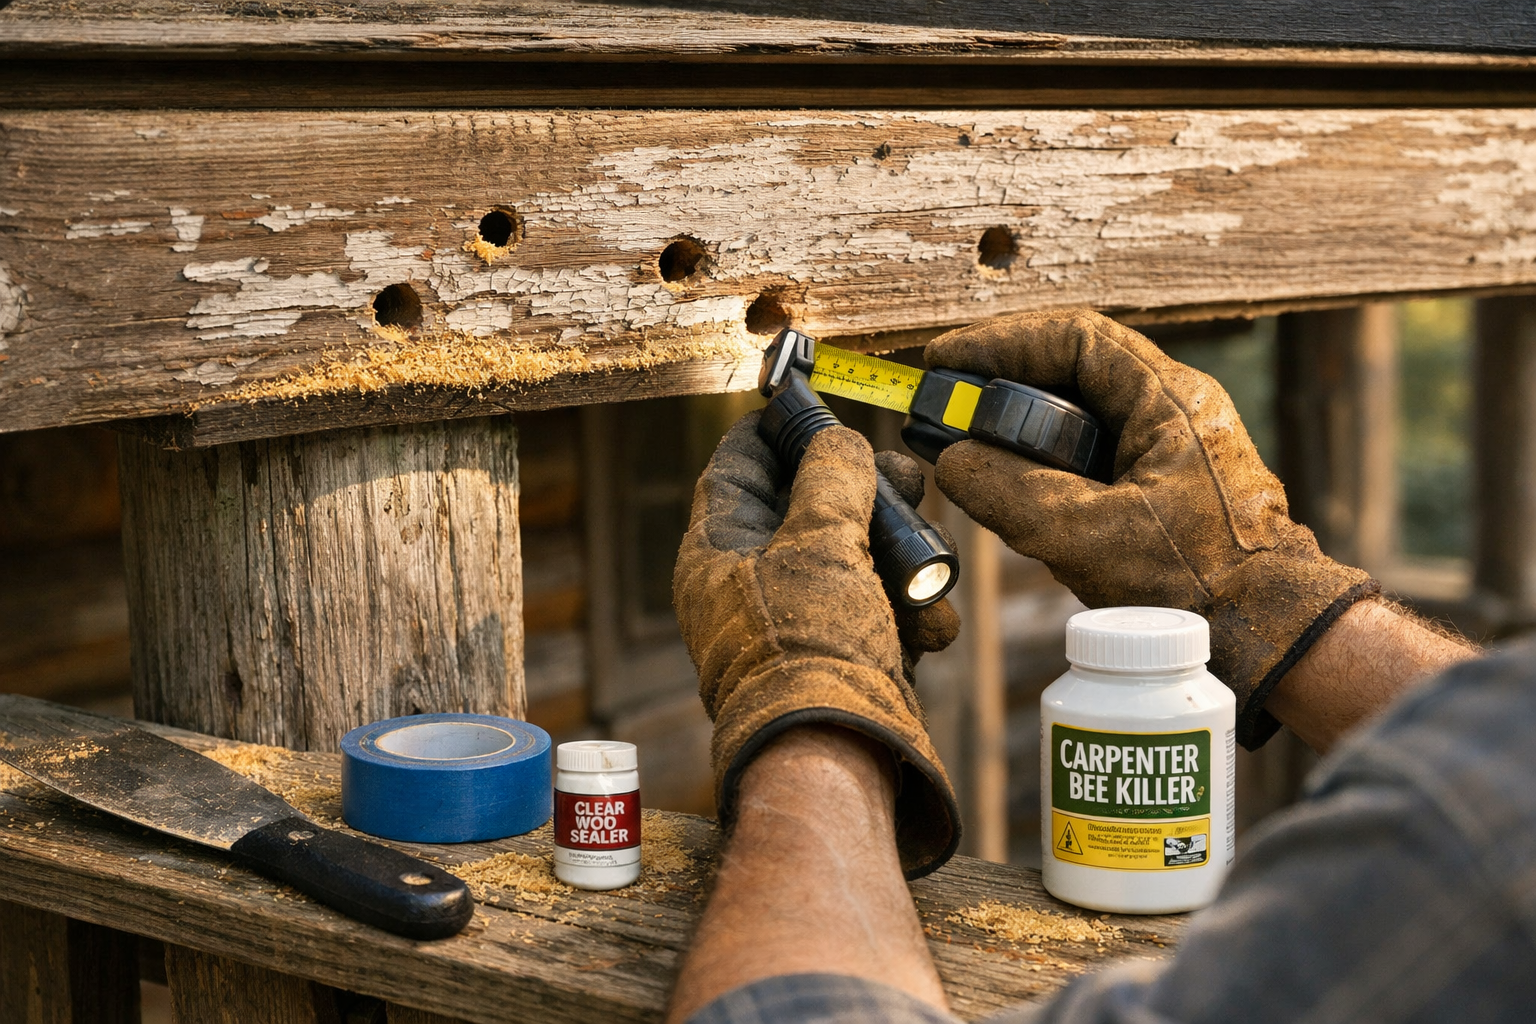
Identify all active holes on the structure, checking eaves, fascia boards, deck rails, and any exposed trim.
Apply insecticide dust into each hole during low-activity hours, ideally dusk or early morning.
Wait 24 to 48 hours without sealing anything, letting the dust do its work inside the gallery.
Recheck each hole for continued bee activity; retreat any that still show fresh sawdust.
Once activity stops, fill and seal every hole using wood filler or dowel plugs.
Paint or reseal the repaired area to prevent the same spot from being redrilled next season.
Mark treated areas on a simple checklist or photo so next spring’s inspection is faster.
Filling a hole before treating it is one of the most common mistakes people make, and it backfires almost every time. Never plug a hole until you’ve confirmed the bee inside is dead — trapping her alive just relocates the problem a few inches over.
Traps, Repellents, and Why Neither Works Alone
Carpenter bee traps and natural repellents both reduce activity, but neither one solves an existing infestation by itself — they work best as a supplement to dust treatment and sealed wood, not a replacement for it. If you’re relying only on a trap hanging under your porch roof, you’re managing symptoms, not fixing the wood.
Traps: What They Do and Don’t Do
Wooden carpenter bee traps use pre-drilled holes leading into a clear jar or chamber, mimicking a nesting site and luring bees in where they get stuck and can’t find their way back out. They’re genuinely useful for reducing the population flying around your cabin over a season, and a lot of DIY builders hang two or three around the perimeter starting in early spring.
The catch: a trap only catches the bees drawn to it, not the ones already established in your fascia board. If you’ve already got active galleries in your structure, a trap sitting nearby won’t empty them out. Think of traps as population control for next year, not treatment for this year’s damage.
Citrus, Almond Oil, and Other Natural Repellents
Citrus oil and almond oil sprayed or brushed onto exposed wood surfaces act as a mild deterrent, since carpenter bees seem to avoid the scent, though the effect fades within days and needs frequent reapplication. Almond oil in particular gets mentioned a lot in DIY circles as a natural alternative to chemical dust, and it’s not a bad option for someone who wants a lower-toxicity approach on a small cabin or shed.
The honest limitation is that repellents wear off fast, especially outdoors in rain or direct sun, and they do nothing for a tunnel that’s already occupied. Treat citrus and almond oil as a maintenance tool for previously treated, sealed wood, not a frontline defense against an active nest.
Comparing Your Main Control Options
Method
Effective Against Active Nests
Reapplication Needed
Rough Cost
Insecticide dust
Yes
Once per treated hole, retreat if active
$10-$15 per can
Wooden bee traps
No (prevention only)
Reset seasonally
$15-$25 per trap
Citrus/almond oil
No
Every few days to weeks
$8-$12 per bottle
Paint sealing
Not directly, but removes nesting sites
Every 3-5 years depending on exposure
$30-$60 per gallon
Filling and Repairing Bee Holes Without Trapping Bees Inside
Repair the hole only after you’ve confirmed the bee is dead, using wood filler for shallow damage or a glued dowel for deeper tunnels, then priming and painting over the patch. Doing this step in the wrong order is the single most common DIY mistake with carpenter bees control.
Choosing Filler vs. Dowel
For a tunnel that’s mostly surface-level, an exterior-grade wood filler or epoxy wood putty packed into the hole and sanded flush works fine. For deeper galleries, cut a wooden dowel to length, coat it in exterior wood glue, and tap it into the hole so it’s flush with the surface — this gives the patch more structural backing than filler alone, especially on a load-bearing beam.
Let the repair cure fully before sanding, usually overnight at minimum depending on the product, then prime the bare wood before painting. Skipping primer on a fresh patch means the paint won’t bond as well, and you’ll see that patch peeling again within a season or two.
Why the Same Spot Gets Redrilled
Carpenter bees show a strong tendency to return to previously used galleries or nest near old holes, since the softened wood there is easier to work with than starting fresh elsewhere. That’s exactly why sealing and painting the patch matters as much as the patch itself — an unpainted repair is still soft, still exposed, and still an easy target come next spring.
If you’ve got a beam with five or six old holes from years past, plan on that board getting checked every year going forward, even after full repair. It’s not a one-and-done fix; it’s a board with a track record.
Timing, Reinspection, and Avoiding a Repeat Infestation
Spring, roughly March through May depending on your region, is when overwintered adult bees emerge and start new or reused galleries, making it the best window for dust treatment and hole-filling. Fall is your window for prevention work — painting, sealing joints, and general wood maintenance — since bees are inactive and you’re not disturbing a live nest.
Why Treating Once Isn’t the End of the Story
A lot of DIY builders treat their cabin one spring, feel good about the clean fascia board, and never check again. That’s a mistake, because carpenter bees are territorial and opportunistic, and a wood surface that was appealing once tends to stay appealing unless the underlying condition changes.
Plan on a yearly walkaround every spring, checking the same trouble spots: eaves, deck rails, exposed beam ends, and any trim where paint has started to chip. It takes maybe twenty minutes for a small cabin, and it’s the cheapest insurance you’ll buy against a return infestation. Skipping this check for two or three years is how a minor hole from one female turns into a network of tunnels running through half a beam.
DIY vs. Calling in Professional Pest Control
For most cabins with a handful of holes, DIY dust treatment and sealing is enough, and it costs a fraction of a professional visit. Where I’d actually recommend calling a licensed pest control company is when you’re seeing extensive tunneling across multiple structural beams, when you suspect rot has already set in, or when the infestation is on a hard-to-reach roofline where dust application safely just isn’t practical from a ladder.
A typical DIY treatment for a small cabin, counting dust, filler, and a gallon of paint for the repaired sections, usually lands somewhere between $40 and $80 depending on how many holes you’re dealing with. A professional treatment visit for a similar scope generally runs a few hundred dollars once you factor in labor, and that gap is exactly why most cabin owners handle this themselves unless the damage has gotten structural.
Frequently Asked Questions
Do carpenter bees actually eat the wood they drill into?
No, carpenter bees don’t eat wood at all; they excavate tunnels purely to create nesting galleries for their eggs. The wood they remove comes out as sawdust, not digested material, which is why frass piles show up under active holes.
What time of year is best for carpenter bees control treatment?
Spring, roughly March through May, is best for active treatment since that’s when adults emerge and drill new or reused galleries. Fall is better for preventive sealing and painting since the bees are dormant and you won’t be disturbing a live nest.
Can I just fill the holes and skip the insecticide dust?
No, filling first traps a live bee inside, and she’ll often chew a new exit hole right next to the sealed one. Always dust the hole, wait 24 to 48 hours to confirm no activity, then fill and paint.
Will painting my cabin’s exterior wood really stop carpenter bees?
Painted wood is far less attractive to carpenter bees than bare or stained wood, since the paint film resists drilling in a way stain doesn’t. It’s not a total guarantee on its own, but combined with sealed joints, it removes most of the easy nesting spots that draw bees in the first place.