Why does your router bite into rough cabin lumber instead of gliding through it like it does in every YouTube video? Router woodworking on cabin-grade material behaves nothing like routing kiln-dried furniture stock. You’re dealing with warped boards, sappy knots, and edges that were never meant to be perfectly straight.
That’s the gap most router guides never address. They’re written for a guy in a heated shop with a jointer, a planer, and boards flattened to a sixteenth of an inch. Cabin builders are usually working outside, on sawhorses, with rough-sawn or reclaimed wood that fights back. This guide covers the router techniques that actually hold up under those conditions.
Handheld Router vs. Router Table: Which One Earns Its Spot in a Cabin Shop
For cabin work, get a handheld router first. It handles 80% of cabin trim tasks — edge profiles, door frame rounding, window casing grooves — and it goes wherever the lumber is, instead of forcing you to haul heavy boards to a fixed table.
A router table shines when you need repeatable, precise cuts on smaller pieces, like shelf edges or drawer joinery for cabin cabinetry. But hauling a table saw-sized fixture to a job site, or setting one up in a half-built cabin with no power run yet, is a hassle most builders don’t need in year one.
When a Handheld Router Wins
Handheld routers work directly on installed material. You can round over a door casing after it’s already nailed to the frame, something a table setup can’t do. They’re lighter, cheaper (a decent mid-size router runs $120 to $200), and forgiving when your workpiece is 8 feet long and irregular.
When a Router Table Pays Off
A router table earns its keep once you’re cutting a lot of matching pieces — say, 20 identical shelf brackets for a pantry wall. The fence gives consistent depth every time, which matters more once repetition enters the picture. If you’re only building one cabin, though, a benchtop table with a mounted plunge router covers most needs without buying a dedicated cabinet model.
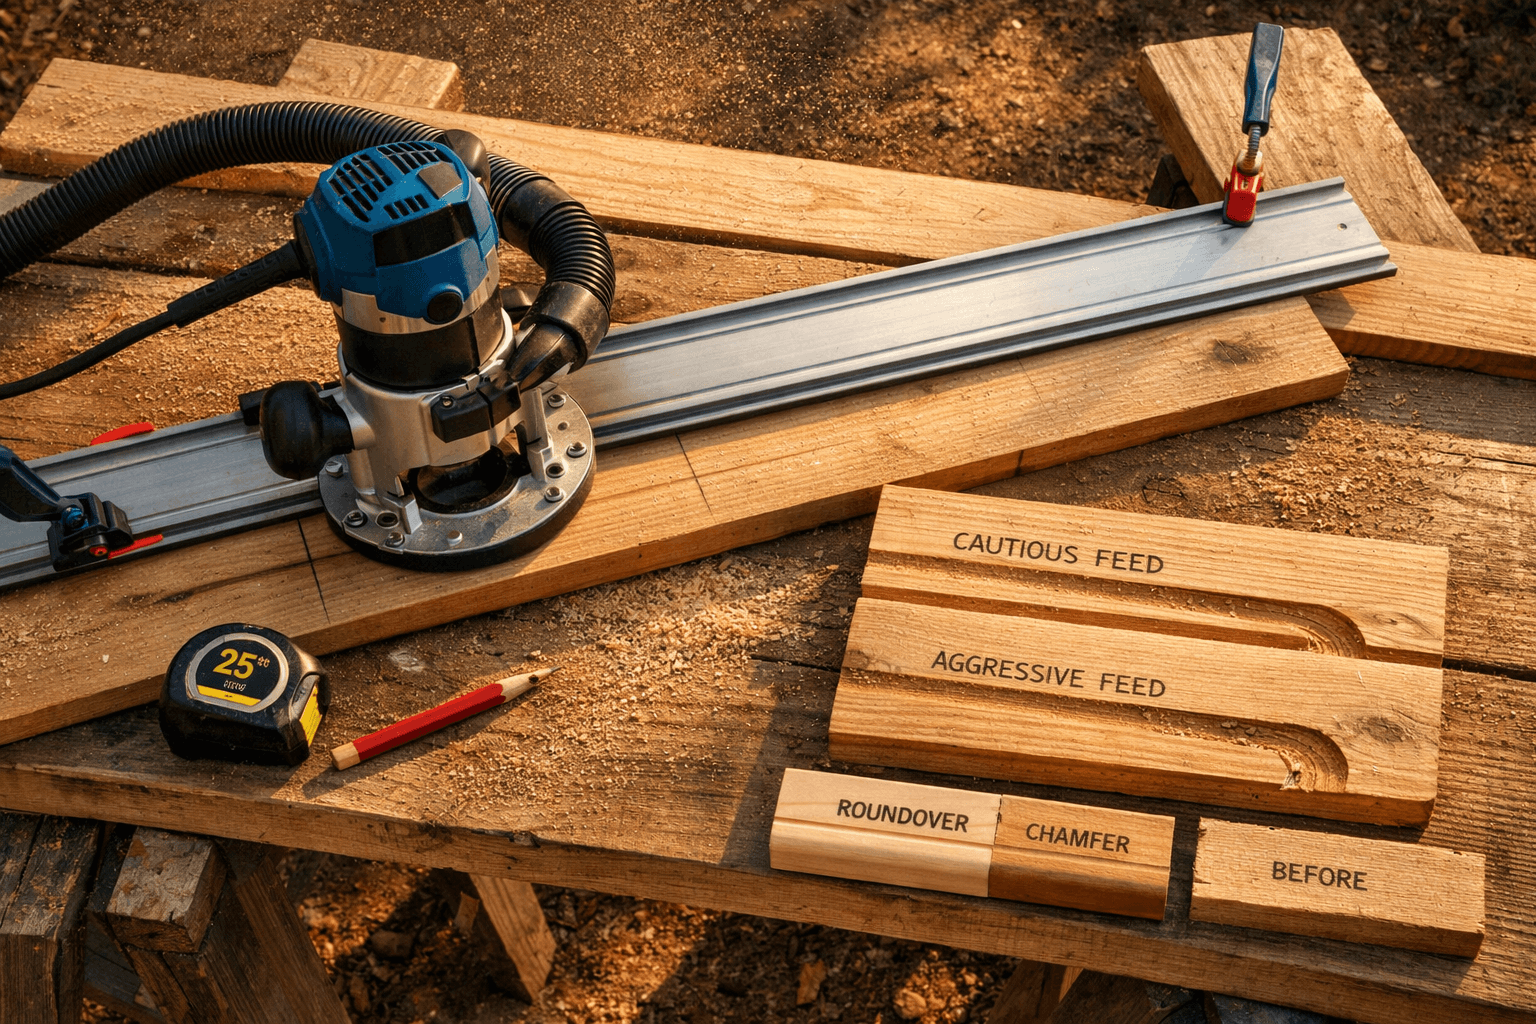
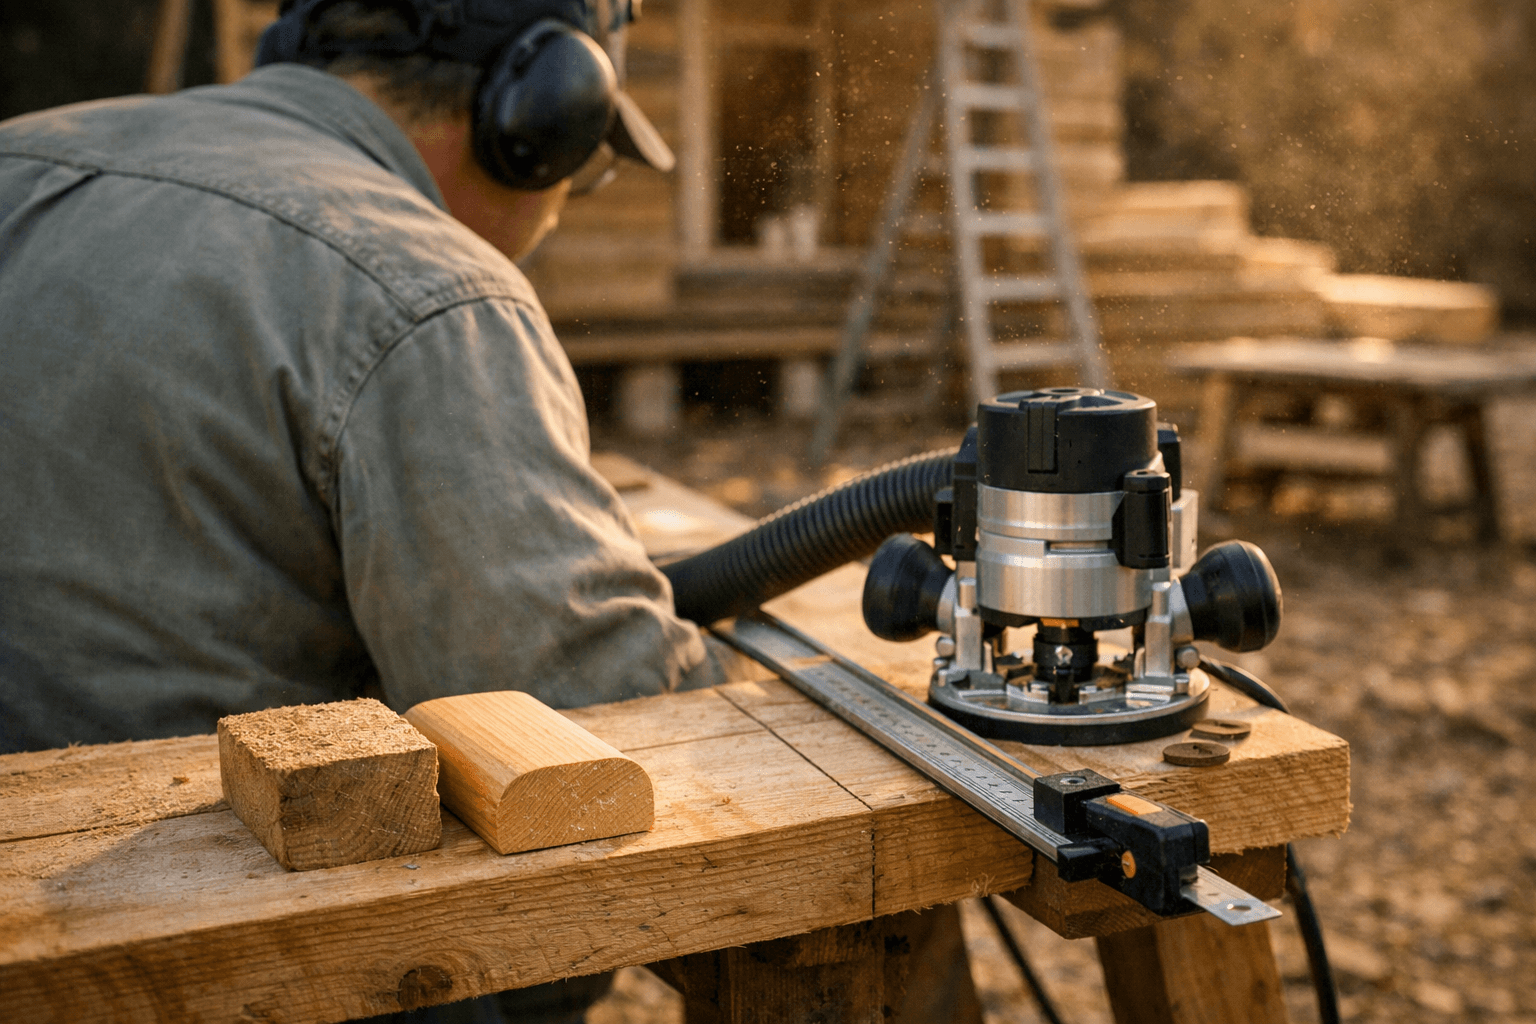
Plenty of cabin builders skip the table entirely and just clamp a straightedge as a guide for the handheld router. It’s slower, but it costs nothing extra and works on boards too big or too odd-shaped for any table anyway. I’d lean toward that setup for a first cabin build, and only add a table later if you find yourself repeating the same cut over and over.
Choosing Router Bits for Cabin Trim, Not Furniture
Four bit types cover almost every cabin detail job: roundover, chamfer, rabbet, and straight/dado bits. You don’t need a 40-piece bit set — most cabin builders get by with six or seven bits total, used constantly instead of collecting dust.
A roundover bit softens sharp edges on window sills, shelf fronts, and door casing so nobody catches a hip on a 90-degree corner in a tight cabin hallway. A 3/8-inch roundover is the workhorse size for most trim; go smaller (1/4 inch) for delicate interior shelving and bigger (1/2 inch) for thick exterior fascia boards.
Bits for Structural Joints
Rabbet bits cut the stepped notch you need where a cabin window frame meets siding, or where a shelf needs to sit flush inside a cabinet side panel. Dado bits (or a straight bit run twice with a guide) cut the trench-like grooves used for shelving support and tongue-and-groove paneling — a detail that shows up constantly in cabin interiors because it hides gaps in imperfect lumber better than butt joints do.
Bits for Softening and Finishing Edges
Chamfer bits cut a flat angled edge instead of a curve — useful on exterior trim boards where a crisp 45-degree bevel sheds water better than a rounded profile. They’re also the go-to for beveling the edges of a cabin door for a more finished look without a fully rounded softness.
Cheap bit sets tempt everyone at some point, but carbide-tipped bits from a known brand (Freud, Whiteside, and Bosch all make solid mid-range options) last through rough-sawn cedar and reclaimed barn wood far longer than the bargain bin steel bits that dull after one board. A dull bit doesn’t just cut slower — it burns the wood and tears the grain, which means more sanding later. Given how much abuse cabin lumber puts on a bit, spend the extra $15 to $20 per bit and skip the frustration.
Router Speed and Feed Rate: Matching the Bit to the Wood
Run larger bits slower and harder woods slower too — a 2-inch-diameter panel bit at full router speed (usually around 22,000 RPM on variable models) will overheat, burn, and possibly kick back. Most routers with variable speed dials let you drop to 12,000-16,000 RPM for bigger bits, and that adjustment matters more than most beginners realize.
The rule of thumb: bit diameter and RPM move in opposite directions. A small 1/4-inch roundover bit can run at full speed without trouble. A 1.5-inch-plus panel-raising or large cove bit needs a serious speed reduction, or the edge of the bit is moving too fast through the wood, generating heat that scorches softwoods like pine and fir — common cabin trim choices — almost instantly.
Feed Rate Matters as Much as Speed
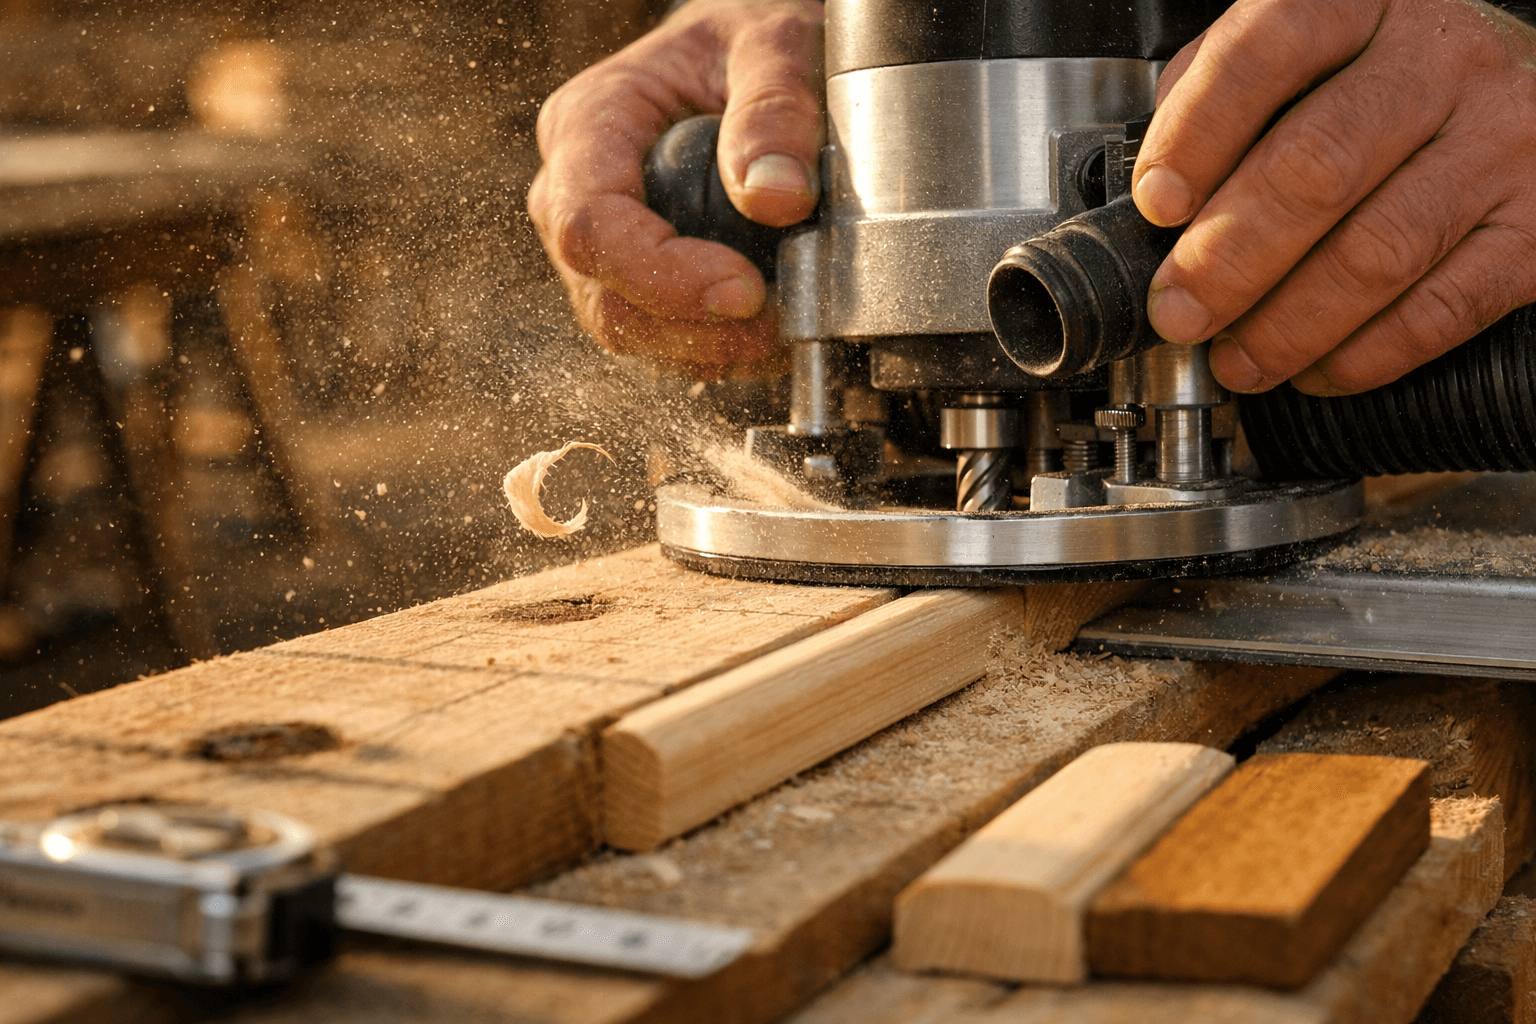
Feed rate — how fast you physically push the router through the material — interacts with speed settings. Push too fast and the bit tears chunks out instead of shaving clean curls. Push too slow and you get burn marks, especially in resinous woods like pine where the sap heats up and scorches. Cabin builders working with rough lumber should aim for a steady, unhurried pass, letting the sound of the router (a smooth hum, not a labored growl) tell you if you’re overloading it.
Adjusting for Rough-Sawn and Reclaimed Lumber
Rough-sawn boards have inconsistent density from knot to knot, so the “right” feed rate on one section can be wrong six inches later. Reclaimed barn wood adds another wrinkle: buried nails, grit, and old paint chip carbide edges fast. Before routing reclaimed material, run a metal detector or at least eyeball the board closely — a hidden nail head can snap a bit or send it flying.
Cabin lumber’s inconsistency is exactly why furniture-shop speed charts only get you partway there. Slow down more than the chart says whenever the wood looks unpredictable, and always let the router reach full speed before it touches the wood — starting a cut with an already-loaded bit is a fast way to bog the motor or gouge the surface.
Multiple Shallow Passes Beat One Deep Cut
Removing too much material in a single pass is the single most common router mistake on cabin sites, and it’s the one most likely to ruin a board or hurt someone. Deep single passes overload the motor, cause tear-out, and increase kickback risk — especially on a handheld router with nothing but your grip holding it steady.
The fix is simple: take two to four passes to reach your final depth instead of one. If you need a half-inch-deep dado for a shelf, cut a quarter inch first, then finish with a second pass at full depth. On harder woods, or with bigger bits, break it into three passes instead of two.
Mark your final depth on the bit or router base so you don’t overshoot.
Set the first pass at roughly one-third of total depth.
Run the cut, then check for tear-out or burning before continuing.
Increase depth incrementally, repeating the cut path each time.
Finish with a lighter final pass to clean up the edge and remove fuzz.
Sand or scrape immediately if the final pass still shows minor tear-out.
This process takes longer, sure, maybe an extra five to ten minutes per cut on a long board. But it’s the difference between a clean groove and a splintered mess that needs filler and paint to hide, which defeats the point of routing a detail in the first place. On visible cabin trim — window casings, door surrounds, shelf edges people actually see — that extra patience pays for itself every time.
Reading Grain Direction Before You Ever Pull the Trigger
Routing against the grain causes tear-out, splintering, and rough, fuzzy edges that no amount of sanding fully fixes. The fix is to always feed the router so the bit cuts with the grain direction, moving in the direction where the wood fibers support the cut rather than lift away from it.
On a straight board, this is straightforward: look at the grain lines on the edge and feed the router so the bit is cutting downhill relative to the grain’s slope, not uphill into it. On a handheld router working the outside edge of a workpiece, that generally means moving left to right when the wood is in front of you and the bit is spinning clockwise (as viewed from above) — the classic “climb-cutting kickback” happens when you reverse that direction carelessly.
Grain Reversals in Real Cabin Lumber
Rough-sawn cabin boards often have grain that changes direction partway down the length, especially near knots or where a branch used to grow. You’ll cut cleanly for two feet, then suddenly the router starts chewing instead of slicing. When that happens, stop, flip your feed direction for that section, and reroute from the opposite end.
Test Cuts Save Real Lumber
Skipping test cuts on scrap before touching your actual cabin trim is a mistake that costs way more than the two minutes it takes to test. Grab an offcut from the same board, run your exact bit, speed, and depth settings on it first, and check the results before committing to the piece that’s going into your window frame. Reclaimed and rough-sawn wood varies so much, board to board, that a setting that worked perfectly on yesterday’s cedar plank might tear out today’s pine.
I’ve seen builders skip this step because “it’s just a quick round-over,” only to gouge a two-foot chunk out of a casing board they’d already cut to length. A test cut takes less time than a trip back to the lumber yard.
Jigs, Templates, and Clamping for Uneven Cabin Material
Jigs and clamps matter more on a cabin job than in a furniture shop, because your workpieces are rarely flat, square, or the same thickness twice in a row. A simple straightedge guide clamped to the board turns a wandering hand cut into a straight line, even on warped lumber.
The most useful cabin jig is a homemade straightedge fence: a length of scrap plywood with a factory-straight edge, clamped parallel to your cut line at a measured offset matching your router base. It costs nothing beyond scrap material and a couple of F-clamps, and it works on boards a fixed router table could never accommodate.
Templates for Repeated Details
If you’re cutting the same profile more than a few times — say, matching notches for eight shelf brackets, or identical vent openings for a row of soffit boards — a template pays off. Cut the shape once from 1/2-inch MDF or plywood, then use a guide bushing or a pattern bit (a bit with a bearing that rides against the template) to trace that same shape onto every board. It turns “eyeballing it eight times” into “cutting it once, correctly, then copying it.”
Clamping Rough and Warped Boards
Uneven lumber needs more clamping points than flat stock, not fewer. A cupped or twisted board will lift under router pressure exactly where you don’t want it to. Use at least three clamp points on anything longer than 4 feet, and add shims under low spots so the board sits stable instead of rocking while the bit is spinning. Wobble under a running router is how bits snap and how boards get ruined in one pass.
Working outside adds its own wrinkle: sawhorses shift on uneven ground, and a gust of wind can nudge an unclamped board mid-cut. Weight down your sawhorses or work near a wall break if you’re routing on a breezy site, and never trust friction alone to hold a board still.
Dust Collection, Safety Gear, and Working Outdoors
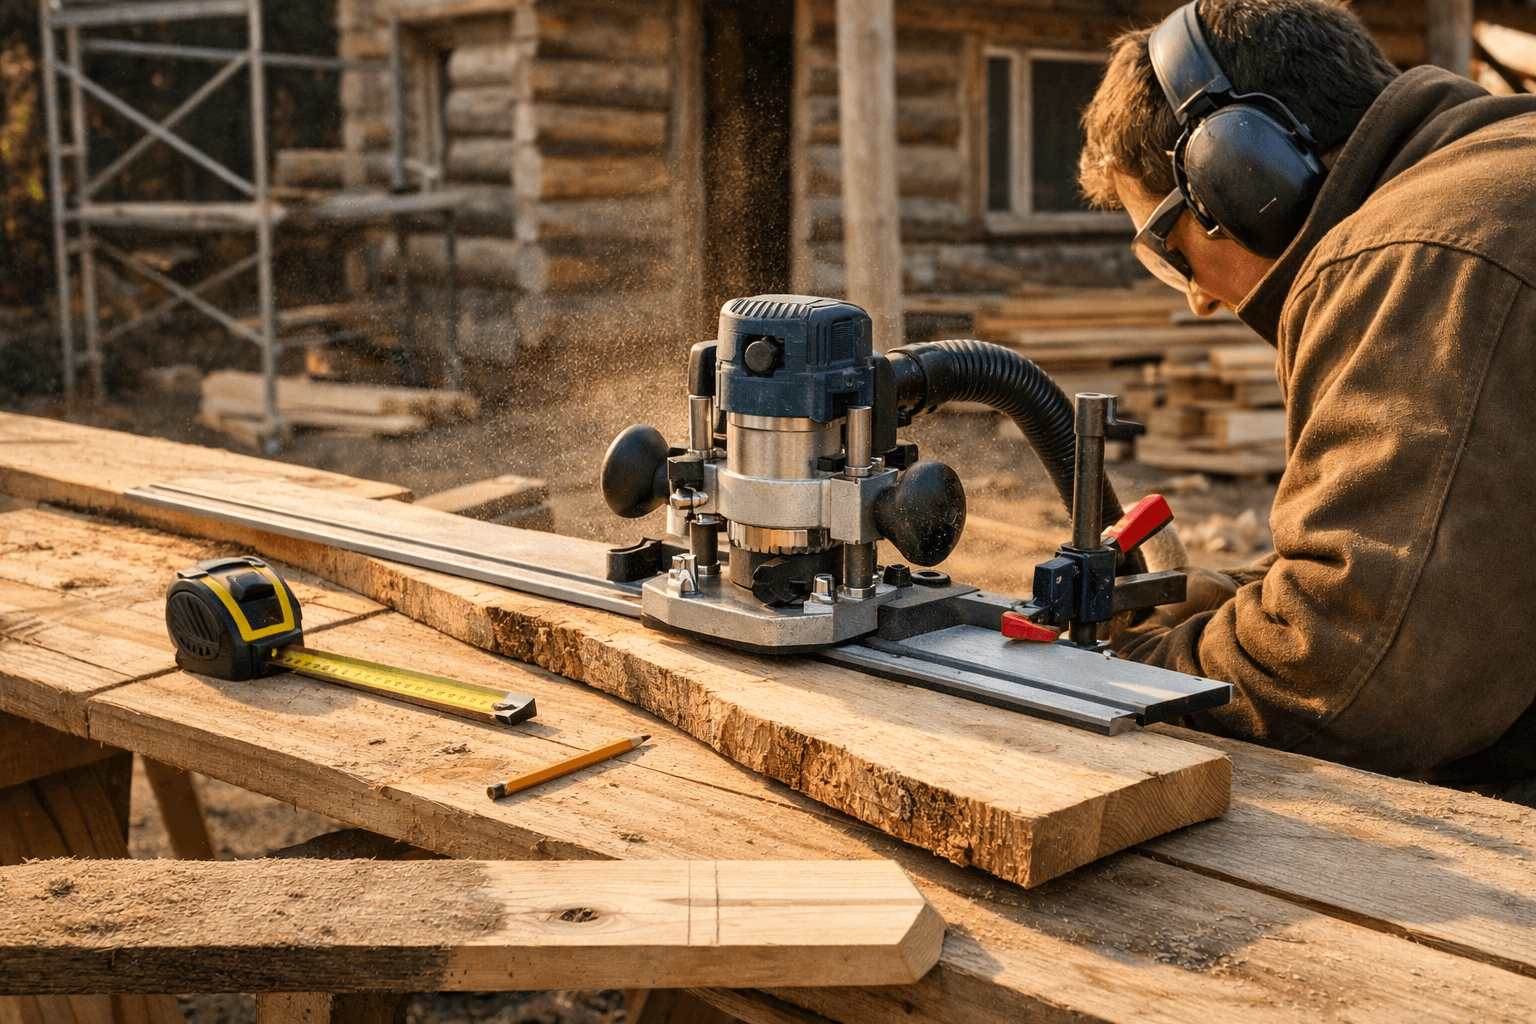
Router dust is fine, dry, and gets everywhere, so a shop vac hooked to your router’s dust port (most modern routers have one) is worth the hassle even outdoors, where you’d think wind handles it for you. It doesn’t — fine dust still drifts back into your face on a calm day, and cedar or pine dust irritates lungs fast with repeated exposure.
Safety gear for router work isn’t optional gear-store upsell; it’s the stuff that keeps a bit failure or kickback from becoming a real injury. At minimum: safety glasses rated for impact, hearing protection (routers run loud, often north of 90 decibels), and a dust mask or respirator rated for fine wood particulate.
Gear That Matters Most for Cabin-Site Routing
Push sticks and a firm two-hand grip on the router matter more outdoors than in a shop, where wind and uneven footing add variables a stationary shop floor doesn’t have. Skip gloves near the bit itself — loose fabric near a spinning router bit is a real hazard, not a theoretical one.
Comparing Common Router Bit Types for Cabin Work
Bit Type
Best Cabin Use
Typical Cost
Speed Setting
Roundover (3/8″)
Door casings, shelf edges, sills
$18-$30
Full speed (18,000-22,000 RPM)
Chamfer (45°)
Exterior trim bevels, door edges
$20-$35
Full speed (18,000-22,000 RPM)
Rabbet
Window frame joints, panel edges
$25-$40
Medium (14,000-18,000 RPM)
Straight/Dado
Shelf grooves, tongue-and-groove
$20-$45
Medium-low (12,000-16,000 RPM)
Pattern (bearing-guided)
Repeated template cuts
$30-$50
Medium (14,000-18,000 RPM)
Working outdoors also means watching for moisture. Routing damp, rough-sawn lumber straight off a fresh-cut pile gums up bits with sap and pulp fast, especially in pine and fir. Let boards dry to a reasonable moisture level before detail work if you can, and if you’re planning any wood treatment for exterior trim, it’s worth reading a dedicated guide on that process over on cabinlodger.com before you seal in a rushed cut you’ll regret later.
Matching Wood Choice to the Router Job
Not every cabin trim job wants the same wood, and picking wrong makes routing harder than it needs to be. Pine and cedar rout cleanly and take roundovers and chamfers well, but pine’s soft resin pockets can gum a bit and cedar splits easily near knots if you push too fast.
Reclaimed barn wood looks incredible in a cabin interior, but it’s the hardest material to route safely. Old growth wood is often denser than new-growth lumber of the same species, and it hides nails, grit, and old fasteners that destroy carbide edges without warning.
Softwoods for Interior Trim
For interior shelving, window casing, and door trim, pine and cedar are the standard picks because they’re affordable, routable with basic bits, and take stain or clear coat evenly. Fir is a solid step up in hardness if you want trim that resists dings from daily cabin life, though it’s tougher on bit edges and needs a slightly slower feed rate.
Hardwoods and Reclaimed Stock for Statement Pieces
Save hardwoods like oak or reclaimed barn board for accent pieces — a mantel, a statement shelf, a front door surround — where the extra bit wear and slower pace are worth it for the look. Run these at reduced speed always, inspect for embedded metal first, and expect to sharpen or replace bits more often than you would working softwood trim all week.
Given the choice between routing a gorgeous but unpredictable reclaimed board and a straightforward pine one for your first cabin project, start with pine. Save the reclaimed stuff for once you’ve got a feel for how your specific router and bits behave, because that first unexpected nail strike is a lesson better learned on a $12 board than a $150 reclaimed statement piece.
Frequently Asked Questions
What’s the minimum router setup a cabin builder actually needs?
One mid-size variable-speed handheld router, a roundover bit, a chamfer bit, and a straight bit covers most cabin trim work. Add a rabbet bit once you’re framing window or door surrounds — that’s four bits total, not forty.
Can I use the same router bit on both softwood and hardwood cabin trim?
Yes, but you need to slow the RPM and feed rate for hardwood or dense reclaimed lumber. The same bit that glides through pine at full speed will burn or dull fast on oak run at the same setting.
How do I stop tear-out on rough-sawn cabin boards?
Feed the router with the grain, take shallow passes instead of one deep cut, and always test on an offcut first. Grain direction often reverses mid-board on rough-sawn lumber, so watch for a change in cutting sound and stop if it starts chewing instead of slicing.
Is a router table worth buying for a single cabin build?
Usually not right away. A handheld router with a clamped straightedge guide handles nearly everything for a one-off build; a table only pays off once you’re repeating the same cut across a dozen or more matching pieces.