Skip chinking on a handcrafted log cabin and you’re not just leaving a gap-toothed look on your walls. You’re inviting drafts, water intrusion, and eventually rot into the joints between your logs. Chinking for log cabins is the flexible sealant packed into those gaps, and whether you actually need it comes down to one thing: your log profile.
If you’re milling your own logs to a tight, uniform dimension, you might get away with minimal chinking. If you’re working handcrafted, scribe-fit logs with natural variation, chinking isn’t decoration. It’s the difference between a dry cabin and one that’s rotting from the inside in three or four seasons.
What Chinking Actually Does (And Why “Decorative” Is the Wrong Word)
Chinking is the flexible material packed into the horizontal gaps between log courses to seal out air, water, and pests while allowing the logs to move. It’s functional first, cosmetic second. Treating it as trim is the single most common mistake I see in DIY builds.
Logs aren’t static. They shrink as they dry, swell with humidity, and settle as the whole structure compresses under its own weight. A rigid material can’t handle that kind of motion — it’ll crack, and once it cracks, water gets behind it and you’re dealing with rot you can’t see until it’s bad. Chinking has to stretch and compress with the logs, sometimes by as much as 1/4 inch of movement per gap over a season.
This is also where chinking differs from daubing, its historical predecessor. Old-timers packed gaps with mud, clay, and straw — daubing — which worked fine for a season or two but had zero flexibility and needed constant redoing. Modern chinking exists specifically to solve the flexibility problem daubing never solved.
Chinking vs. Daubing
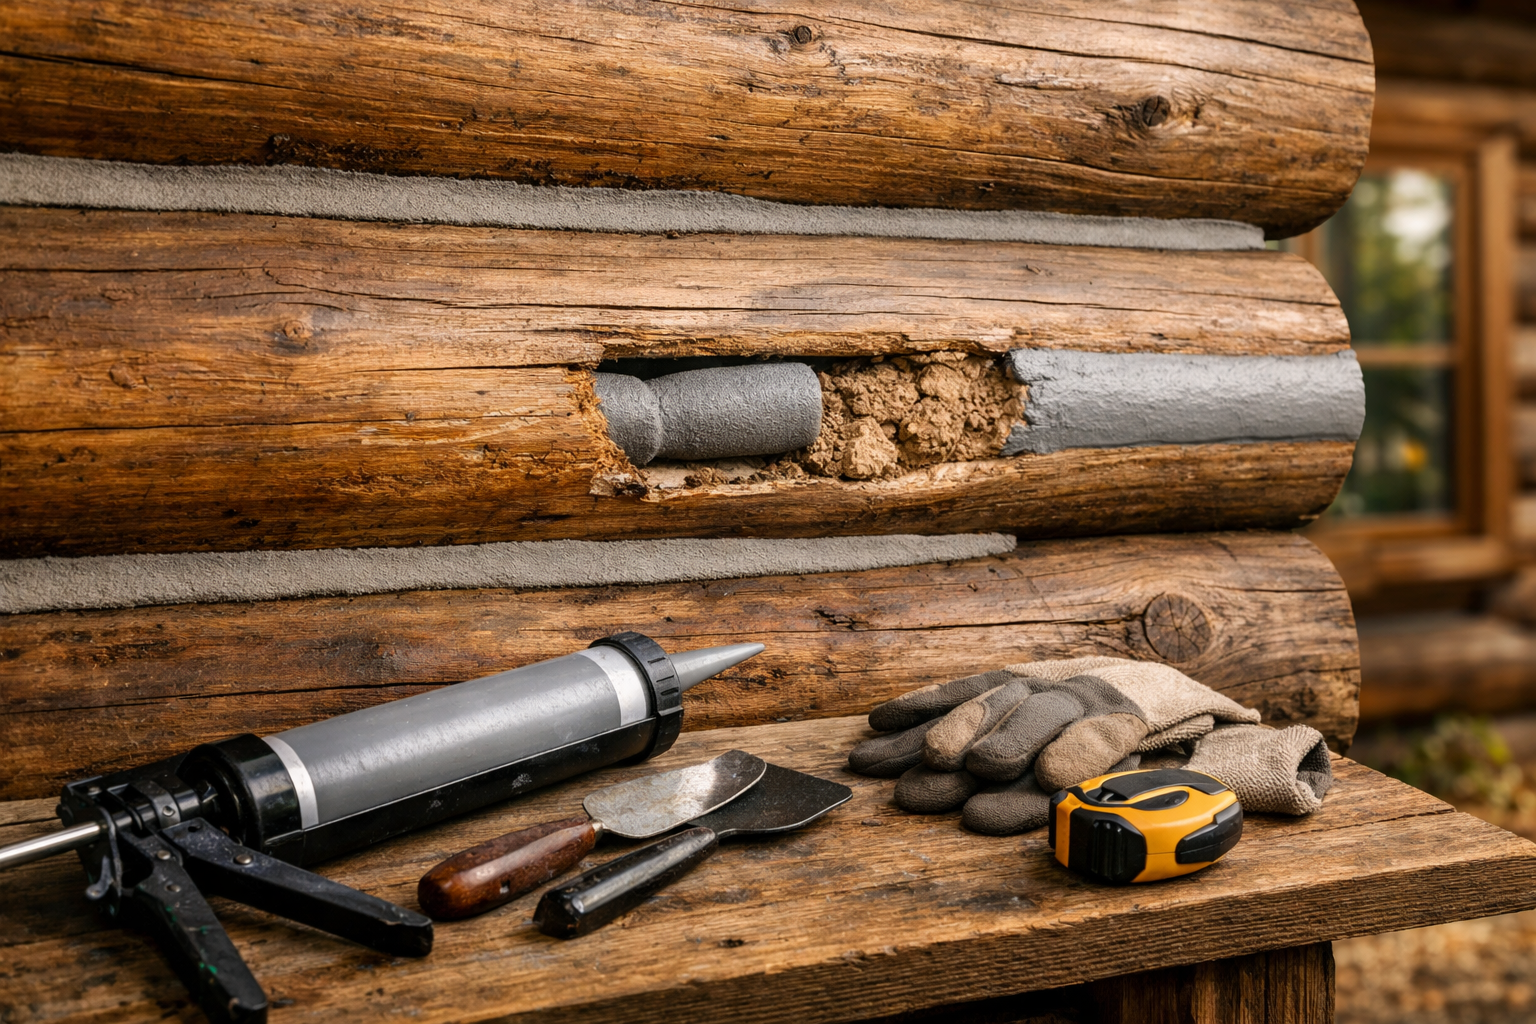
Daubing is a mix of clay, sand, and fiber (sometimes lime) pressed into gaps by hand, with no real adhesion or stretch. Chinking is a manufactured or job-mixed compound designed to bond to both wood surfaces on either side of a gap while stretching across the middle. If you’re restoring a historic cabin, daubing might be period-correct. If you’re building new, there’s no real argument for it over synthetic chinking.
Synthetic Chinking vs. Traditional Mortar: Which One Actually Holds Up
Synthetic acrylic or urethane chinking wins for nearly every modern build because it flexes with log movement instead of fighting it. Traditional mortar chinking looks more historically accurate but cracks within a few years on any log home that isn’t perfectly seasoned and stable.
Why Mortar Struggles
Mortar is rigid by nature. It’s built for masonry that doesn’t move. Logs move constantly during their first 2 to 3 years of drying, and even seasoned logs shift with humidity swings between summer and winter. Pack mortar into a gap on a green or semi-green log wall and you’ll likely see hairline cracks within the first year, wider ones by year three. Once cracked, it’s an open door for water.
Why Synthetic Wins for DIY Builds
Acrylic-based synthetic chinking (the kind sold under names like Perma-Chink or Sashco) can stretch and compress without losing its seal, and it bonds well to log surfaces treated with a borate or oil-based wood preservative. It costs more upfront but needs far less repair work down the line.
Feature
Traditional Mortar
Synthetic Chinking
Flexibility
Rigid, cracks with movement
Stretches up to 1/4 inch per gap
Lifespan
3-7 years before major cracking
15-20 years with proper backer rod
Cost per linear foot
$2-$4
$4-$8
DIY difficulty
Moderate, needs mixing skill
Easy, gun-applied
How to Apply Chinking Without Wasting Material or Losing Adhesion
Apply chinking over a compressible backer rod set into the gap, never directly against bare wood spanning more than an inch wide. Skipping the backer rod is the second most common DIY mistake, and it leads to sunken, cracked chinking that fails within a couple of years.
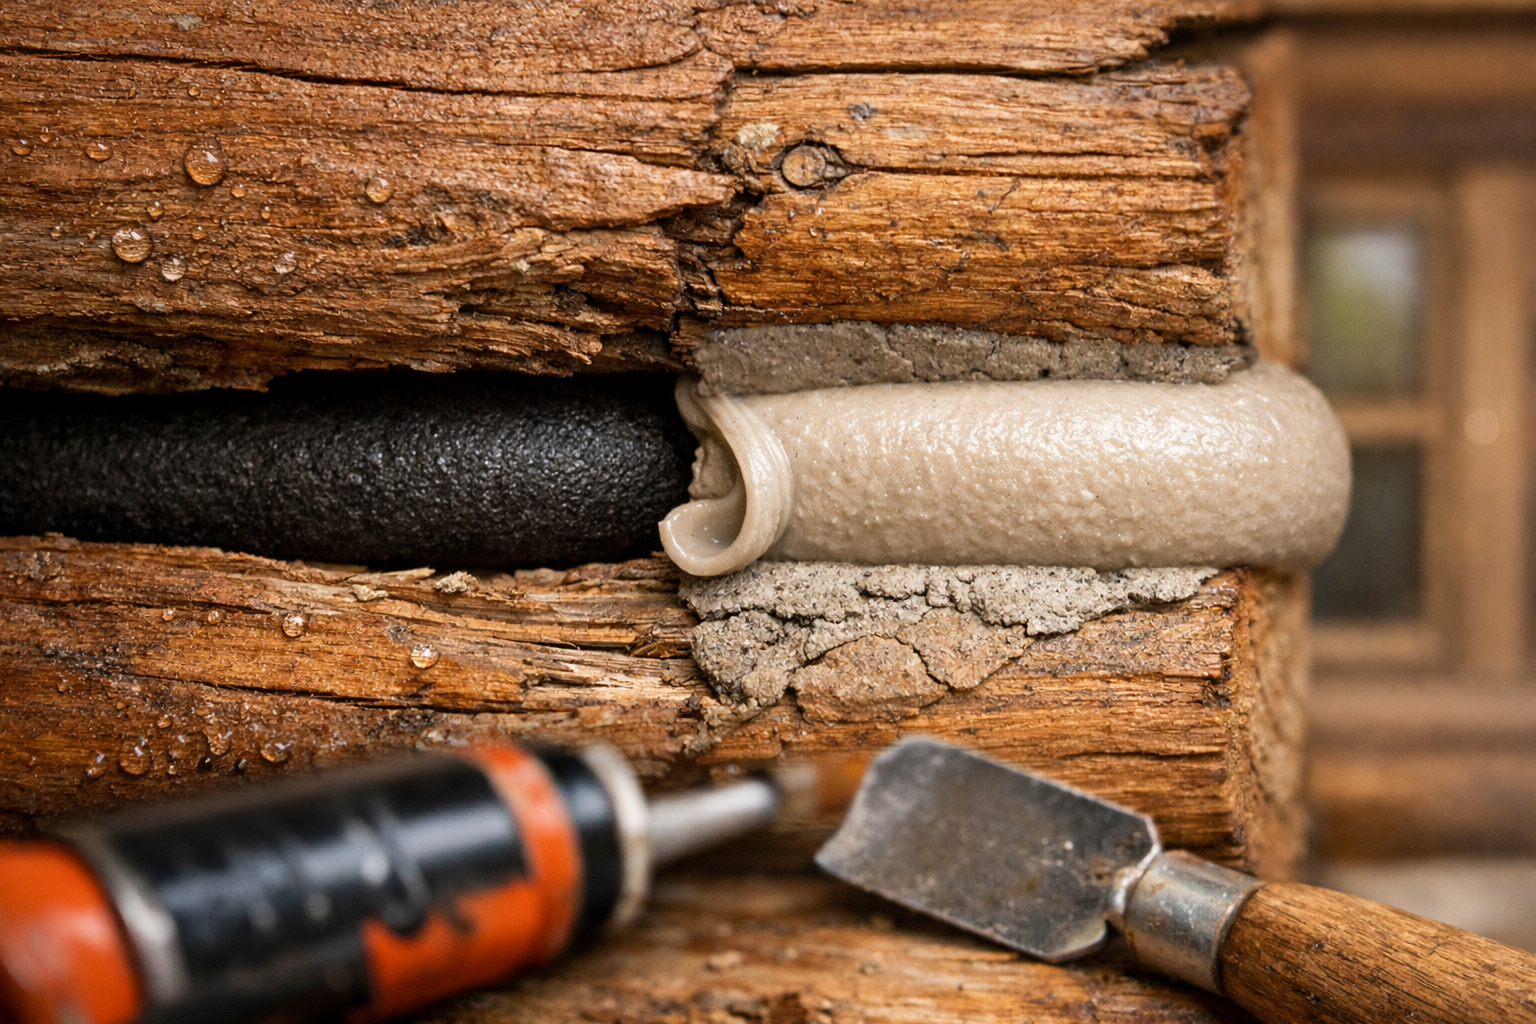
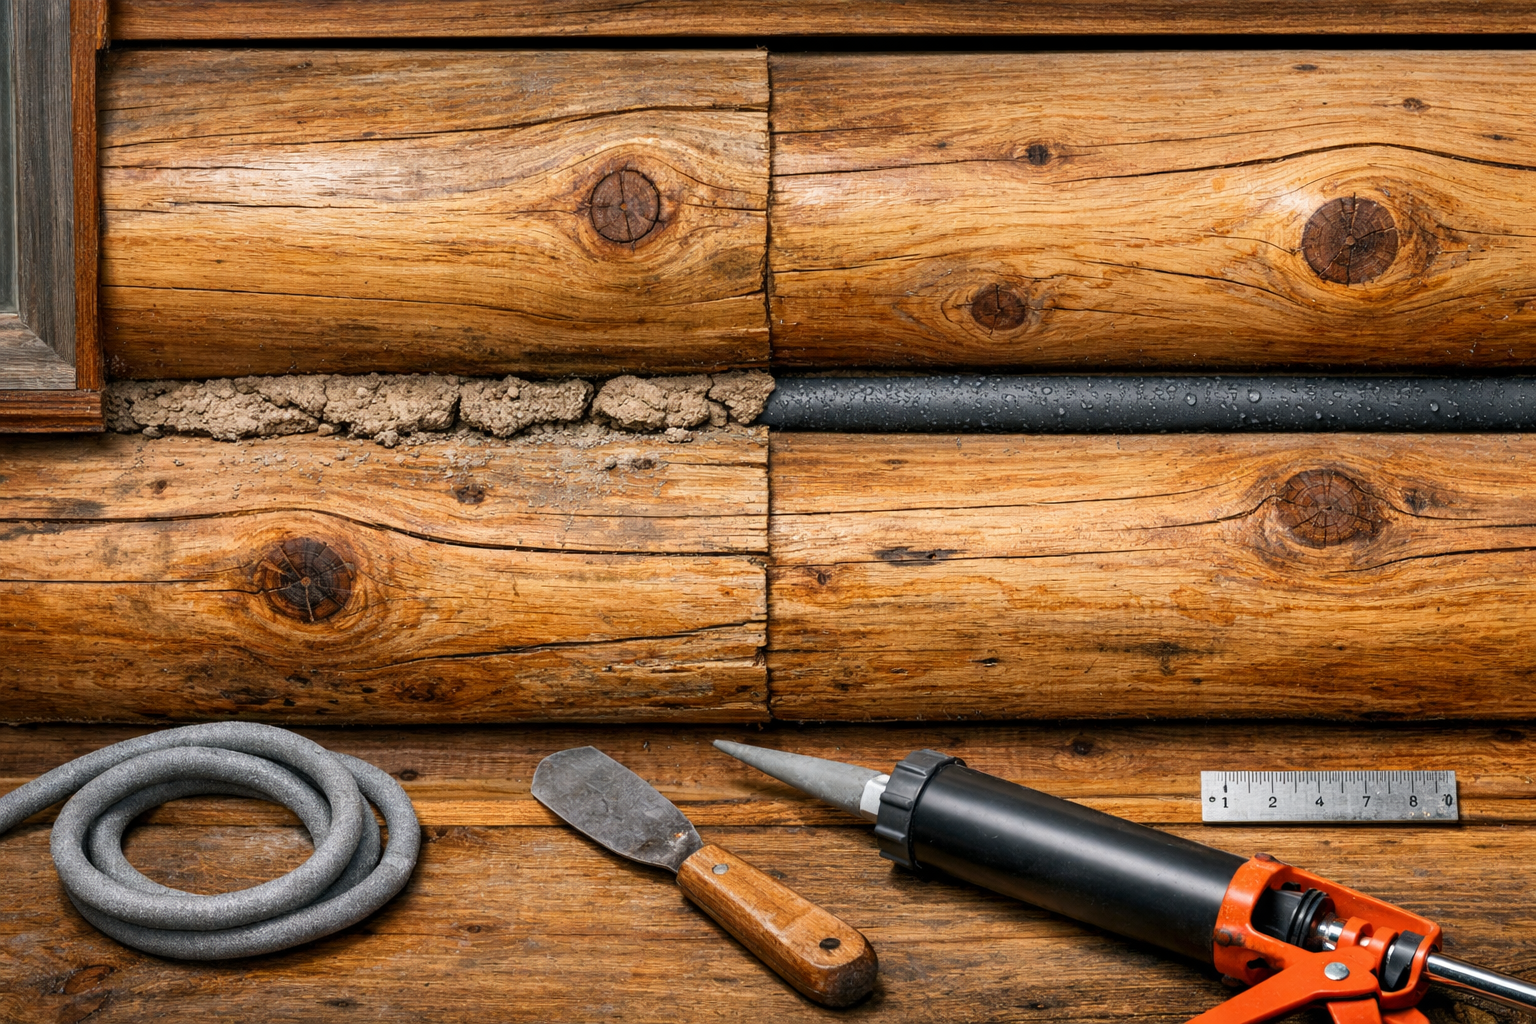
Backer rod is a foam rope, usually closed-cell polyethylene, that you press into the gap before running chinking over the top. It does two things: it controls how deep the chinking sits, and it gives the chinking something to bond to on just two sides (the log faces) instead of three, which is what allows it to stretch properly. Without it, chinking bonds all the way through the gap and can’t move at all, which defeats the entire point of using a flexible material.
Here’s the general sequence for a first-time DIY chinking job:
Clean the gap of dust, old caulk, and loose debris with a wire brush or shop vac.
Cut backer rod slightly larger than the gap width so it wedges in under light pressure.
Press backer rod in to a consistent depth, typically 3/4 inch to 1 inch back from the log face.
Apply painter’s tape along both log edges to keep chinking lines clean.
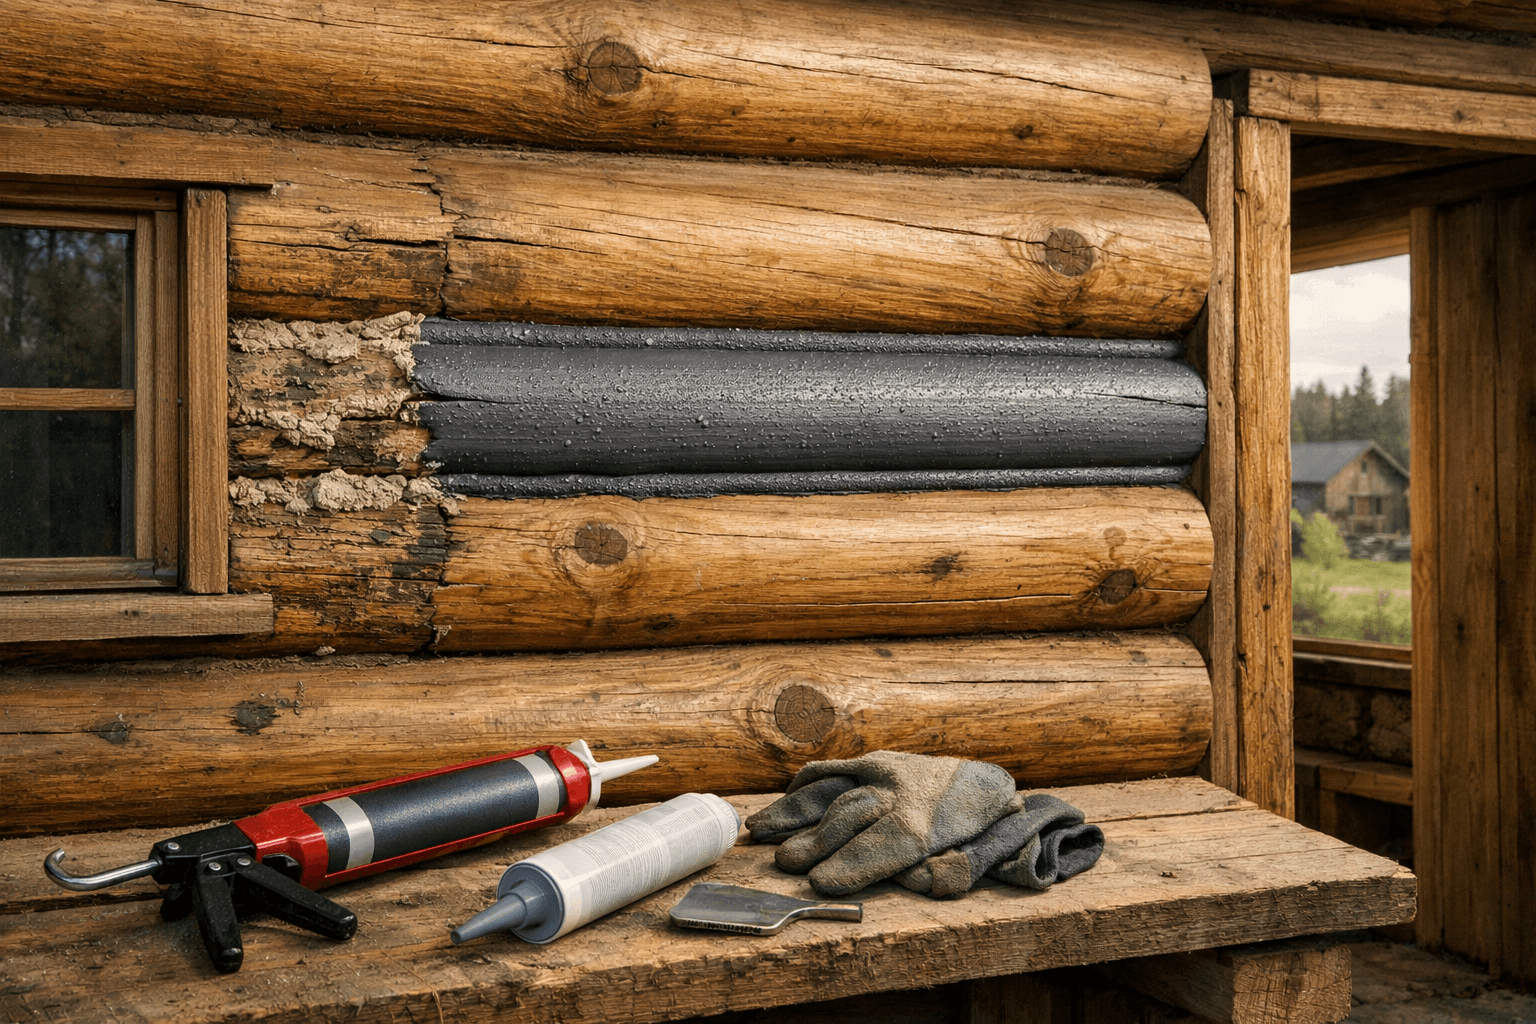
Load chinking into a caulk gun or hopper gun and run a bead along the gap, tooling it smooth with a wet putty knife.
Pull tape while the chinking is still workable, before it skins over.
Let it cure per the manufacturer’s window, usually 24 to 72 hours, before any rain exposure.
Gap width matters more than people expect. Anything under 1/2 inch usually doesn’t need backer rod at all — straight chinking is fine. Anything over 1 1/2 inches often needs two rows of backer rod stacked, or you’ll burn through way more material than you budgeted for.
Cost, Lifespan, and When You’ll Need to Redo It
Budget $4 to $8 per linear foot for synthetic chinking material alone, plus backer rod at roughly $0.30 to $0.60 per foot depending on diameter. A typical 800-square-foot cabin with handcrafted logs might run 400 to 600 linear feet of chinking, putting total material cost somewhere around $1,800 to $4,000 if you’re doing it yourself.
Labor is where DIY saves the most. A contractor crew chinking that same cabin might charge $6,000 to $10,000 total, since chinking is slow, detailed work that doesn’t move fast no matter how experienced the crew is. Doing it yourself over a few weekends is realistic if you’re comfortable with a caulk gun and patient tooling work.
Expect a well-applied synthetic chinking job to last 15 to 20 years before it needs real attention, though you should walk the exterior once a year checking for hairline separation at the log edges. Small cracks are easy fixes — clean, re-tool, and top-coat a fresh bead. If you’re also treating your logs against rot and UV damage as part of the same maintenance pass, it’s worth reading through the wood treatment guides on cabinlodger.com, since chinking and log sealant work best when they’re maintained on the same schedule rather than treated as separate jobs.
Climate changes that math. In the Pacific Northwest or anywhere with heavy year-round rain, I’d inspect twice a year, not once. In dry climates like the Southwest, chinking lasts longer but log shrinkage is more aggressive, so gaps can open wider than expected in year one.
Frequently Asked Questions
Do tightly fitted milled logs still need chinking?
Usually a little, yes. Even precision-milled log profiles shrink as they dry and settle under load, opening small gaps within the first year or two that chinking or a foam gasket needs to seal.
Can I use caulk instead of real chinking?
No, standard caulk doesn’t have the elasticity or UV resistance to handle gaps wider than about 1/4 inch, and it’ll crack or peel within a season on any real log movement.
How wide does a gap need to be before chinking is mandatory?
Anything over roughly 1/2 inch benefits from backer rod and chinking rather than caulk alone, since caulk without backing tends to sag, crack, or pull away from one log face.