Skip the trusses or keep them? That’s the real fork in the road once you start planning a purlin roof for a cabin, and it’s the decision most guides gloss over. A purlin roof uses horizontal beams running perpendicular to your rafters or trusses to carry the roof deck, and for a small owner-built cabin, that setup can genuinely cut your lumber list down. But it comes with tradeoffs in ceiling height and insulation depth that don’t show up until you’re standing on the frame wondering where your vapor barrier is supposed to go.
What a Purlin Roof Actually Is (and What It Isn’t)
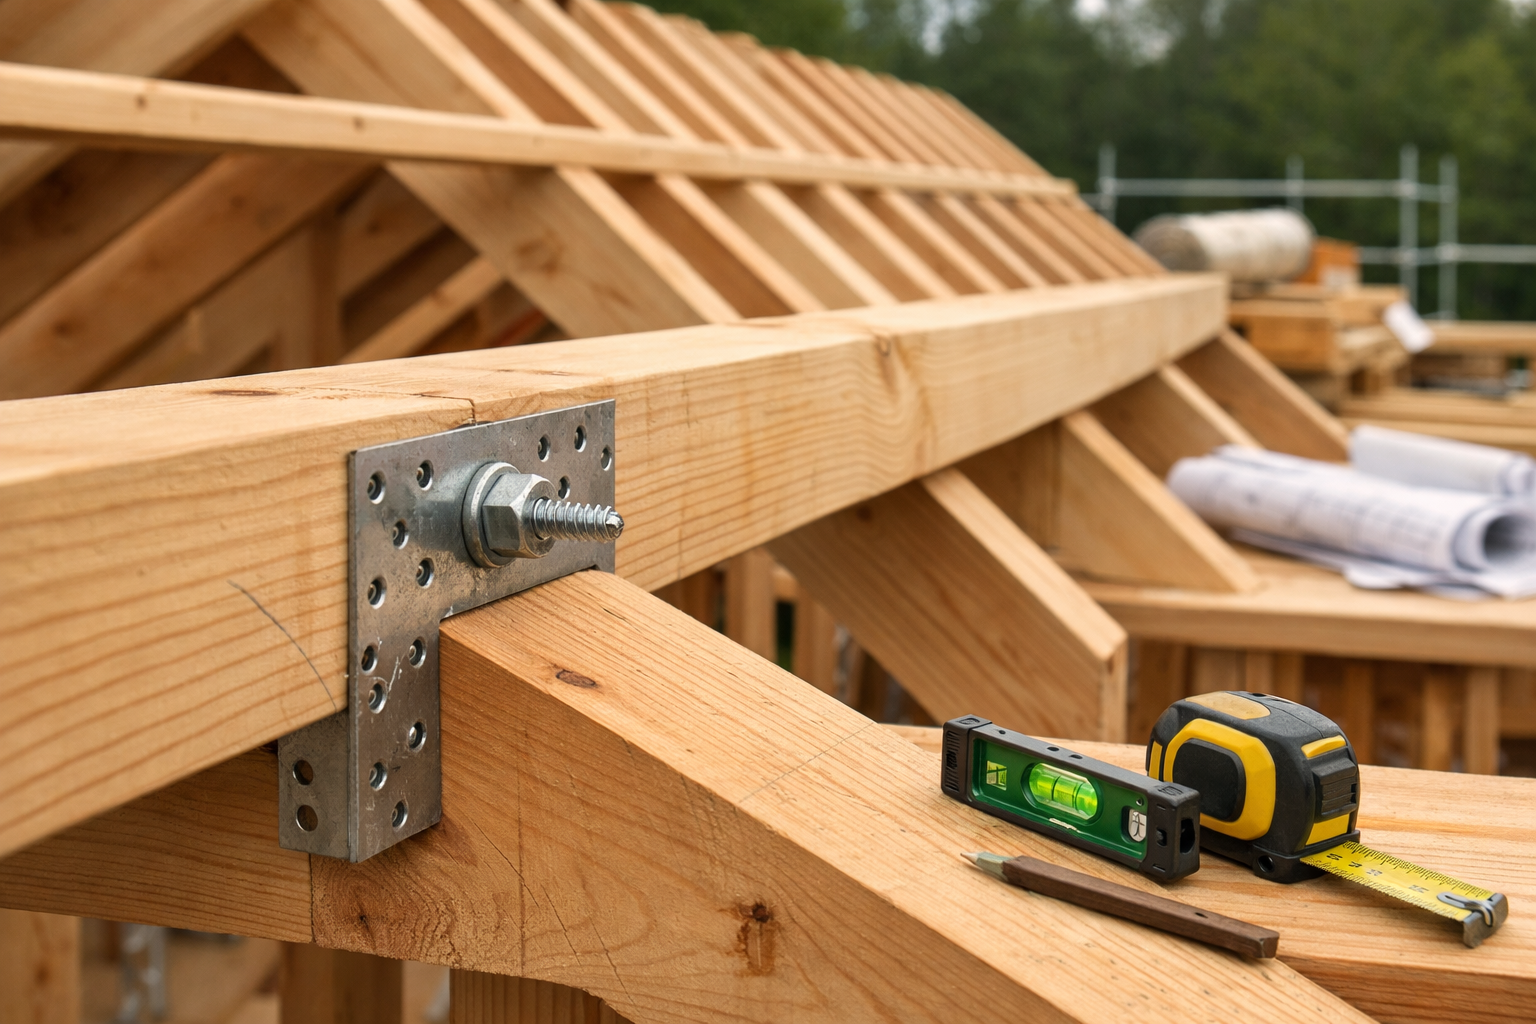
A purlin is a horizontal framing member that sits on top of your rafters or trusses, spaced out to support the roof decking or metal panels directly. It’s not a replacement for your whole roof structure — it’s an added layer that changes how loads get distributed.
People mix this up constantly. Standard rafter-and-ridge framing runs rafters up from the wall plate to a ridge board, then sheathing goes straight on the rafters. A purlin system adds another step: purlins run across the rafters (or across trusses, or in pole-barn construction, straight across posts), and the roofing attaches to the purlins instead of directly to the rafters.
Purlins vs. Rafters: They’re Not Competing Systems
Here’s the correction worth making up front: purlins don’t replace rafters in most cabin designs. They work alongside them. The exception is true pole-barn or post-frame construction, where purlins span directly between roof trusses or even between posts, skipping conventional rafters entirely. That’s the version that saves lumber, because you’re not framing a full rafter set at 16 or 24 inches on-center — you’re setting fewer trusses and letting purlins do the spanning work between them.
Where the Lumber Savings Actually Show Up
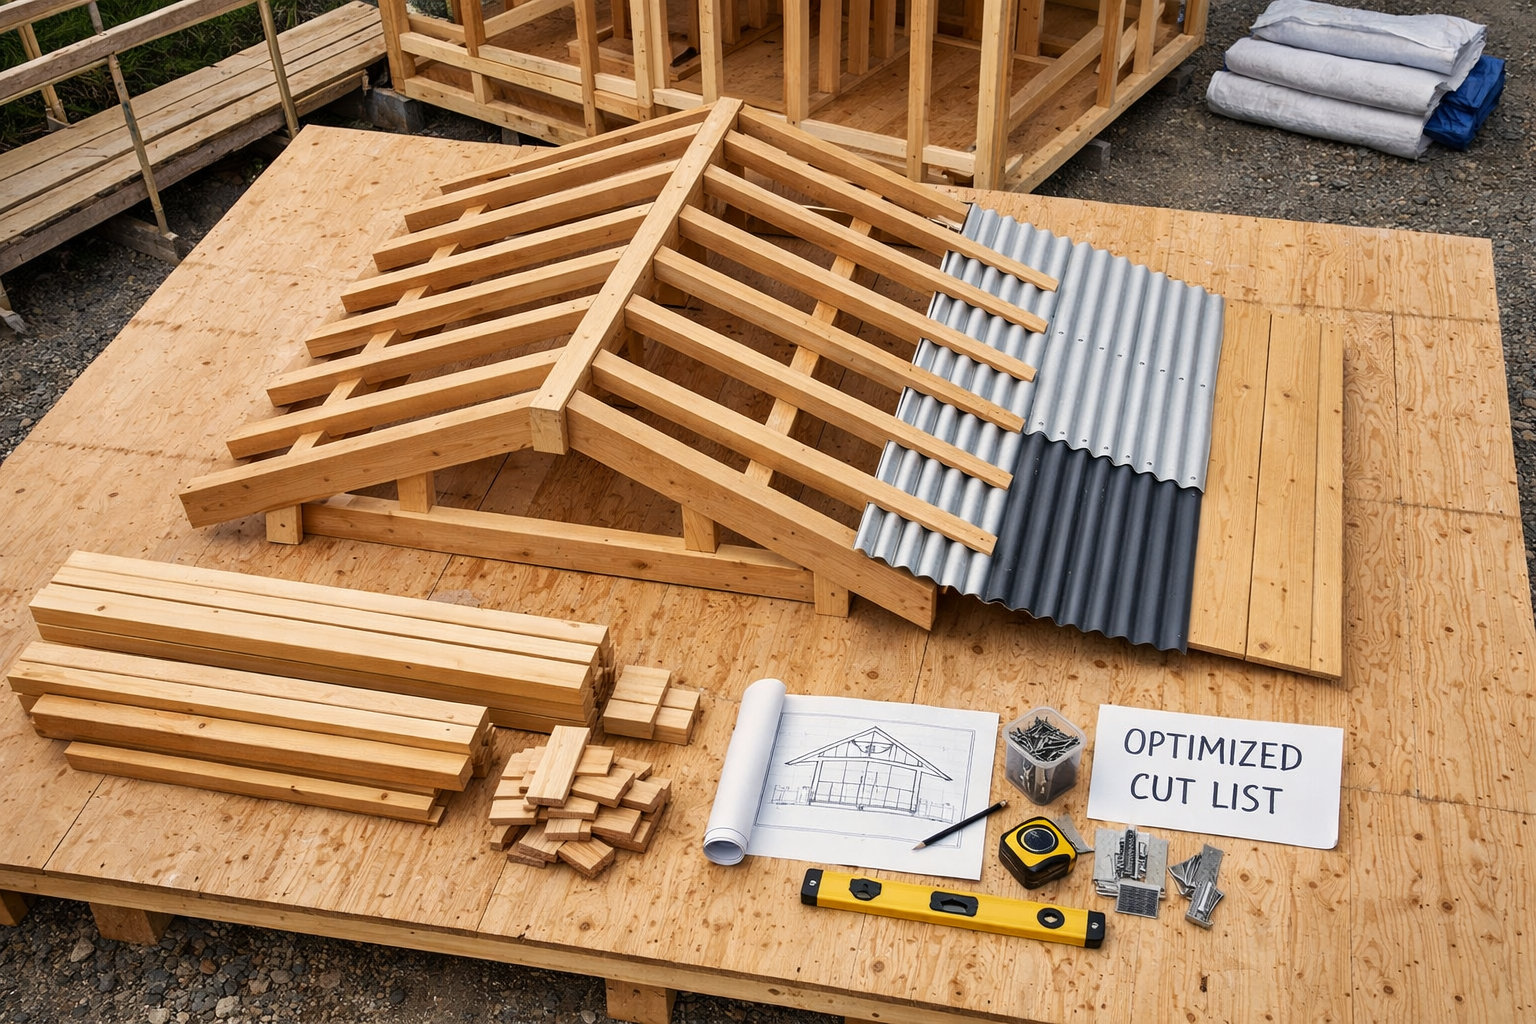
On a 20-foot by 24-foot cabin, a conventional rafter roof might need rafters every 16 to 24 inches — that’s roughly 15 to 20 rafters per side. Switch to a truss-and-purlin pole-barn style layout, and you might only need 4 to 6 trusses total, with 2×6 purlins spaced 24 inches apart running between them. The lumber count drops, but you’re now buying purlin stock you wouldn’t have needed otherwise, so the savings are real but not dramatic — expect maybe 10 to 20% less framing lumber overall, depending on your span.
Purlin Spacing and Span: The Numbers That Actually Matter
Purlin spacing depends entirely on your roofing material’s load rating, and this is where a lot of DIY plans go wrong. Metal roofing panels typically want purlins no more than 24 inches on-center; if you’re using plywood or OSB decking over purlins, you can sometimes stretch that to 24 inches too, but only with thicker sheathing.
Snow load changes everything. A cabin in coastal Georgia and one in the Colorado mountains can’t use the same purlin spec, even with an identical roof pitch. Always check your local span tables — the American Wood Council publishes span data, and most county building departments will hand you a simplified version when you pull a permit.
A Rough Spacing Reference
Purlin Size
Typical Span Between Supports
Common Spacing On-Center
Best Roofing Match
2×4
Up to 4 ft
24 in
Light metal panels
2×6
Up to 8 ft
24 in
Metal panels, thin OSB
2×8
Up to 10 ft
24 in
Heavier snow-load areas
Steel C-purlin
Up to 20 ft
4-5 ft
Pole barns, larger spans
That steel option surprises a lot of first-time cabin builders. Metal purlins let you span much farther between supports, which is why pole barns use them so often. But steel costs more per linear foot than dimensional lumber, and it needs different fasteners — self-tapping screws with neoprene washers instead of standard framing nails.
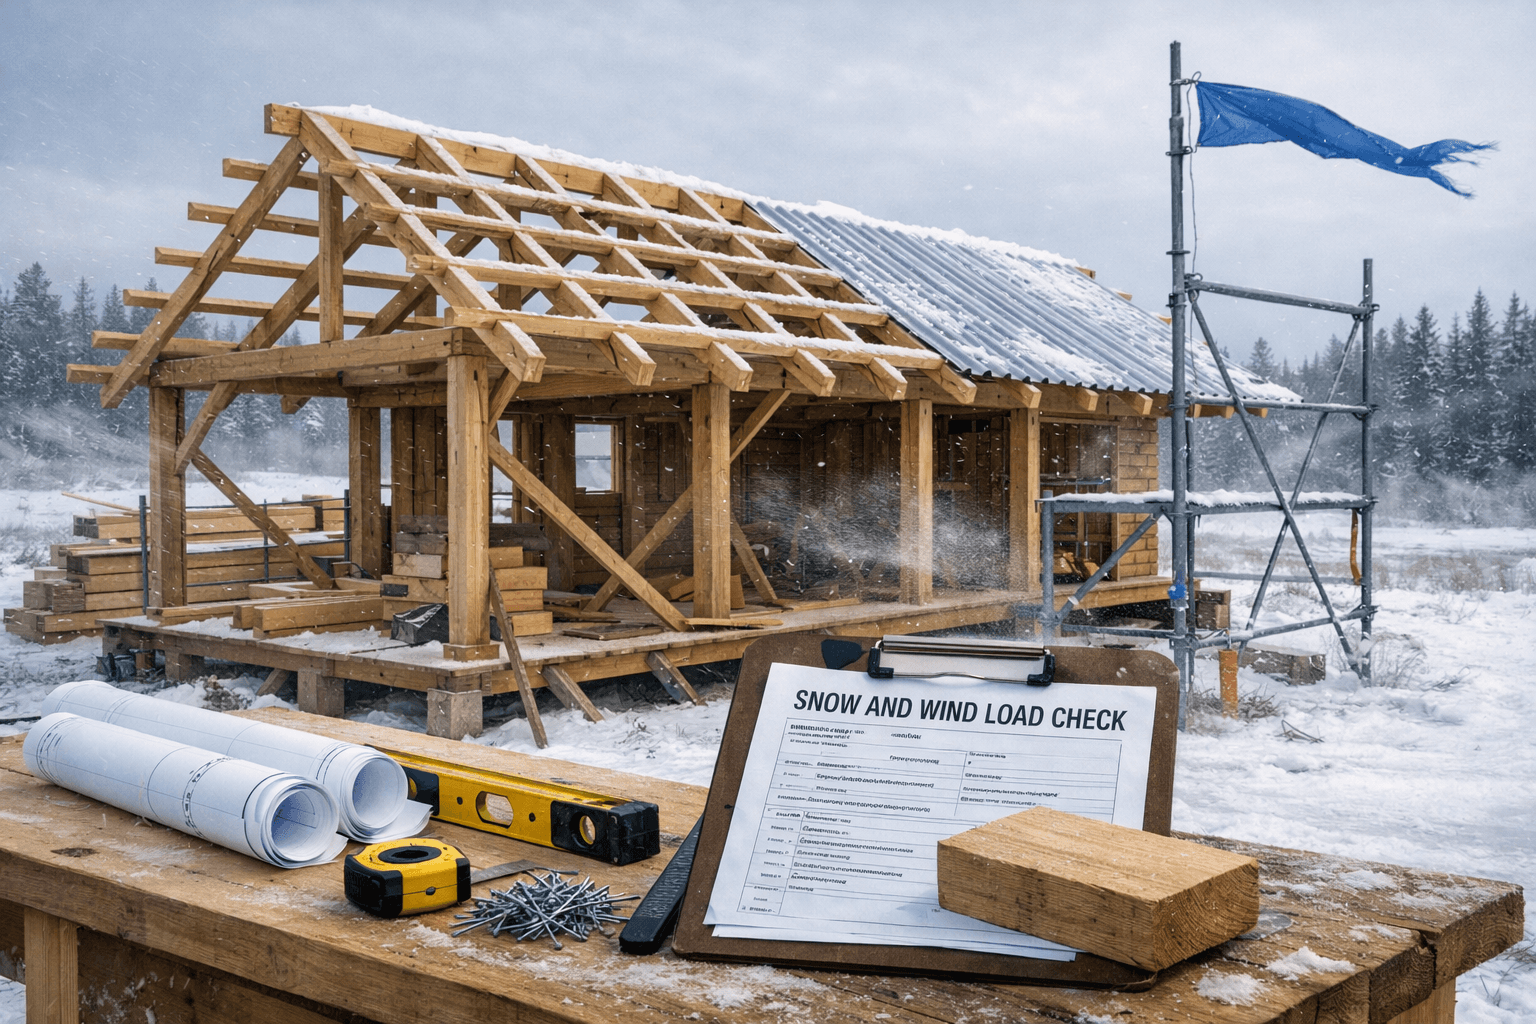
Don’t Skip the Snow and Wind Load Check
I’d rather see someone over-build a purlin roof by one size than under-build it and find out the hard way in February. If your area gets 40+ pounds per square foot of ground snow load, bump your purlin size up a notch or tighten your spacing from 24 inches to 16 inches. It’s cheap insurance compared to a sagging roof deck two winters in.
The Ceiling Height Tradeoff Nobody Mentions Upfront
Purlins eat into your interior headroom, and that’s the tradeoff that catches DIYers off guard mid-build. Every layer you stack — rafter or truss, then purlin, then decking — adds height to the roof assembly, which either raises your ridge or eats into usable interior space if you’re trying to keep a low profile.
This matters most if you’re planning a vaulted ceiling or storing insulation between the framing members. A 2×6 purlin running perpendicular to your rafters adds roughly 5.5 inches of depth right where you might have wanted insulation batts to sit flush. Builders working on a tight budget sometimes solve this by running rigid foam board above the purlins instead of batts between them, which keeps the ceiling line cleaner but adds material cost.
I ran into a version of this exact problem on my own cabin roof, and I wrote up how I handled the insulation gap over on cabinlodger.com if you want the specific fix I landed on. It’s not the only solution, but it worked for a 12×16 build without blowing the budget.
Fastening, Bracing, and Getting It Inspected
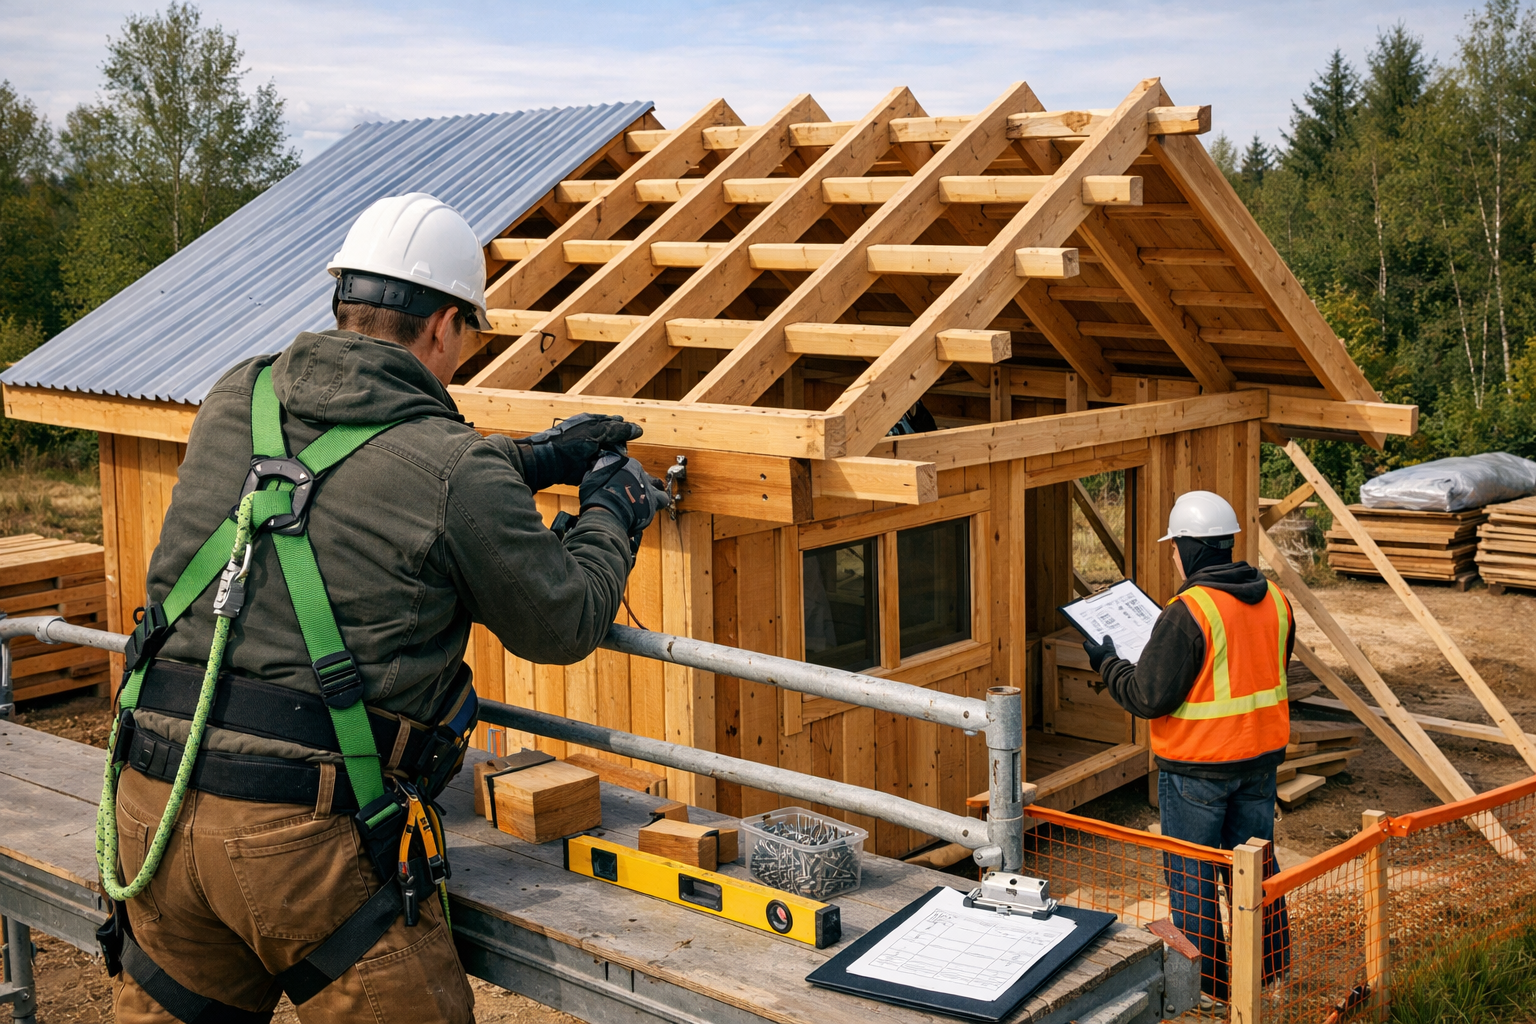
Getting the framing right doesn’t matter much if the fasteners and bracing are an afterthought. Follow a sequence like this:
Set and brace your trusses or rafters first, checking plumb before anything else touches them.
Snap chalk lines across the top for purlin placement, spaced per your span table.
Fasten purlins with structural screws or framing nails rated for the load — never just toe-nail them and call it done.
Add diagonal bracing between purlins on longer spans to stop racking in high wind.
Install roof decking or metal panels once every purlin is fastened and checked for level.
Get your framing inspected before decking goes on, if your permit requires a rough framing check.
Skipping step 6 is common and risky. Most counties that require a building permit for a cabin over a certain square footage (often 200 square feet, though it varies by jurisdiction) will want a framing inspection before you cover the structure. Cover it too early and you might be pulling decking back off.
Frequently Asked Questions
Can I use a purlin roof instead of trusses entirely?
Yes, in pole-barn or post-frame designs, purlins span directly between widely spaced trusses or posts, cutting down the number of full truss sets you need. You still need some trusses or heavy rafters as the primary support — purlins alone can’t carry the roof.
What size purlin do I need for a metal roof on a cabin?
A 2×6 purlin spaced 24 inches on-center handles most metal roofing up to an 8-foot span, but check your local snow load table first. Heavier snow zones often need 2×8 purlins or tighter 16-inch spacing.
Do purlin roofs cost less than standard rafter framing?
Usually yes, by roughly 10 to 20% on framing lumber, because fewer trusses are needed. That savings can shrink if you switch to steel purlins, which cost more per foot than dimensional lumber but span farther.