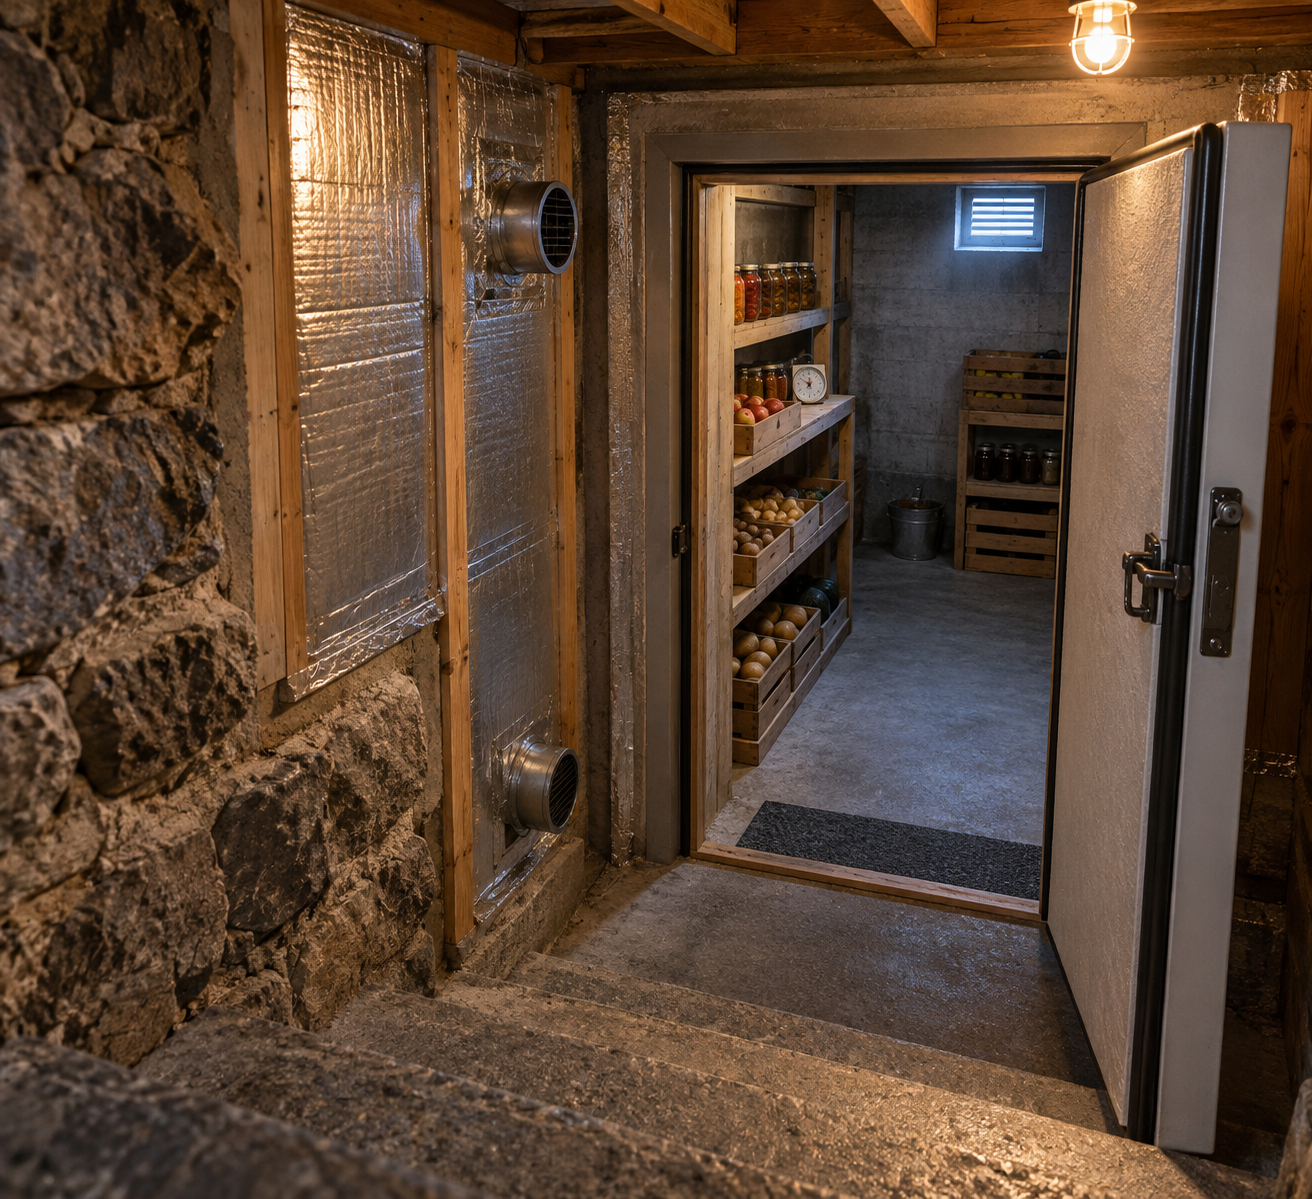
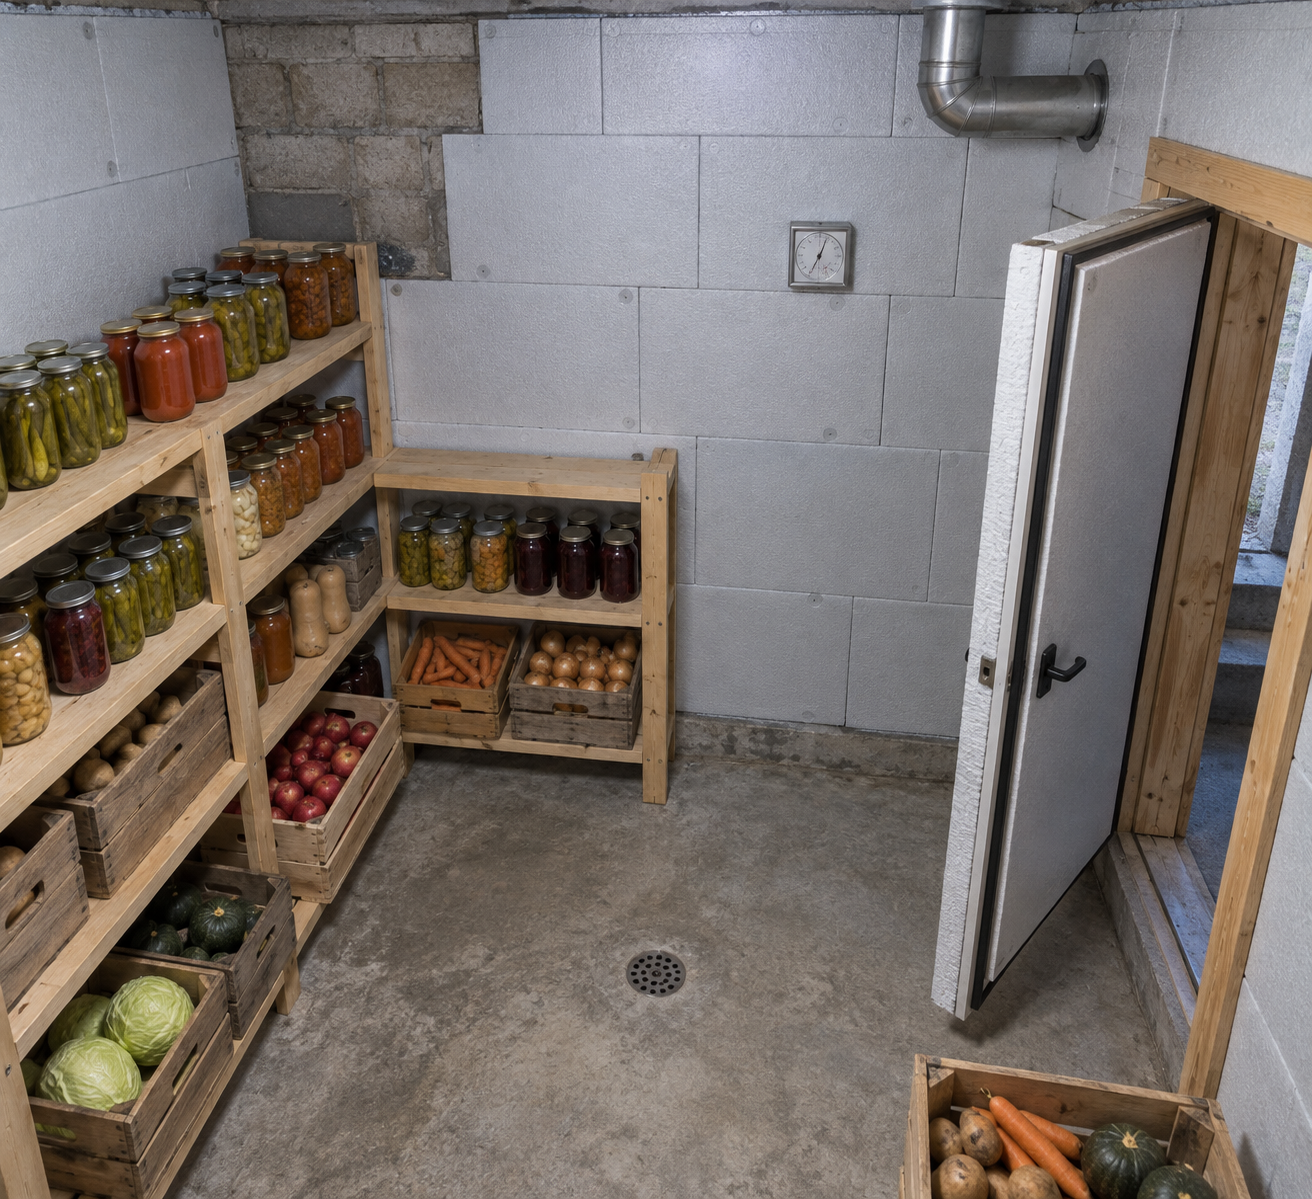
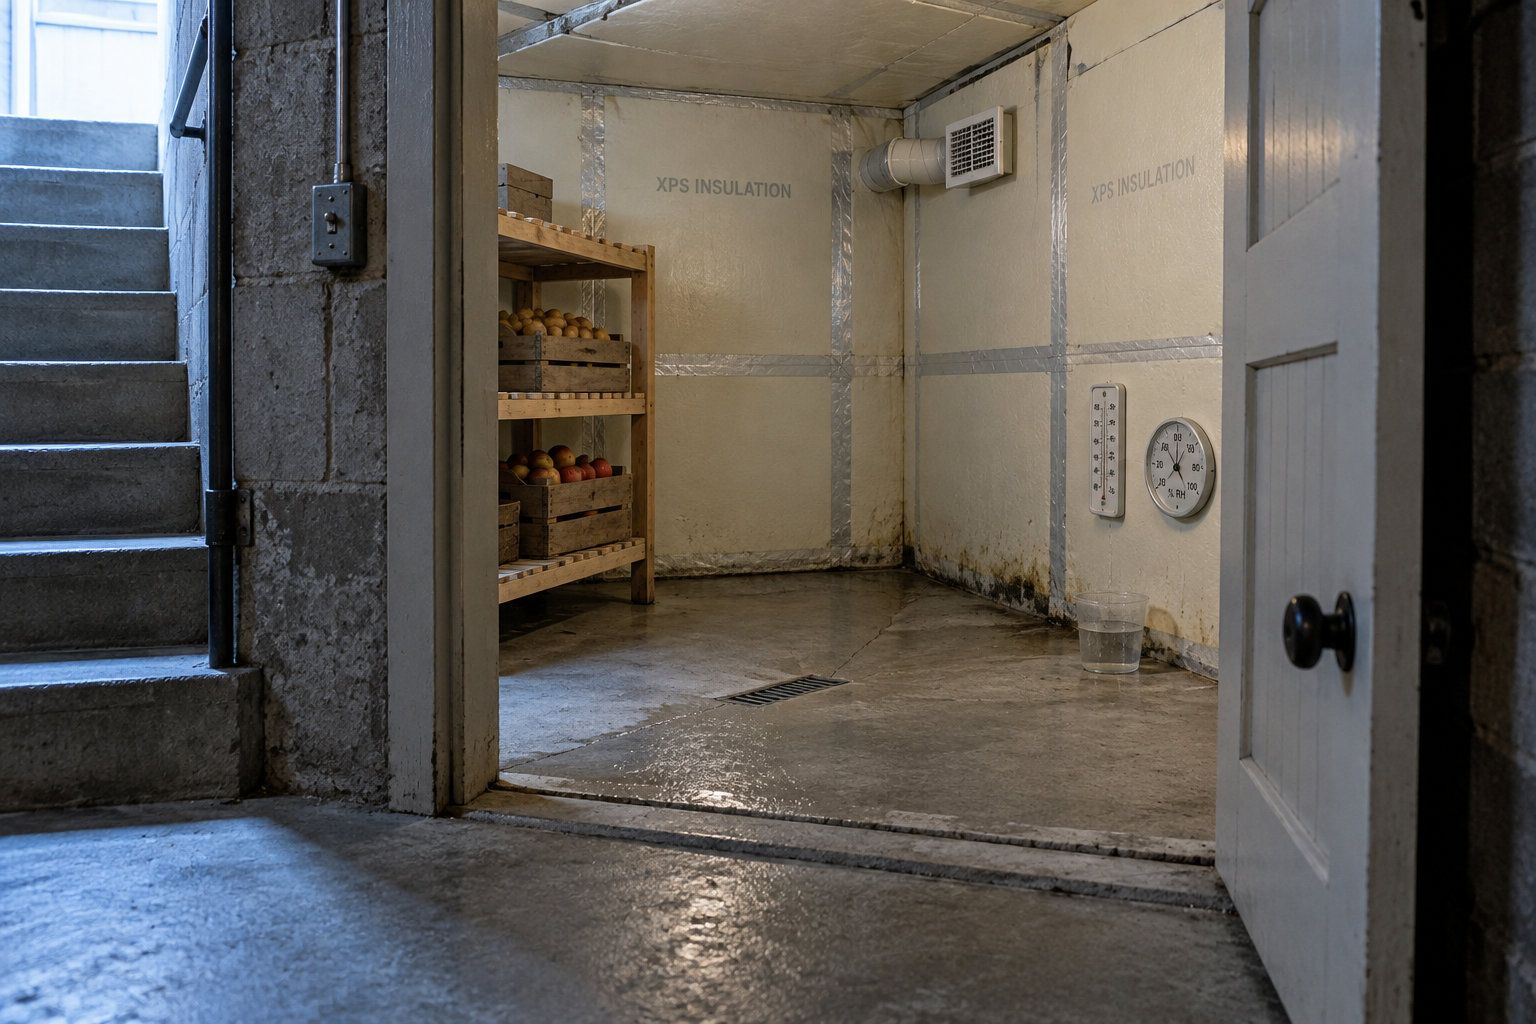
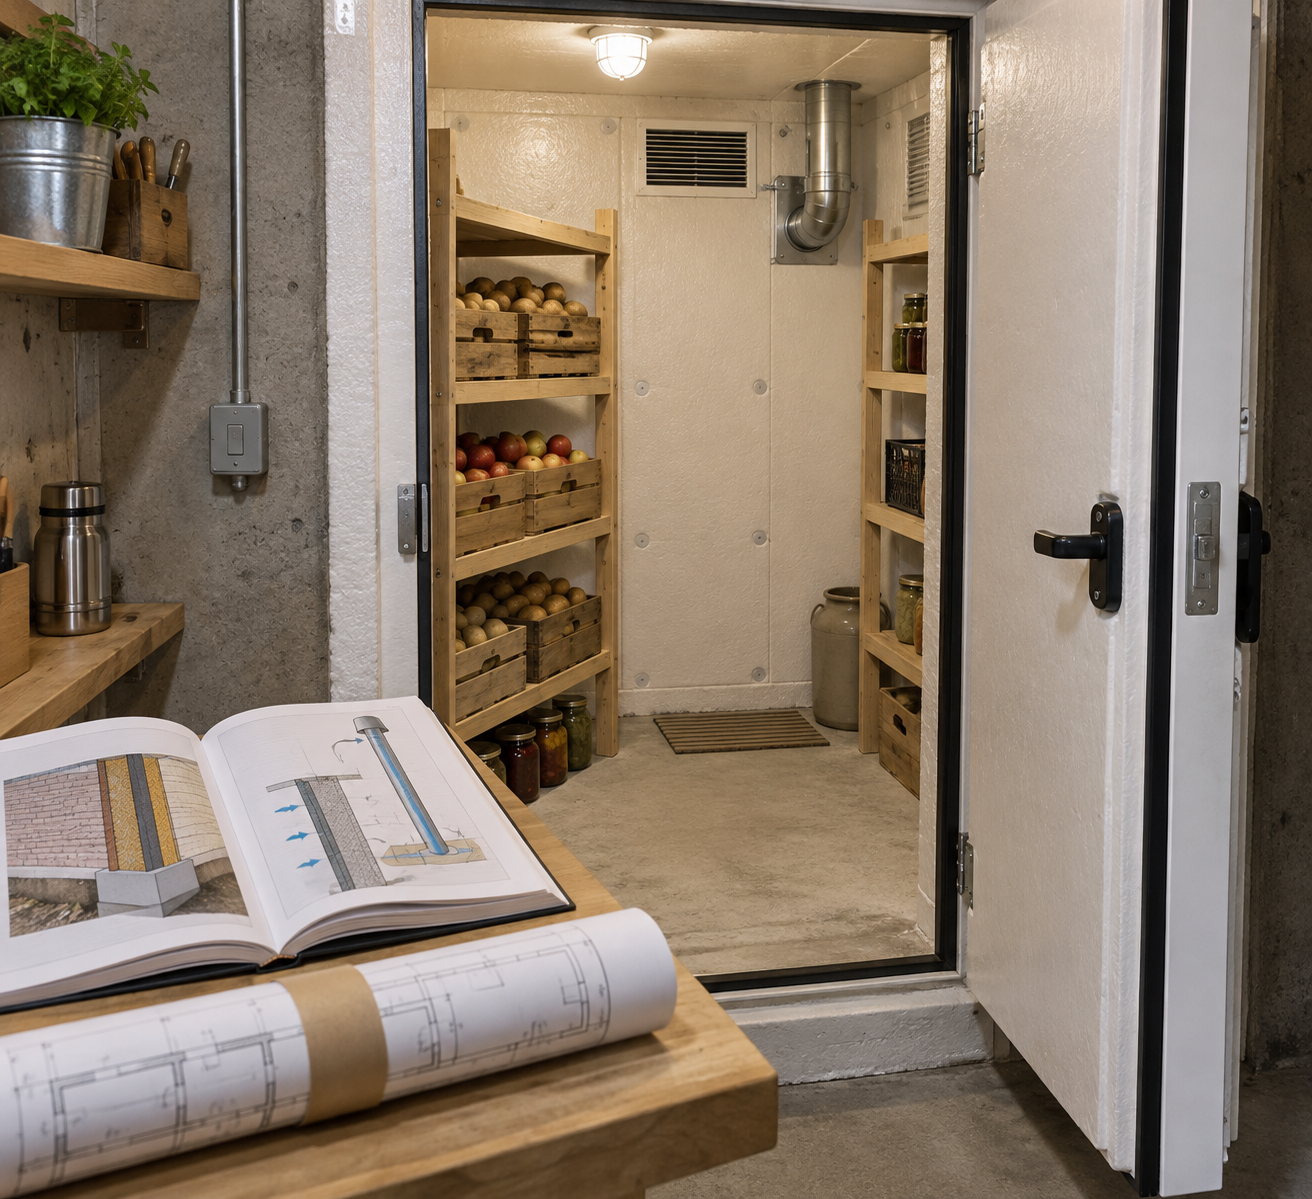
A cold cellar in a basement is a small room in a corner with an outside wall. You seal it and insulate it from the heated basement, add a vapor barrier and an airtight insulated door, then give it two vents: a low intake and a high exhaust. Those vents pull in cold outdoor air and hold humidity around 80-90%.
I’m a builder, so I treat this as a moisture project. The food comes second. Here’s how to build it right.
Where to Build It and What to Insulate
Pick a corner of an unfinished basement with two exterior foundation walls. A north-facing wall is best. Make the room at least 6 feet deep, and expect about 8 to 10 feet long.
The insulation logic is backwards from what you’d normally do. Leave the exterior foundation walls bare. The cold concrete and the soil behind it do the cooling. Insulate those walls and the room never gets cold.
Insulate the Warm Side
Insulate the interior walls that face the heated basement. Also insulate the ceiling if heated space sits above it. Use moisture-resistant materials: pressure-treated lumber for the framing, and rigid foam or mineral wool rather than paper-faced batts.
Skip the Ceiling Vapor Barrier
On a ceiling under a heated floor, I’d skip the vapor barrier. Moisture moves down from the warm side, and plastic on the room side can trap it in the insulation. Walls are different, as the next section explains.
When Not to Build One
Don’t build if your basement has active water problems. You’d be adding humidity to a wet space. Skip it too if you have no exterior wall, because there’s nowhere to run the vents.
Sealing: Where the Real Work Is
The room stays cold and humid (80-90% relative humidity). The rest of the basement stays warm and dry. Only air sealing keeps those two apart. Warm basement air leaking in hits cold surfaces and condenses where you can’t see it.
Seal the rim joist (the framing band on top of the foundation wall) where it touches the outdoors. Caulk or use spray foam. Use treated lumber anywhere wood touches concrete.
Build Steps
Frame the walls with 2×4 pressure-treated lumber, on a sill gasket over the concrete.
Insulate the warm-side walls and ceiling. Rigid foam at 1 to 2 inches works, and so does R-13 or higher mineral wool.
Add the vapor barrier on the room-facing side of the walls. Use 6-mil polyethylene, and tape every seam.
Cover with moisture-resistant board. Cement board or exterior-grade plywood both work. Plain drywall will go moldy.
Hang an insulated exterior-style door. Weatherstrip all four sides and add a sweep. A standard hollow interior door leaks air and heat.
Install the vents (see below).
Add shelving from treated lumber or plastic. Leave a gap behind the shelves for airflow.
Vents: Two Pipes, Opposite Ends
Yes, a cold cellar needs venting. With no air exchange, humidity stalls, ethylene gas from ripening produce builds up, and food spoils faster.
Use 4-inch PVC pipe for both. Run the intake so it ends about 6 inches above the floor. Put the exhaust near the ceiling, and keep the two inside ends as far apart as the room allows. Cold air sinks in low and warm air rises out high.
Basement windows make this easy. Pull the glass, fit plywood, and run the pipes through it. In cold climates, sandwich 1 to 2 inches of foam between two layers of half-inch plywood. Screen both openings against mice and insects.
Close the vents before outdoor temperatures drop below freezing. Frozen potatoes and apples turn to mush.
Floor, Humidity, and Troubleshooting
Concrete is fine and holds humidity well. A gravel or dirt floor adds moisture even faster, which helps if the room runs dry. Put a thermometer and a hygrometer inside from day one. Aim for about 32 to 40°F.
Problem
Likely cause
Fix
Ceiling drips
Warm air leaking in
Seal gaps, insulate ceiling
Musty smell
Poor airflow
Open both vents, clear shelves
Room too warm
Insulated exterior wall
Remove that insulation
Mold on walls
Untreated materials
Swap to treated or cement board
Cost and Time
Expect roughly $600 to $1,500 in materials at 2026 prices, depending on size and door choice. If you can frame, plan on two to three weekends. Cutting through a foundation wall instead of using a window adds cost and effort.
Pair it with a good canning and storage plan if you’re building toward off-grid food storage. Cabin Lodger covers that side of self-sufficiency too.
Frequently Asked Questions
Should you insulate a cold cellar?
Yes, but only the walls and ceiling that face the heated basement. Leave the exterior foundation walls bare so the ground can cool the room. Insulating them is the most common mistake.
What temperature and humidity should a cold cellar hold?
Aim for about 32 to 40°F and 80-90% relative humidity. Close the vents before freezing weather, since temperatures below 32°F damage many crops.
How do you stop condensation in a cold room?
Seal air leaks from the basement, add a vapor barrier on insulated walls, and use an airtight door. Vents help too. Condensation forms when warm, moist air meets cold surfaces.