Big open beams, a wide-open floor plan, that cathedral-ceiling look you’ve seen a hundred times on Pinterest. Post and beam houses are the poster child for cabin dreams, but there’s a catch nobody puts in the caption: those exposed frames leave you with large infill wall cavities, and what you put in those cavities decides your entire off-grid power and heating budget before you’ve even picked a floor plan. If you’re building somewhere remote, that’s not a cosmetic detail. It’s the whole ballgame.
What Makes Post and Beam Construction Different From a Timber Frame
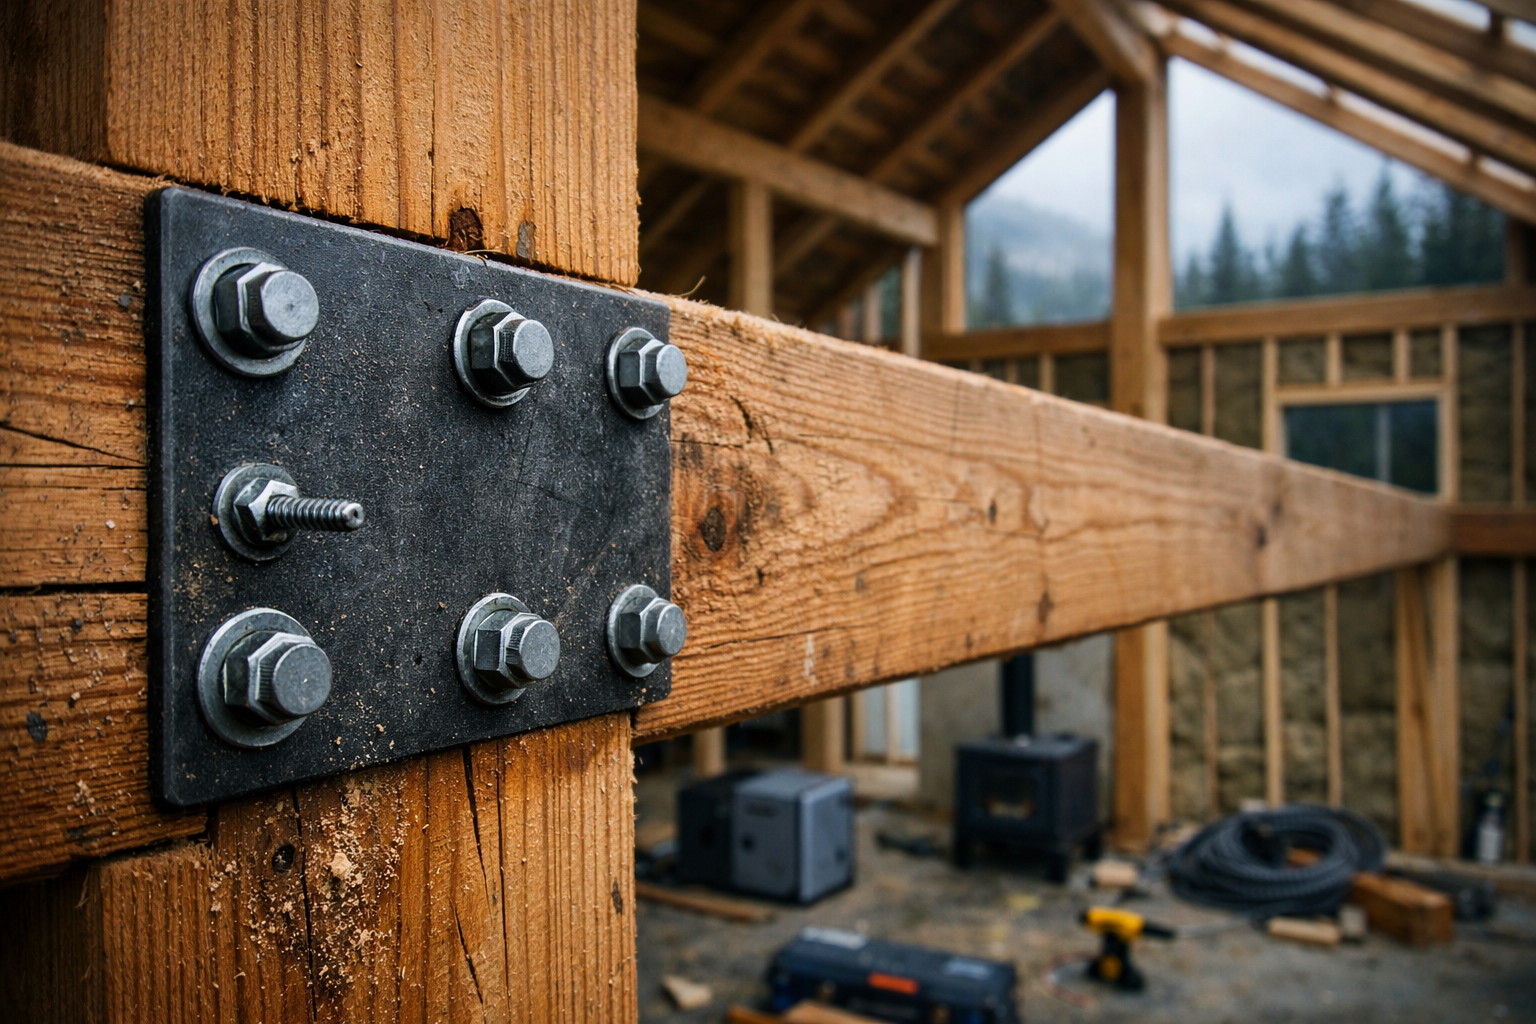
Post and beam and timber frame get used interchangeably online, and that’s wrong. Post and beam uses larger-dimension posts and beams connected with steel plates, bolts, or lag screws, while true timber framing relies on hand-cut mortise-and-tenon joints held with wooden pegs and almost no metal at all.
Joinery and Skill Level
Timber framing is a craft. Cutting a proper mortise-and-tenon joint with a housed dovetail takes practice, a chisel set you actually know how to sharpen, and patience most weekend builders don’t have on day one. Post and beam, by contrast, leans on hardware: joist hangers, structural screws, and steel connector plates from a supplier like Simpson Strong-Tie. That’s a real difference in build difficulty, and it’s why most first-time cabin builders land on post and beam instead of true timber frame.
Why the Distinction Matters for Off-Grid Sites
Both styles leave the same problem: big open bays between posts that need filling with something other than structural wall. In a stick-framed house, insulation lives inside a continuous 2×6 wall cavity every 16 inches. In post and beam, you’ve got 4-foot or 8-foot spans of open infill, and that changes how you insulate, how you frame in windows, and how much lumber you’re sourcing.
The Insulation Decision That Sets Your Whole Power Budget
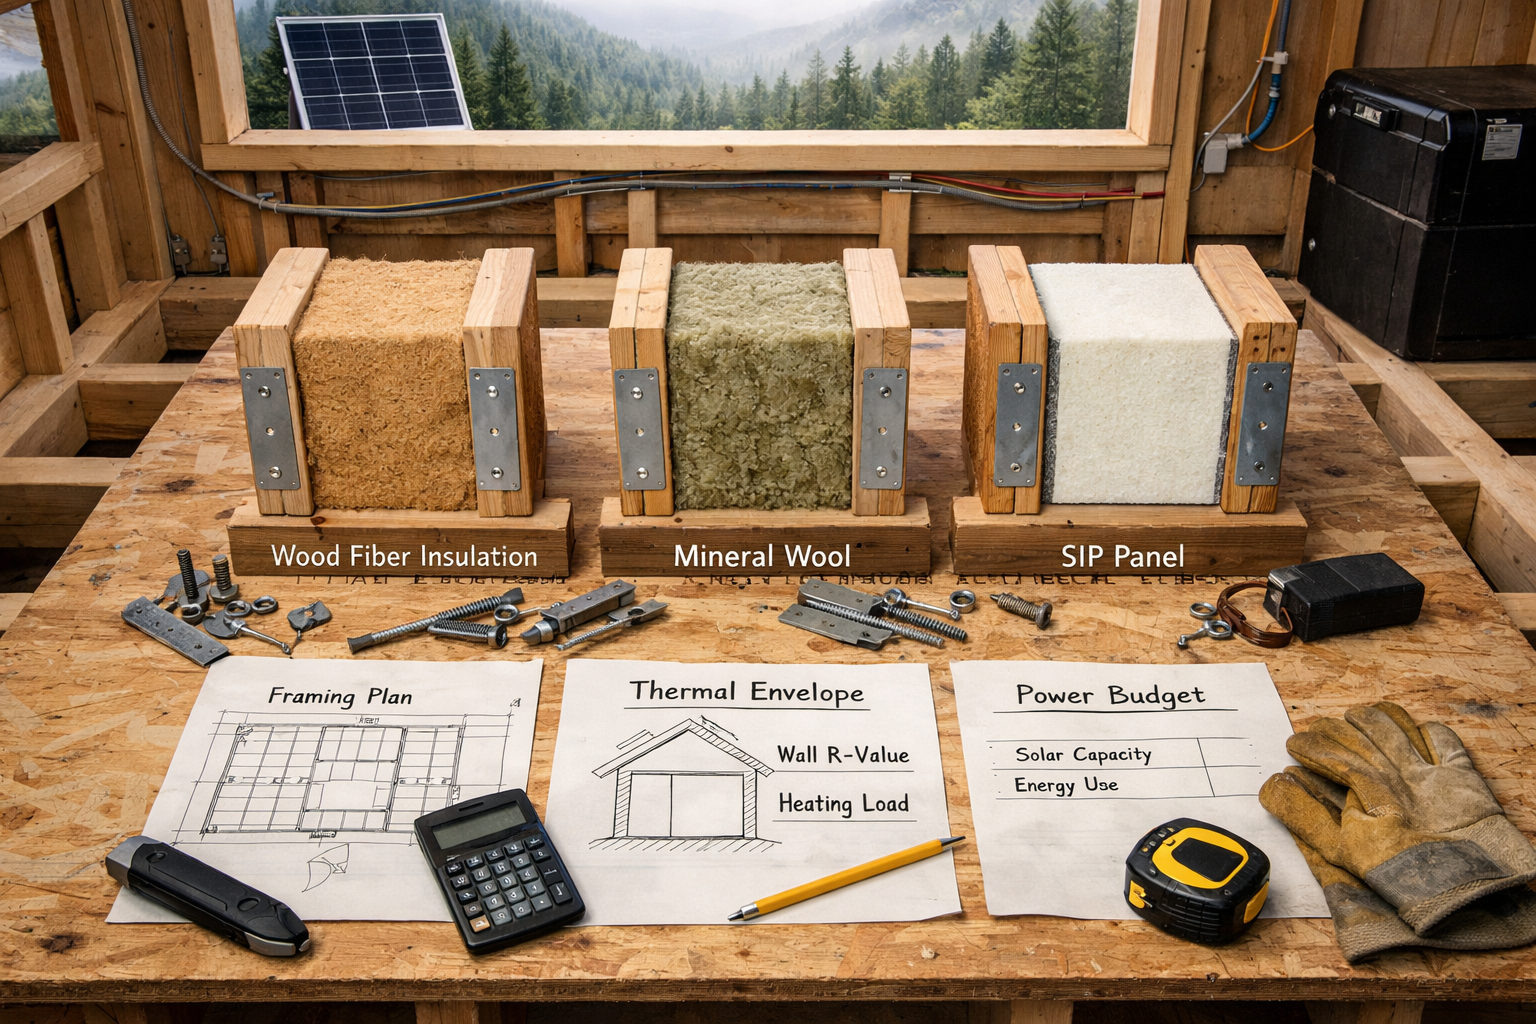
Here’s the tradeoff nobody mentions upfront: fill those open bays with structural insulated panels (SIPs) and you get a tight, high-R-value envelope, but you’re paying $8 to $14 per square foot just for panels, installed. Skip SIPs and go with stick-framed infill walls between the posts, and your material cost drops, but now you’re fighting thermal bridging at every post and beam junction, plus more air leakage if the infill isn’t detailed carefully.
For an off-grid cabin, this decision touches everything downstream. A tight SIP envelope might let a mid-size wood stove and a modest solar array carry you through a Midwest or Rocky Mountain winter. A leaky infill wall means running that stove harder, burning through more wood, and asking more of a battery bank that’s already stretched thin on cloudy days.
SIPs vs Stick-Framed Infill
Factor
SIPs Infill
Stick-Framed Infill
Installed cost per sq ft
$8–$14
$4–$7
Typical R-value (wall)
R-24 to R-28
R-19 to R-21
Air leakage risk
Low if seams taped
Moderate to high
DIY difficulty
Moderate (panels are heavy, need a crane or extra hands)
Low (standard framing tools)
Off-grid heating impact
Smaller stove, less wood use
Bigger stove, more wood, more insulation detailing needed
If you’re budgeting a wood stove and a 3-4 kW solar setup for a cabin under 800 square feet, I’d spend the extra money on SIPs. The fuel and power savings over a few winters usually close that cost gap.
Foundation Choices for Remote and Uneven Sites
Skip a proper foundation assessment and you’ll be re-leveling a post and beam frame within two winters. Frost heave, soft soil, and sloped lots are common on off-grid land, and post and beam frames concentrate weight on fewer, larger points than stick framing, so those footings have to be right.
Helical piers are a strong option for uneven or rocky sites since they screw into the ground and need no concrete curing time, though they run higher upfront than a simple pier-and-beam setup. Poured concrete piers work fine on stable, accessible ground, but hauling concrete to a remote site adds real cost and logistics. A full frost-depth footing is the safest call in cold climates, but it’s the most labor-intensive and usually needs an excavator you don’t already own.
Don’t guess on frost depth. Call your county building department or check your state’s residential code adoption. In much of the northern US that’s 42 inches or deeper, and a shallow footing under a heavy post and beam frame is exactly how you end up with a door that won’t close by year two.
Sourcing Timber: Reclaimed vs New, and What It Actually Costs
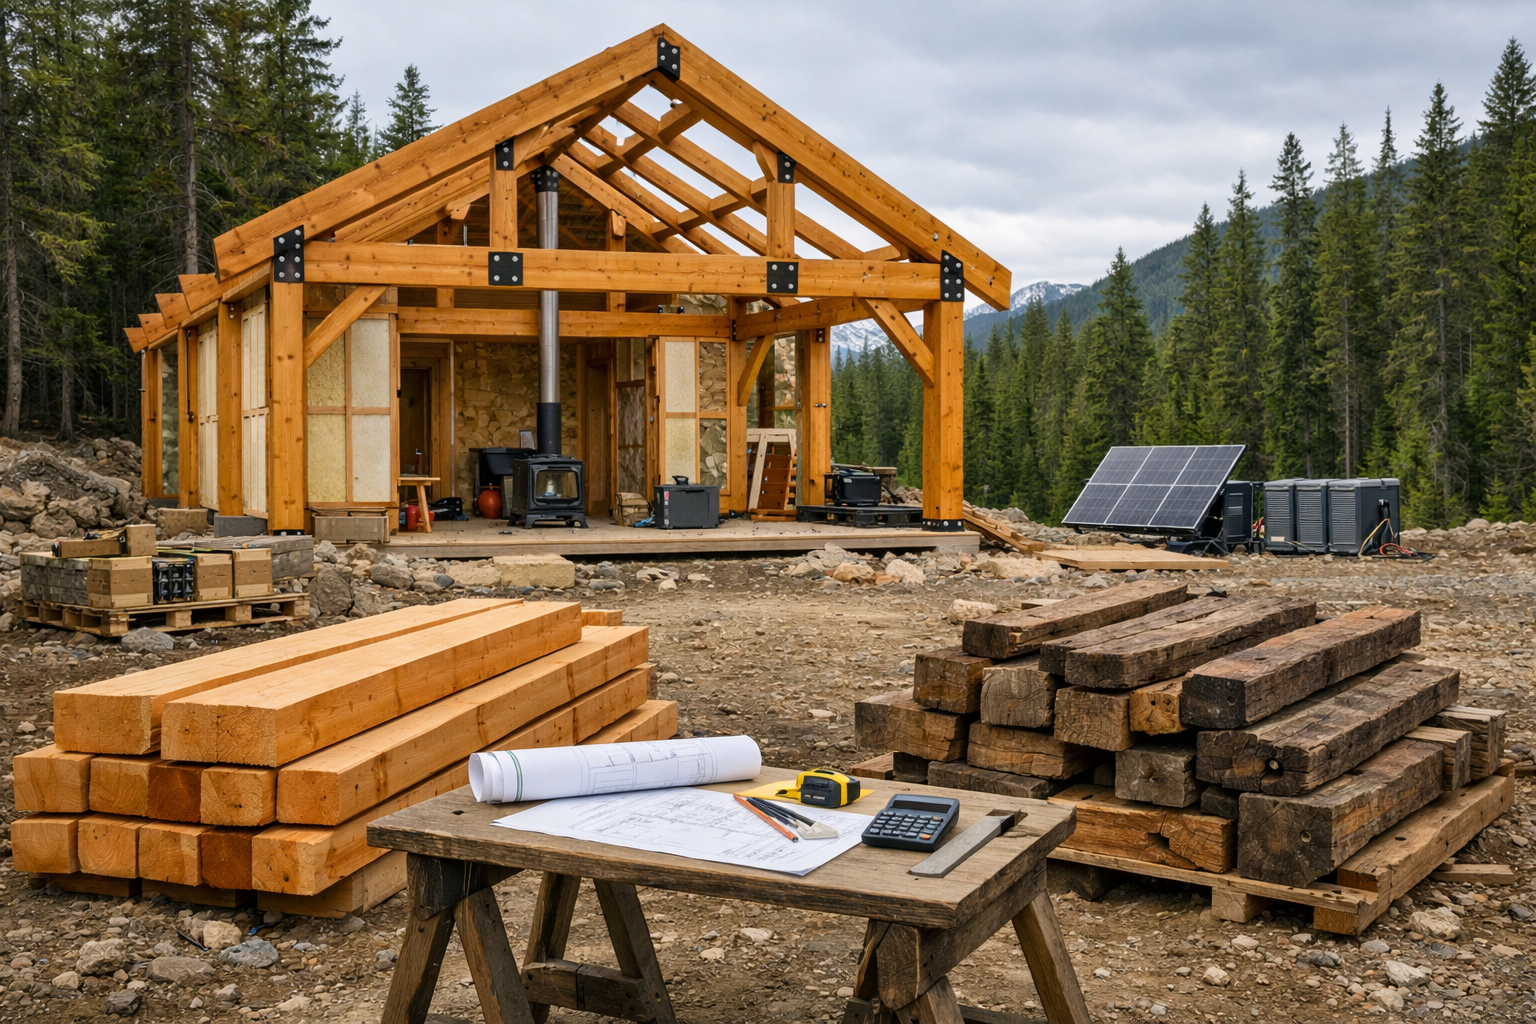
New Douglas fir or eastern white pine posts typically run $6 to $12 per board foot depending on grade and region, while reclaimed barn timber can be cheaper per board foot but comes with hidden costs: extra labor to de-nail, inspect for rot, and re-mill to square. Reclaimed wood also has character new lumber can’t match, which is a real reason people choose it beyond price.
Get the reclaimed timber inspected for structural soundness, not just surface rot, before you commit to a price.
Check moisture content with a pin meter; anything over 19% needs more drying time before it’s load-bearing.
Confirm species and grade match your engineer’s span tables, since old barn wood isn’t always graded the same as commercial lumber.
Budget extra time, often 2-3 weeks, for de-nailing and re-milling a full timber package.
Price local sawmills for custom-cut new timber, which often beats big-box lumber yards on large timber orders.
Factor delivery to a remote site, since a loaded flatbed may need a different route than a standard truck can handle.
Cost per square foot for a full post and beam cabin shell, frame plus SIPs, foundation, and roof, typically lands between $180 and $260 per square foot in most US regions as of 2024, before interior finishes or off-grid utilities. That’s a wide range, and site access is usually the biggest swing factor.
Permitting and DIY Reality Check
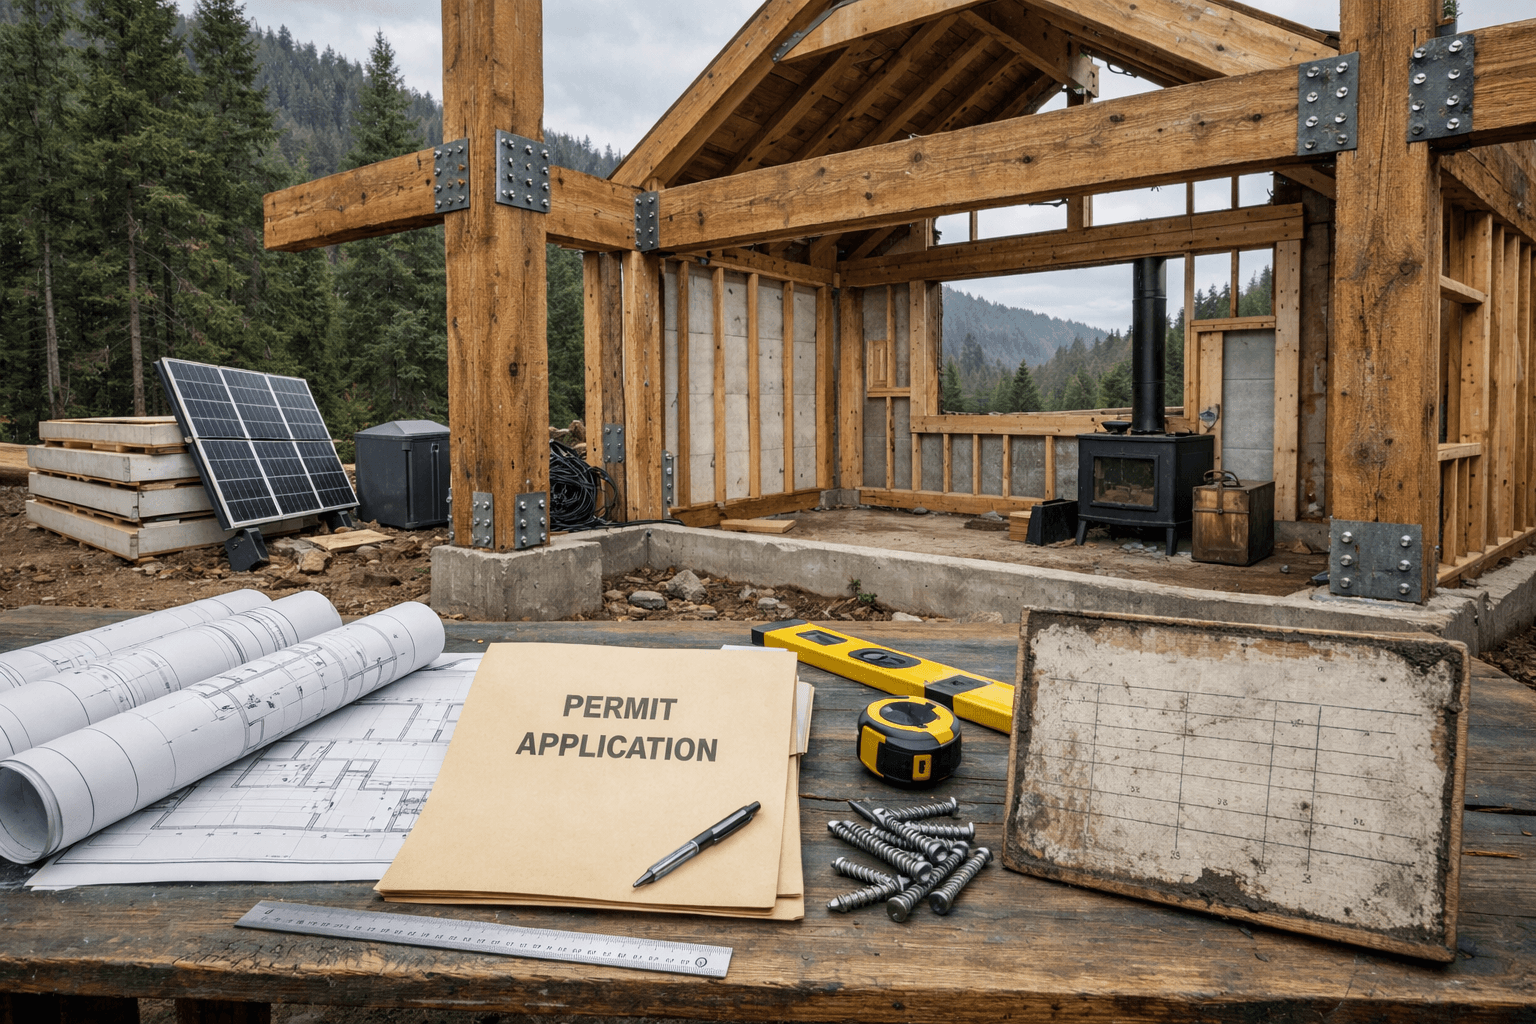
Off-grid doesn’t mean unregulated. Most counties still require a building permit for a permanent structure, even miles from the nearest paved road, and post and beam frames often trigger an engineer’s stamp requirement because inspectors aren’t as familiar with the load paths as they are with standard stick framing.
Call the county building department before you buy a single stick of lumber. Some rural counties have simplified permitting for structures under a certain square footage (often 200 to 400 square feet) or for structures without permanent plumbing, but you won’t know your county’s threshold until you ask directly.
DIY is genuinely possible here, but full timber-frame joinery from scratch is not a beginner weekend project. A more realistic path for most first-timers: buy a pre-cut post and beam package from a timber frame company, where the joinery is already cut and numbered, and handle the raising, infill, and finishing yourself. That cuts your skill requirement way down while keeping the labor, and the savings, in your hands.
Getting the insulation and heating strategy right up front is where a lot of cabin projects either save serious money or lose it fast, and it’s worth reading through detailed heating and insulation breakdowns, including the kind covered on Cabin Lodger, before you finalize your wall assembly.
Frequently Asked Questions
Are post and beam houses cheaper than stick-built cabins?
Not usually. Post and beam framing costs more per square foot for materials and connections, and if you add SIPs infill, your shell cost runs $180-$260 per square foot versus $120-$180 for a comparable stick-built shell.
Can one person build a post and beam cabin alone?
Not the whole frame. Raising posts and beams needs at least 2-3 people or mechanical lift assistance, since a single 6×6 post or 20-foot beam is too heavy and awkward to place solo without real risk of injury or a dropped timber.
Do post and beam cabins work in cold climates?
Yes, but only with the infill wall handled correctly. SIPs infill at R-24 or higher performs well in cold climates; unsealed stick-framed infill without careful air sealing around the posts will lose heat fast and strain a wood stove or solar-powered heat source.