A smokeless fire pit doesn’t burn without smoke — it burns with a lot less of it, thanks to a second combustion stage that most backyard buyers never think about. That’s the whole trick, and it’s the reason a $300 retail unit and a $40 steel drum can perform almost identically once you understand the airflow.
If you’re building one for a cabin patio, the physics matter, but so does your site. Wind exposure, wood type, and how close your deck sits to the pit all change your design and your safety margins. I’ll walk through both.
“Smokeless” Doesn’t Mean No Smoke
A smokeless fire pit reduces visible smoke by burning off the gases a normal fire wastes, usually cutting smoke output by somewhere around 70-90% depending on wood moisture and airflow tuning. It’s never truly zero.
The name comes from marketing, not physics. Any wood fire produces some smoke, especially at startup before the fire gets hot enough to trigger the secondary burn. Once that inner chamber heats up, unburned particles and gases get pulled back into the flame and combusted a second time, which is where the “smokeless” claim actually comes from.
Secondary combustion is the real term worth knowing. It’s the same principle used in modern wood stoves and EPA-certified fireplace inserts, just applied to an open-top pit instead of a closed box.
Expect a smoky first 5-10 minutes with any design, DIY or store-bought, until the airflow gets established.
Secondary Combustion Airflow: The Physics Behind Less Smoke
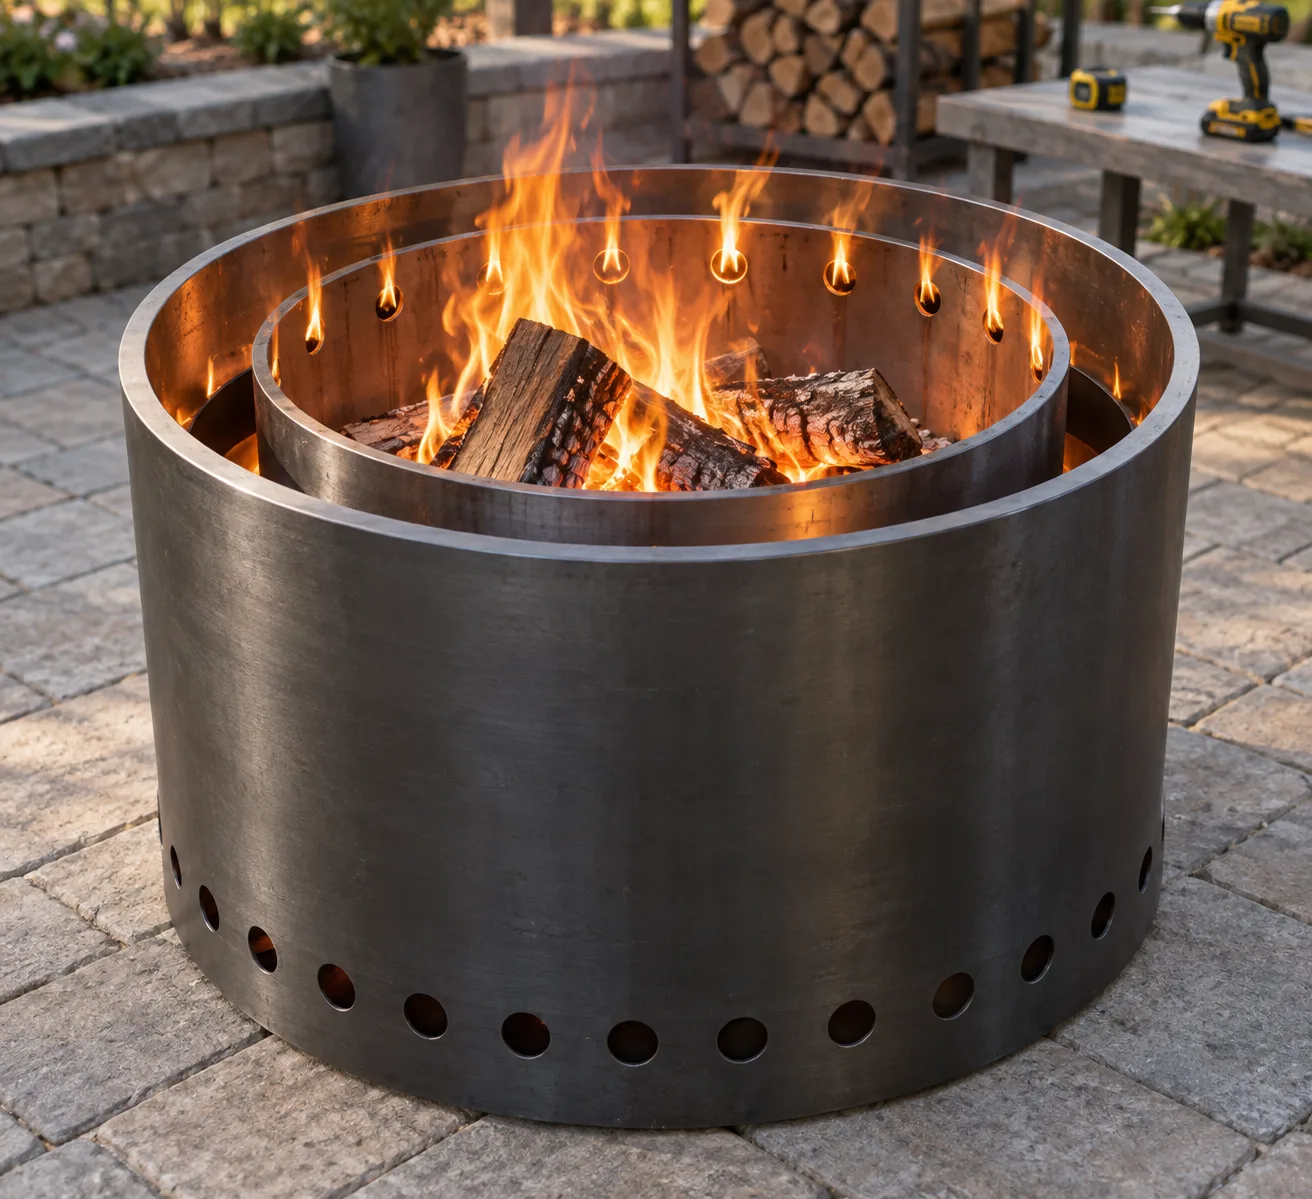
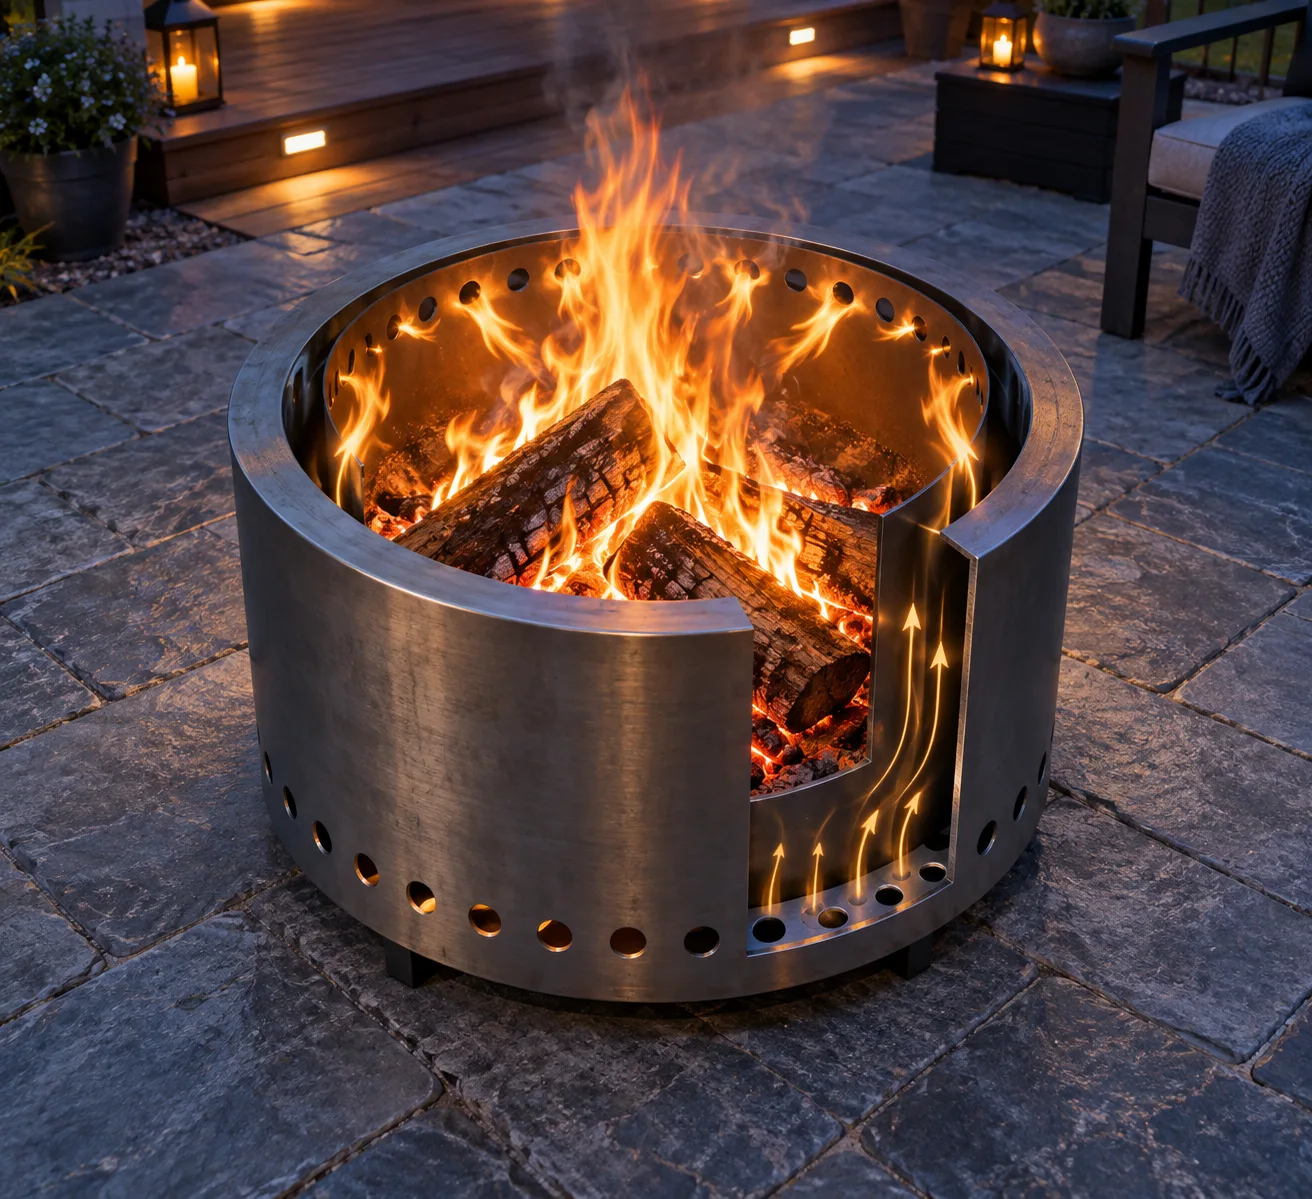
The core design is a double-wall build: an inner burn chamber and an outer wall with a gap between them, connected by a ring of drilled holes near the base and another ring near the top rim. Air gets pulled into that gap, heats up, and rises through the top holes to reburn smoke and gas above the fire.
Double-Wall Construction Basics
Most DIY builds use two concentric steel cylinders — an old 30-gallon drum works well for the outer wall, with a smaller drum or heavy-gauge steel ring inside it, leaving about a 1-1.5 inch air gap. That gap is where cool air enters at the bottom and exits, heated, at the top.
Drilling Vent Holes: Size and Pattern Actually Matter
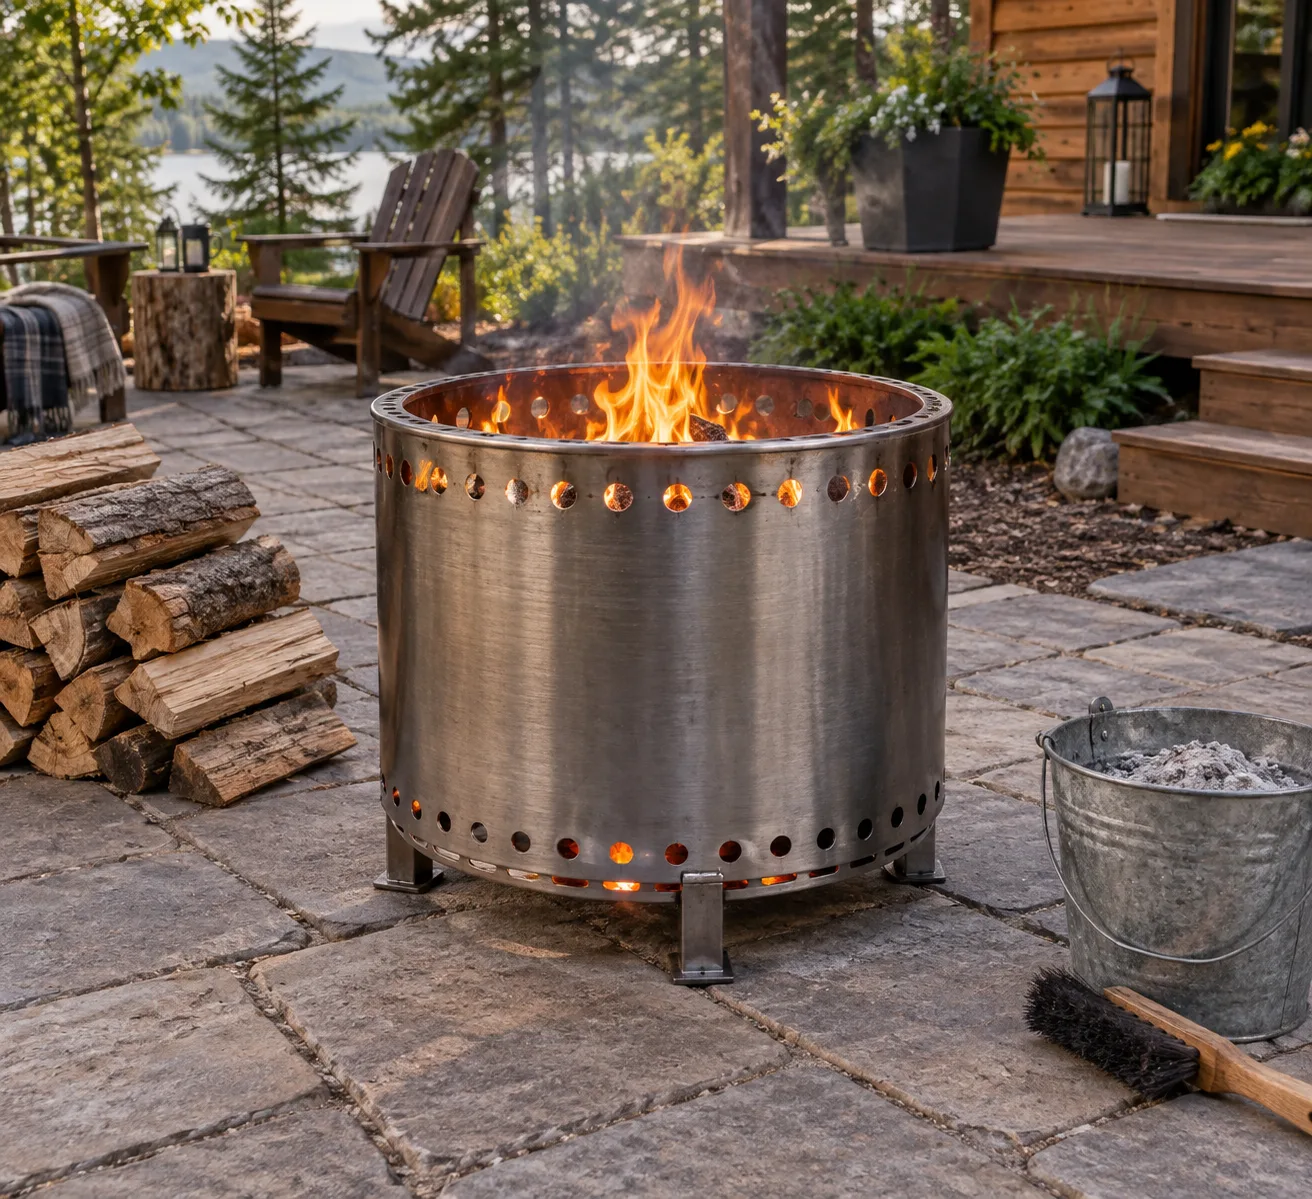
This is where a lot of first-time builds fail. You need two rings of holes, not one: a lower ring (roughly 3/4 inch holes, spaced 1.5-2 inches apart) to draw air into the gap, and an upper ring of similar or slightly smaller holes just under the rim to release heated air over the flame. Skip the upper ring and you lose the secondary burn entirely — you’ll just have a regular fire pit with extra metal around it.
DIY Build: Materials, Tools, and Steps
You can build a working smokeless fire pit from steel drums, cinder block, or fire brick, and each option lands in a different price and durability range. Steel is the fastest build; masonry lasts longer outdoors.
Comparing Your Material Options
Material
Rough Cost
Build Time
Durability
Steel drum (double-wall)
$40-$100
1 weekend
3-6 years before rust replacement
Cinder block
$60-$120
1-2 weekends
10+ years, needs mortar upkeep
Fire brick + steel liner
$150-$250
2 weekends
15+ years, handles high heat best
A retail smokeless fire pit runs $200-$400 for a comparable size, so even the fire brick build usually comes in cheaper once you factor in your own labor.
The Basic Build Sequence
Cut or source two steel cylinders (or lay a cinder block double ring) sized to leave a consistent air gap.
Mark two rings for vent holes — one low, one high — and drill with a step bit or hole saw.
Weld or bolt an inner and outer shell together at the rim, leaving the gap open at the base.
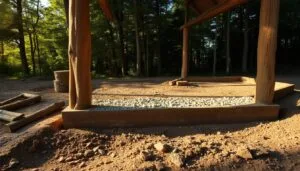
Pour or set a gravel and paver base at least 4 inches deep for drainage.
Set the assembled pit on the base, level it, and check both vent rings are unobstructed.
Do a test burn with dry, seasoned wood and watch for the secondary flame lick above the rim.
Let it cool and inspect welds or joints before regular use.
Skipping step 4 is the mistake I see most — a pit sitting directly on dirt traps moisture against the steel, and you’ll be dealing with rust-through within a year or two instead of five.
Site Placement and Fire Safety at an Off-Grid Cabin
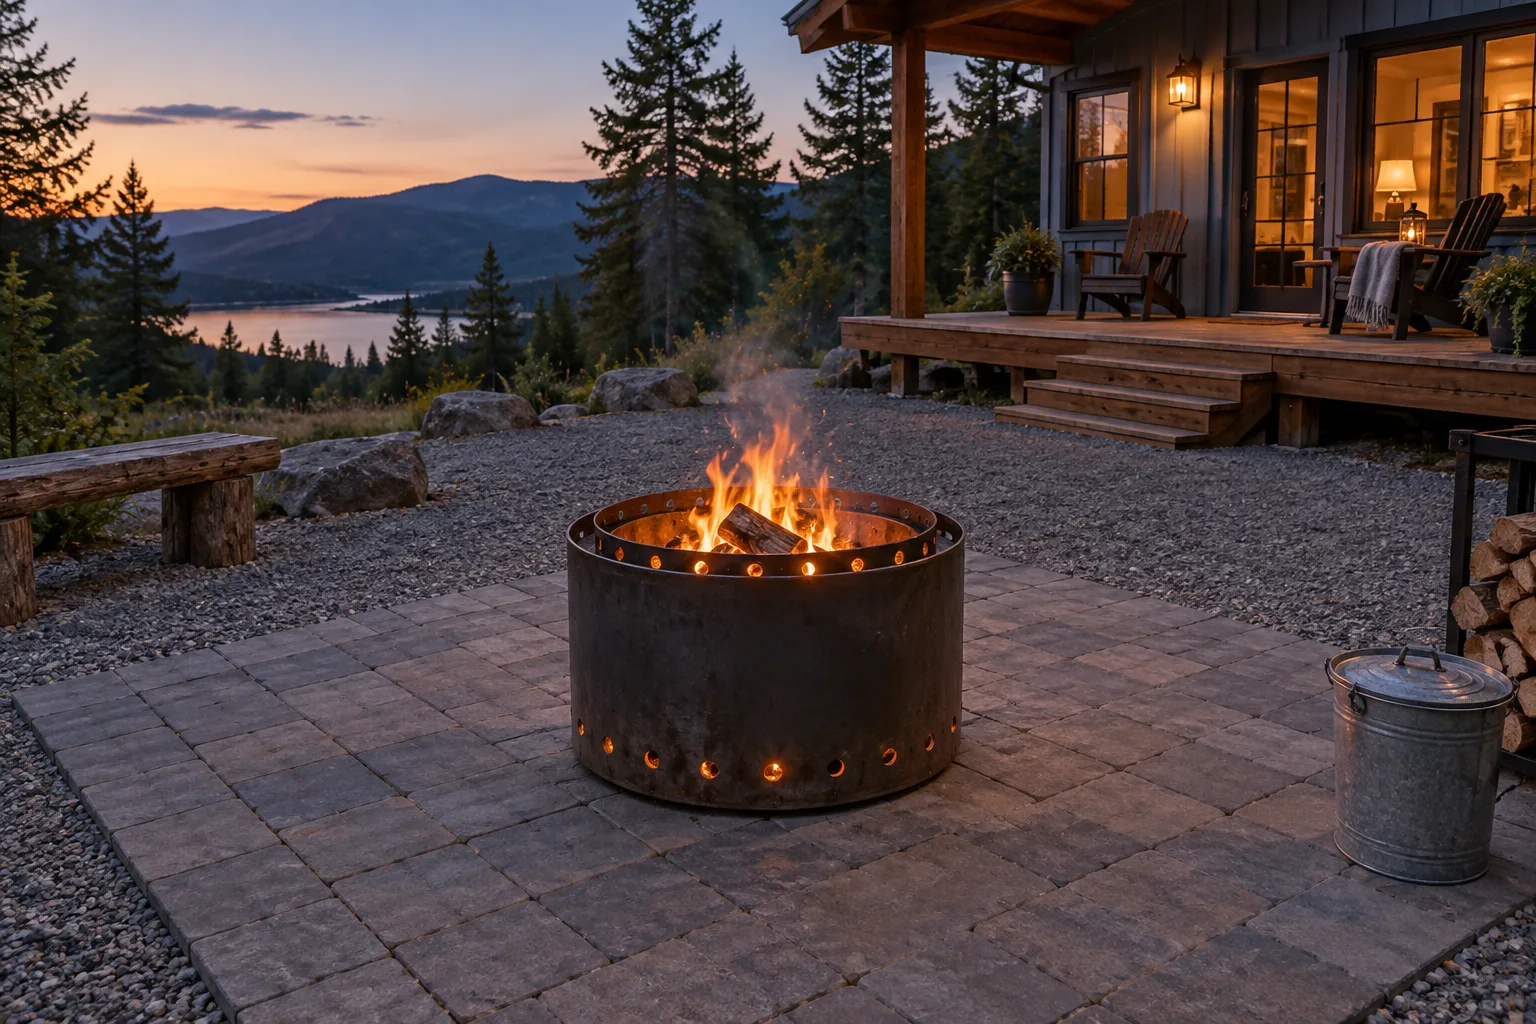
Placement is where most online guides stop short, and it’s exactly where cabin sites get tricky. A pit that runs clean in a sheltered backyard can smoke and throw sparks badly on an open, windy ridge or a lot surrounded by dry pine.
Wind, Wood Type, and Deck Proximity
Wind disrupts the draft your double-wall design depends on, so if your cabin sits in an exposed spot, orient the pit with a windbreak (a low wall, a stack of firewood, even parked equipment) on the prevailing wind side. Softwoods like pine and fir throw more sparks and smoke than seasoned hardwood such as oak or maple, which matters more near a wood deck than it does in a gravel yard.
Clearance Distances and Local Burn Codes
Most local fire codes call for at least 10 feet of clearance from any structure, and many require 15-25 feet from a wooden deck or overhang — check with your county or state forestry office before you build, since rules vary block to block and change during dry seasons. If you’re upgrading how your cabin handles heat and fire risk generally, it’s worth reading through the heating-specific posts on cabinlodger.com before you finalize where the pit sits relative to your firewood storage and propane tanks.
Wood Fuel and Cleanout Maintenance
Dry, seasoned hardwood with under 20% moisture content burns the cleanest in a smokeless design; wet or green wood chokes the secondary burn no matter how good your vent holes are. A moisture meter costs about $15 and pays for itself the first burn season.
Clean the ash out after every 3-4 fires, since a deep ash bed can block your lower vent ring and kill the draft. A metal ash bucket with a lid, kept away from the cabin, handles both cleanout and fire safety at once.
Frequently Asked Questions
Can a smokeless fire pit be used on a wood deck?
Not directly on the deck boards — use a fire-rated pad or paver base underneath, and keep at least 15-25 feet of clearance from the structure per most local codes, since radiant heat and stray embers still pose a risk even with reduced smoke.
How much does a DIY smokeless fire pit cost compared to buying one?
A DIY steel-drum build runs $40-$100 in materials, versus $200-$400 for a comparable retail unit; a fire brick version costs more upfront (around $150-$250) but lasts over 15 years outdoors.
Why is my homemade smokeless fire pit still smoking a lot?
Check your vent hole pattern first — a missing upper ring, undersized holes, or wet wood are the three most common causes, along with a startup phase that’s always smokier until the secondary burn kicks in.