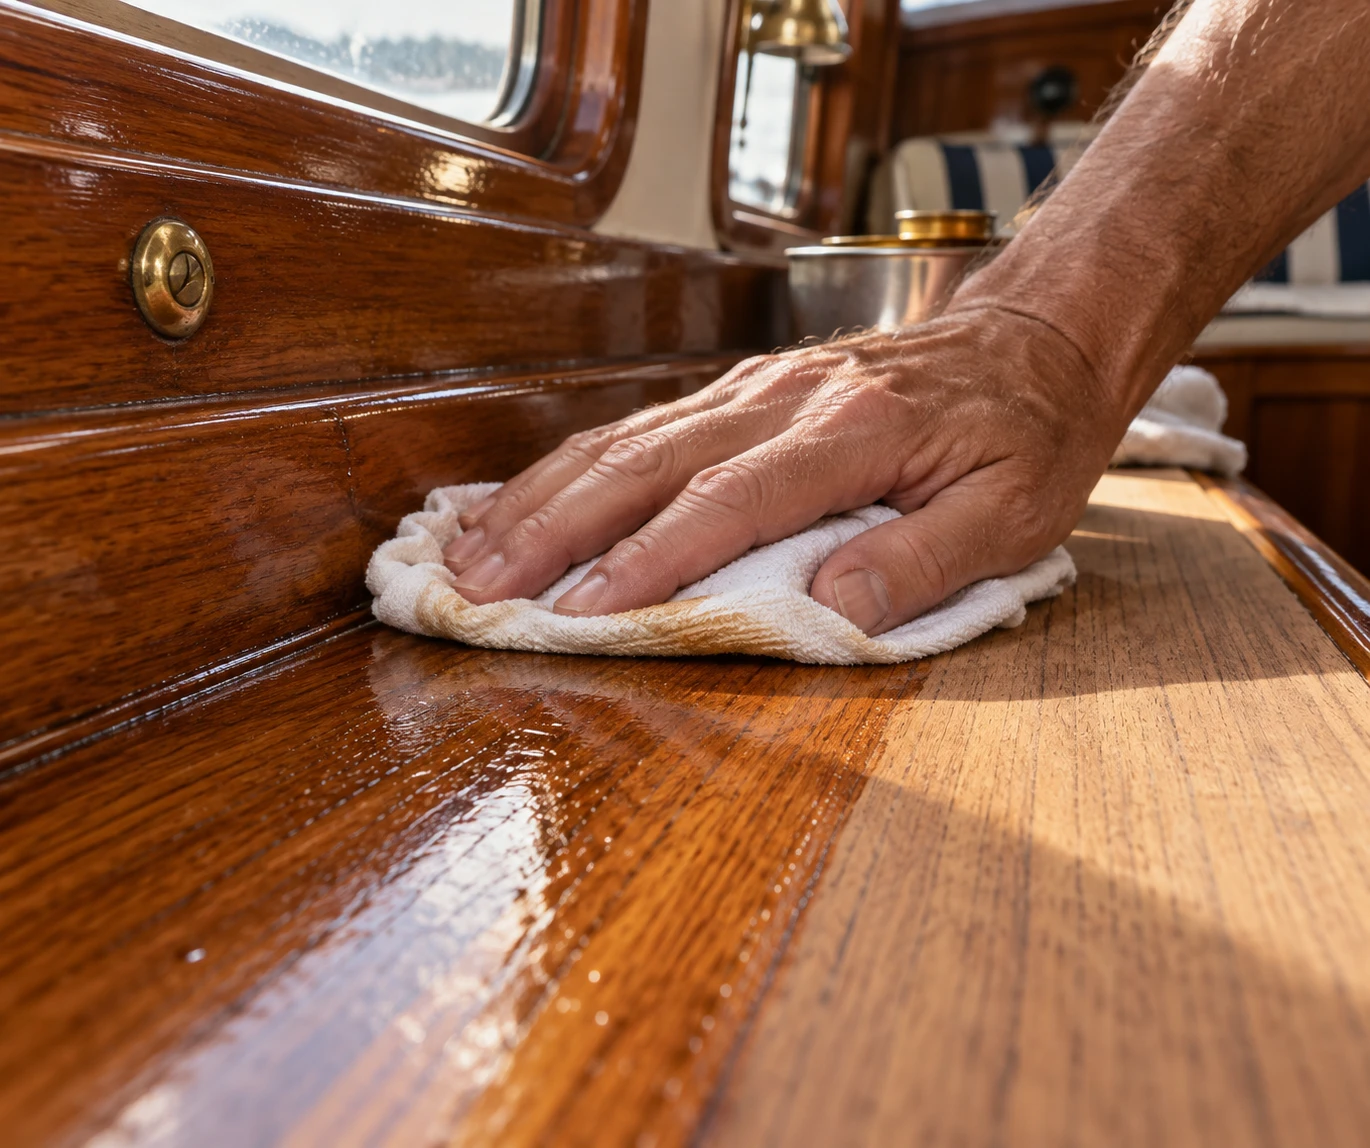
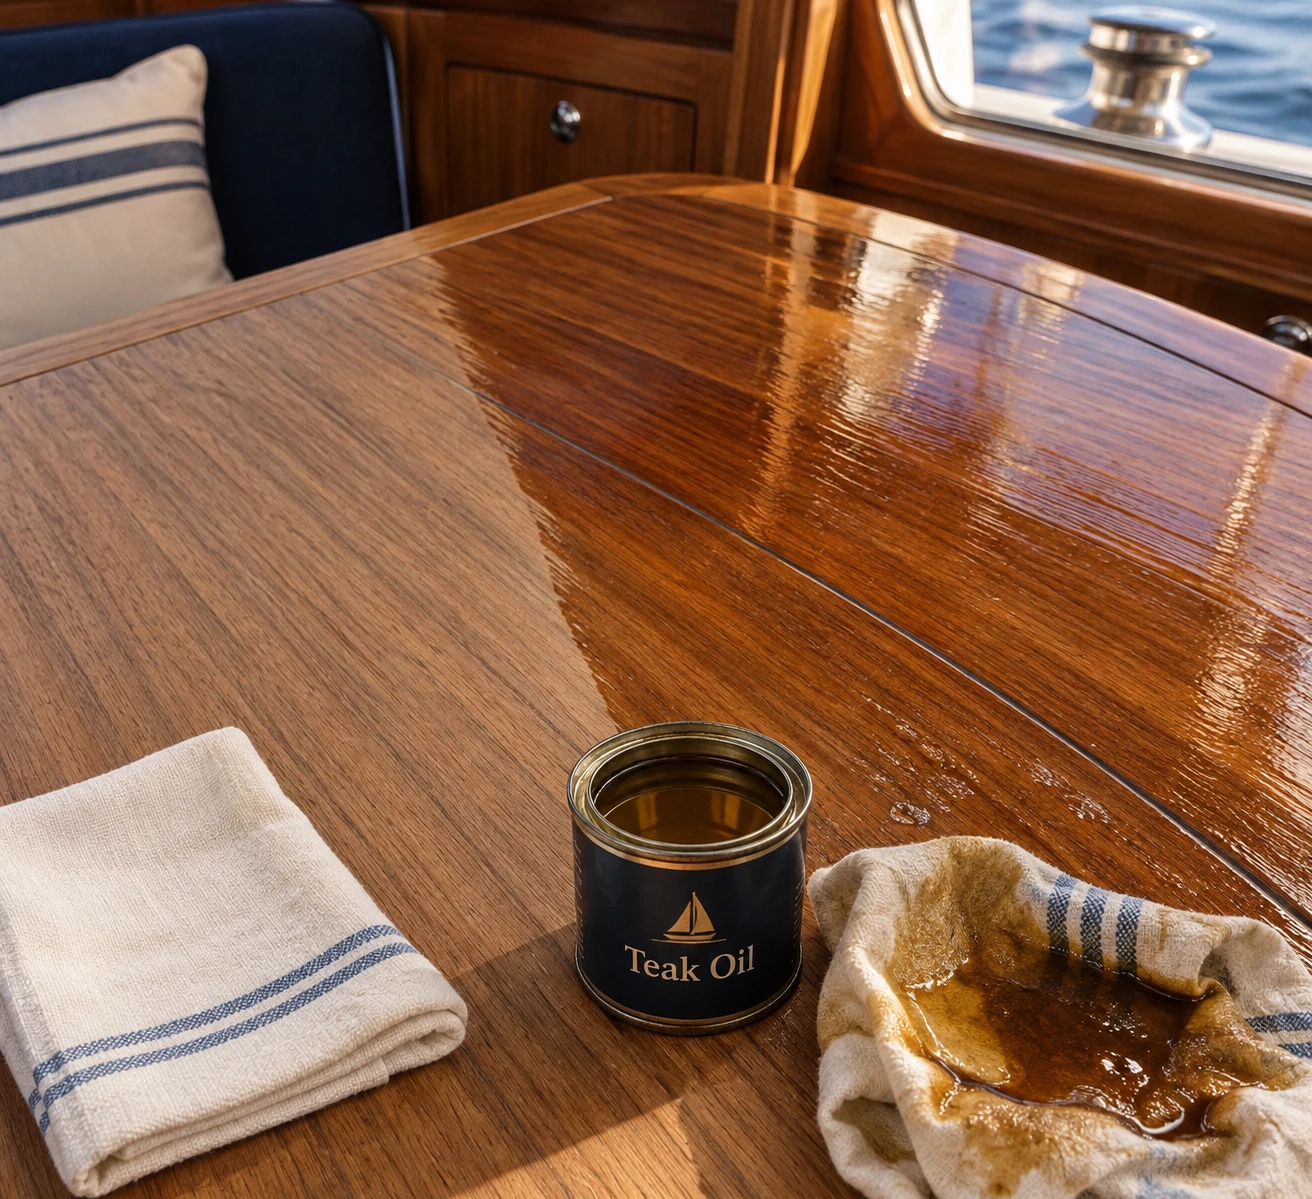
Sand the wood smooth, wipe off every bit of dust, then brush or rag on a thin coat of teak oil along the grain. Let it soak in for the time on the can, wipe off all the excess, and let it dry fully. Add a second thin coat if the wood still looks thirsty. Then deal with your oily rags safely, because they can catch fire on their own.
What Teak Oil Is and Where It Works in a Cabin
Teak oil isn’t pressed from teak trees. It’s a blend, usually linseed or tung oil with thinners and drying agents, made to soak into wood and bring out the grain. It’s a penetrating finish, so it leaves no hard film on top. That’s why it feels natural and why it wears off sooner than varnish.
Good Places for It
Use it on interior trim, shelves, stair treads, handrails, tables and benches. These spots get touched but stay dry. Most woods take it fine, including oak, ash, walnut, cedar and pine. Pine can blotch, so test first.
Poor Places for It
Skip it near wet areas and on exposed exterior wood. Rain, sun and standing water strip it fast, and you’d be recoating every few months. Damp, oily surfaces also hold dirt and can trap mildew. For a deck or siding, pick a proper exterior stain or sealer.
Teak oil on real teak is a different story. Teak already holds its own natural oils, so extra oil can leave it sticky and dirt-prone. Save the product for other woods.
Applying Teak Oil Step by Step
Work in a ventilated room between about 60°F and 80°F. Cold, humid air slows drying a lot. Wear nitrile gloves, and let’s get going.
Sand. Go through 120 grit, then 180 or 220 grit, always with the grain. Skipping this step causes blotchy color.
Remove dust. Vacuum, then wipe with a clean rag. A tack cloth (a slightly sticky cloth that grabs fine dust) works well.
Test a hidden spot. Try the underside of a shelf or the back of a trim piece. Check the color before you commit.
Flood the surface. Apply a generous, even coat with a lint-free rag or a natural-bristle brush. Follow the grain and keep a wet edge.
Let it soak. Most labels say 15 to 30 minutes. Watch for dry patches and add oil to them.
Wipe off all excess. Use clean, dry cloths, again with the grain. Nothing should shine wet when you finish.
Dry, then recoat. Wait the time on the label, often 8 to 12 hours, and apply a second thin coat.
Rag or Brush?
Use a rag for flat boards, trim and furniture. It controls the amount and wipes cleanly. Use a brush for carved edges, joints and rough-sawn boards. Either way, wipe afterward. The brush only gets oil on; the wipe-off does the finishing.
Tinted or Clear?
Clear oil keeps the natural color. Tinted oil adds a bit of pigment and can hide uneven wood, but it can also look muddy. The test patch settles it.
Coats, Drying Time and Too Much Oil
Two to three thin coats is enough for most wood. Old, dry wood may take four, spaced about 12 hours apart. Stop when the surface no longer drinks oil.
Yes, you can overdo it. Excess oil left on the surface stays tacky and never cures. Piling on coats makes it worse, since the top skins over and the oil underneath stays wet. Heavy layers also attract dust and can hold moisture against the wood.
Stage
Typical time
Soak before wipe-off
15–30 minutes
Between coats
8–12 hours (check your can)
Dry to touch
About 8–12 hours
Full cure
1–3 days, longer in cool or humid air
These are typical ranges. Your can’s directions win, and thick coats or cold rooms add time.
If a surface stays sticky, wipe it with a rag dampened with mineral spirits to lift the surface oil. Then give it a few more days. The bottom line? Thin coats, full wipe-off, patience.
Oily Rag Safety in a Wood Cabin
Rags soaked in teak oil can heat up as the oil cures and ignite by themselves. This is called spontaneous combustion. In a wooden cabin, that’s not a risk worth taking.
Never ball them up or toss them in the trash. Do this instead:
Lay rags flat outside, away from the cabin, on gravel or concrete until fully dry and stiff.
Or drop them in a metal container with a tight lid, filled with water.
Better still, use a listed metal oily-waste can with a self-closing lid.
Take sealed rags to your local hazardous waste drop-off.
Job sites follow OSHA rule 1926.252(e): oily rags go in a covered, fire-resistant container and get emptied daily. Copy that habit at home.
Upkeep and Downsides
Interior wood that sees light use may need a fresh coat only every year or two. Hands, stairs and rails wear sooner, so refresh those when they look dull or dry. Outdoors, expect every 3 to 9 months.
The downsides are real. Teak oil gives little UV protection, it can attract dirt if left heavy, and over-oiling invites mildew. It’s also not a hard shield against spills. For a kitchen counter or a wet bench, use something tougher.
To refresh old oiled wood, clean it, scuff lightly with 220 grit, and add one thin coat. Our other wood treatment guides at Cabin Lodger cover finishes for damp areas.
Frequently Asked Questions
Can I use teak oil on indoor cabin walls and furniture?
Yes. It suits dry interior walls, trim, shelves and furniture made from most species. Test a hidden spot first, since pine can blotch. Keep it away from wet zones like showers.
How many coats of teak oil should I apply?
Two to three thin coats cover most projects. Very dry or old wood may take up to four, about 12 hours apart. Wipe off all excess after each coat.
How often should I reapply teak oil?
Indoors, once every year or two is typical, sooner on stairs and handrails. Exposed exterior wood needs oil every 3 to 9 months. Reapply when the wood looks dry or dull.