Clean the walls, scrape anything flaking, fill holes and cracks, sand with 120-180 grit, and wipe off every bit of dust. Spot-prime your repairs, caulk the gaps, then roll on a full coat of primer. Use shellac or bonding primer over knots, gloss and stains.
That’s the whole job for interior painting in a cabin. Cabin walls aren’t drywall, though. Paneling, knotty pine and tongue-and-groove move with the seasons. Let’s walk through the order that works.
The Prep Order That Gives a Smooth Finish
Order matters. Dust from sanding ruins fresh caulk, and grease under primer ruins everything. Here’s the sequence I’d follow:
Check moisture first. Wood should be dry and the cabin shouldn’t feel damp. Painting over damp wood traps moisture and the paint blisters.
Clean and degrease the walls.
Scrape flaking paint.
Fill holes, gouges and cracks, then let the filler dry.
Sand smooth, then vacuum and wipe with a damp rag.
Spot-prime the repairs, then caulk gaps and seams.
Prime the full wall, lightly sand, and paint.
Tape trim and cover floors before you sand, not after. The bottom line? Skipping a step shows up in the final coat.
Cleaning and Degreasing
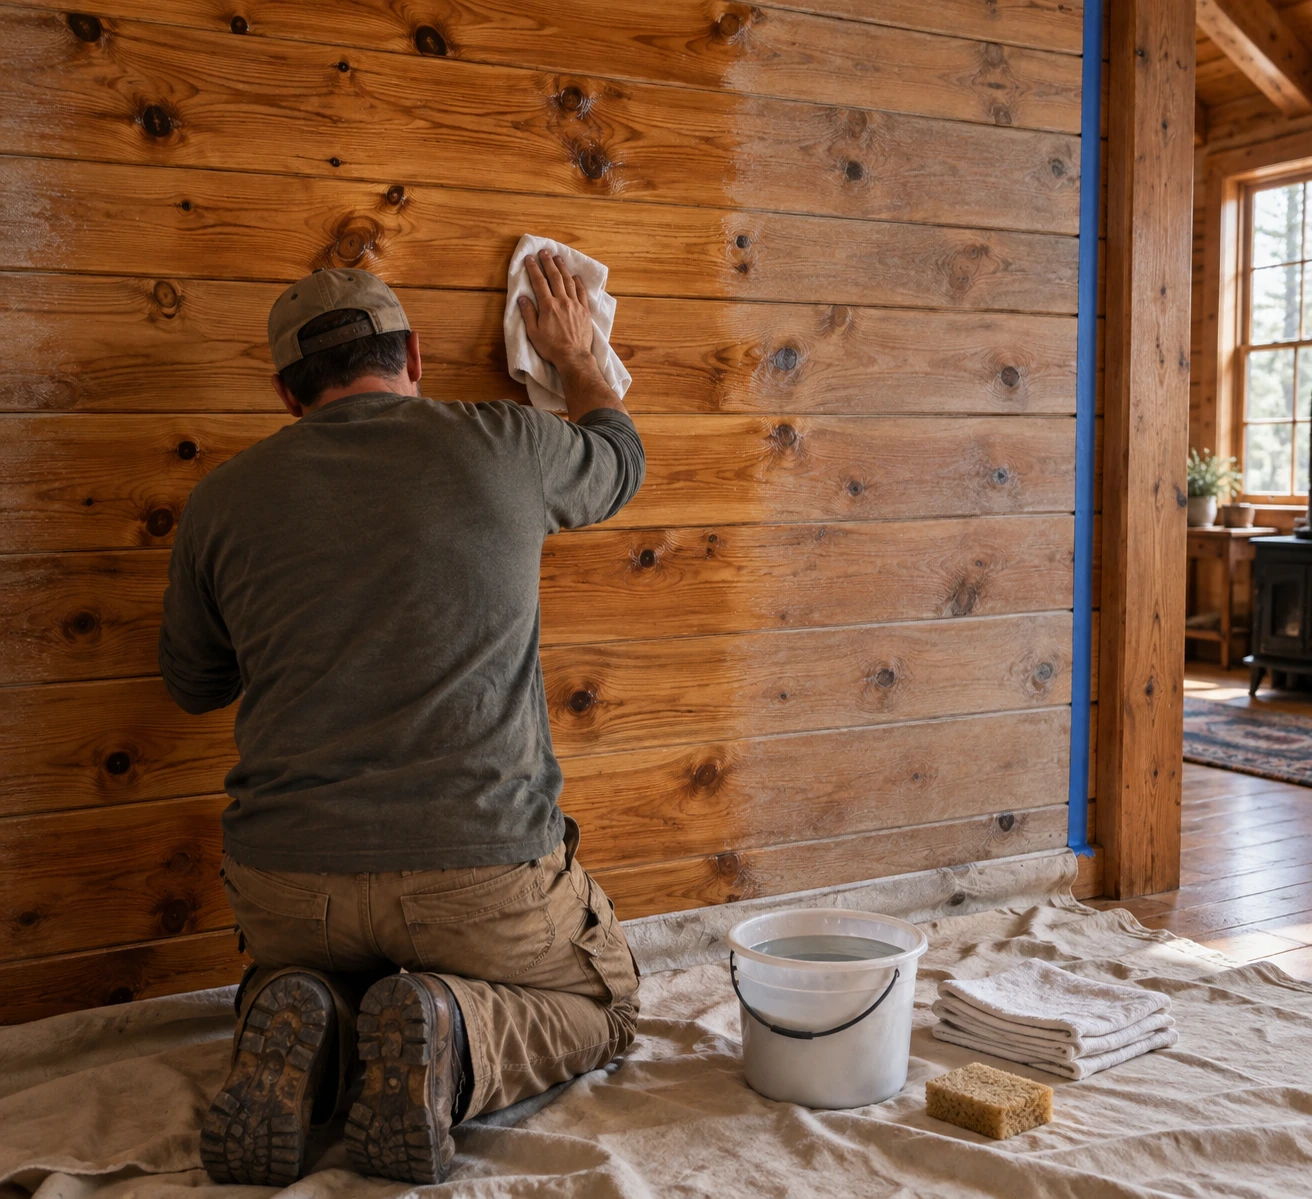
The fastest method is a sponge and a bucket of hot water with TSP (trisodium phosphate) or a TSP substitute. Wear gloves. It cuts grease, removes soot from woodstoves and dulls glossy surfaces. Change the water often. In a smoky or old cabin, you may swap it every four or five boards.
Rinse with clean water and let the wall dry fully before you touch it again.
Filling, Scraping and Sanding
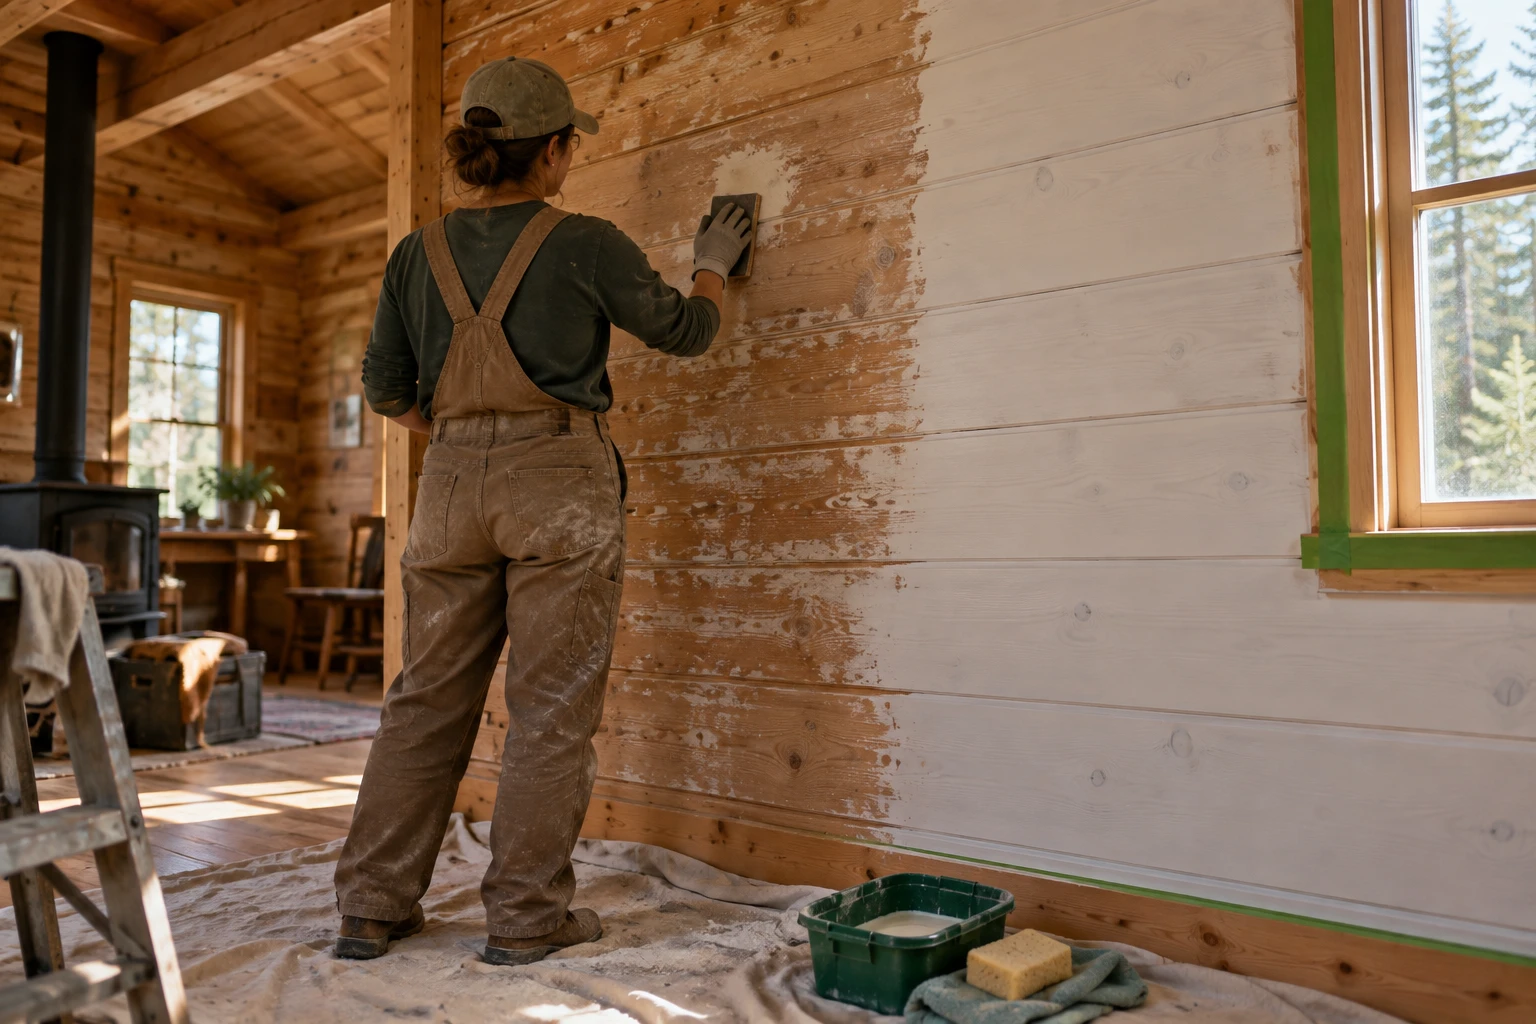
Scrape loose paint until the edges feel solid. Fill dents with latex wood filler on paneling, or spackle or joint compound on drywall patches. Overfill slightly, since filler shrinks.
Sand patches flush with 120-180 grit. Old glossy paint needs a light scuff sanding too, or new paint won’t grip. For an extra-smooth wall, sand again with 220-240 grit after the first primer coat. A sanding sponge reaches grooves better than paper.
Vacuum, then wipe with a damp cloth. Painting over dust leaves a gritty finish.
Wood Paneling and Knotty Pine: Cabin-Specific Prep
Wood walls need more than a drywall routine. Before anything else, find an exposed edge (behind a vent cover or baseboard) to see what you have. Solid wood takes sanding fine. Thin veneer over fiberboard doesn’t, because sanding can burn through the surface layer.
Block Knots and Stains With the Right Primer
Knots leak resin and tannins (the brown stain in wood), and water-based primer lets them bleed through. Use an oil-based shellac primer, such as Zinsser BIN, on knotty pine, smoke stains and glossy wood. It seals everything in. The fumes are strong, so wear a paint respirator and open the windows. It also dries fast and runs thin, so watch for drips.
Use bonding primer on slick, previously painted surfaces. Spot-prime your filler patches too, or they show as dull flat spots through the paint, called flashing.
Surface
Best primer
Why
Knotty pine, smoke stains
Shellac
Seals resin and tannins
Glossy paneling or old enamel
Bonding
Grips slick surfaces
Water stains
Stain-blocking
Stops yellow bleed
Clean, sound painted drywall
Standard latex
Evens out color
Seams, Grooves and Moving Wood
Gaps between boards are too deep for paint to cover. Run a thin bead of paintable caulk down each seam, smooth it with a wet finger and wipe off the excess. Choose a flexible acrylic latex caulk, because wood swells and shrinks with humidity and brittle caulk cracks.
Decide if you want to keep the grooves. Filling them makes a flat wall but takes a lot more work, and the seams may reopen as the wood moves. Honestly, keeping the grooves is easier and looks right in a cabin.
When Not to Paint the Wood
Painting is permanent. Once you cover good pine, getting back to bare wood means heavy stripping. If the wood is sound and just dirty, clean it and finish it with a clear coat or stain instead.
Skip paint on log walls and on wood that’s still damp or moving a lot. Also think twice if the room is dim. Dark wood soaks up light, so paint can brighten a cabin, but a lighter color on dark pine may need an extra coat even after primer.
Painting Day: Primer, Paint and Fumes
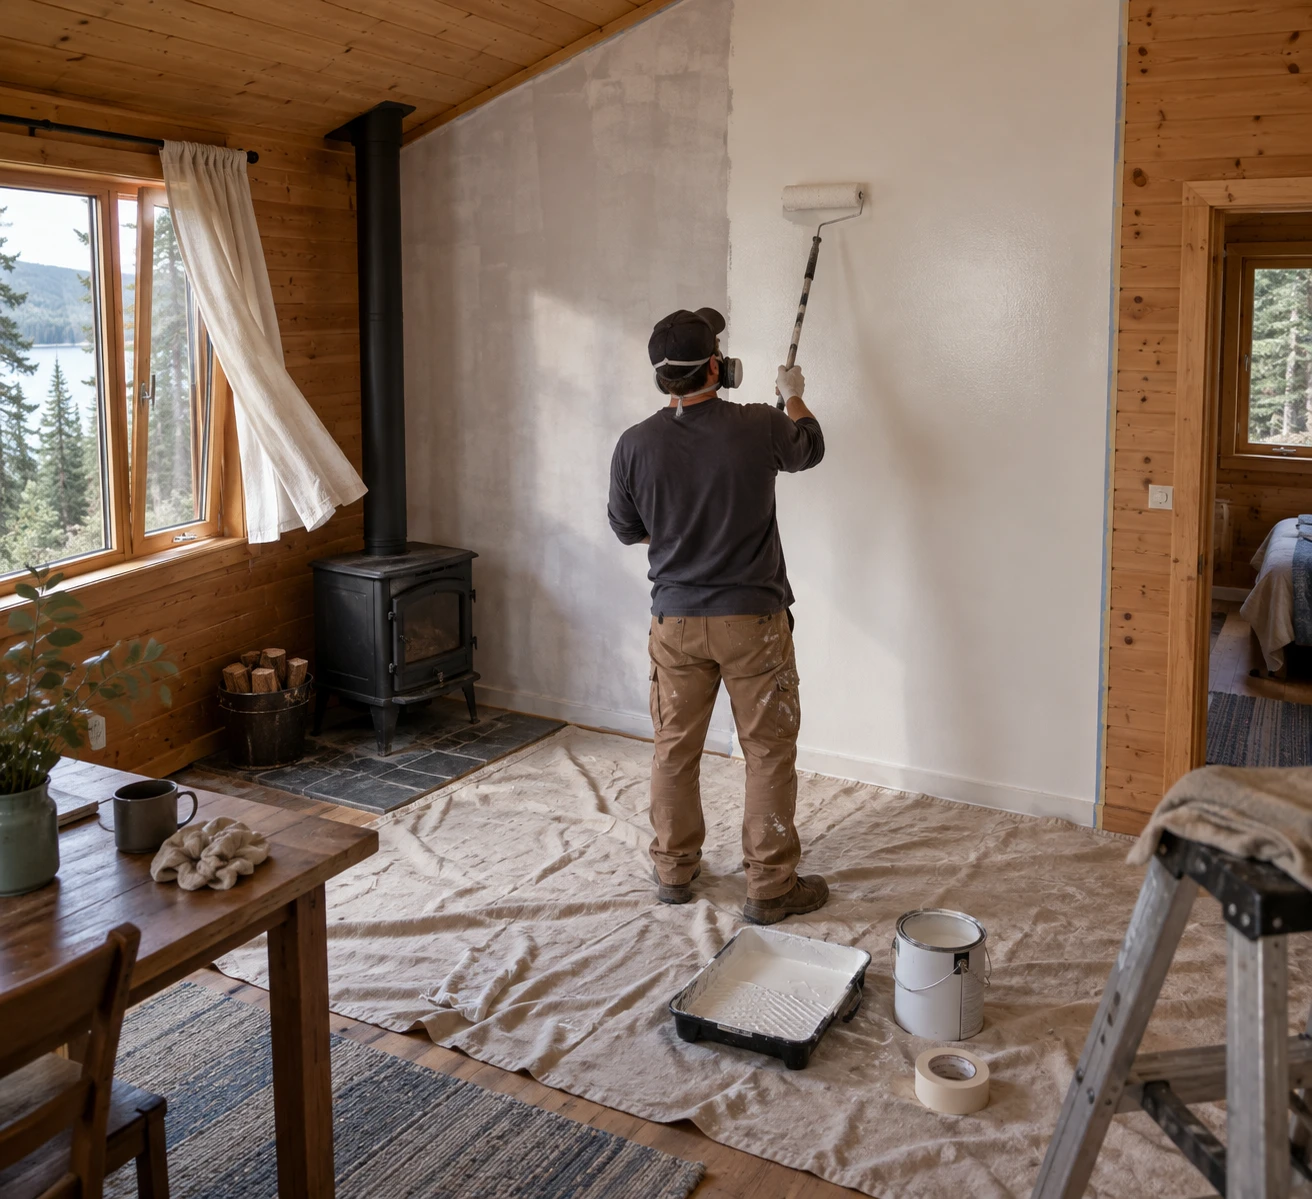
Prime the full wall, even over existing paint if you’ve patched, sanded to bare wood or changed color a lot. Let it dry as the label says. Cut in corners with a brush, then roll the walls. Use a low-sheen paint for walls and semi-gloss for trim.
Pick a low-VOC or zero-VOC paint for a small, enclosed cabin. VOCs are fumes that linger indoors. Quality zero-VOC lines run around $50-$90 a gallon (typical retail range, 2026). Keep windows open and allow 24 hours before hanging anything.
Frequently Asked Questions
Do I need to sand walls before painting over old paint?
Yes, give them a light sand. Glossy or previously painted surfaces need scuffing with 120-180 grit so new paint bonds. Clean off the dust afterward.
Do I need primer if I’m painting over existing paint?
Not always. Sound paint in a similar color can take two coats of paint. Prime over patches, stains, knots, glossy finishes and big color changes.
How do I stop knots from bleeding through paint?
Seal them with shellac primer before painting. Water-based primer won’t hold back resin and tannins. Apply two thin coats on stubborn knots, and let each dry fully.