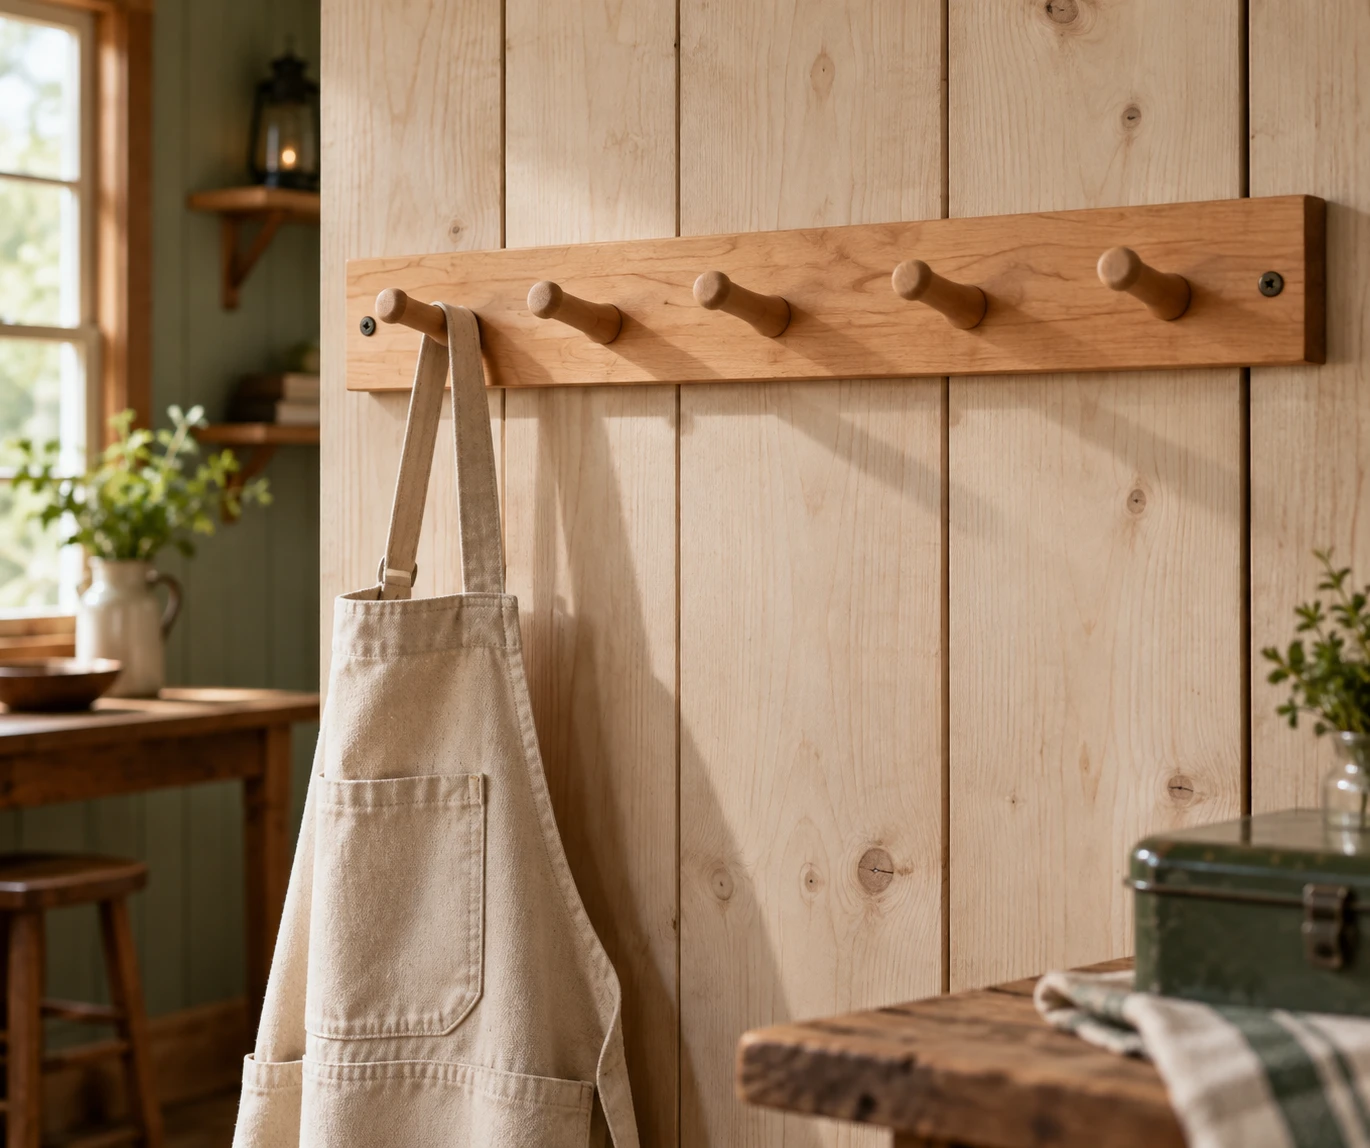

A simple Shaker peg rail is a 3/4-inch hardwood board with turned pegs about 6 inches on center, screwed into studs. That’s the whole idea. It’s one of the best first projects in Shaker woodworking because it’s useful on day one and takes an afternoon.
The tricky part isn’t the rail. It’s the wall behind it. Cabin walls vary a lot, from framed studs to thin paneling to solid logs that shrink and swell with the seasons. So let’s build the rail and plan the mounting together, right from the start.
Why the Shaker Design Still Works
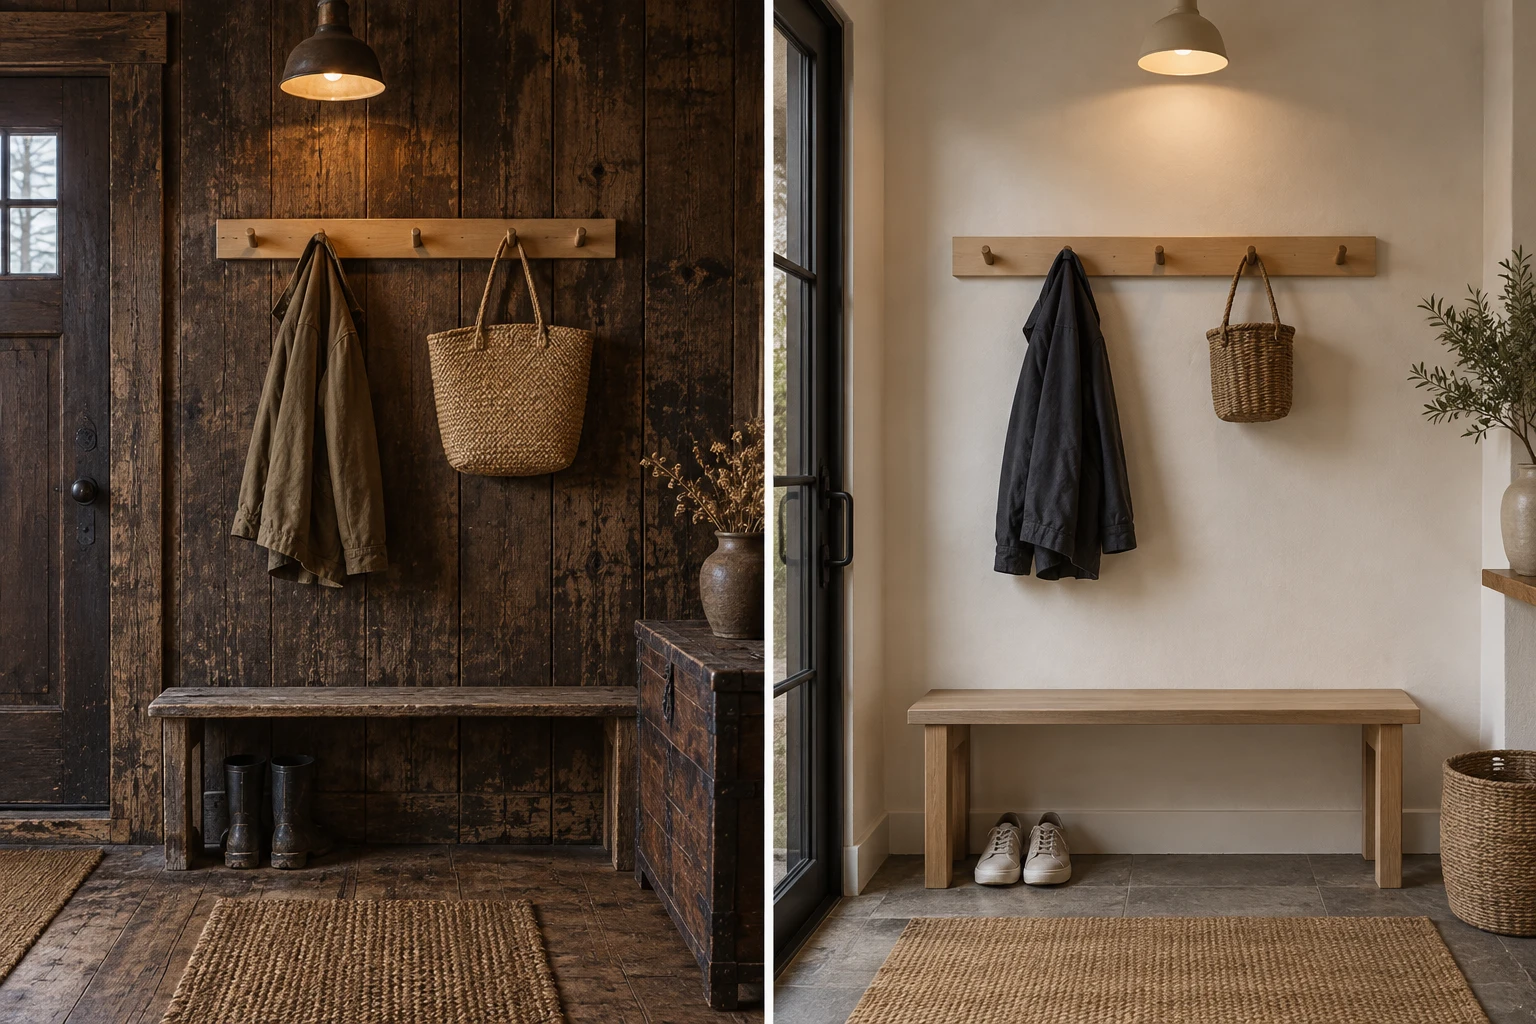
The Shakers were a religious community known for plain, well-made furniture. They put peg rails in nearly every room, from cellar to attic. Coats, tools, chairs and even small cabinets hung on them to keep floors clear.
Their principles are simple. Use honest materials, skip decoration, and make every part do a job. A peg rail fits that perfectly.
One quick correction. Shaker pegs are turned pieces with a mushroom head, a tapered body and a straight round tenon called the shank. They’re not clothespins. That shank is what makes them strong, and you’ll size every hole around it.
Cut List and Layout for a 36-Inch Rail
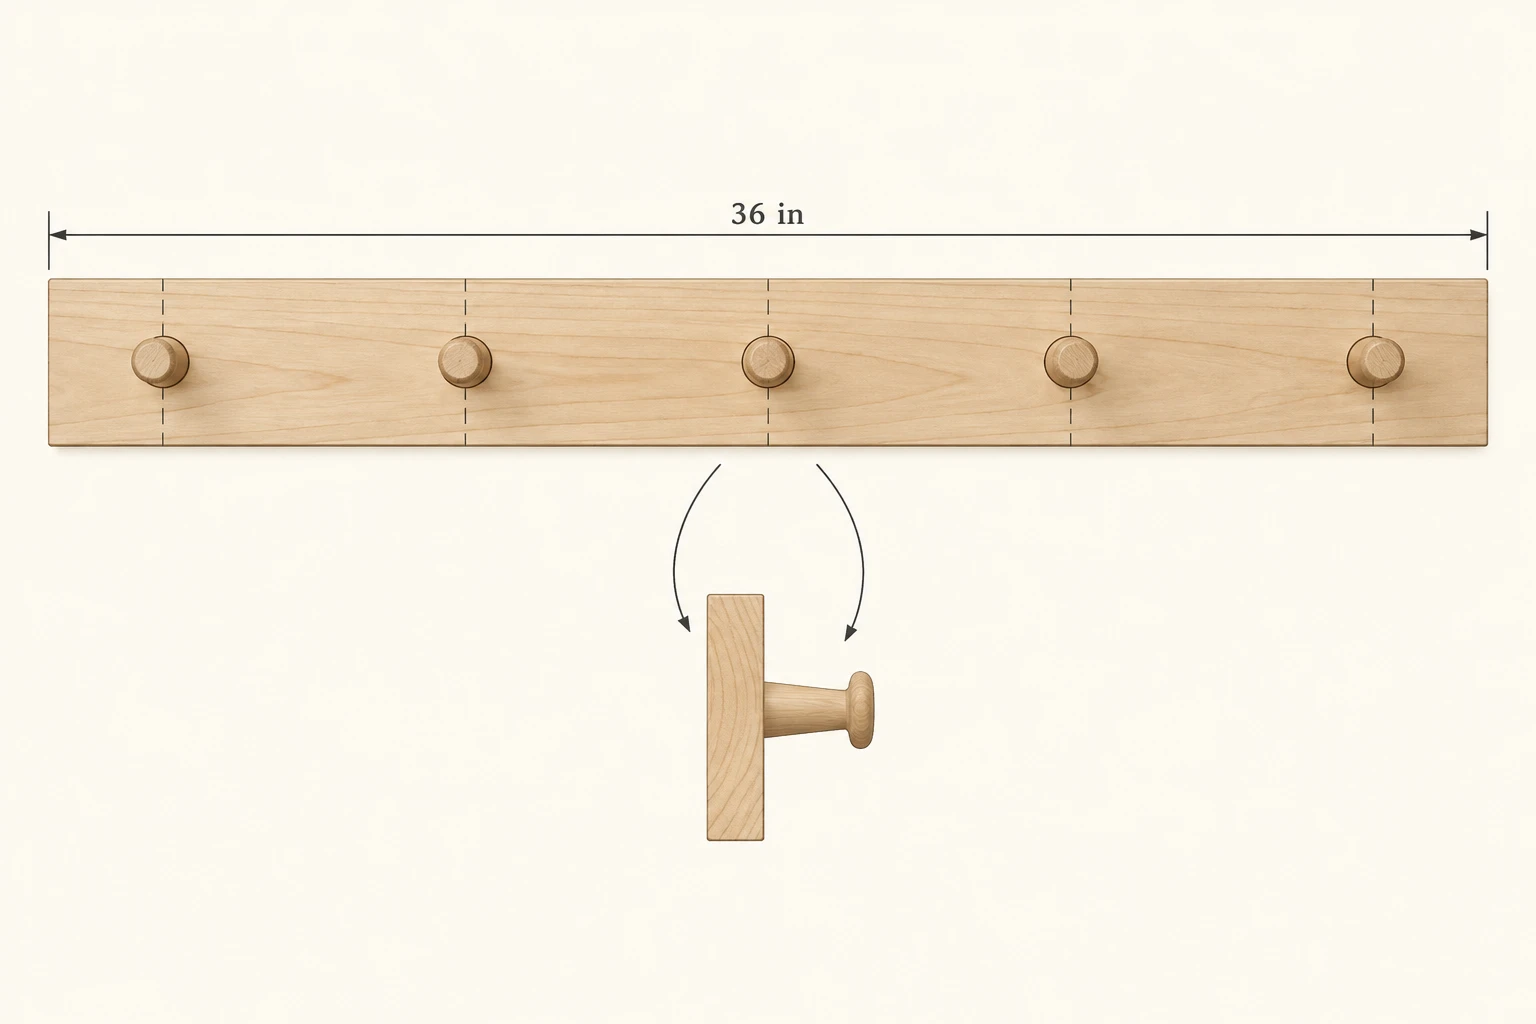
Here’s one beginner project you can copy exactly. It’s a 36-inch rail with five pegs. That’s a good size for a cabin entry or mudroom.
Materials and Dimensions
| Part | Qty | Size | Notes |
|---|---|---|---|
| Rail board | 1 | 3/4″ x 3-1/2″ x 36″ (a 1×4) | Clear pine, poplar, maple or oak |
| Shaker pegs | 5 | About 3″ projection, 1/2″ shank | Measure your shank first |
| Mounting screws | 3–4 | #9 or #10 x 3″ | Into studs only |
| Wood glue | 1 bottle | PVA (yellow glue) | For glued pegs |
For lumber, pick straight, dry boards with no knots near the hole line. A knot can split when you tap a peg in. Hardwood like maple or oak holds pegs best under heavy coats. Pine works fine for lighter gear.
Peg Spacing and End Margins
Space pegs 6 inches on center, which is the traditional spacing. With five pegs on 36 inches, the pegs cover 24 inches. That leaves 6 inches at each end, so marks land at 6, 12, 18, 24 and 30 inches.
Want a different board length? Divide the length by the number of pegs plus one. A 24-inch board with three pegs gives 8-inch spacing. Easy math, right?
Drilling, Gluing and Finishing the Rail
Most mistakes happen here. People drill before they’ve measured the peg. Don’t. Some peg packs list the bit size, and many don’t.
Most turned pegs have a 1/2-inch shank about 3/4 inch long. Your hole should be that same depth. On a 3/4-inch rail, you’re drilling nearly through. So set a depth stop at about 5/8 inch, or drill fully through and plan for it.
- Measure the shank diameter and length with calipers or a tape.
- Test-drill a scrap with your bit. The peg should need light taps to seat.
- Draw a centerline along the board, then square across at each peg mark.
- Clamp the board down and drill straight. Use a drill press or a drilling guide if you can.
- Sand the rail to 180 grit and ease the edges.
- Spread a little glue in each hole and tap the pegs in with a mallet.
- Wipe off squeeze-out and let it cure 24 hours before loading.
- Finish with oil, wax or paint. Mask the pegs if you want contrast.
Glued Pegs vs. Screw-In Pegs
These aren’t interchangeable. Glued tenon pegs are stronger and traditional. Screw-in pegs often come with a short 5/8-inch screw, which can loosen under weight. Use them for light items only, and never mix them up and drill a tenon-sized hole for a screw peg.
For a cabin that sees wet gear, use a hard-wearing finish. A wipe-on poly or hardwax oil handles damp coats better than wax alone.
Mounting the Rail on Your Cabin Wall
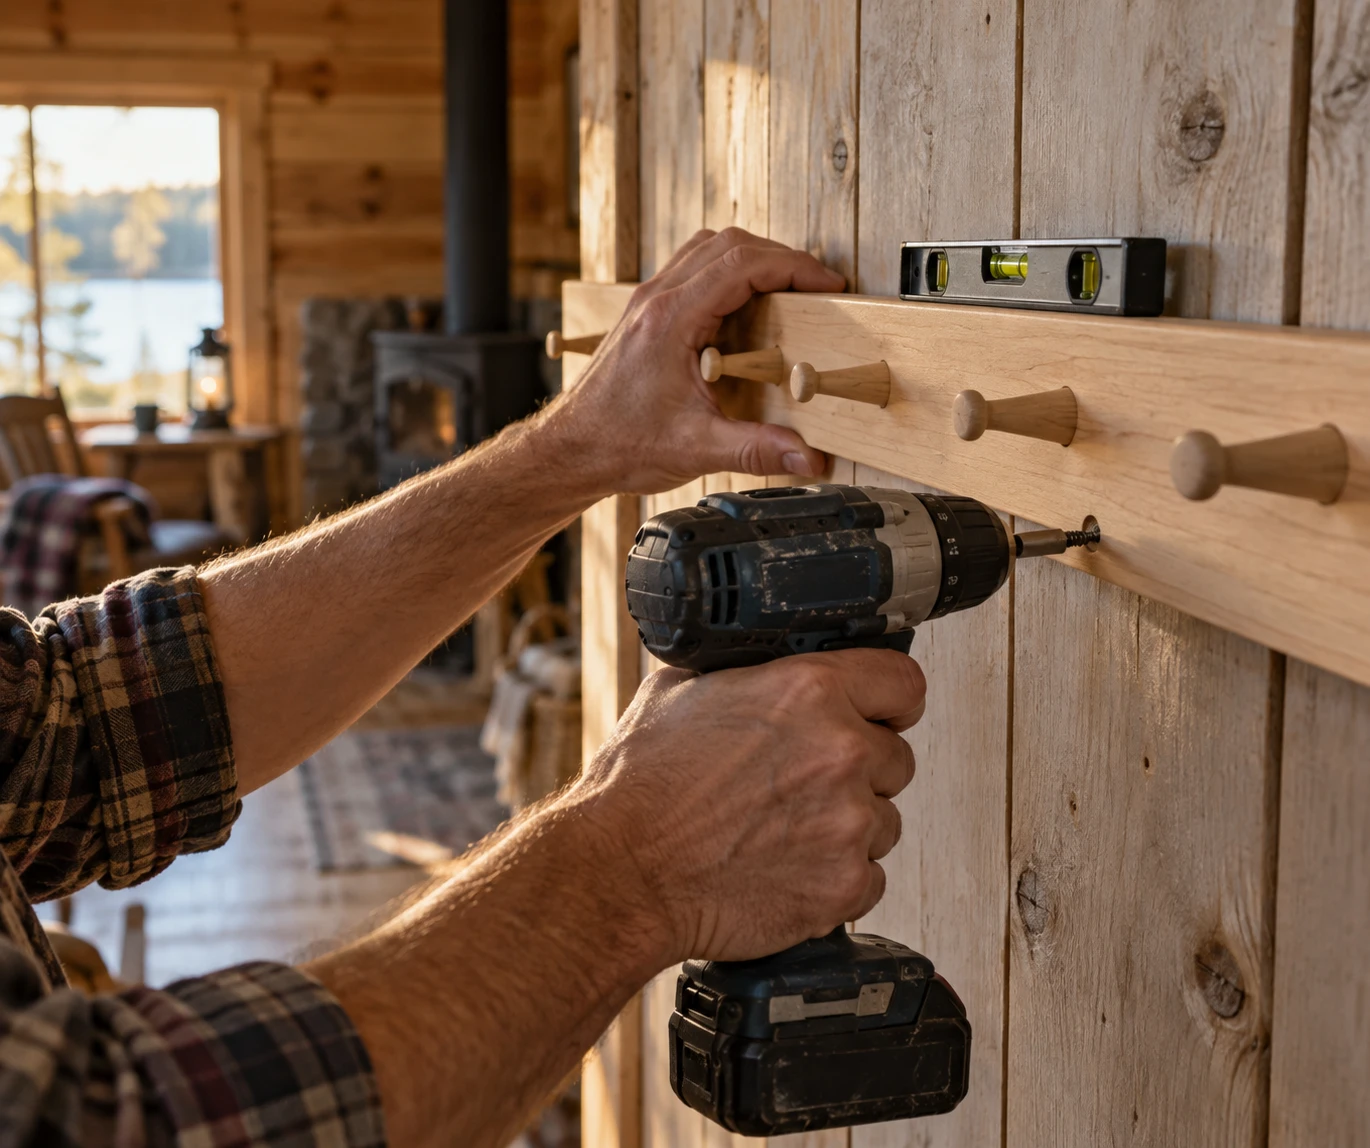
Hang the rail with its top edge around 60 to 66 inches off the floor for adult coats. Go lower, about 42 to 48 inches, for kids. Then match the fastener to the wall.
Framed Walls with Drywall
Find the studs, usually 16 inches on center. On a 36-inch rail you’ll hit two or three. Predrill, countersink, and drive 3-inch screws into each stud. Fill the holes and touch up the finish.
Thin Paneling or Tongue-and-Groove
Paneling or drywall alone won’t hold a loaded rail. Thin paneling flexes and pulls through. Screw through it into studs or blocking behind. If none lines up, add a backer board screwed to studs and mount the rail to that.
Log Walls and Seasonal Movement
Logs shrink and swell with humidity, mostly across the grain. Run the rail horizontally along a single log so it moves with the wood. Use 3-1/2-inch structural screws into solid log, and slot the end holes slightly so the rail can shift. In a new log home, expect settling for a few years. Don’t tie the rail to a door or window frame.
So how much will it hold? There’s no universal number. Capacity depends on the peg wood, the glue joint, the screws and the wall. A glued hardwood rail screwed into studs or solid log handles heavy winter coats and packs. One on paneling with screw-in pegs won’t.
If you want more cabin projects like this, Cabin Lodger covers other woodworking builds from a real cabin.
Frequently Asked Questions
Can a Shaker peg rail hold a cabinet or chairs?
Yes, if the pegs are glued hardwood tenons and the rail is screwed into studs or solid log. The Shakers hung chairs and small cabinets this way. Spread the load over at least two pegs.
What size drill bit do I need for Shaker pegs?
Match the bit to the peg shank, usually 1/2 inch. Always test on a scrap first. A snug fit that needs light mallet taps is right.
Should I paint the pegs before or after installing them?
Either works. Painting before is neater if you want two colors. Painting after is faster for a single color, but keep glue off surfaces you’ll finish.
References
- Shaker Peg Rail
- Shaker Peg Rail
- DIY Shaker-Style Peg Rail
- How to Make a Shaker-Style Peg Rail for $20! | Easy DIY
- DIY in a Day: Shaker Peg Rail Wall and Trim
[6]
[8] White Shaker Peg Racks Solid Hardwood Construction