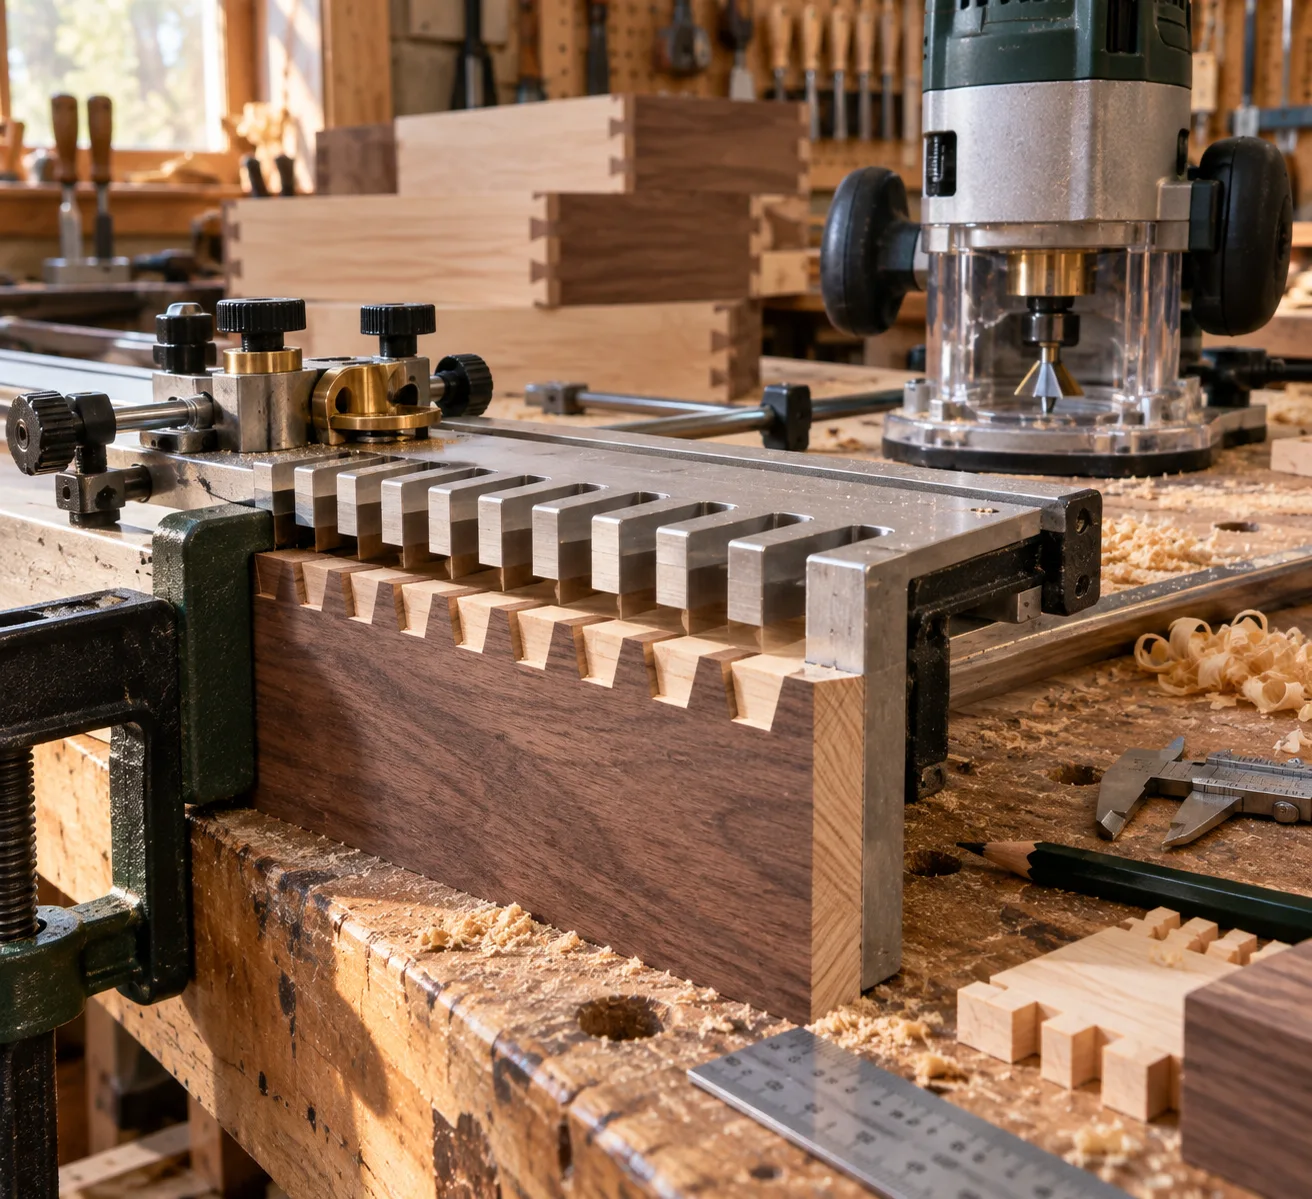
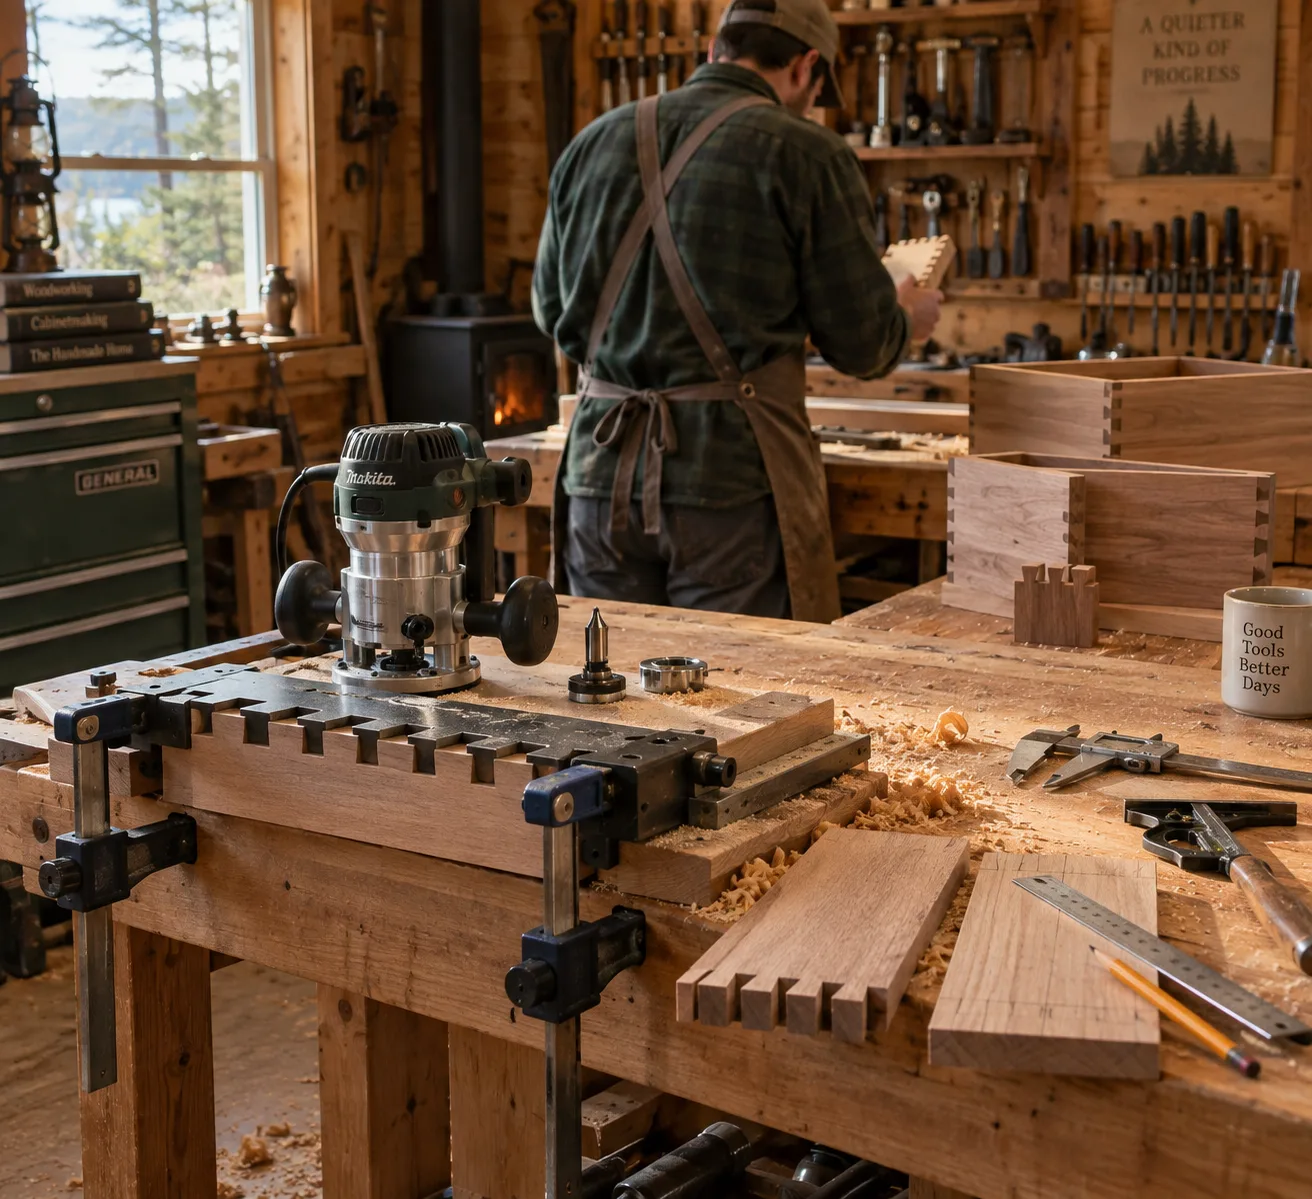
Cut one dovetail joint by hand and you’ll understand why a dovetail joint jig exists. Hand-cut joints look great, but they eat an hour per drawer corner if you’re not fast, and most cabin builders don’t have that kind of time to spare. A jig turns that hour into ten minutes, with joints tight enough for a kitchen drawer or a storage box that’ll get opened a thousand times.
The real question isn’t whether the jig works. It’s whether your cabin project actually needs it, or whether you’re better off saving the money and the setup time for the handful of places dovetails matter.
Where Dovetails Actually Earn Their Keep in a Cabin Build
Dovetails matter for anything that gets pulled, dropped, and slammed shut for years, not for the bones of your cabin. Save the joint for drawer boxes, tool chests, and small cabinetry, and use simpler joinery for framing, shelving, and anything hidden behind trim.
Think about what actually takes abuse in a cabin. A kitchen drawer full of cast iron pans gets yanked open every day. A butt joint held with screws will eventually rack and split under that kind of repeated stress, but a dovetail locks mechanically and resists pulling apart even if the glue fails. That’s the whole point of the joint: it’s mechanically self-locking, not just glued.
Structural framing, wall studs, roof rafters, none of that needs dovetails. Pocket screws, lap joints, and good old-fashioned nails and glue are faster, cheaper, and plenty strong for anything that isn’t taking repeated racking stress. Don’t waste jig setup time on a joint nobody will ever see or stress-test.
Where I’d actually spend the effort: kitchen and bathroom drawer boxes, a blanket chest, a small hutch or pantry cabinet, and maybe a decorative accent on log furniture if you want that hand-built look. That’s a short list, but it’s the list that matters.
Router-Guided Jigs vs. Hand-Cut Joints: Which One Fits Your Timeline
A router-guided dovetail jig wins on speed and repeatability; hand-cutting wins on flexibility and cost. For a cabin builder juggling a dozen other projects, the jig is the better bet unless you already have strong hand-tool skills and enjoy the process.
Speed and Consistency
A jig with a template guide bushing and the matching router bit produces identical joints every time, drawer after drawer. Hand-cutting depends on a steady hand with a dovetail saw and chisel, and even skilled woodworkers get some variation joint to joint. If you’re building six kitchen drawers for a cabin galley, that consistency saves real hours.
Skill and Tool Investment
Hand-cutting needs a dovetail saw, a marking gauge, sharp chisels, and practice — probably a stack of scrap wood before your first real joint looks decent. A jig needs a router, the correct-diameter dovetail bit (usually 1/2-inch shank, 7 or 14-degree angle depending on the template), and a stable workbench for clamping. Neither path is free, but the jig front-loads the cost into the tool instead of your time.
Jig Brands, Price Range, and What You Actually Get
Dovetail jigs run from about $60 for a basic half-blind template to over $300 for a combination jig that cuts through, half-blind, and box joints. The Leigh D4R and the Porter-Cable 4216 are two well-known combination models; Rockler and General Tools sell simpler fixed-template versions for less.
Cheaper jigs typically cut one joint type in one size range and use a fixed comb template you clamp the board against. That’s fine if you’re only building drawer boxes at a couple of standard depths. The pricier combination jigs let you adjust spacing and pin width, cut both half-blind and through dovetails, and handle wider stock, which matters more if you’re making furniture pieces of varying sizes.
Jig Type
Approx. Price
Joint Types
Best For
Fixed-template basic
$60–$100
Half-blind only
A few standard drawer sizes
Adjustable mid-range
$150–$220
Half-blind + through
Mixed cabinet and drawer work
Combination/premium
$250–$350+
Half-blind, through, box joints
Furniture-grade variety, repeat use
Not all jigs work the same way across brands, and that trips people up constantly. Bit sizes, guide bushing diameters, and template spacing are rarely interchangeable between manufacturers, so buying a replacement bit off the shelf without checking the jig’s manual is a common mistake. Read the spec sheet before you order a bit online.
Setup, Calibration, and the Mistakes That Ruin a First Attempt
A jig only cuts accurately after you’ve dialed in bit depth, guide bushing offset, and stock alignment, and that calibration step is where most first-time users go wrong. Skipping it is the single biggest reason people conclude “the jig doesn’t work.”
Getting the Router Bit Right
Every jig template specifies a bit diameter and cutting angle, usually printed right on the template or in the manual. Using a slightly undersized or oversized bit throws off the whole fit, even if everything else is set correctly. Depth of cut matters just as much: too shallow and the joint won’t seat, too deep and you’ll blow out the back face of the board.
Test Cuts Before Real Wood
Run at least two or three joints in scrap that matches your actual project stock before touching your good lumber. Softwoods like pine compress under the jig’s clamping bar differently than hardwoods like oak or maple, so a setting that’s perfect for one species can leave a loose joint in another. This is also where you catch grain tear-out, which shows up more on ring-porous woods like oak than on tighter-grained maple or birch.
Here’s a practical sequence that keeps you from wasting good stock:
Mount the jig to a stable bench and check it’s dead level.
Install the correct bit and guide bushing per the jig’s manual.
Set bit depth using the manufacturer’s gauge or a test cut.
Clamp scrap stock matching your real material’s thickness.
Cut a test joint and check the fit by hand, no mallet force.
Adjust depth or fence position in small increments if it’s loose or too tight.
Repeat until two consecutive test joints fit the same way.
Skipping straight to your finished cabinet sides is how a $150 jig turns into a pile of ruined plywood. It’s a slower start, but it’s the difference between a drawer that closes smooth for a decade and one that racks apart in a year. If you’re documenting your own cabin storage builds, it’s worth photographing that test-fit stage too, since readers on sites like cabinlodger.com often want to see the actual calibration process, not just the finished drawer.
Frequently Asked Questions
Is a dovetail jig worth it for just a few drawers?
Yes, if you’re building more than two or three drawers, since the jig’s setup time pays off in consistency and speed after the first joint. For a single one-off box, hand-cutting or a simpler joint might be faster overall.
What’s the difference between half-blind and through dovetails?
Half-blind dovetails hide the joint from the front, ideal for drawer fronts where you don’t want end grain showing. Through dovetails show on both faces and are typically used for boxes, chests, and decorative cabinet corners where the joint itself is part of the look.
Can I use a dovetail jig on softwood like pine?
Yes, but pine compresses more under clamping pressure than hardwoods, so joints can end up slightly loose if you use hardwood settings. Run a test cut in the same species and thickness you’ll actually use before cutting final pieces.