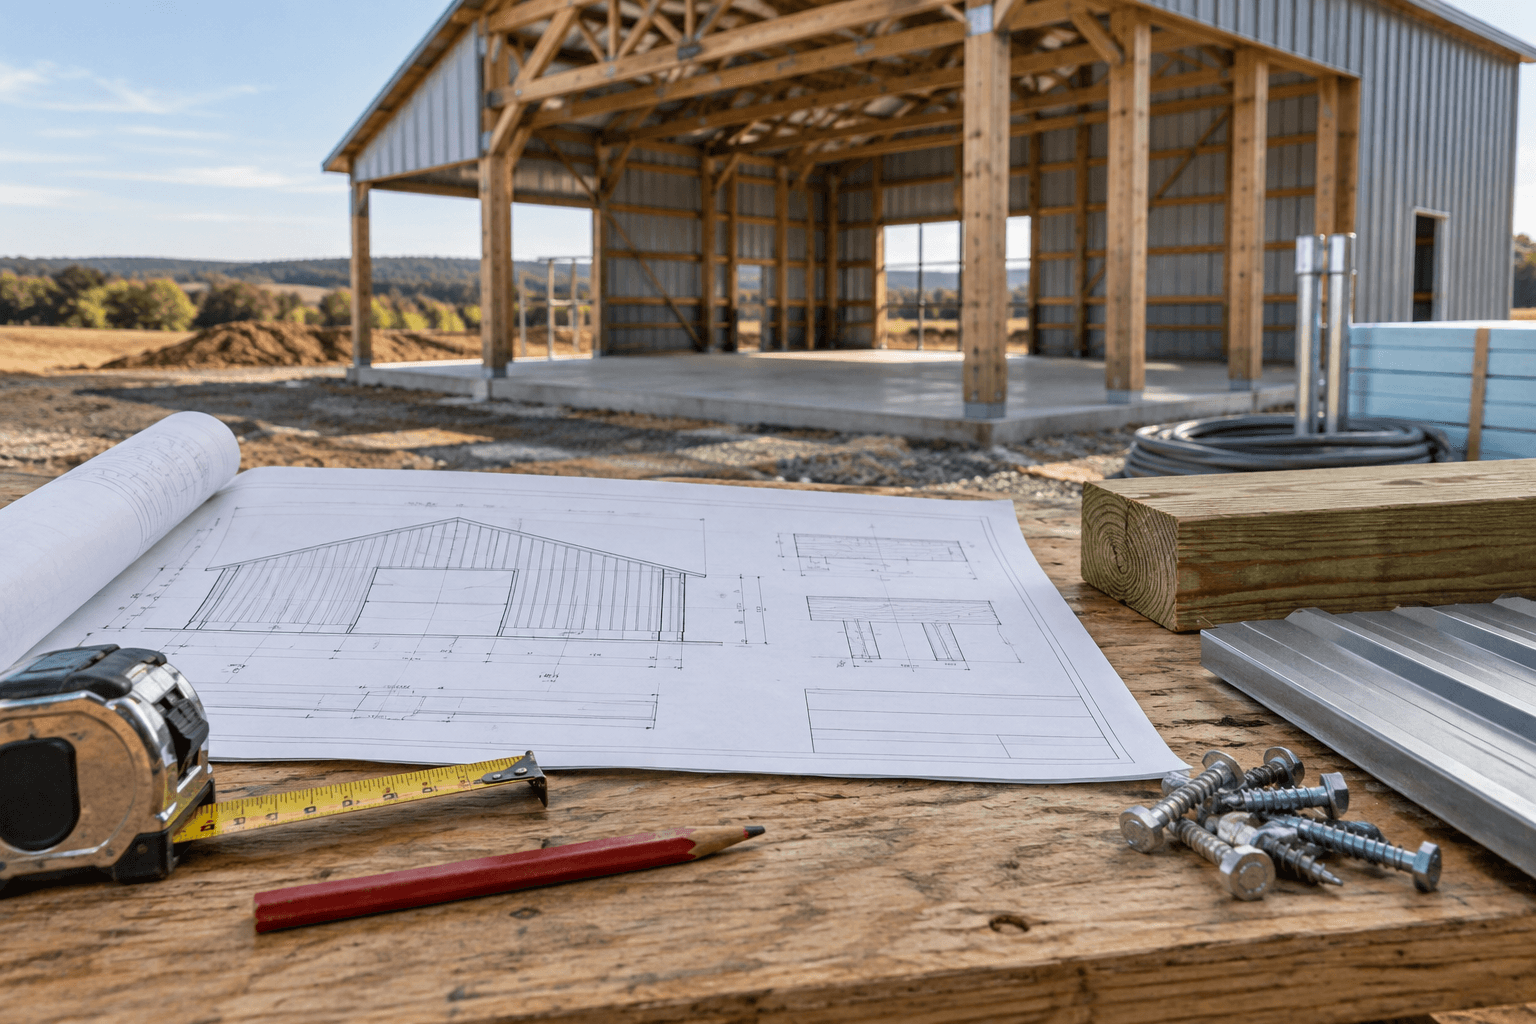
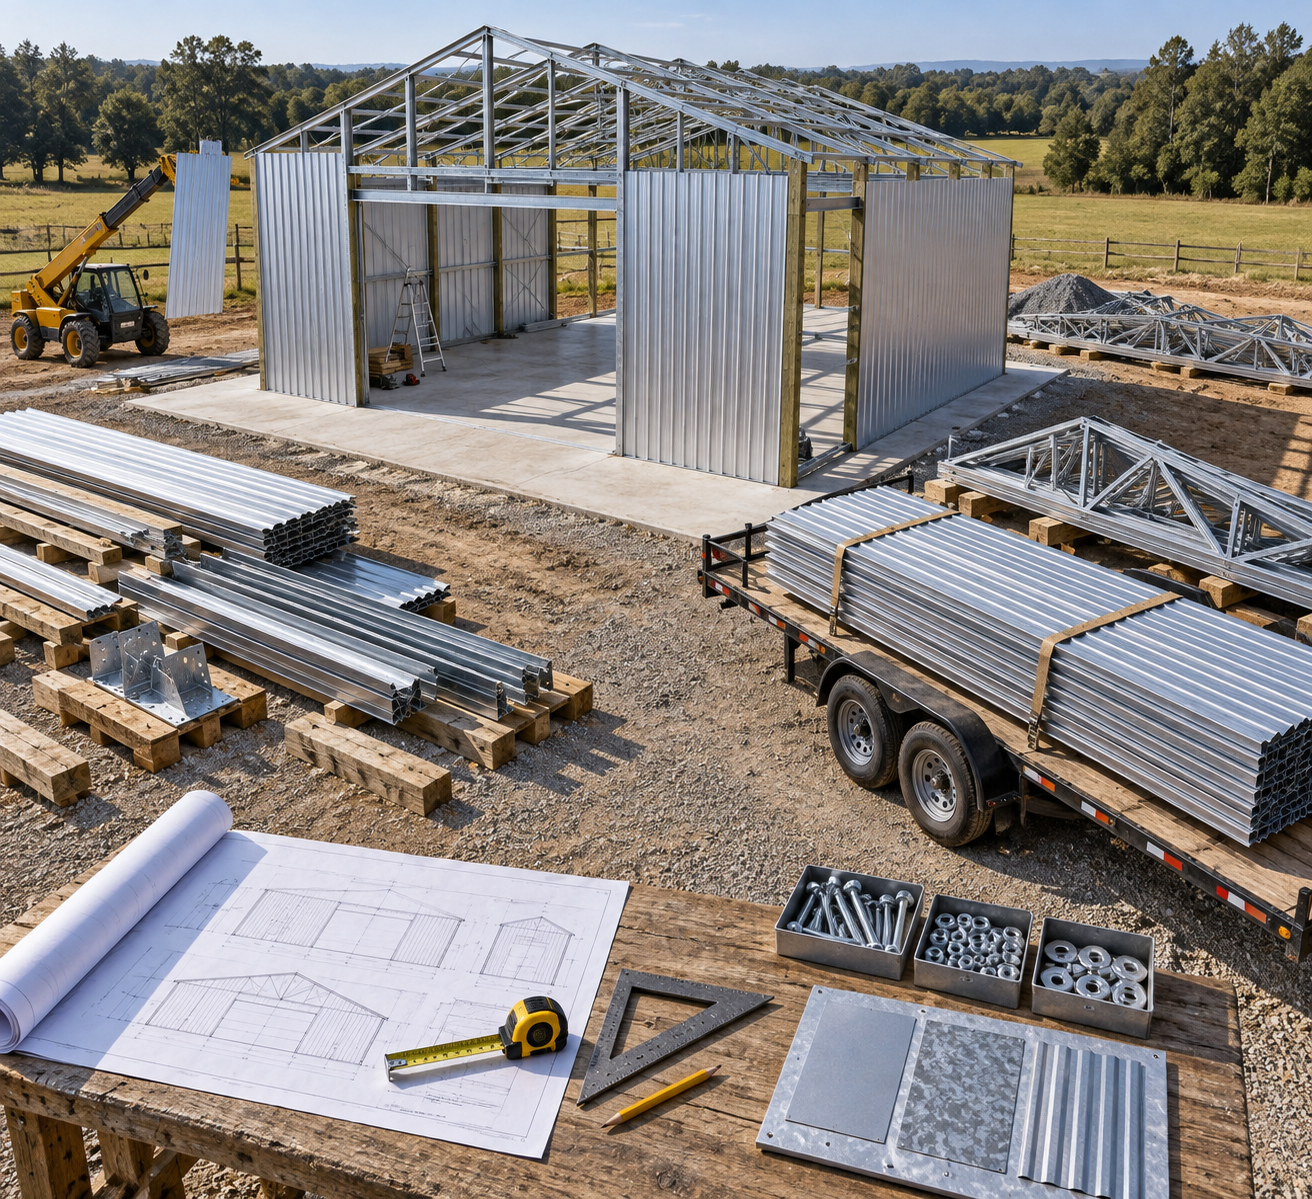
A diy barn kit shows up on a flatbed as a stack of steel panels or lumber packs, not a finished building. That’s the part nobody tells you: the kit gets you a shell, and everything that makes it a real workshop, insulation, wiring, a floor that won’t sweat in July, is on you to plan and pay for separately. If you’re picturing a warm, dry space where you can run a table saw in January, you need to think past the kit brochure.
Most people shopping for a barn kit are comparing prices per square foot and calling it done. That’s a mistake if the building needs to survive as a year-round workspace instead of a place to park a mower for six months. The planning that actually matters happens before the truck delivers anything.
Which Barn Kit Type Actually Suits a Workshop?
Post-frame kits are the best starting point for a durable cabin workshop, because the heavy timber posts give you strong anchor points for insulation, wiring runs, and interior wall finishing that a thin-gauge metal kit can’t offer as easily. Metal and wood kits each have a place, but they solve different problems.
Post-Frame (Pole Barn) Kits
These use 6×6 or larger treated posts set into the ground or on brackets, spaced usually 8 feet apart, with metal or wood siding attached to girts. They’re the go-to for workshops because the open bay spacing makes it simple to run conduit and pack in batt or rigid foam insulation between the framing.
All-Metal Kits
Steel-frame kits (think the bolt-together style sold by companies like general steel building suppliers) go up fast, often in a long weekend with a crew of three or four, and resist fire and pests well. The tradeoff is thermal bridging through every steel purlin, which means you’ll spend more on insulation strategy to stop condensation from forming on the inside skin.
Wood-Frame Kits
Panelized wood kits cost more upfront, roughly 15-25% above a comparable steel kit, but they feel more like a cabin from day one and take fasteners for shelving and tool walls without special hardware. If your workshop plans include heavy wall-mounted storage, wood framing saves headaches later.
Foundation, Permits, and Site Prep: The Costs Kits Don’t Include
Here’s the correction almost nobody flags: the kit price never includes your foundation, site grading, or permit fees, and skipping those line items is how a $12,000 barn kit quietly becomes an $22,000 project. Kits ship as a materials package. The ground work is entirely separate.
A concrete slab foundation for a 24×30 foot workshop runs about $6,000 to $9,000 depending on your region and slab thickness (a 4-inch slab is minimum; go 5-6 inches if you’re mounting heavy machinery). Gravel pad or pier foundations cost less, often $2,000 to $4,000, but they’re a poor choice for a workshop with a wood stove or heavy equipment that needs a stable, insulated floor.
Permits are the other piece people skip because “it’s just a kit.” Wrong move. Most counties classify any structure over 200 square feet, or any structure with electrical service, as needing a building permit regardless of whether it arrived pre-cut. Expect permit fees of $150 to $600 plus an inspection or two, and expect the inspector to ask about your snow and wind load rating.
Snow and wind load ratings matter more than most first-time buyers realize. A kit rated for 20 psf snow load is fine in the Southeast but undersized for the Rockies or the Upper Midwest, where local code might require 40-60 psf. Wind load ratings of 90-110 mph are standard for most kits, but coastal and plains states often require higher. Always order the kit rated for your county’s actual code, not the cheapest standard option on the supplier’s site.
Turning the Shell Into a Year-Round Space
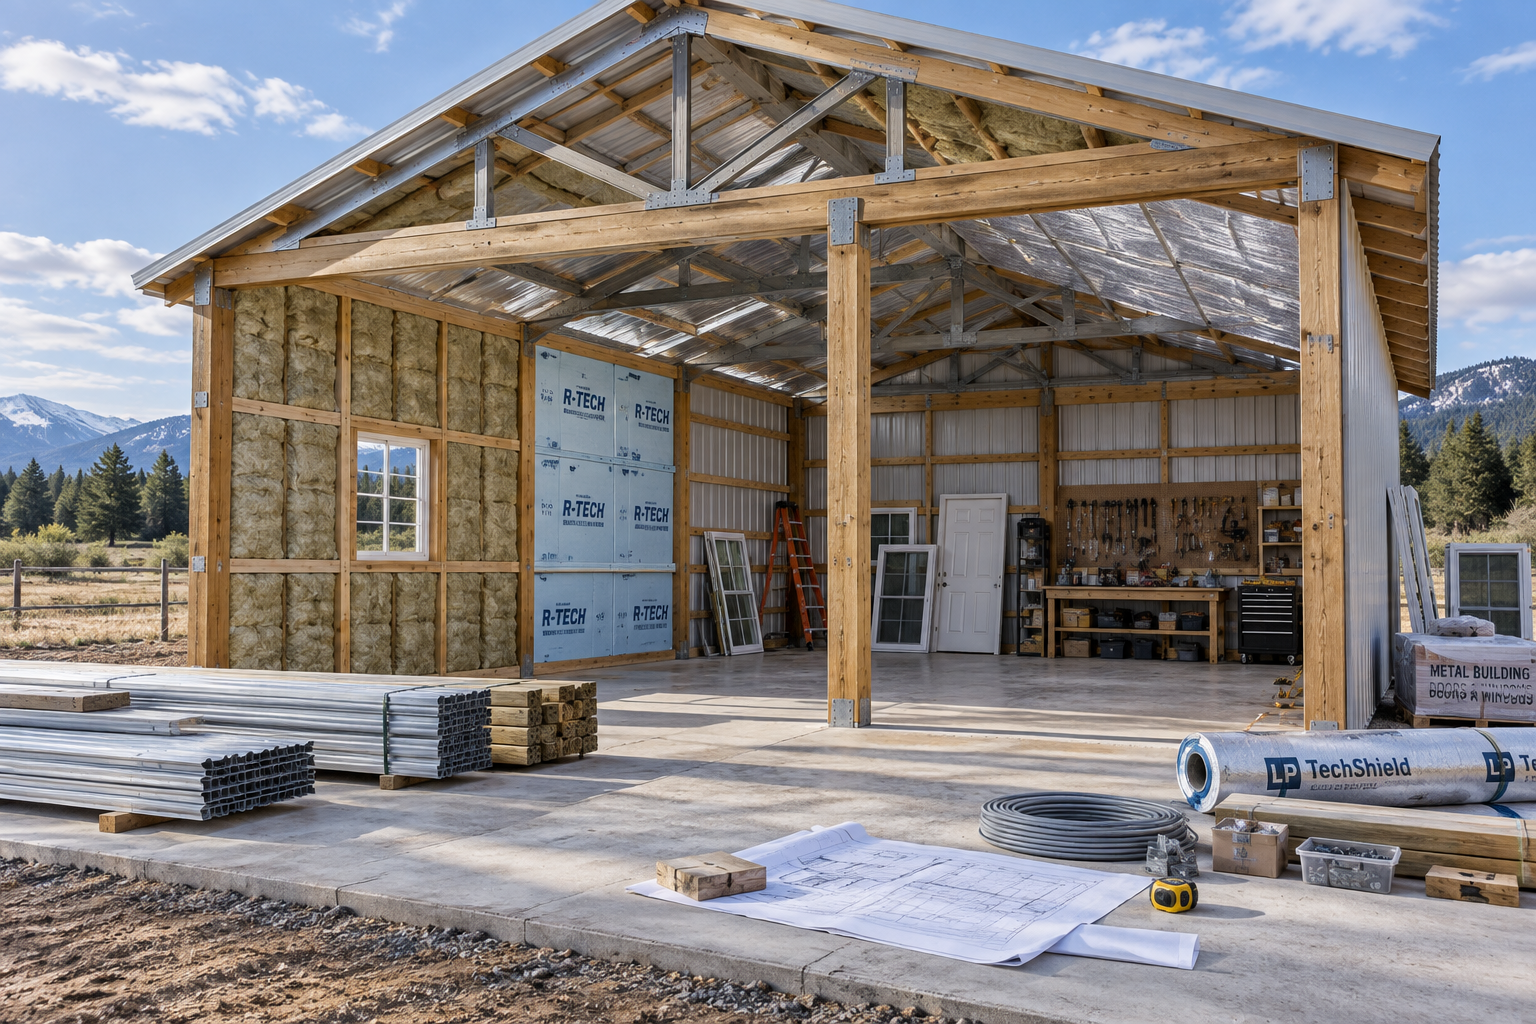
This is the section most barn kit guides skip entirely, and it’s the one that decides whether your workshop is usable in February or just an expensive shed. A bare kit shell, even a well-built one, has no thermal barrier and no moisture control, which means condensation, rust on your tools, and a space too cold to work in for half the year.
Insulation Strategy by Climate
Closed-cell spray foam (roughly $1.50-$2.50 per board foot installed) gives you the best air seal and vapor control, and it’s worth the extra cost in cold climates where you’re heating the space regularly. Batt insulation between girts, paired with a proper vapor barrier, is the budget option and works fine in milder climates (zones 3-5) but performs worse against condensation in colder zones. Rigid foam board over metal siding cuts thermal bridging cheaply and is a smart add-on regardless of which insulation you choose for the cavity.
Wiring and Ventilation Planning
Plan your electrical rough-in before the walls close up, not after. A 100-amp subpanel is typically enough for a workshop with a table saw, welder, and lighting, but if you’re running a dust collector or air compressor too, size up to 200 amps to avoid tripping breakers constantly. Pair that with a ridge vent or powered exhaust fan, plus a couple of gable vents, so humidity from work (and from any wood stove) has somewhere to go besides your ceiling.
Skipping ventilation is the single most common mistake I see in retrofit workshops. Moisture trapped in a sealed metal building rusts tools, rots subfloor, and eventually causes mold nobody notices until the smell shows up.
What Should You Budget, Realistically?
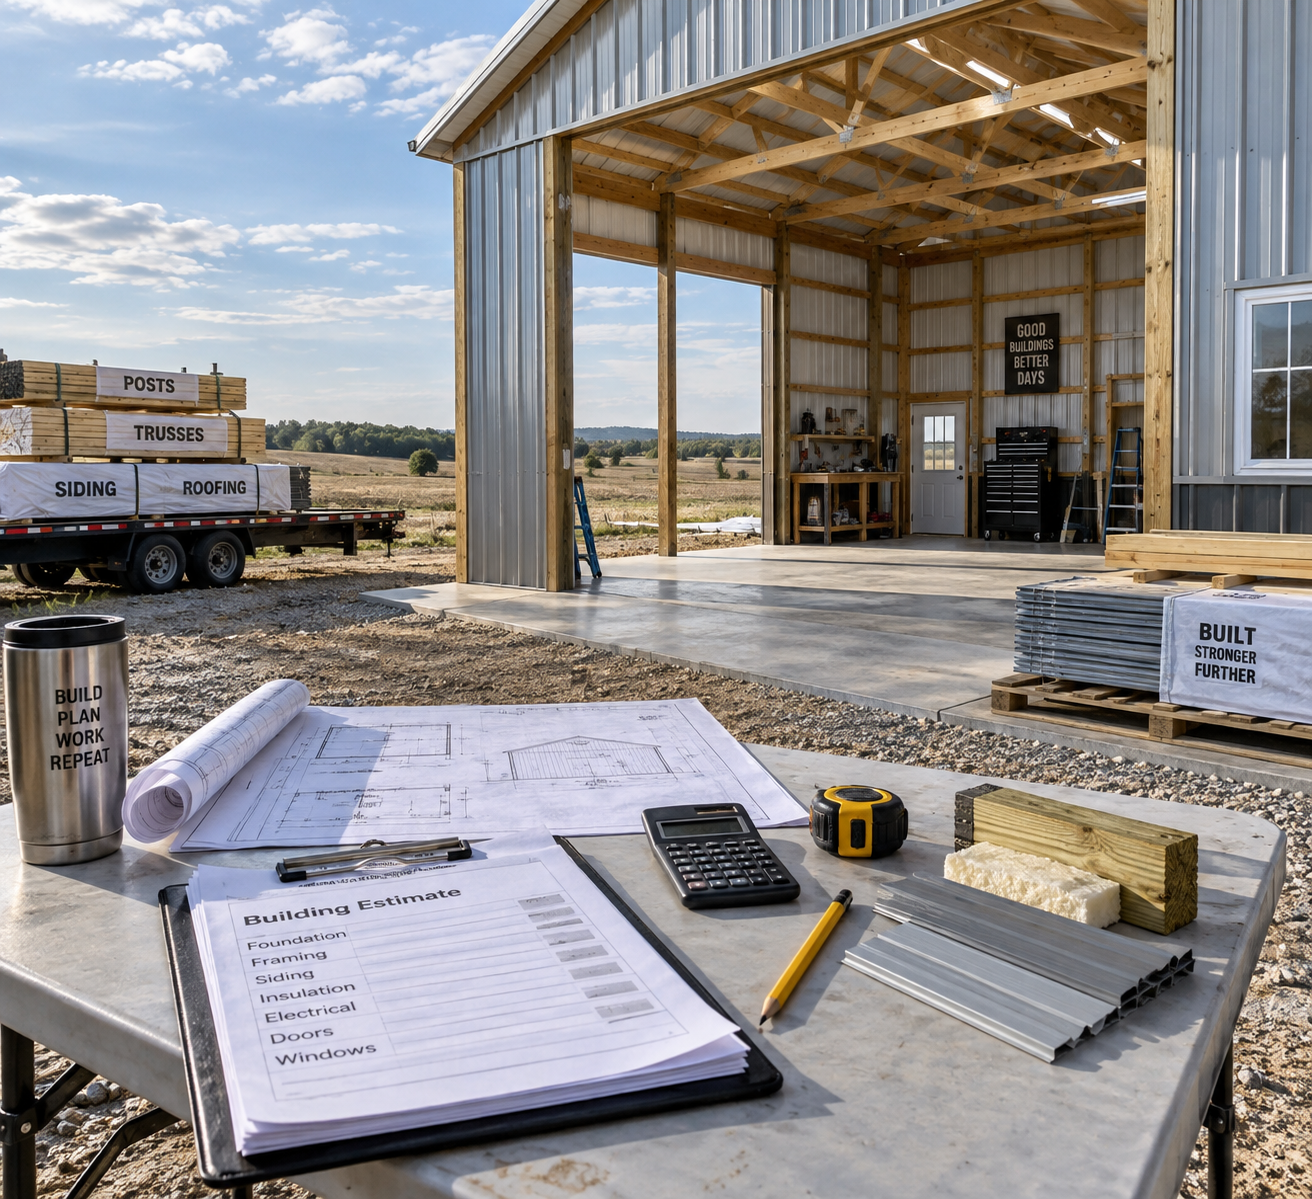
Budget the kit, the foundation, and the retrofit as three separate line items, because lumping them together is how people get blindsided mid-project. A realistic 24×30 workshop build lands somewhere between $28,000 and $45,000 all-in, depending on insulation choice and finish level.
Cost Category
Typical Range (24×30 ft)
Barn kit (materials only)
$10,000 – $16,000
Foundation (slab)
$6,000 – $9,000
Assembly labor
$4,000 – $8,000
Insulation package
$3,500 – $7,000
Electrical rough-in and panel
$2,500 – $5,000
Permits and inspections
$150 – $600
Assembly labor varies a lot by kit type. A bolt-together steel kit might go up in 3-5 days with a small crew, while a post-frame kit with custom siding can stretch to two or three weeks once you add insulation and interior finishing. Documenting that whole process, from foundation pour to final wiring, is honestly a good chunk of why sites like cabinlodger.com exist: the timeline always runs longer than the kit brochure implies.
Confirm your county’s snow and wind load code before ordering.
Pick foundation type based on floor use (slab for machinery, piers for light storage).
Order the kit rated to code, not the cheapest standard rating.
Rough in electrical and ventilation before closing walls.
Insulate based on climate zone, not just budget.
Schedule inspections early so delays don’t stall your build.
Frequently Asked Questions
How long does a DIY barn kit take to assemble?
A small crew can raise a steel bolt-together kit in 3-5 days, but a full workshop conversion with insulation and wiring usually takes 2-4 weeks total once foundation curing and inspections are factored in.
Do I really need a permit for a barn kit workshop?
Yes, almost always. Most counties require permits for any structure over 200 square feet or with electrical service, regardless of it being a prefabricated kit, and skipping this risks fines or forced removal.
What size barn kit works best for a one-person workshop?
A 24×30 foot footprint (720 square feet) gives enough room for a workbench, table saw, and storage while staying inside typical kit size categories that keep foundation costs reasonable.