Got a musty smell hitting you the second you open the cabin door after winter? That’s not just an odor problem — it’s a sign that eliminating mold needs to happen before it eats into your framing or your lungs. Mold shows up fast in cabins because most builds trap moisture in ways a regular house never does, and scrubbing the surface won’t touch the real cause.
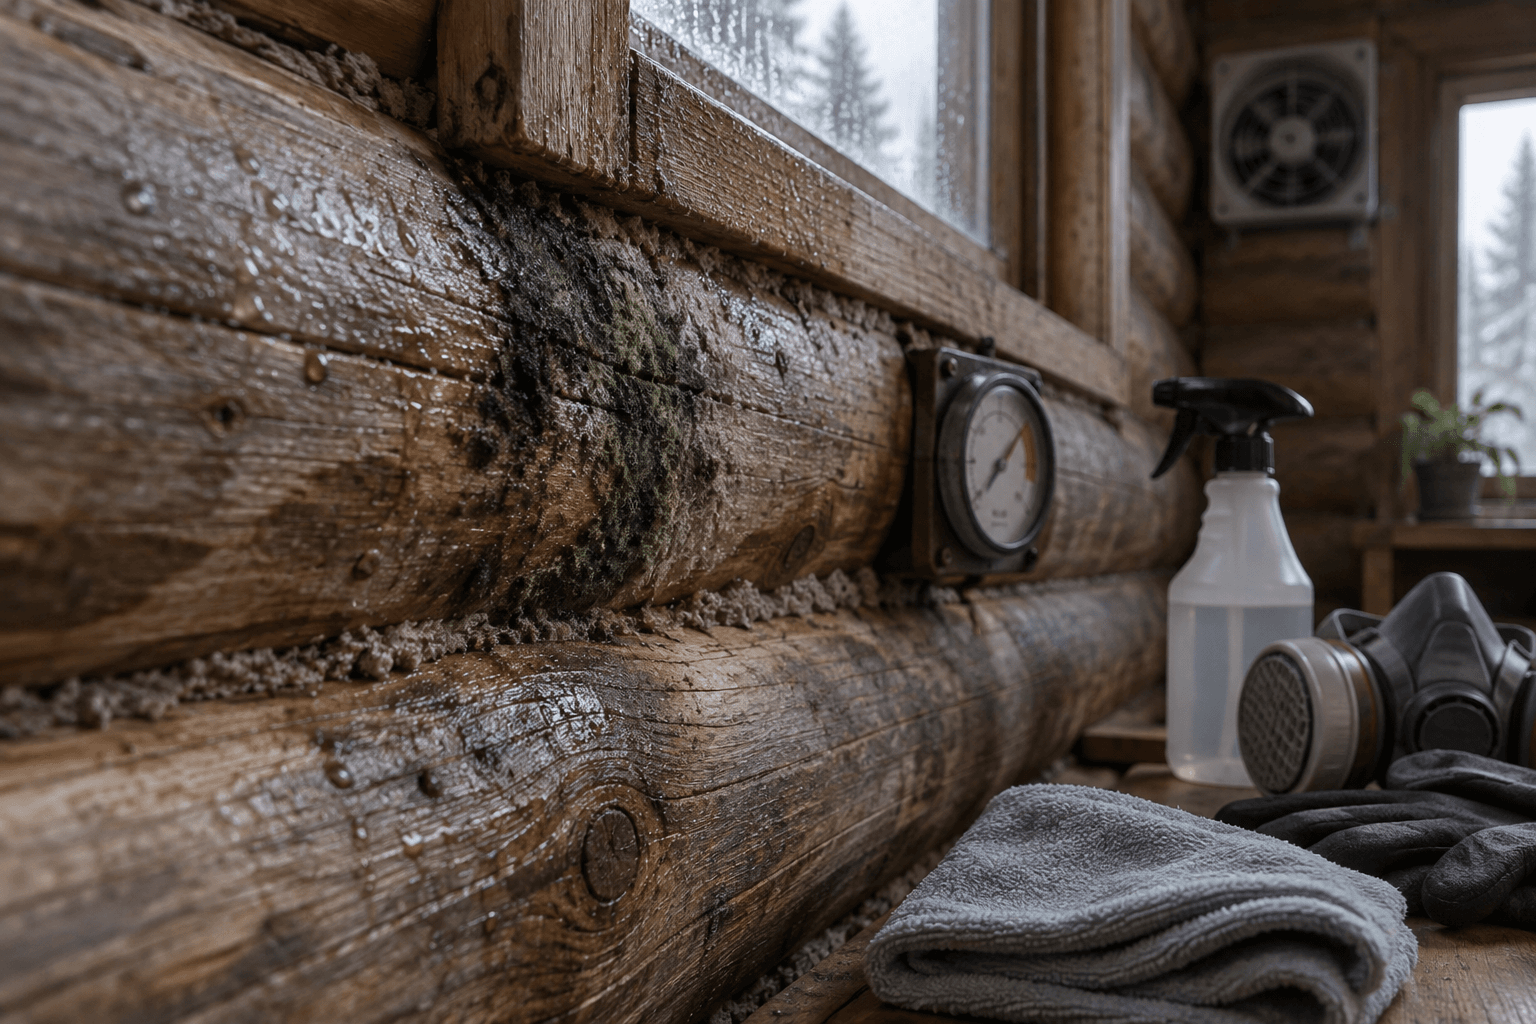
If you’re staring at black spots on your log siding or a fuzzy gray patch behind the bed frame, you want a fix that actually holds. That means understanding where the water’s coming from, not just what kills the spores you can see.
Why Cabins Grow Mold Even When They’re “Sealed Tight”
A tightly built, energy-efficient cabin can grow mold faster than a drafty old one because sealing out drafts also seals in humidity with nowhere to go. That’s the counterintuitive part most guides skip: airtight construction is great for heating bills and terrible for moisture unless you plan airflow on purpose.
Where the Moisture Actually Comes From
Cooking, showering, breathing, and even firewood stacked indoors all dump water vapor into the air. In a 400-square-foot cabin without a range hood or bath fan, that vapor has nowhere to go but into your walls and ceiling. Add a crawl space with bare dirt underneath, and you’ve got a humidity source running 24/7 regardless of the weather outside.
Why Log and Timber Cabins Are Especially Vulnerable
Log siding breathes differently than standard framing, and gaps in chinking or old caulk let moisture track behind the logs where you can’t see it. By the time a stain shows up on the interior face, rot may already be a season deep on the backside. Check behind siding and around window bucks at least once a year, especially after heavy rain or spring thaw.
Black Mold vs. Mildew: How to Tell What You’re Actually Dealing With
Mildew is a surface fungus, usually white, gray, or yellow, and it wipes off fairly easily without staining deep into wood. Black mold (often referring to Stachybotrys or similar dark species) grows into porous surfaces, leaves a stain even after cleaning, and typically means longer-term moisture exposure.
Don’t assume a dark spot is automatically dangerous mold — plenty of cabin staining is just old dirt or tannin bleed from certain woods, especially cedar and pine. But if the spot is fuzzy, has a musty smell, and grows after you wipe it, treat it as mold until proven otherwise.
If you’re unsure and the affected area is under 10 square feet, treat it as a DIY job. Anything larger, or mold that’s spread into insulation or subfloor, is worth a pause to reconsider ventilation before you touch a cleaning product.
The Real Fix: Removing Mold Safely and Stopping It From Coming Back
Removing mold safely means cleaning the visible growth, drying the material completely, and fixing the moisture source in that order. Skip step three and you’re just buying a few months before it’s back.
Bleach alone isn’t a permanent fix on porous wood. It kills surface spores but doesn’t reach roots growing into the wood grain, so mold often returns within weeks. A better approach on bare wood is a borate-based wood treatment or a commercial mold-specific cleaner (look for ones labeled for porous surfaces), followed by full drying with a fan or dehumidifier before you seal or paint anything.
Painting over mold without fixing the moisture is one of the most common mistakes I see in cabin builds. It looks clean for a season, then bubbles and stains right through, usually right before guests show up for a fall weekend.
Here’s a safe removal sequence worth following:
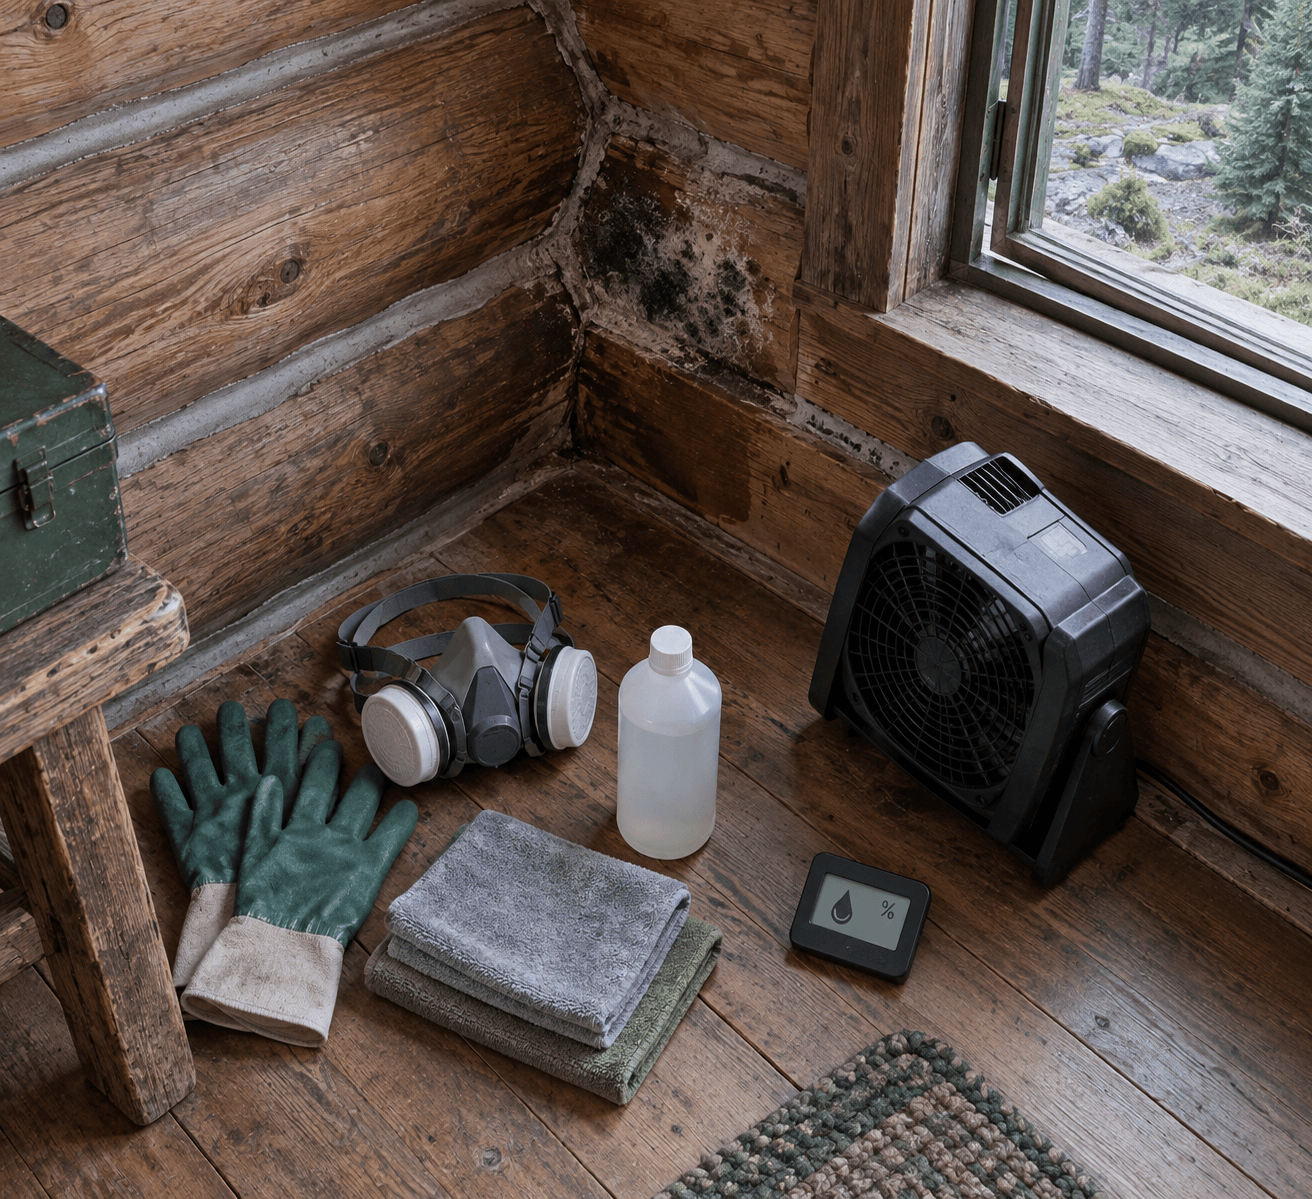
Put on PPE — an N95 or better respirator, gloves, and goggles — before disturbing any moldy material.
Open windows or run a box fan to ventilate the space while you work.
Scrub the area with a mold-specific cleaner or a mix of water and dish soap for light mildew.
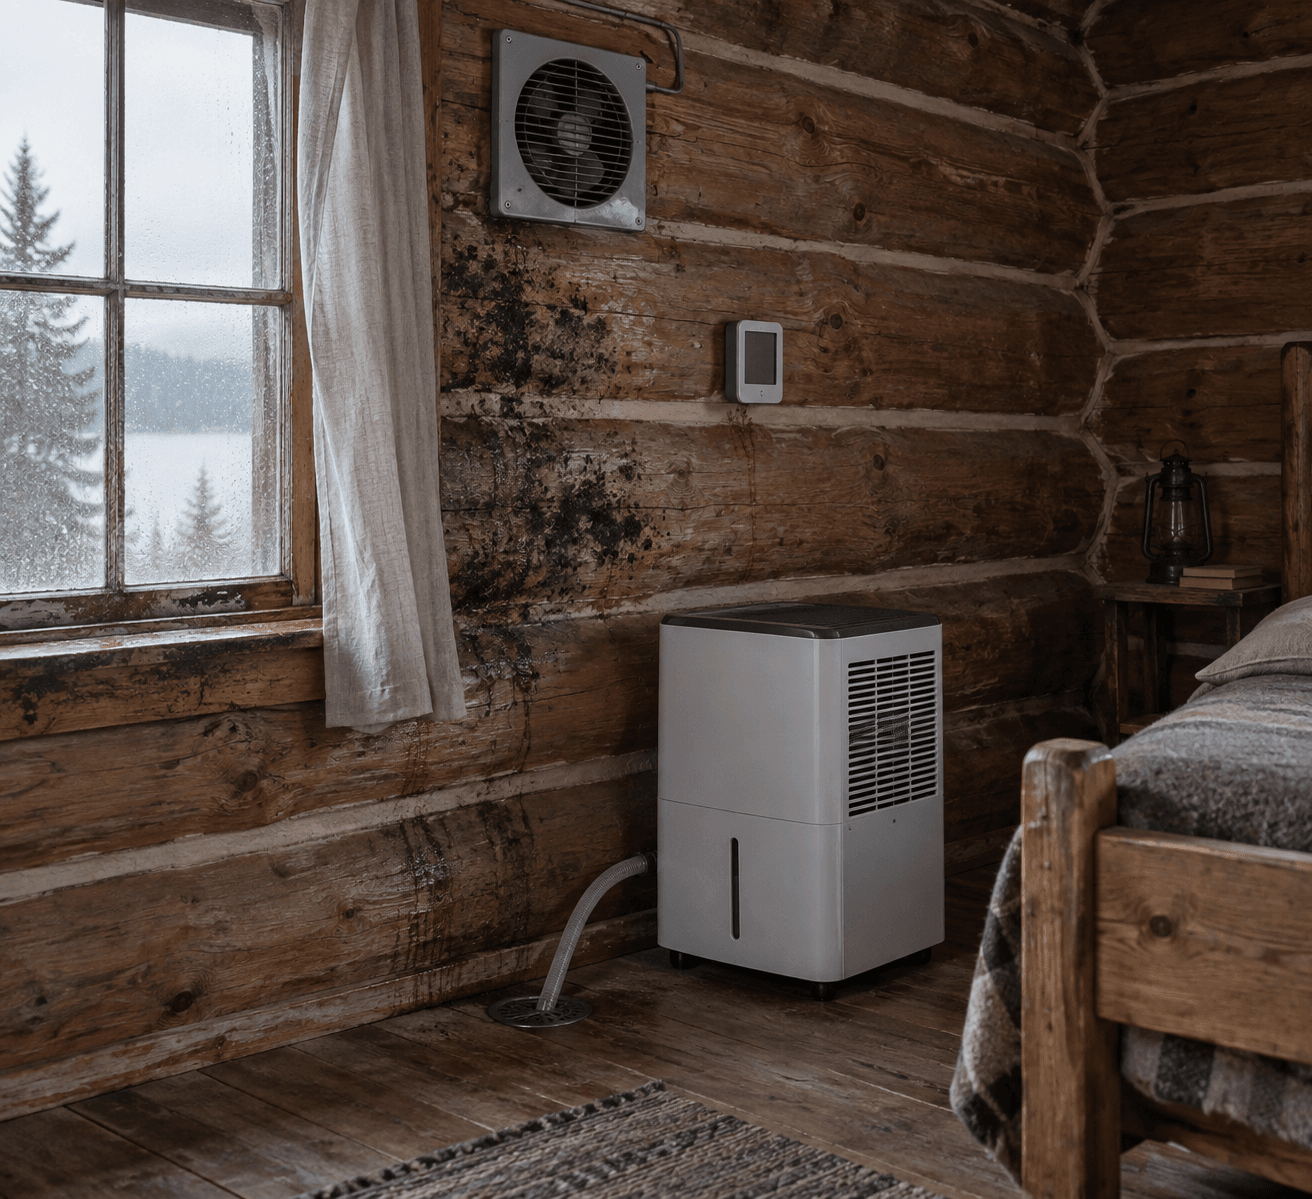
Let the surface dry fully for 24-48 hours using a fan or portable dehumidifier.
Sand lightly if staining remains, then apply a borate treatment or mold-resistant primer.
Identify and fix the moisture source — leaky flashing, missing vapor barrier, poor grading — before repainting.
Recheck the spot in 30 days to confirm it hasn’t come back.
Ventilation and Vapor Barrier Upgrades That Keep Mold From Returning
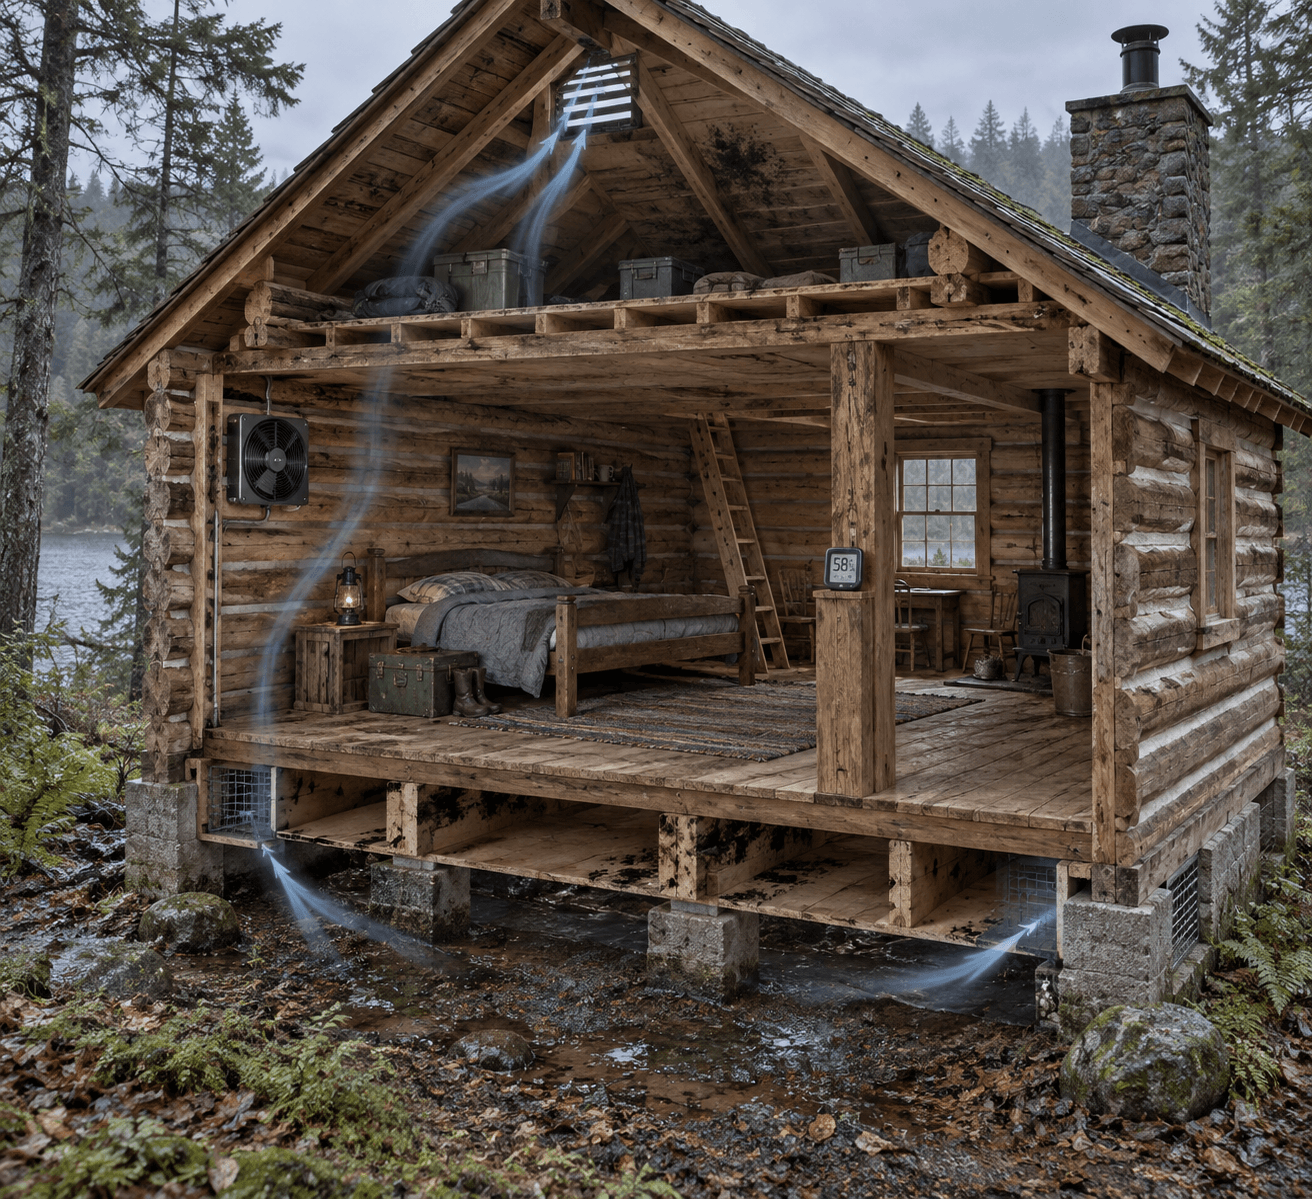
Long-term mold control in a cabin comes down to airflow and vapor control working together, not just one or the other. A vapor barrier stops moisture from migrating into your walls, but without a way to exhaust the humid air you do produce, you’re just moving the problem.
Crawl Space and Attic Airflow
A crawl space with bare soil can push relative humidity above 70% even in a dry climate. Covering the ground with 6-mil plastic sheeting and adding a couple of vents (or a small exhaust fan) usually drops that number into a manageable range within days. In the attic, ridge and soffit vents let warm, moist air escape before it condenses on the underside of your roof deck.
Mechanical Options Worth the Investment
A basic bathroom exhaust fan runs $60-150 installed and takes care of shower steam that would otherwise soak into wood trim. A dehumidifier sized for a small cabin (30-50 pints per day) costs $200-350 and is worth running seasonally in humid climates, especially if the cabin sits closed up for weeks at a time. If you’re planning your ventilation layout from scratch, Cabin Lodger has a rundown of DIY ventilation and humidity setups that pairs well with whatever ventilation system you land on.
Upgrade
Typical Cost
Best For
Bath exhaust fan
$60-150
Shower and cooking steam
Crawl space vapor barrier
$150-400 (DIY)
Ground moisture control
Portable dehumidifier (30-50 pt/day)
$200-350
Seasonal humidity swings
Ridge/soffit vent upgrade
$300-600
Attic condensation
Treat this as ongoing maintenance, not a one-time project. Humidity levels shift with the seasons, so a setup that works fine in July can fall short during a wet October.
Frequently Asked Questions
Can I just seal my cabin airtight to stop mold from getting in?
No — sealing a cabin airtight without adding ventilation usually makes mold worse, since moisture from cooking and breathing has nowhere to escape. Pair any air-sealing project with a vapor barrier and mechanical ventilation.
Is bleach enough to permanently remove mold from wood?
Bleach kills surface spores but doesn’t reach roots in porous wood, so mold often returns within weeks. Use a borate-based treatment or mold-specific cleaner instead, then dry the wood fully before repainting.
How often should I check for hidden mold in a log cabin?
Check crawl spaces, behind log siding, and around window seals at least once a year, ideally after spring thaw or heavy rain. Hidden moisture can rot framing for a full season before any staining shows up indoors.