Log walls don’t hold a screw like drywall does, and that single fact wrecks most generic shelf tutorials. If you’ve tried to mount a bracket into a log and felt it wobble, or watched a “sturdy” pine shelf sag six months after loading it with canned goods, you already know shelves woodworking in a cabin is a different animal. Studs are evenly spaced 16 inches apart in a normal house. In a cabin, you might be dealing with round logs, timber frame posts, or nothing but exposed purlins, and the wood itself keeps moving with the seasons long after you think the build is done.
This guide walks through what actually changes when you build shelving for a cabin instead of a house: the wood choices that survive no climate control, the mounting tricks that work on curved and uneven walls, and the joinery that won’t loosen up when humidity swings from July to January.
Picking Wood That Survives an Unheated Cabin
Pine works fine for most cabin shelves, but only if you treat it — untreated pine in a humid or unheated cabin will warp, cup, or grow mold within a season or two. That’s the single biggest mistake I see in cabin builds: someone grabs cheap construction lumber, skips the sealant, and wonders why the shelf looks wavy by spring.
Pine, Plywood, or Cedar?
Pine is cheap and easy to work with hand tools, which matters if you’re building shelves with a basic kit and no shop. Plywood, especially 3/4-inch cabinet-grade birch or fir, resists warping better than solid pine because the cross-grain layers fight seasonal movement in both directions. Cedar costs more — often double the price per board foot — but it naturally resists moisture and bugs without any finish at all, which is worth it in a root cellar or an outdoor-adjacent mudroom shelf.
Why Moisture Content Matters More Than Species
Wood that’s been sitting in a non-climate-controlled shed can carry 15-20% moisture content, way above the 6-8% you want for interior shelving. If you buy lumber and build immediately, it’ll shrink after installation and loosen every joint you cut. Let it acclimate inside the cabin for at least a week before cutting, longer in damp weather.
Mounting Shelves on Log Walls Without Weak Anchors
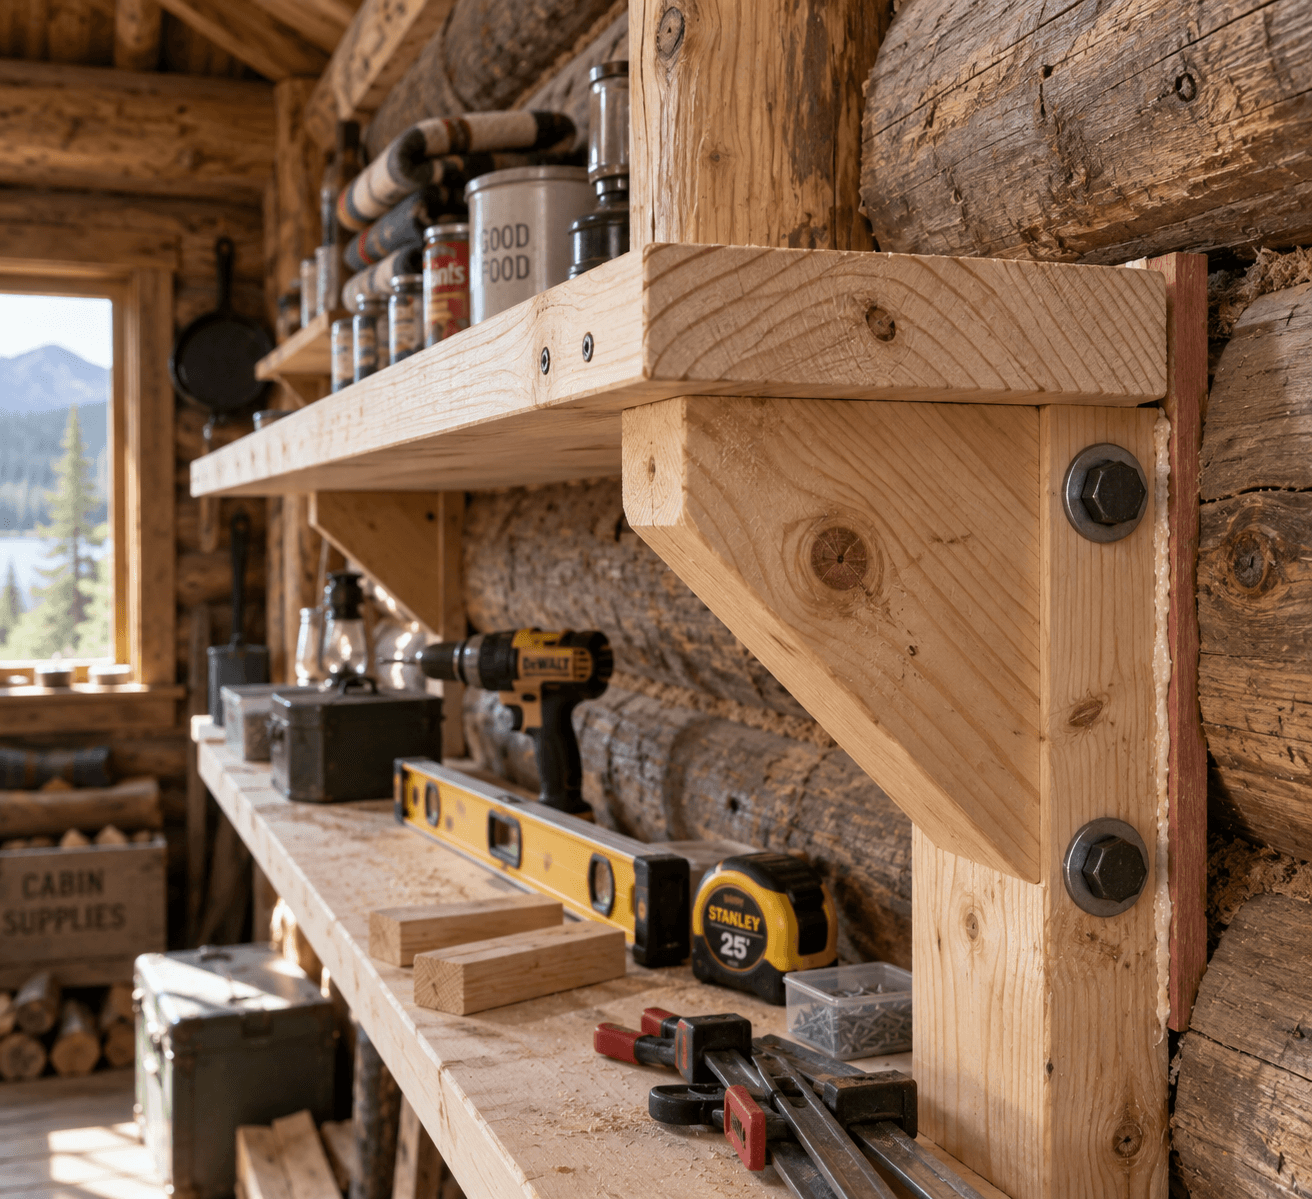
Log walls don’t anchor like studs, and treating them the same way is how shelves end up pulling loose within a year. Logs shrink and settle over time — sometimes an inch or more per wall over several years — so any rigid, direct-to-log mount is fighting a losing battle unless you build in room for movement.
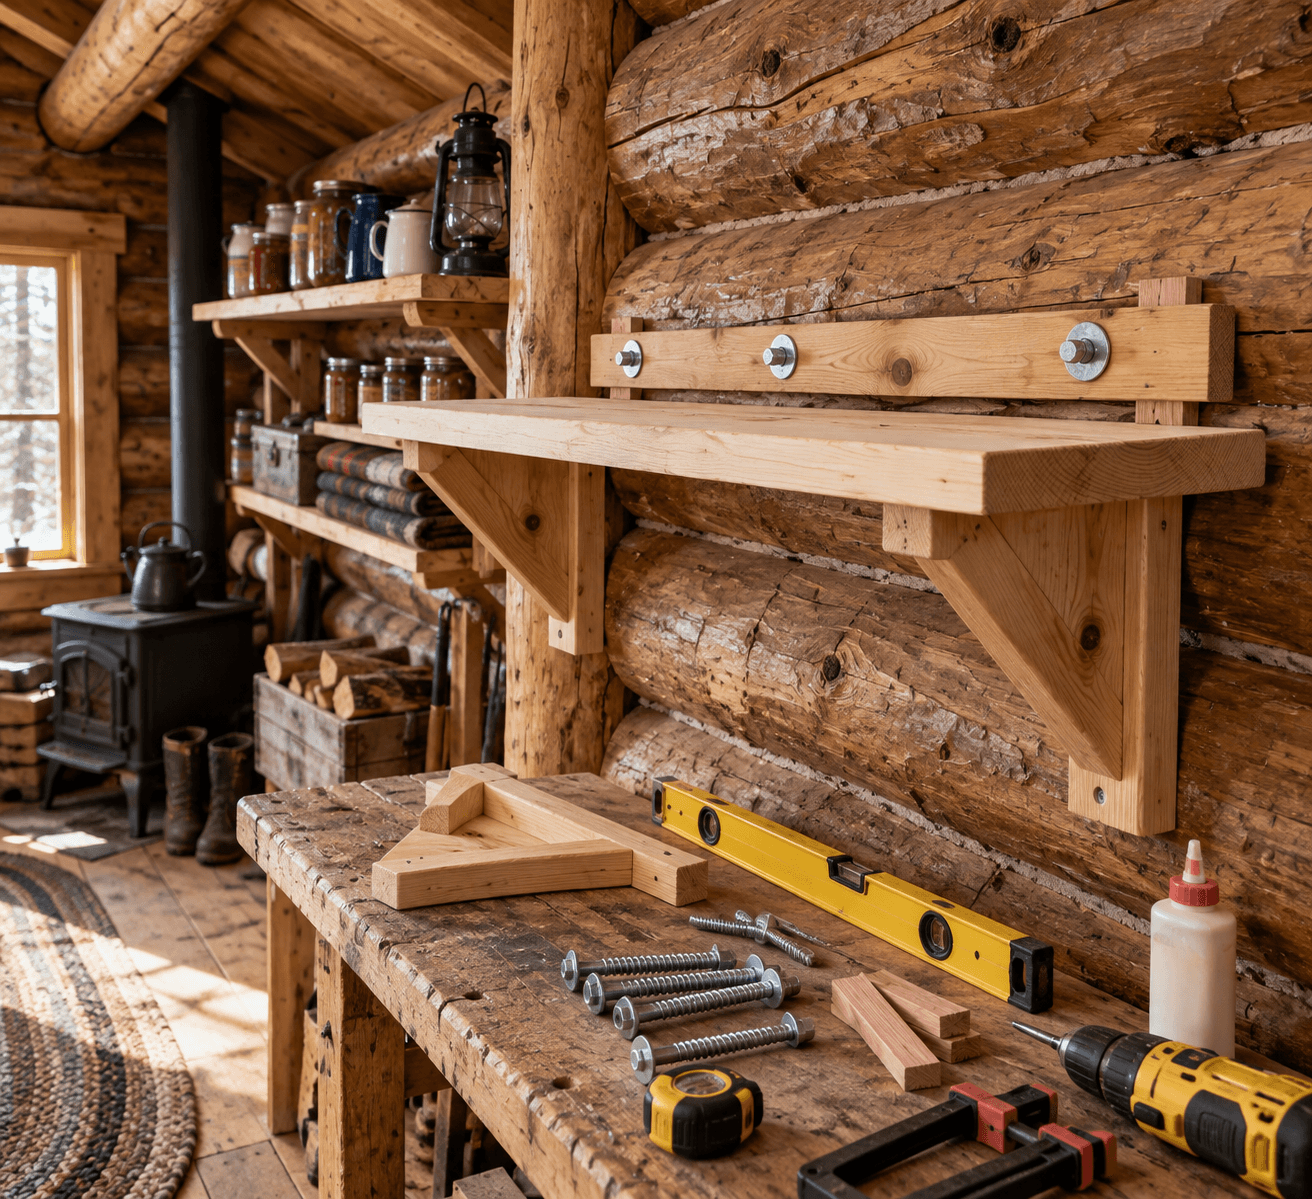
The fix that actually holds is a cleat system rather than individual brackets. A cleat is a ledger board, usually a 1×3 or 2×4, fastened horizontally along the log with lag screws driven into at least two different logs (or log courses) so the load spreads instead of concentrating on one point. Use screws at least 3 inches long into solid log meat, not just bark-side sapwood, and predrill every hole to avoid splitting.
For curved or uneven log faces, scribe the back edge of the cleat to match the wall’s contour instead of trying to force a flat board against a round surface. It’s slower — expect an extra 20-30 minutes per cleat with a compass scribe and a jigsaw — but it’s the difference between a shelf that sits solid and one that rocks. Slotted screw holes on the cleat, rather than tight round holes, let the wood settle vertically without cracking your shelf boards.
Joinery and Span: Keeping Loaded Shelves From Sagging
A 3/4-inch pine or plywood shelf will start to visibly sag under load once you exceed about 32-36 inches of unsupported span, especially with dense stuff like canned goods or tool chests. That’s the number that trips people up most: they build a wide, good-looking shelf and then load it with 40 pounds of mason jars, and six months later there’s a noticeable bow.
Dado, Rabbet, or Pocket Screws?
A dado joint (a groove cut into the side panel that the shelf slides into) gives the strongest support because it carries weight along the whole joint, not just at fasteners. A rabbet joint is a notch cut at the edge, easier to cut with a router or table saw, and works well for the top and bottom shelves of a unit. Pocket screws are the fastest option and fine for lighter shelving, but they rely entirely on screw strength rather than wood-to-wood bearing, so I wouldn’t use them alone for anything holding more than 20-25 pounds per foot.
Matching Span to Load
Shelf Material (3/4 in.)
Safe Span (No Sag)
Best For
Solid pine
Up to 24 in.
Books, light pantry items
Cabinet-grade plywood
Up to 32 in.
Canned goods, tools
Plywood + center support
Up to 48 in.
Bulk food storage, water jugs
If your pantry or utility closet needs a run wider than 32 inches, add a center cleat or a vertical divider rather than upsizing the board thickness alone — it’s cheaper and it actually solves the deflection problem instead of just delaying it.
Layout for Pantry, Closet, and Utility Storage
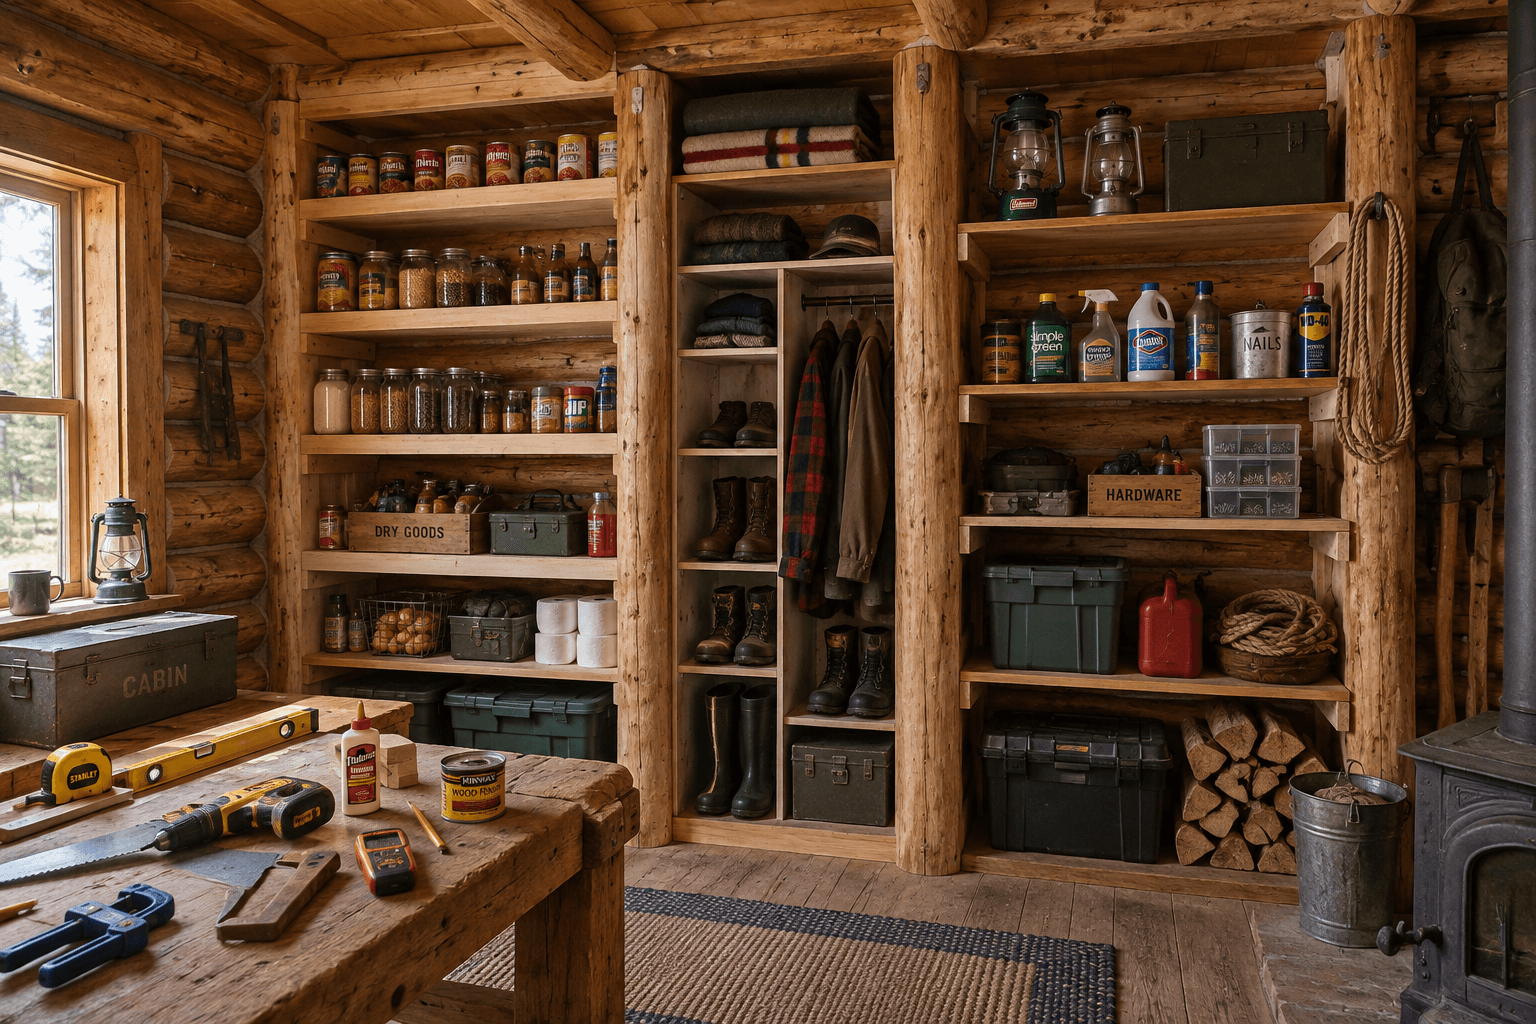
Cabin storage space is small, so shelf spacing has to work harder than it would in a full-size kitchen pantry. Start by measuring your tallest stored items — usually canning jars or a 5-gallon water jug — and space shelves 2 inches taller than that item, not more, or you’re wasting cubic footage you don’t have.
A workable sequence for laying out a pantry or utility closet looks like this:
Measure the full wall height and subtract 6 inches for a top clearance gap.
List your stored items by height, tallest to shortest.
Assign the bottom shelf to heavy, bulky goods (canned food, water jugs) for stability.
Space middle shelves for mid-size items, adding a 2-inch buffer above each category.
Reserve the top shelf for lightweight or rarely used items, since it’s the hardest to reach.
Mark cleat lines on the wall with a laser level, not a straightedge, since log walls rarely run true.
Cut and dry-fit every shelf before final fastening.
Utility shelving near a woodstove or entryway should skip fine joinery altogether and just use heavy-duty brackets rated for at least 50 pounds each, since that’s where wet boots, tools, and firewood tend to pile up unevenly.
Sealing and Finishing for Rustic Conditions
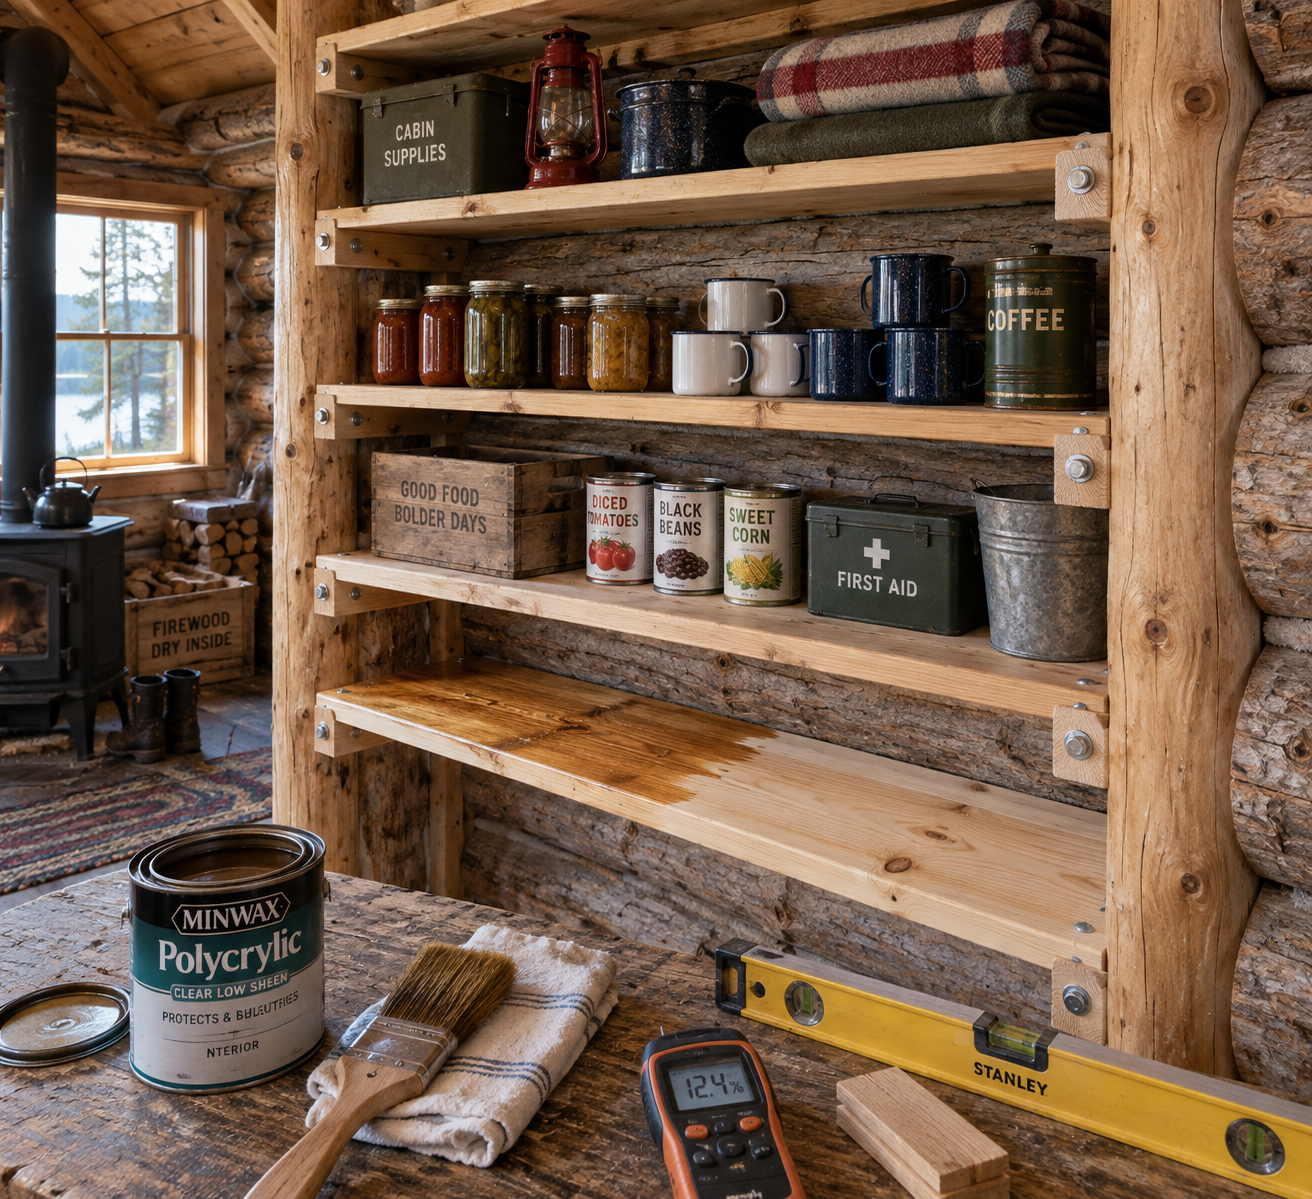
Skipping a finish coat is the fastest way to cut a cabin shelf’s lifespan short, especially in spaces with no climate control fighting humidity for you. A film finish like polyurethane (go with a satin or semi-gloss, two coats minimum) protects pantry shelves from spills and condensation, while a penetrating oil-based stain works better on rougher rustic shelving where you want the wood grain to show.
For anything in a bathroom, mudroom, or root cellar, lean toward a marine-grade or exterior polyurethane instead of a standard interior product, since those spaces see the most moisture swings in a typical cabin. Reapply every 2-3 years in high-moisture spots, and check corners and end-grain first since that’s where finish wears through fastest.
If you’re not sure which sealant matches your specific wall material and climate, cabinlodger.com has a deeper breakdown of wood treatment options that’s worth checking against your local humidity before you commit to a product.
Frequently Asked Questions
Can I use screws directly into a log wall instead of a cleat?
You can, but it’s weaker and riskier long-term. Direct screws concentrate load on one point and don’t account for log shrinkage, so within a year or two you’ll likely see the shelf pull loose or tilt.
How much weight can a typical cabin shelf actually hold?
A 3/4-inch plywood shelf on a solid cleat, spanning 32 inches or less, safely holds around 25-30 pounds per linear foot. Add a center support and that number climbs toward 40 pounds per foot for the same span.
Does cedar really need less sealing than pine?
Cedar has natural oils that resist rot and insects, so it can go unfinished in dry, ventilated spots. In damp cabin environments, though, even cedar benefits from one coat of exterior sealant to stop moisture staining over time.