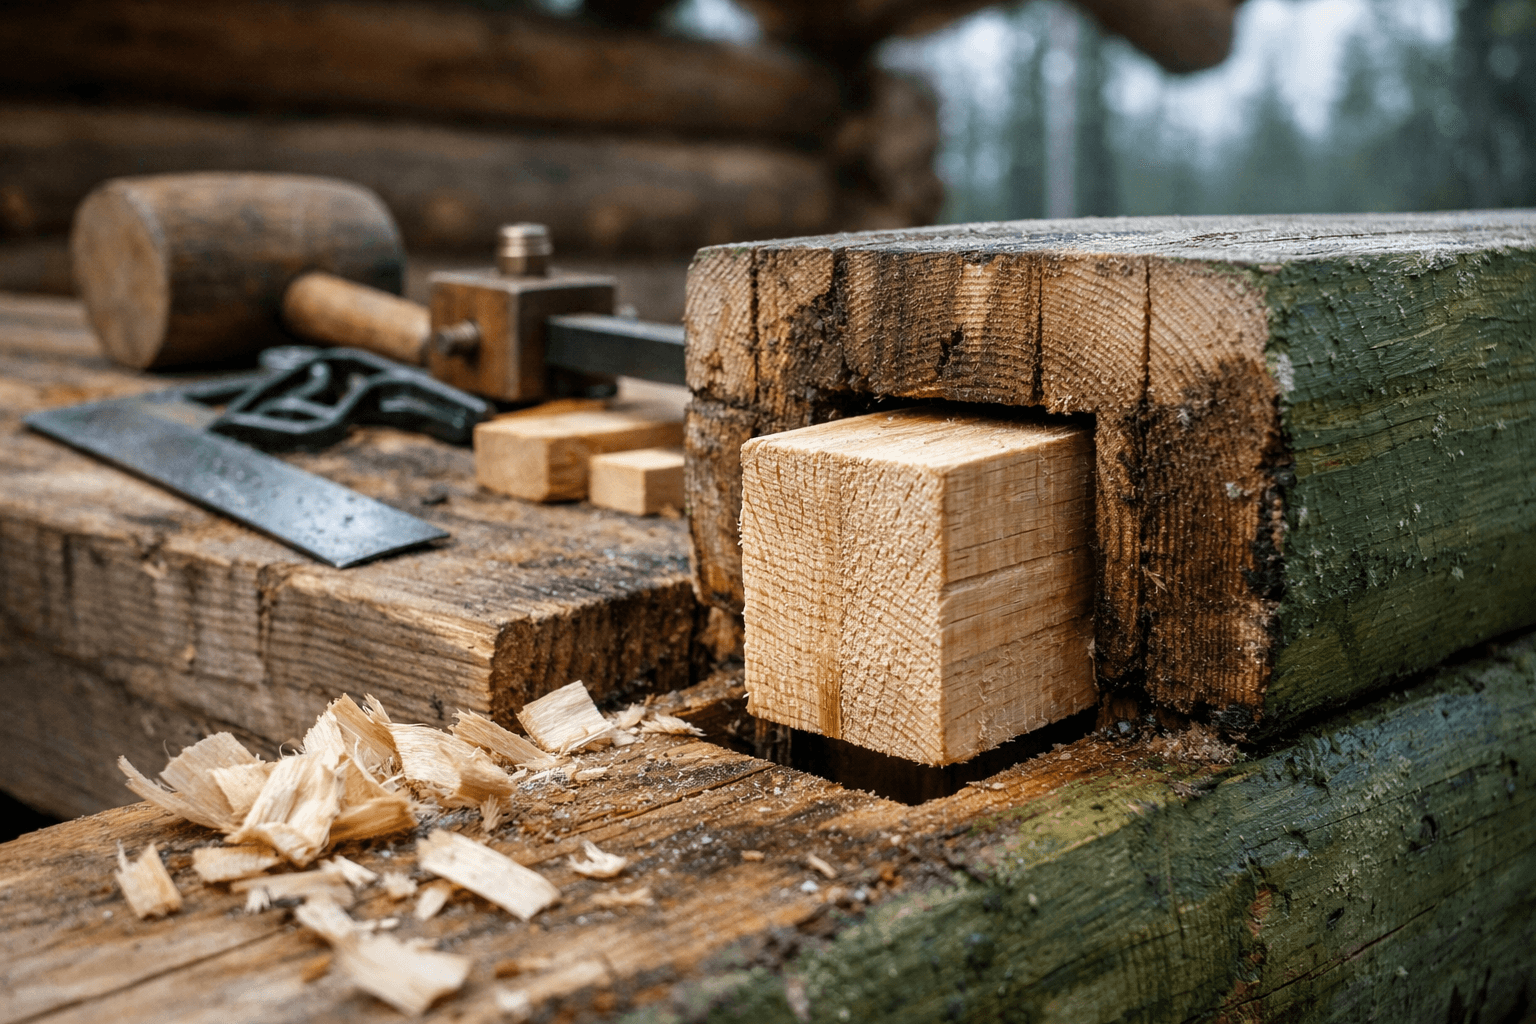
Cut a mortise and tenon joint wrong on a cabin frame and you won’t find out until the wood dries, shrinks, and the whole thing starts racking in a windstorm. That’s the real test for the joinery of wood in cabin construction — not how tight it looks on day one, but whether it holds after a season of swelling, drying, and freeze-thaw cycles outdoors. Most joinery guides are written for furniture makers working kiln-dried stock in a climate-controlled shop, and that advice doesn’t transfer cleanly to a guy cutting notches on green logs with a chainsaw and a chisel.
Which Joints Actually Belong on a Cabin?
The joint that belongs on your cabin depends on whether it’s carrying structural load or just holding trim together. For framing and walls, you want joints designed for shrinkage and shear force — mortise and tenon, lap joints, and corner notches. For interior cabinetry or furniture, dovetails and finer joinery make sense because the wood is stable and the loads are light.
A lap joint is the workhorse of cabin framing. Half-lap or full-lap cuts at beam intersections spread load across a wide surface and are forgiving of imperfect cuts, which matters when you’re working on a sawhorse instead of a bench with clamps and jigs. I’d reach for a lap joint over a fancier option any day when I’m framing a floor deck or roof rafters — it’s not elegant, but it’s fast and it doesn’t ask for precision you can’t deliver on-site.
Butt joints are the opposite end of the spectrum: two pieces meeting square, held together with nails, screws, or brackets. They’re fine for non-structural framing like interior partition studs, but on their own they have almost no resistance to twisting force. On a load-bearing wall, a butt joint without added bracing or metal plates is asking for trouble the first time the structure racks under wind load.
Dovetail joints show up in cabin builds mostly at corners — either as furniture-style joinery in built-in cabinets, or as a dovetail notch in log corner construction, which is a different animal entirely and gets its own section below.
Not all corner notches perform the same outdoors, and that assumption trips up a lot of first-time builders. The notch style you choose changes how water sheds off the joint, which directly affects how fast that corner rots.
Saddle Notch vs. Dovetail Notch
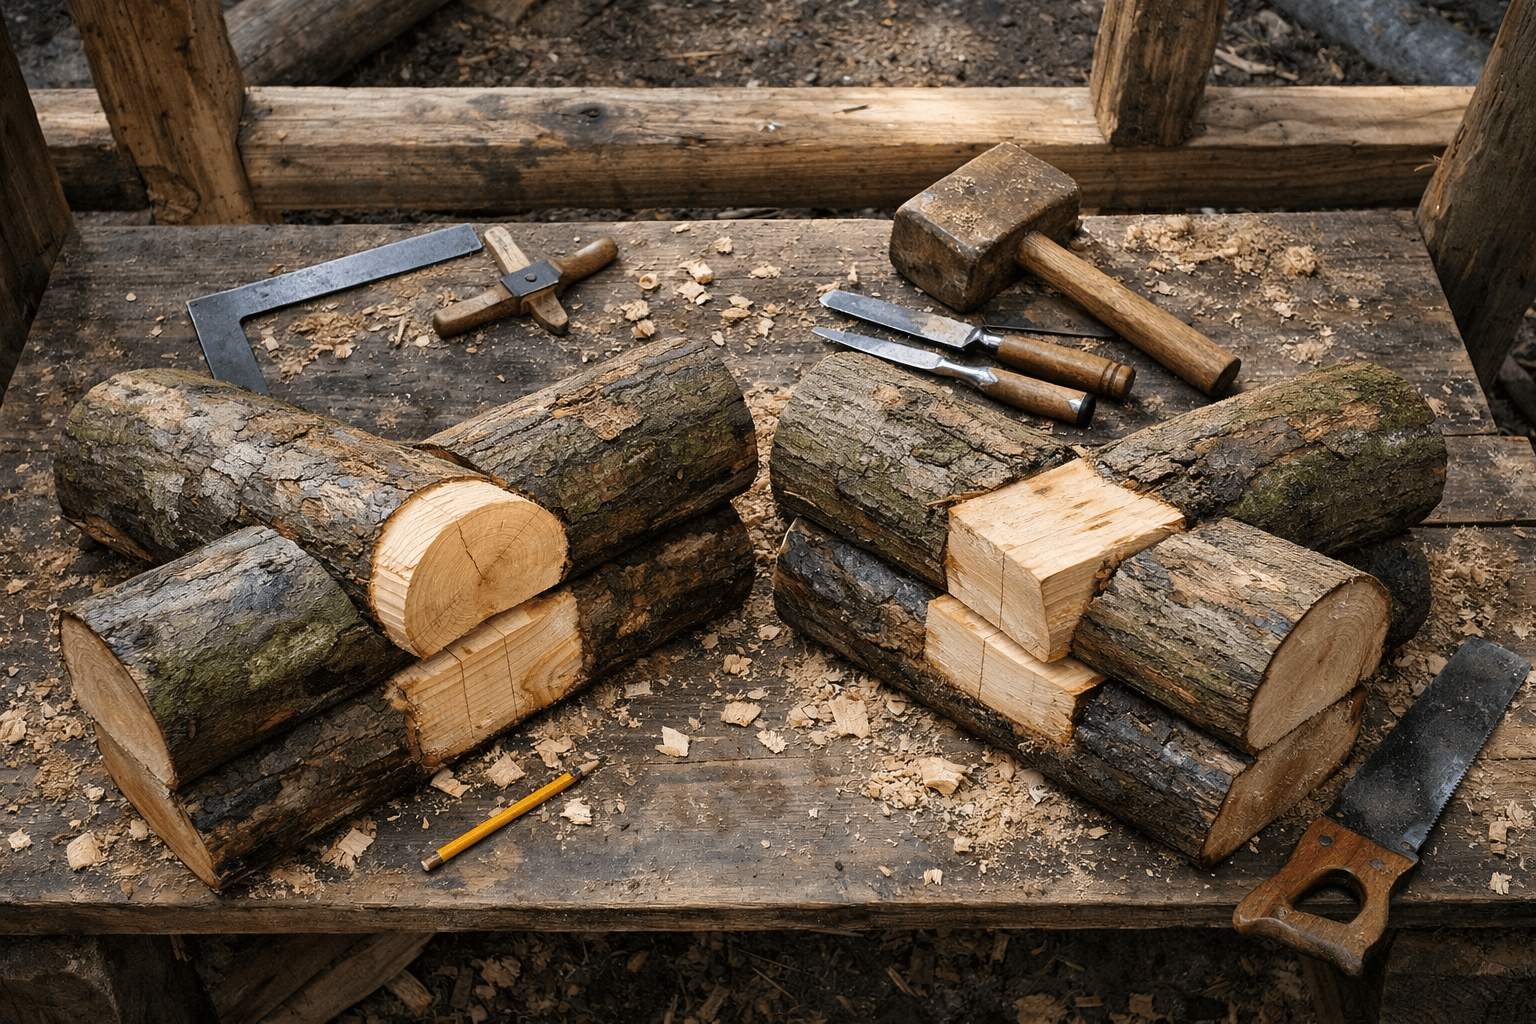
The saddle notch — a rounded scoop cut into the top of the lower log so the upper log nests into it — is the most common choice for round-log cabins because it’s relatively simple to cut with a chainsaw and a scribe. Water tends to pool less on the rounded surface, and the joint self-tightens somewhat as the logs settle.
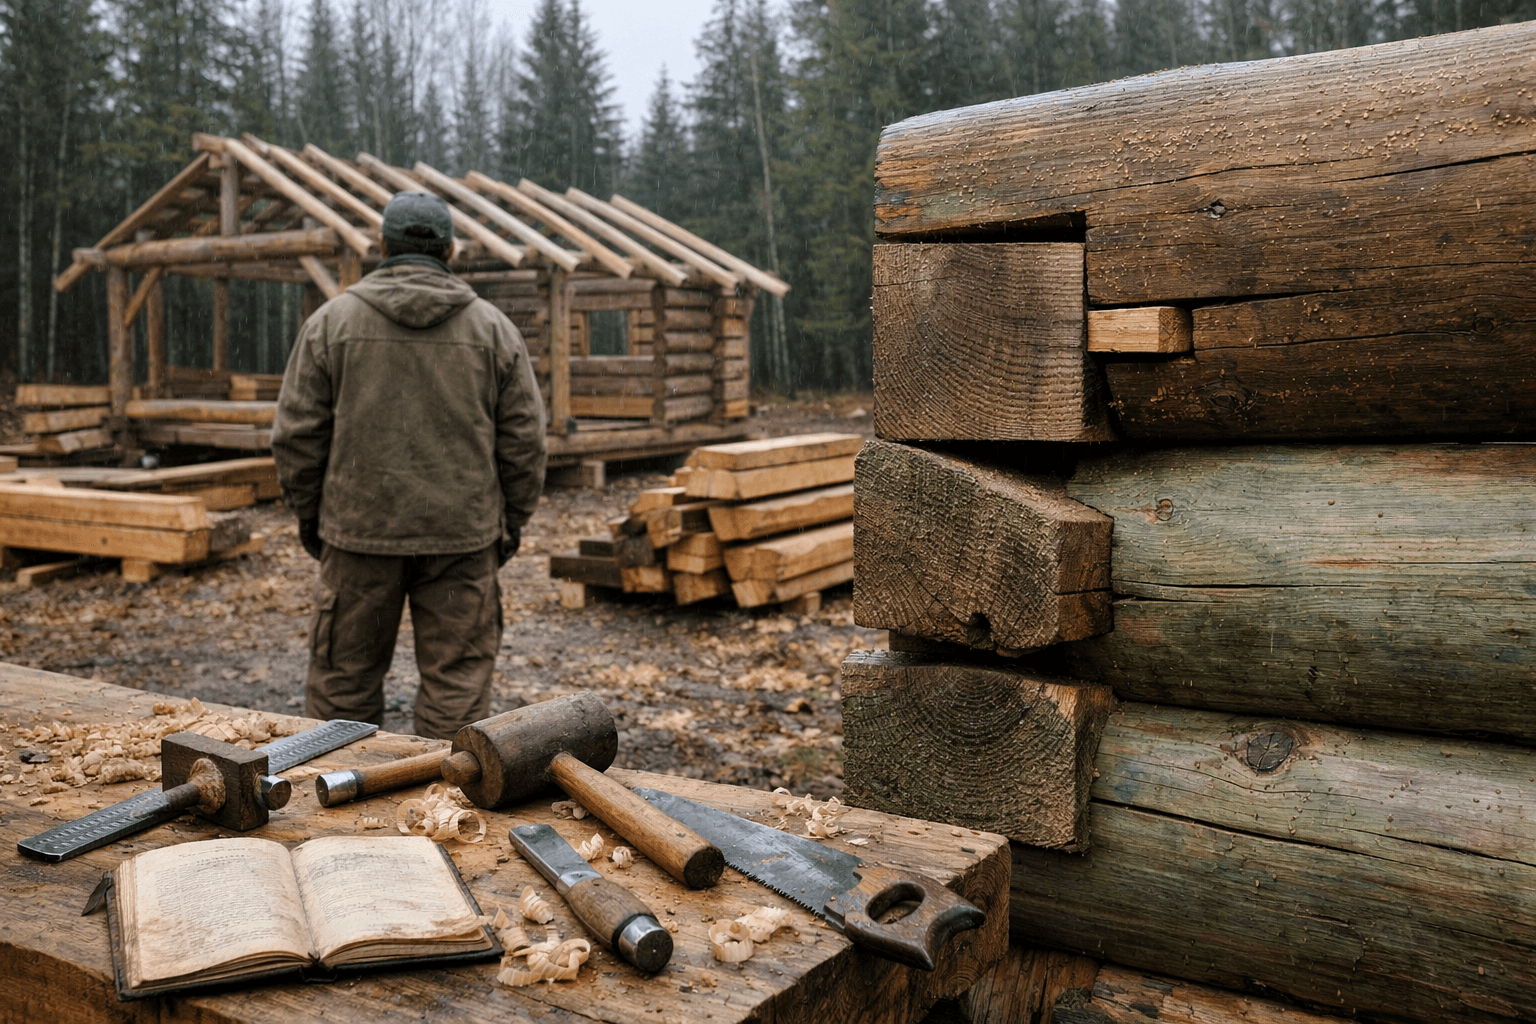
The dovetail notch, cut flat and angled on all four sides so the logs lock together and shed water outward, is stronger against pull-apart forces but takes real skill to cut accurately, especially with green, irregular logs. Get the angles wrong on a dovetail notch and you create flat pockets where rainwater sits and soaks in — which is worse than a slightly loose saddle notch that at least drains.
Fasteners vs. Cutting It Right
Plenty of builders assume a few timber screws or lag bolts can fix a sloppy notch. They can’t, not really. A well-cut notch transfers load through wood-on-wood contact and gets stronger as the logs settle and compress; a bolted, poorly-fitted notch just holds two badly-matched surfaces together and relies on the fastener staying tight as the wood shrinks around it. Metal fasteners loosen as green wood dries — screws that felt solid in month one can be visibly proud of the surface by month six.
Wood Shrinkage: The Variable Furniture Joinery Ignores
Green lumber shrinks as it dries, sometimes losing 4-8% of its dimension across the grain, and that movement is the single biggest reason cabin joinery differs from furniture joinery. A tenon cut tight on wet wood can end up loose within a year; a notch fit snug in July can gap by winter.
Timber framers deal with this by using techniques like drawboring — offsetting the peg holes in a mortise and tenon joint slightly so the pegs pull the joint tighter as the wood dries, rather than letting it loosen. It’s an old trick, and it still works, but it takes practice to get the offset right without splitting the tenon.
Species matters here too. Cedar and white oak both resist rot and hold dimensional stability better than pine once exposed to weather, though pine is far cheaper and easier to source for a first build. Douglas fir sits in between: decent strength-to-weight ratio, moderate shrinkage, and it’s what most dimensional lumber at the yard is cut from anyway.
Joint Type
Best Use
Skill Level
Weather Tolerance
Lap joint
Framing, decking
Beginner-intermediate
Good with proper flashing
Mortise and tenon
Timber frames, posts
Intermediate-advanced
Good if drawbored
Saddle notch
Round-log corners
Intermediate
Good, self-draining
Dovetail notch
Squared-log corners
Advanced
Excellent if cut precisely
Butt joint
Non-structural framing
Beginner
Poor without bracing
Tools That Make or Break On-Site Joinery
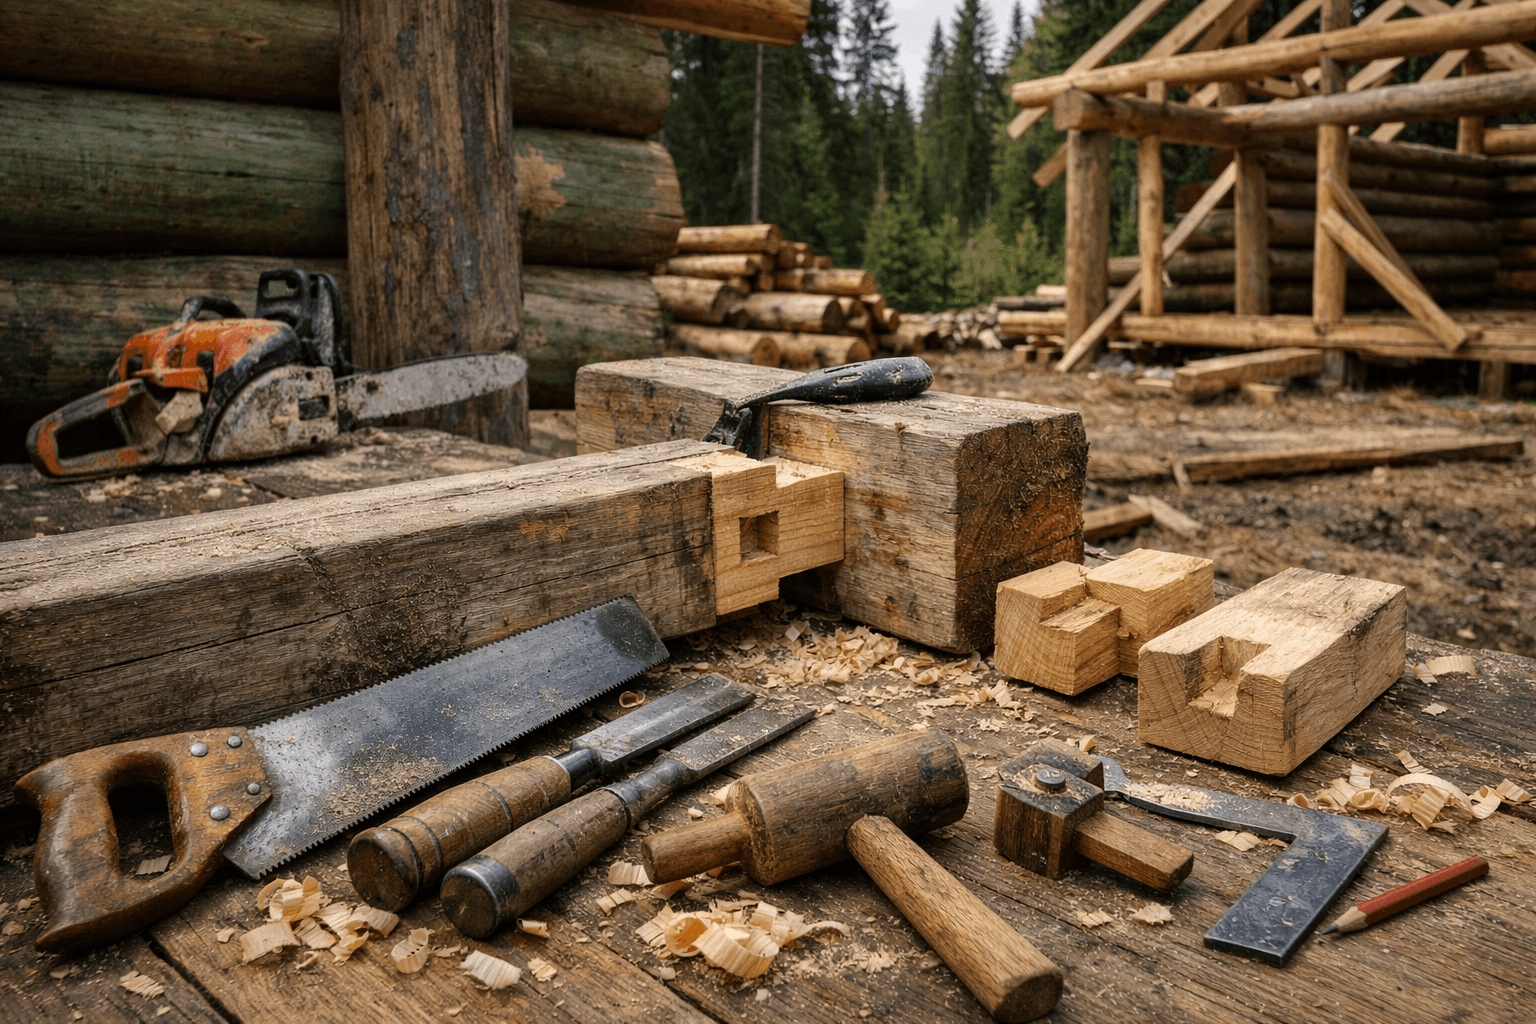
You don’t need a shop full of jigs to cut good structural joints, but a few specific tools change the outcome dramatically. A chainsaw with a sharp chain and a scribe or logging dividers is enough for saddle notches. For mortise and tenon work, a corded drill with a paddle bit, a sharp chisel set, and a hand saw will get you through most cabin-scale joints without a mortising machine.
Chainsaw with a fine-tooth chain, for notch cuts and rough shaping
Timber scribe or logging dividers, for marking consistent notch depth on irregular logs
Framing chisel set (1/2 inch to 1 1/2 inch), for cleaning mortises and lap joint shoulders
Combination square and a good level, for checking joint faces stay true
Hand-cranked or battery auger, for drawboring peg holes off-center
Moisture meter, for checking whether your lumber is dry enough to cut tight joints that will actually stay tight
Skipping the moisture meter is the mistake I see most often. A $30 pin-type meter tells you in seconds whether a board is at 20% moisture content or 12%, and that number should change how tight you cut a joint. If you want a deeper rundown on treating and prepping wood before you even get to the joinery stage, that’s a topic covered in more depth over on cabinlodger.com’s wood treatment posts.
Frequently Asked Questions
Is a mortise and tenon joint strong enough for a cabin wall?
Yes, for posts and framing, especially when drawbored with wood pegs rather than relying on glue alone. It handles both compression and some lateral load, which is why timber framers have used it for load-bearing structures for centuries.
Do I need traditional joinery, or can screws and brackets do the job?
Metal fasteners work fine for non-structural connections, but they loosen as green wood dries and shrinks around them. For load-bearing corners and frames, a well-cut traditional joint outperforms hardware over the long run.
What’s the cheapest structural joint for a first-time cabin builder?
The lap joint. It’s forgiving of imperfect cuts, needs no specialty tools beyond a saw and chisel, and handles framing loads well when sized correctly for the span.